This section is used to Create Contact. It is necessary to fill all the fields marked with the asterisk *.
Follow the step-by-step instructions:
1. Click the management button to enter the Application.
2. Click the Contacts button to open menu.

3. Click the "Create Contact" button.

4. Select your department from the list if there are two or more. If you don't have another department, it will be selected automatically.

5. Type salutation text into the field.

6. Enter the First name in the field.

7. Enter the Last name in the field.

8. Enter the Mobile phone number in the field.

9. Enter an email address in the field.

10. Enter Alternative email address in the field.

11. Enter the contact's E-Invoicing code in the field.

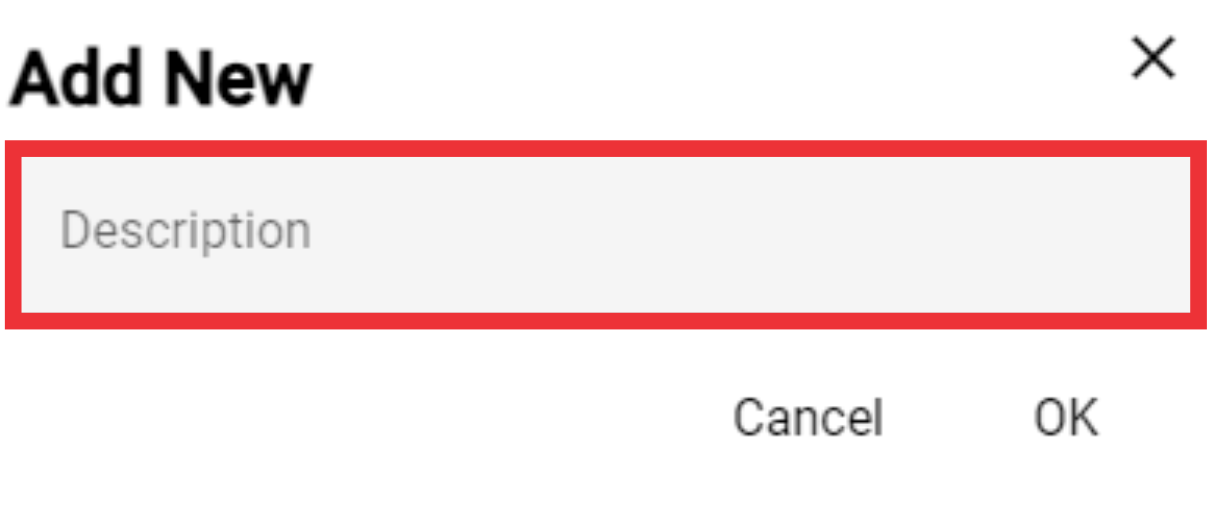
12. Select pronoun form the drop down list or add a new one. For the add a new Pronoun click the "+" button.
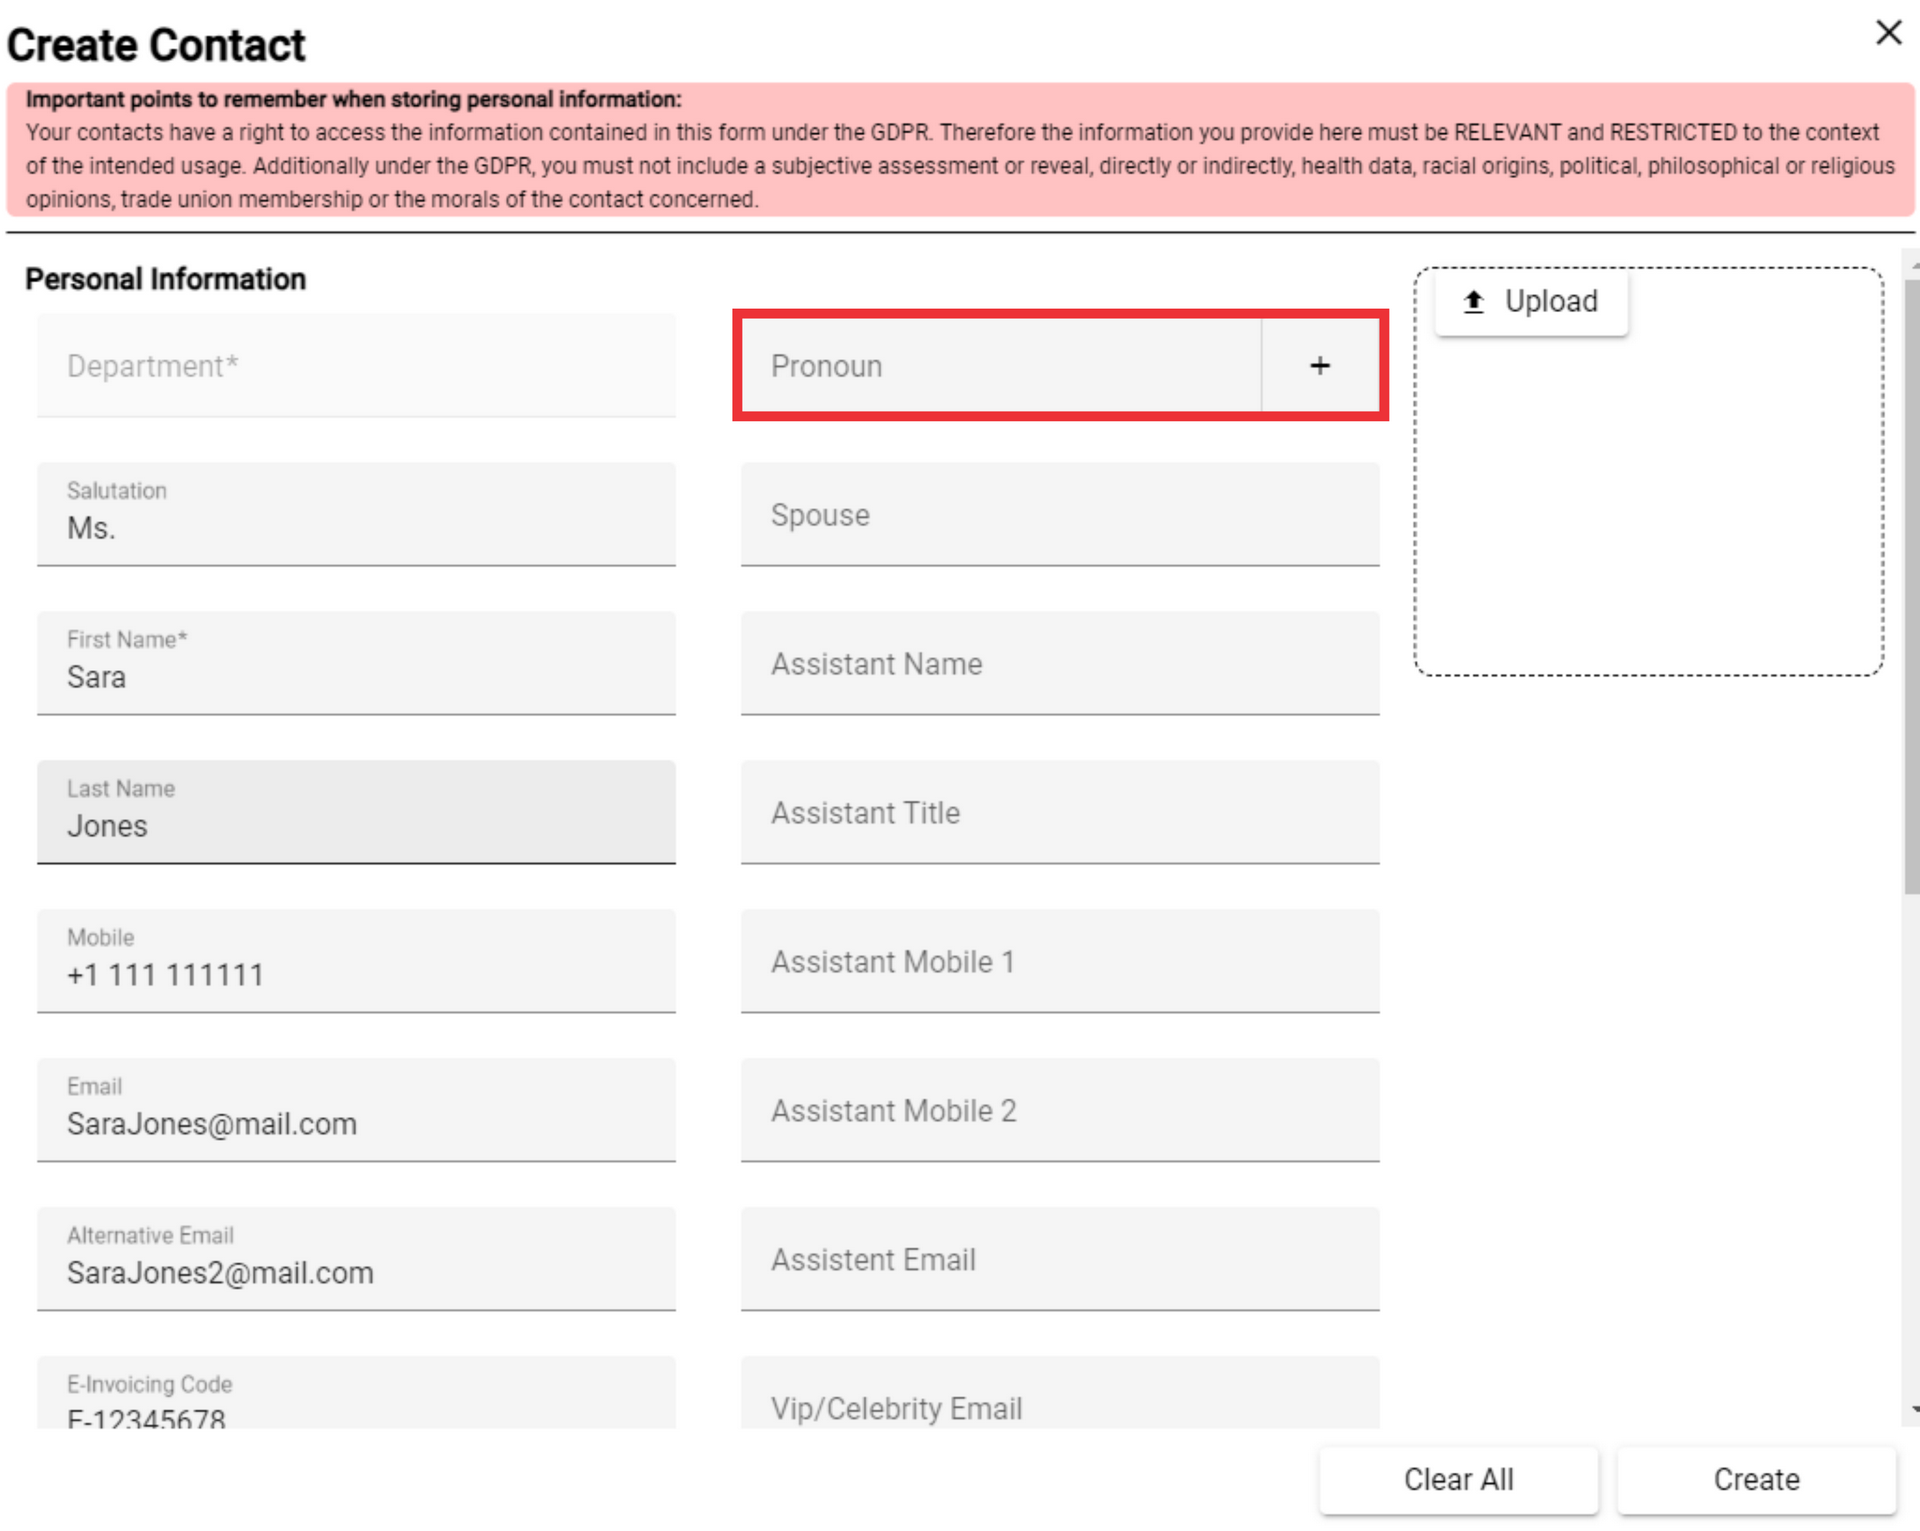
13. For the add a new pronoun click the "+" button.
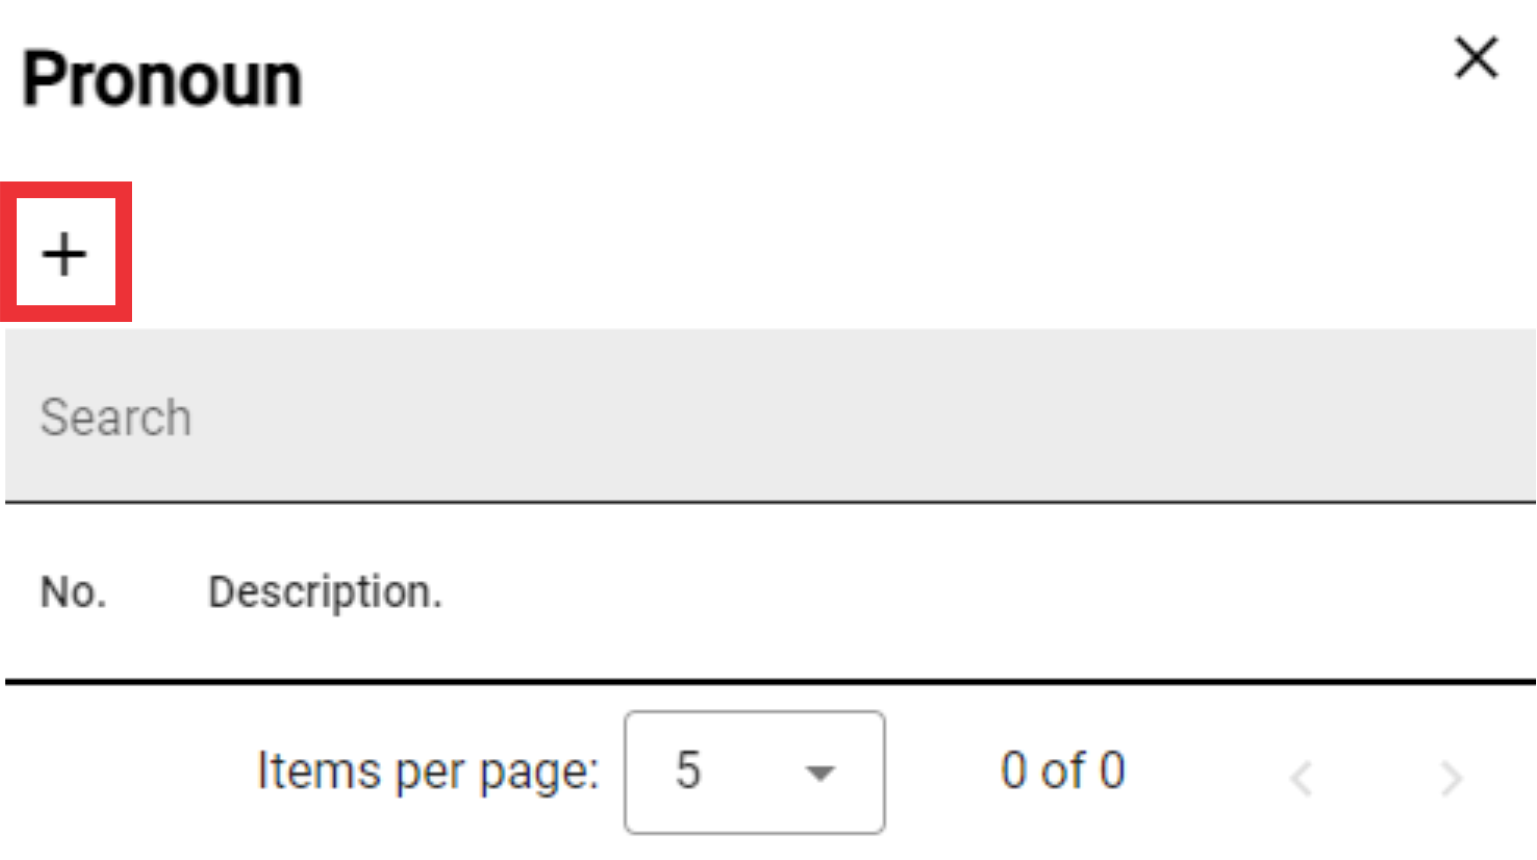
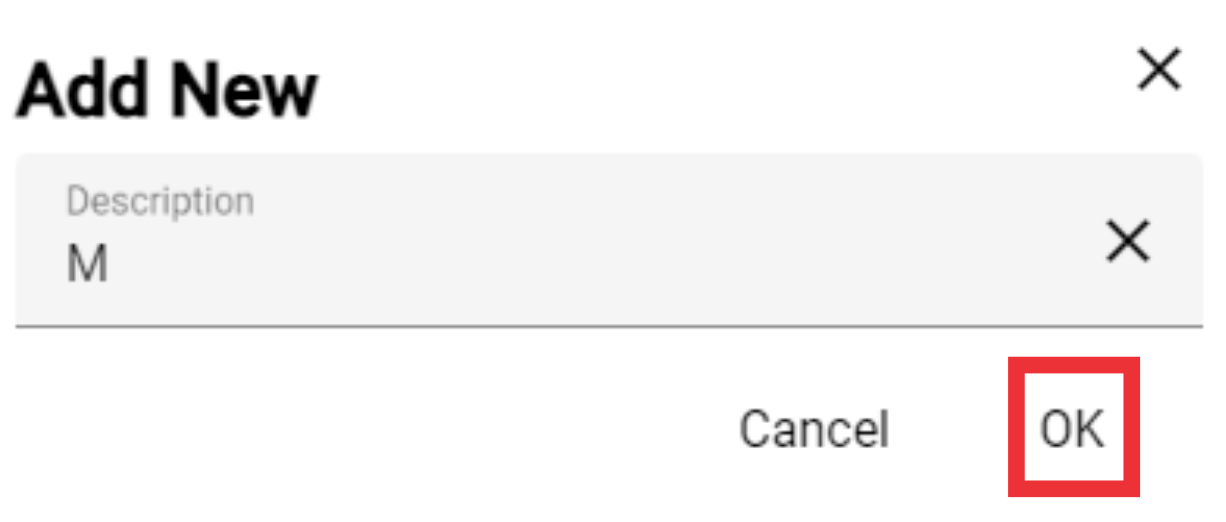
14. write pronoun in the field.
15. Click the "OK" button to confirm.
16. If you wish, you can edit or delete an entry in the list.

17. Select Spouse from the list.

18. Enter Assistant Name in the field.

19. Enter Assistant Title in the field.
 20. Enter Assistant`s mobile phone number in the field.

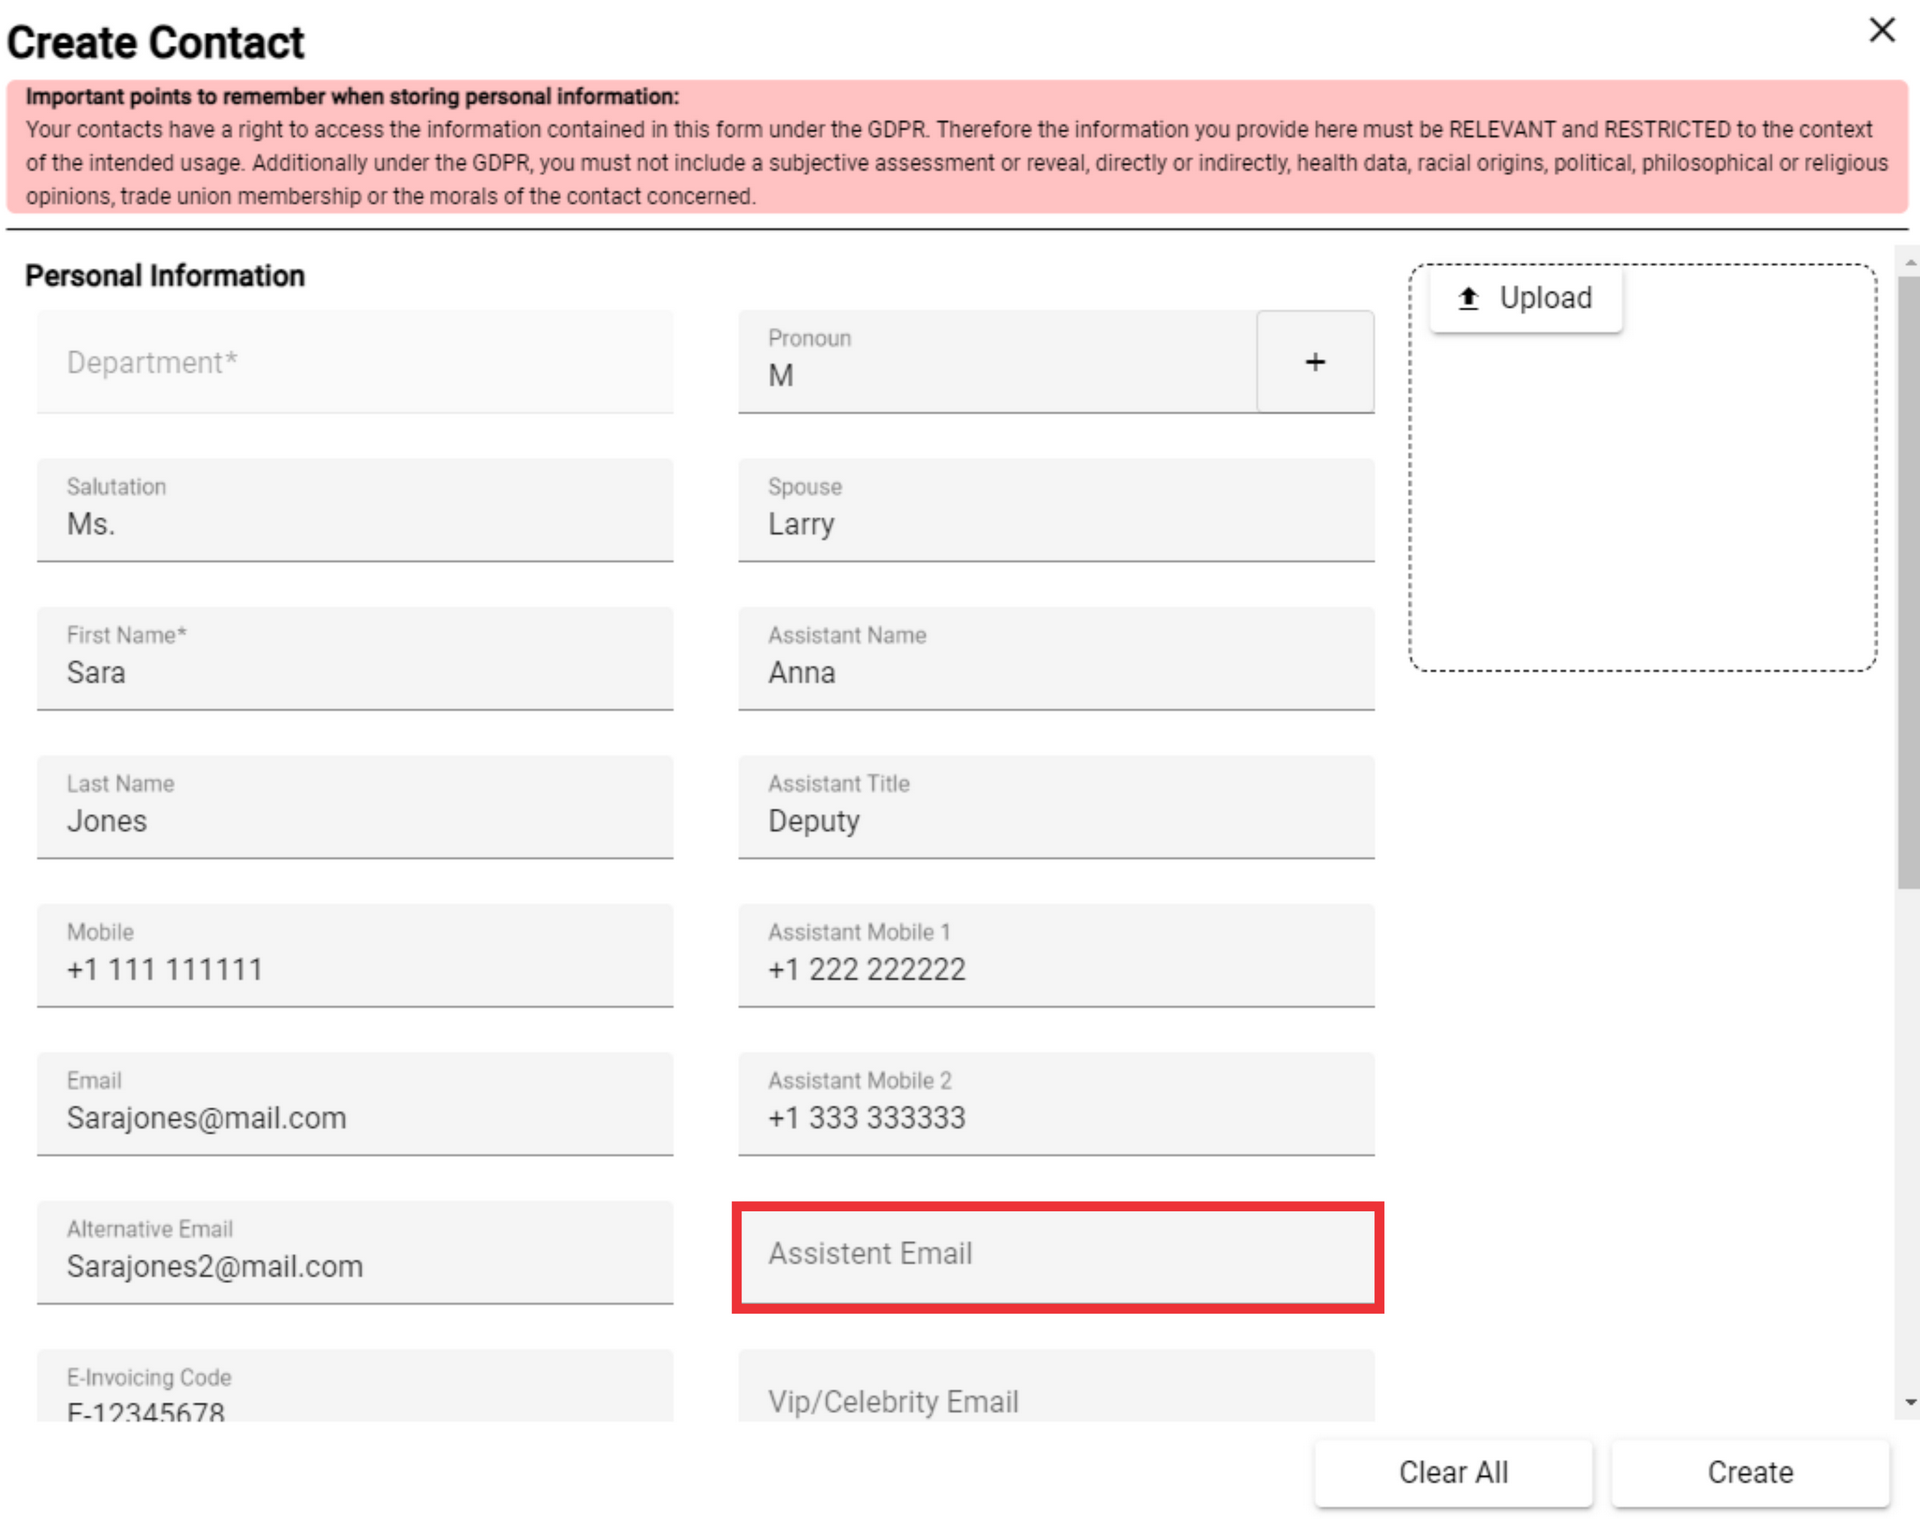
21. Enter Assistant`s second mobile phone number in the field.
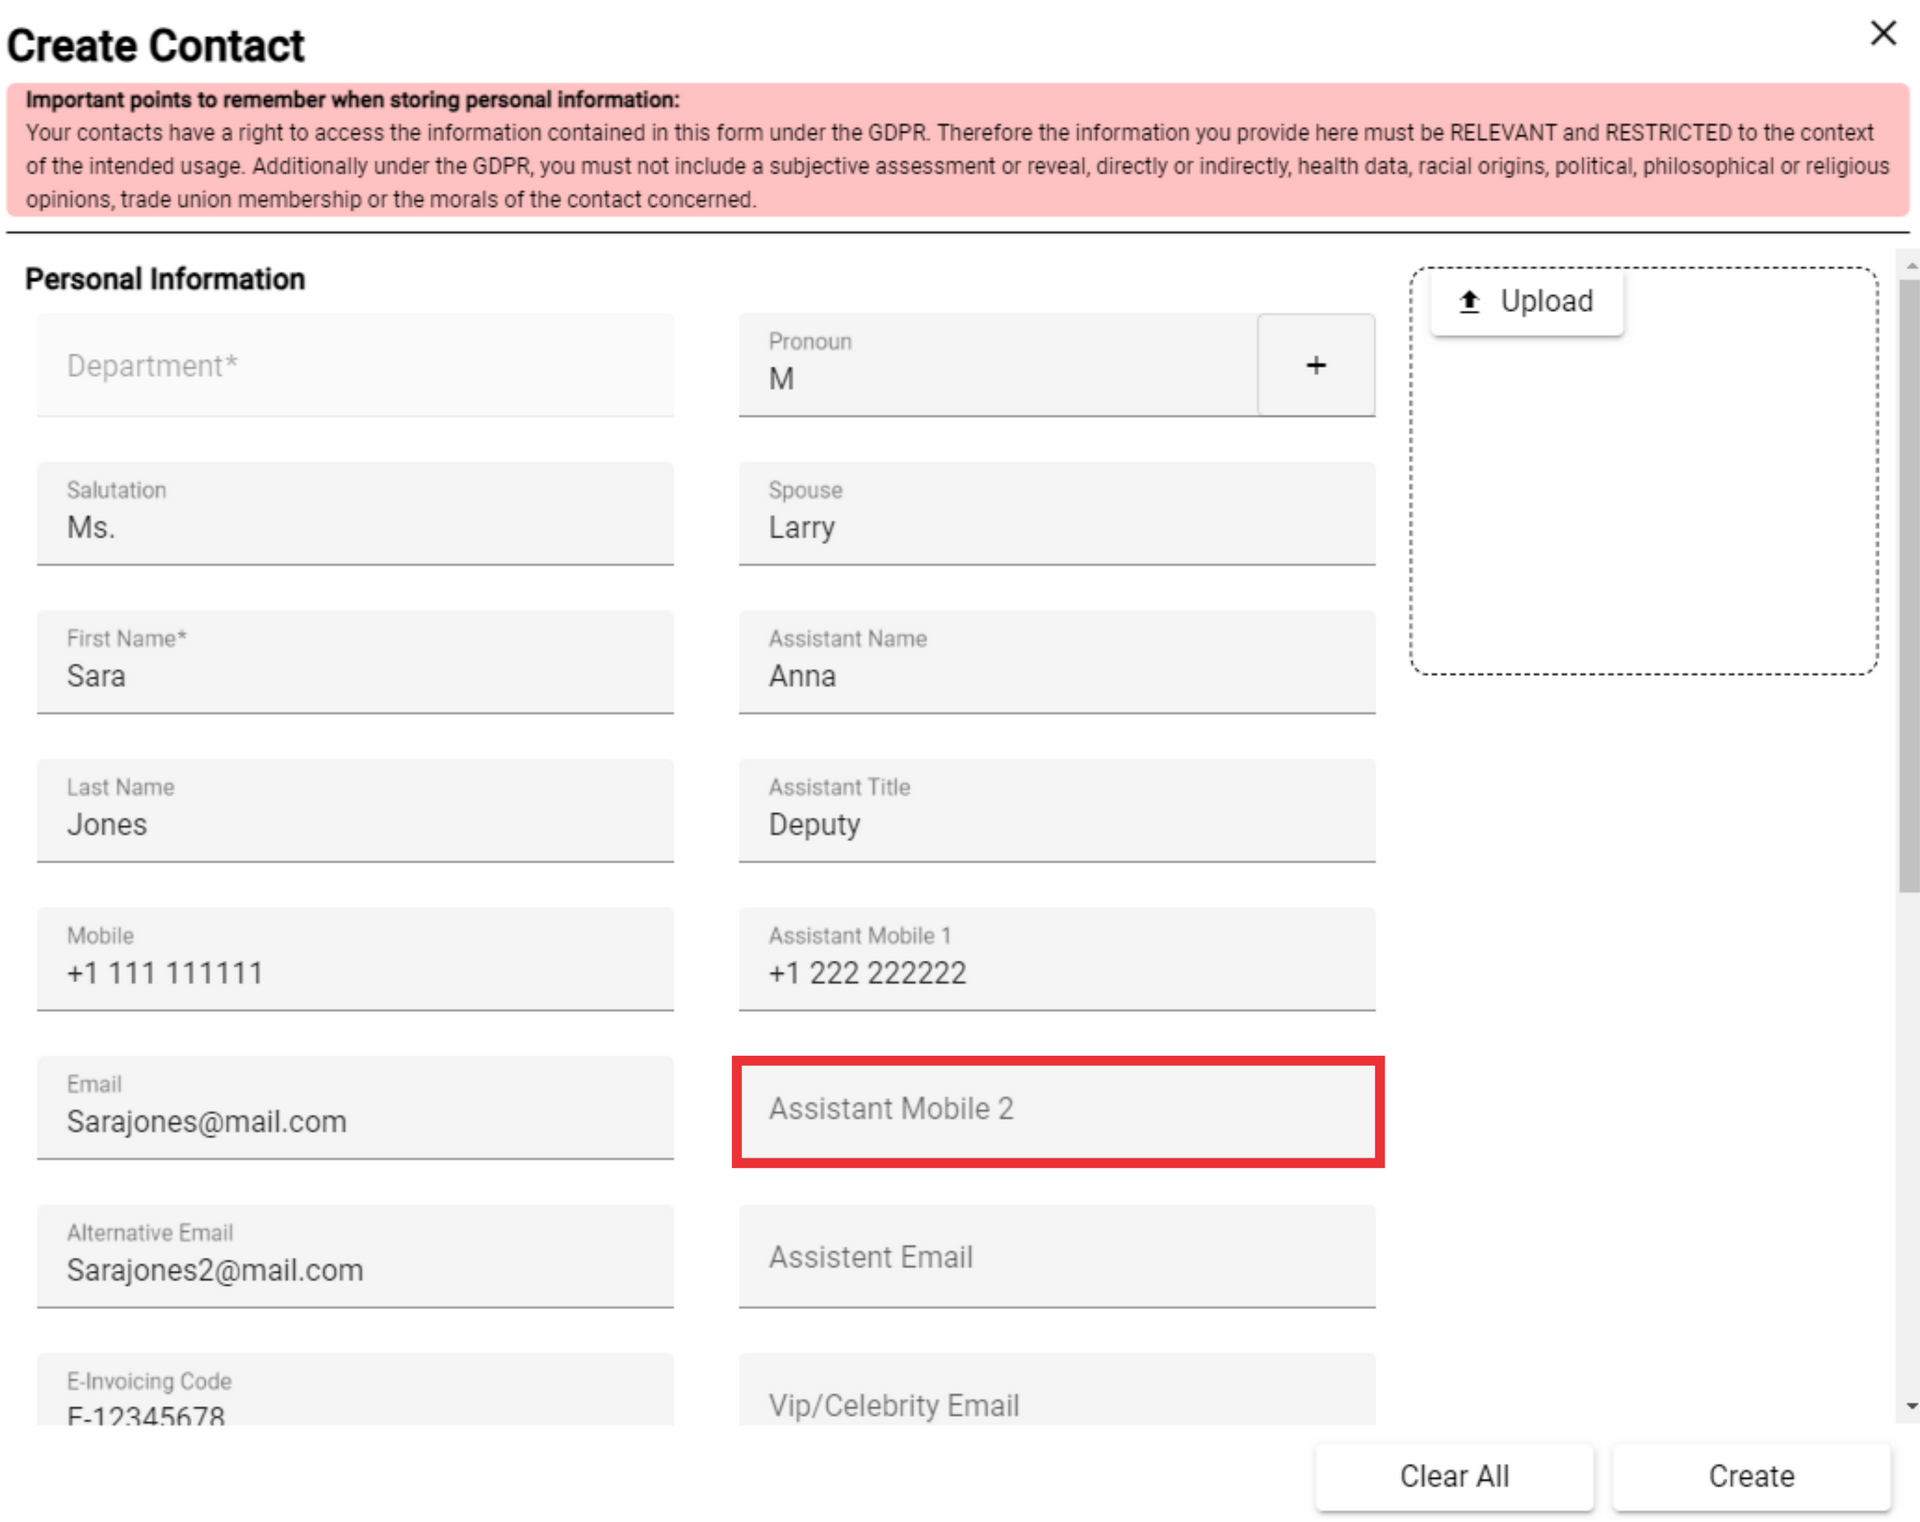
22. Enter Assistant`s Email address in the field.
23. Enter Vip/Celebrity Wmail Address in the field.

24. For the upload avatar click the "Upload" button.

25. Select from your PC avatar icon and click the "Open" button to confirm.

26. Enter internal comments on the field.

27. Enter side notes on the field.

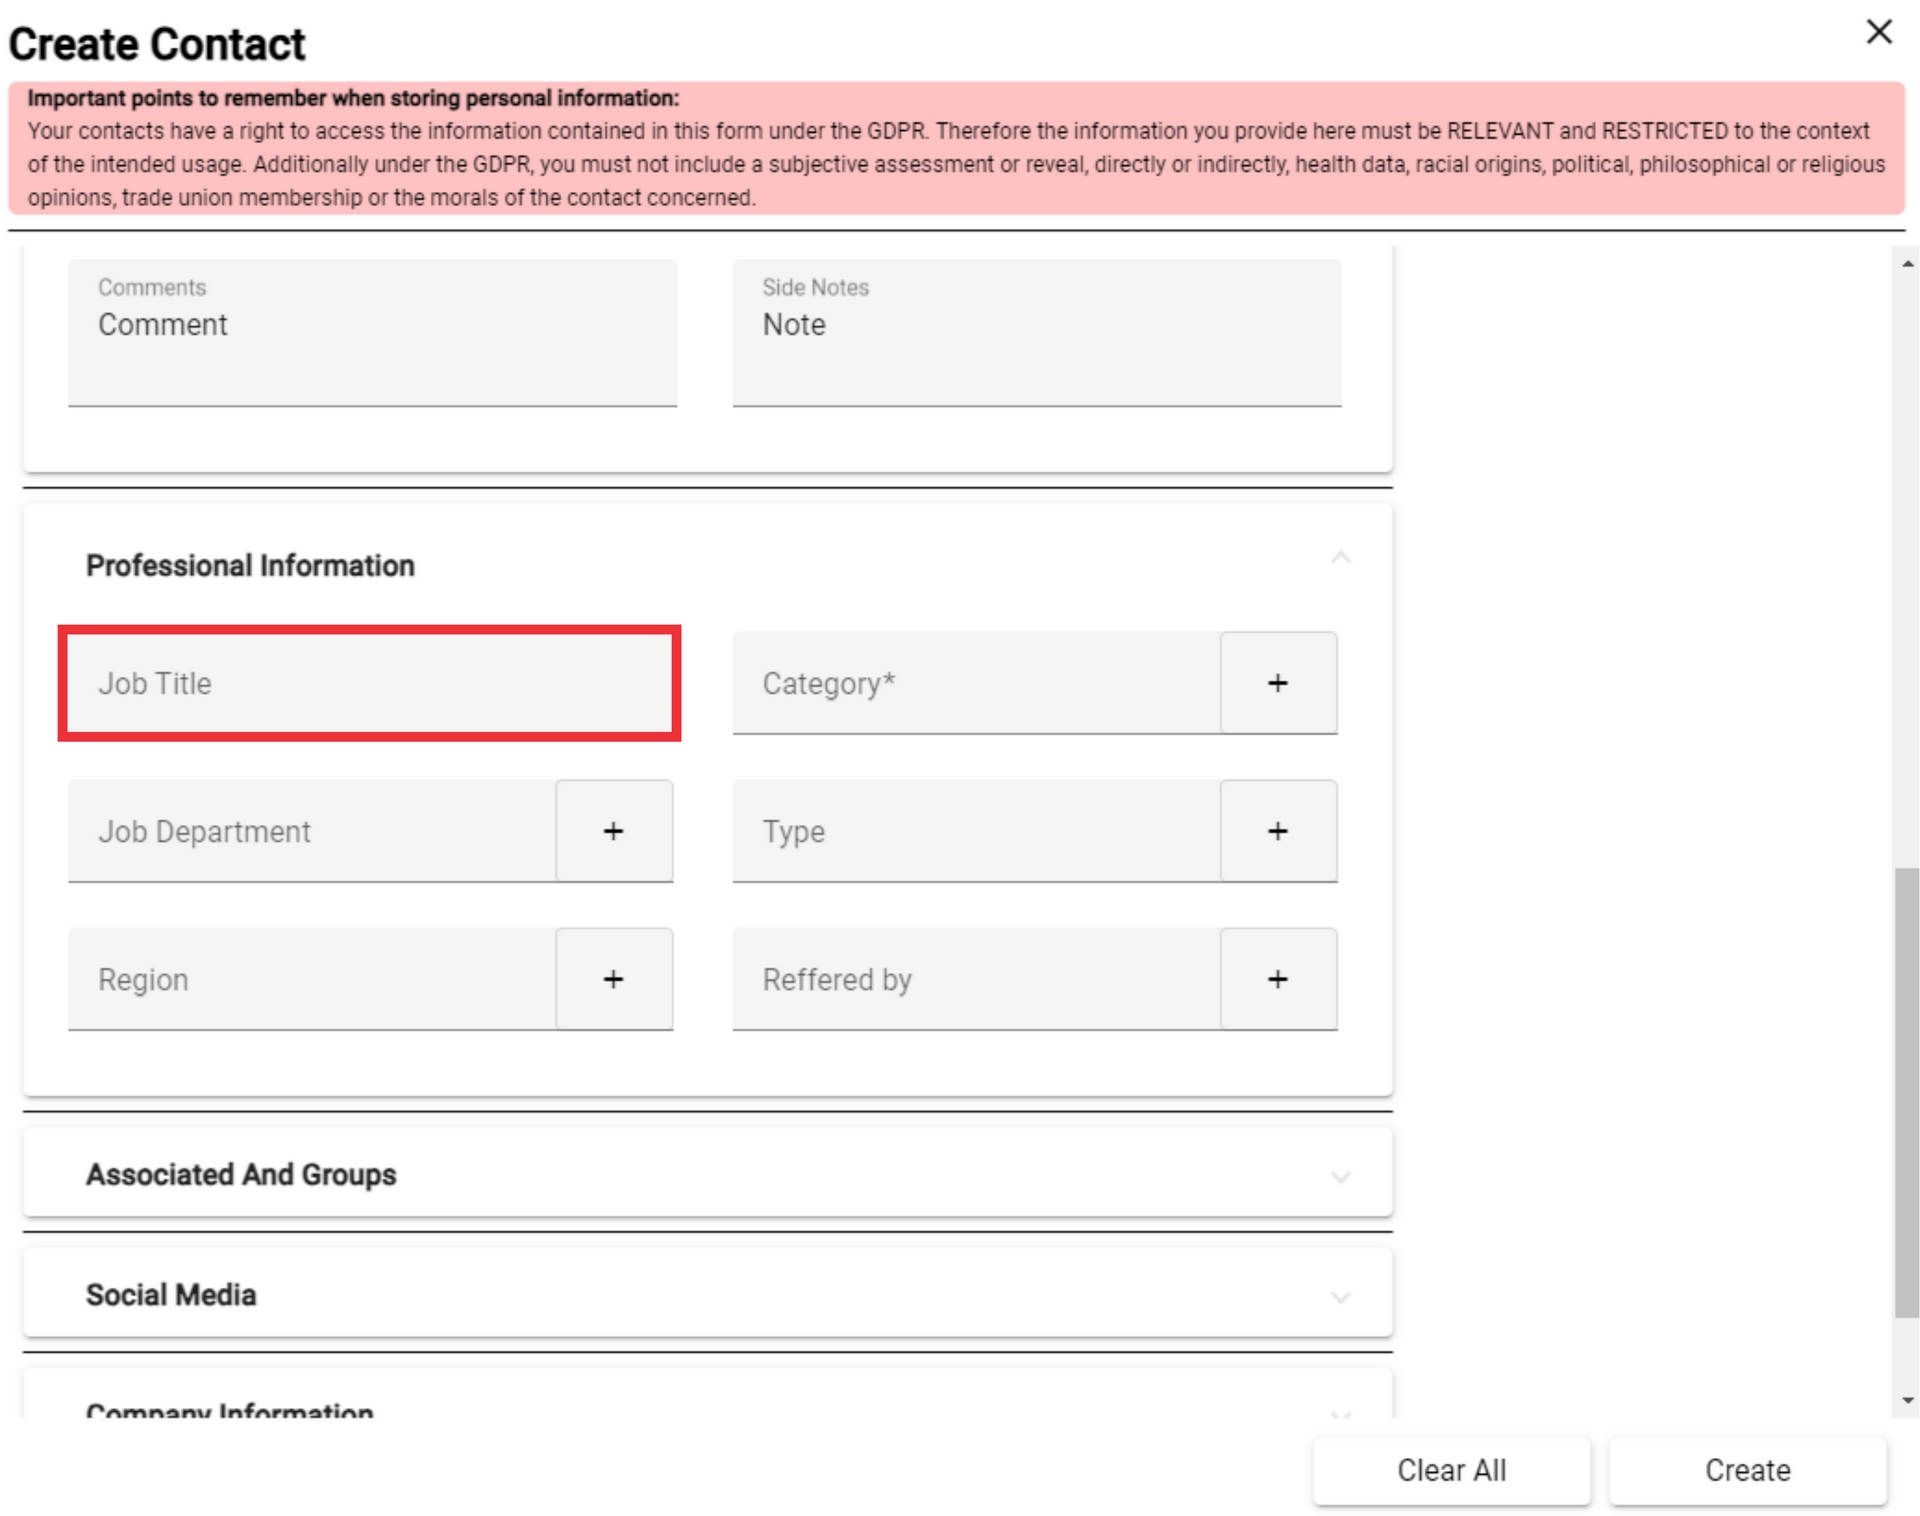
28. Click the arrow to view the professional information fields.

30. Type the job title in the field.
31. Select a service department from the field or add a new one by pressing the "+" button.

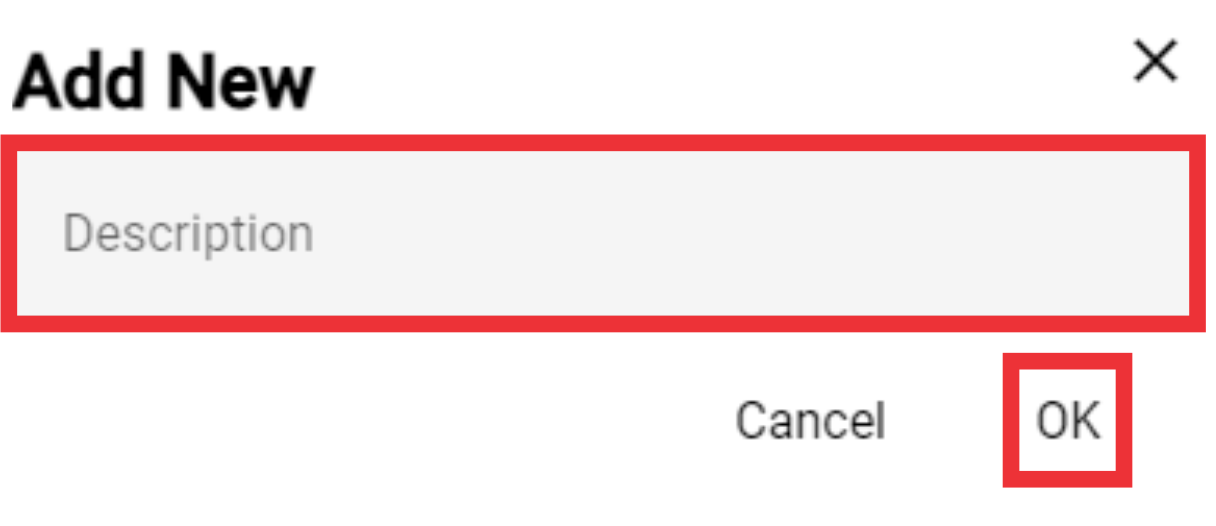
32. For the add a new job department click the "+" Button.

33. Enter a description in the field and click the "OK" button to confirm.

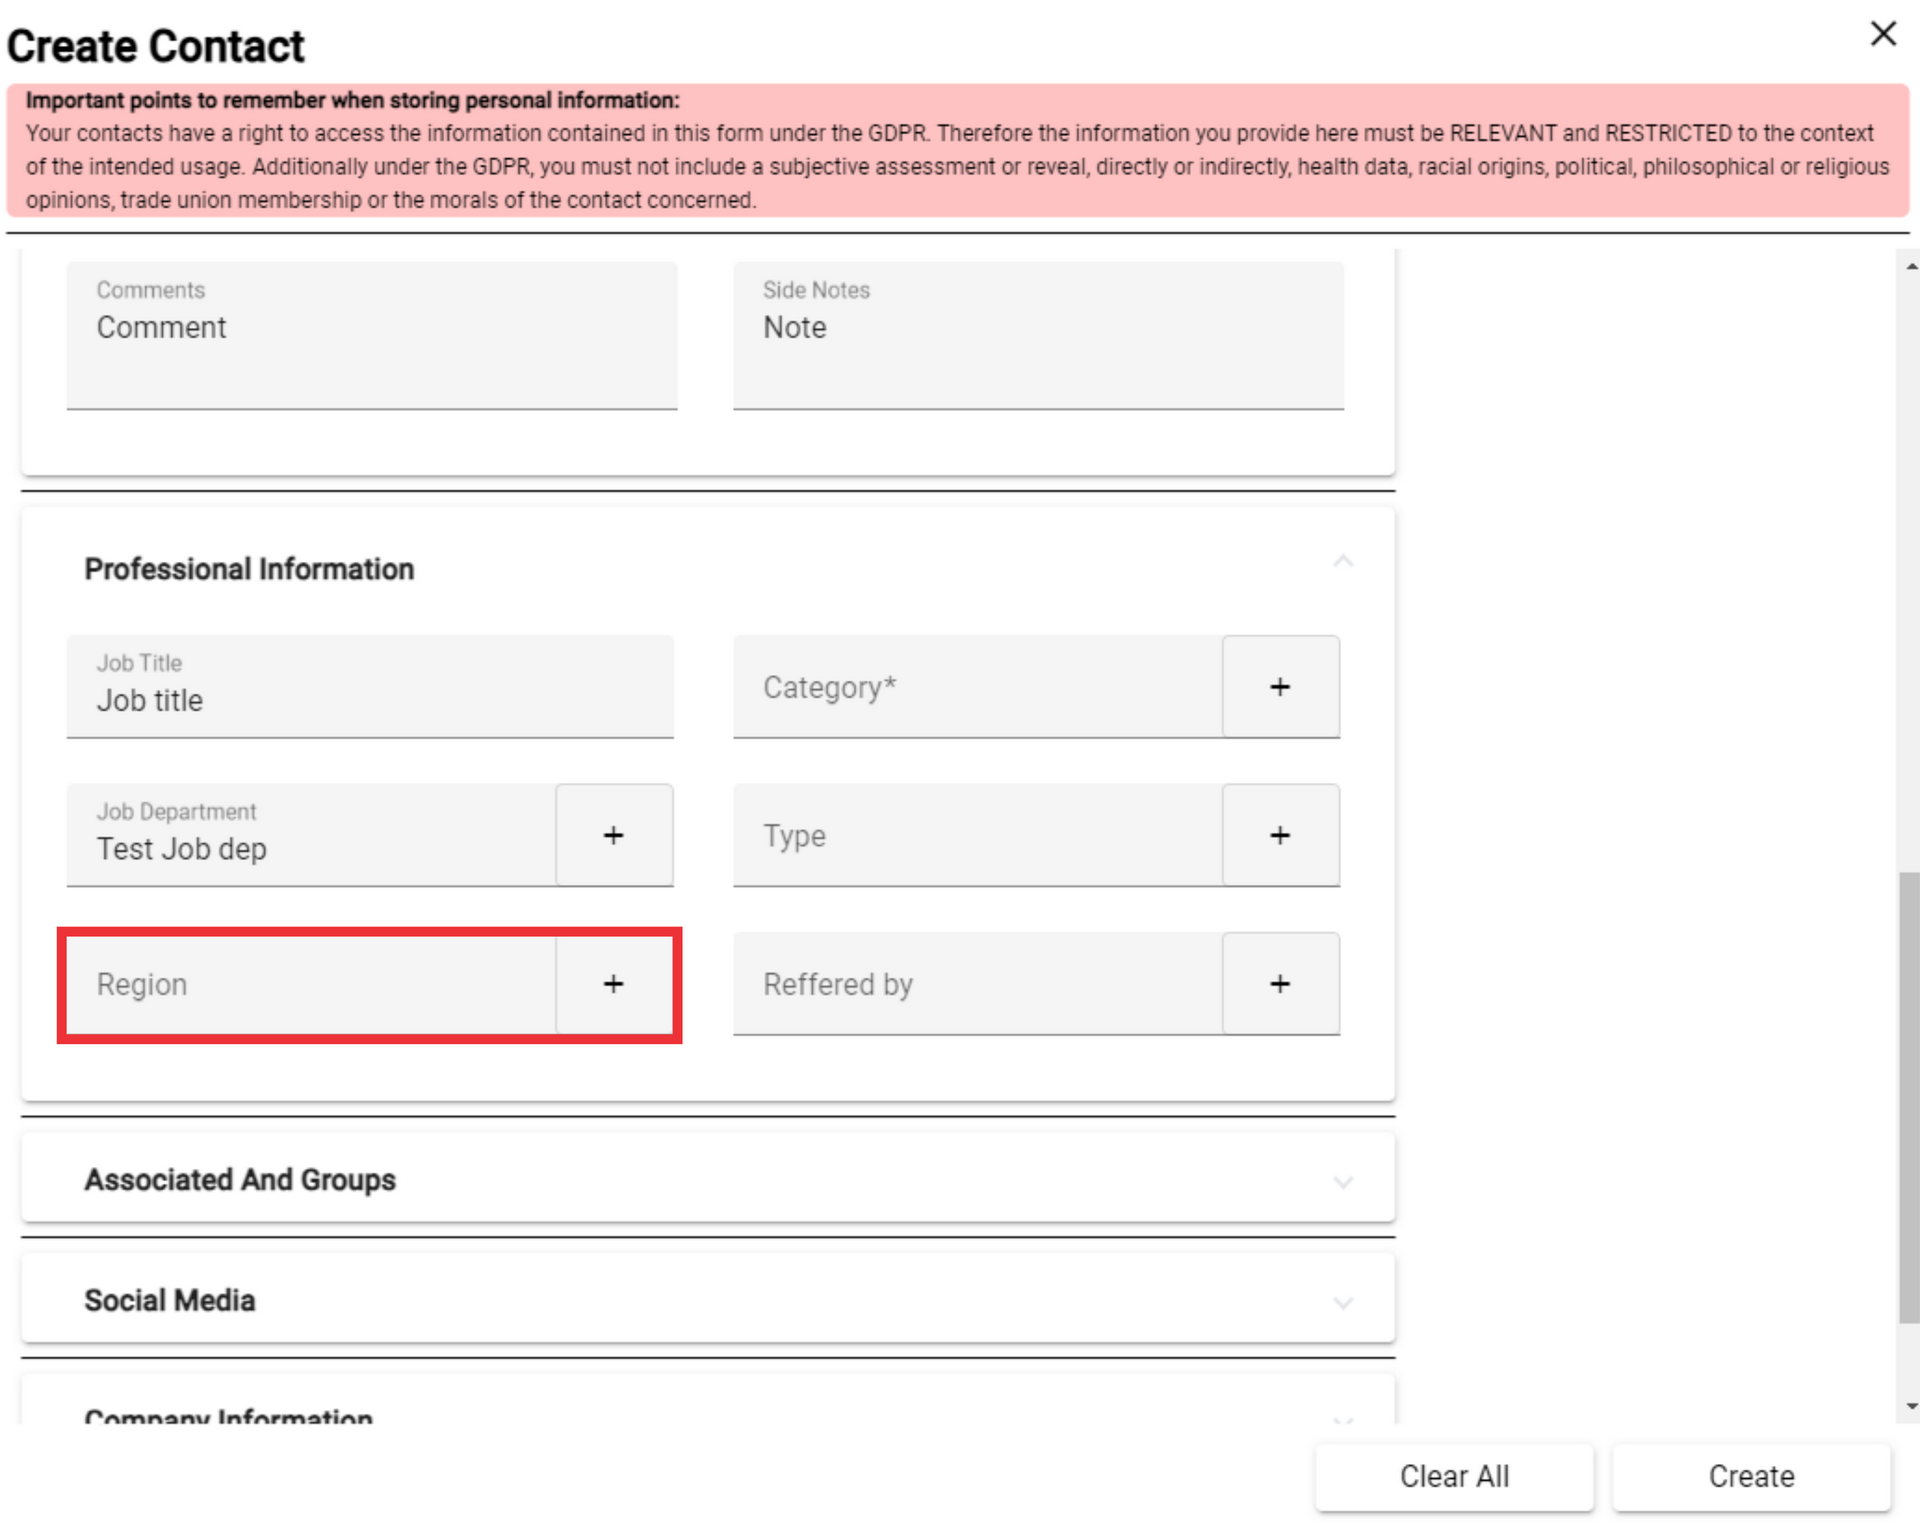
34. You can edit or delete the job department as you wish.

35. Select Region from the field or add a new one by pressing the "+" button.
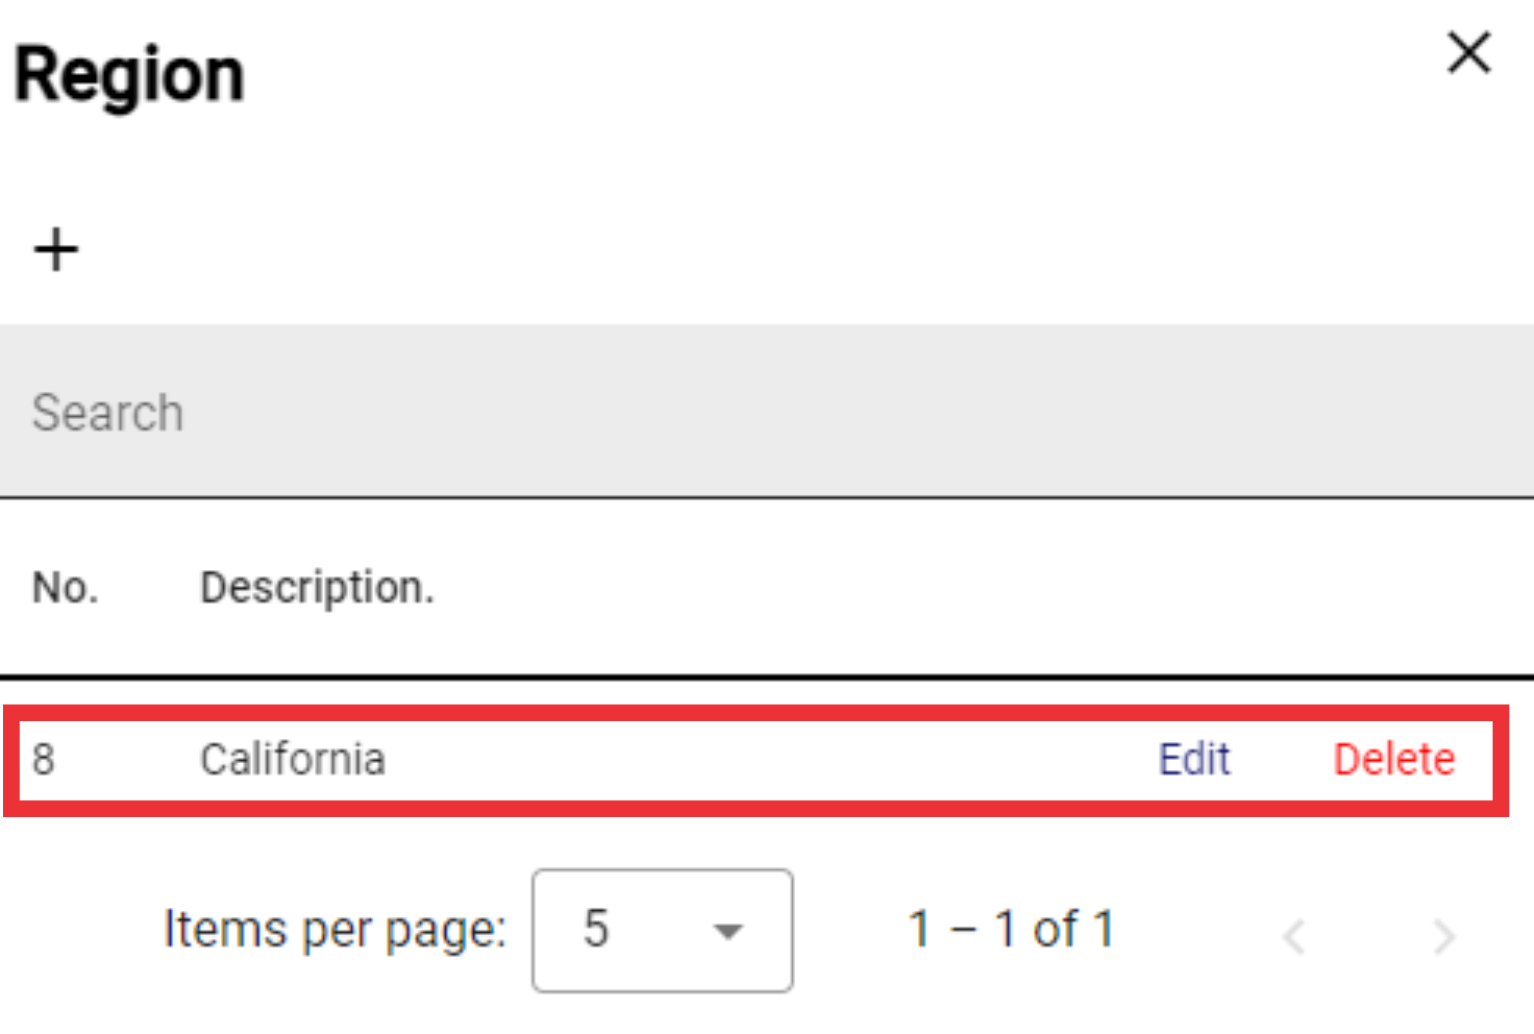
36. For the add a new region click the "+" Button.

37. Enter Region description in the field and click the "OK" button to confirm.

38. You can edit or delete Region as you wish.
39. Select Category from the field or add a new one by pressing the "+" button.

40. For the add a new category click the "+" button.

41. Enter category description in the field and click the "OK" button to confirm.

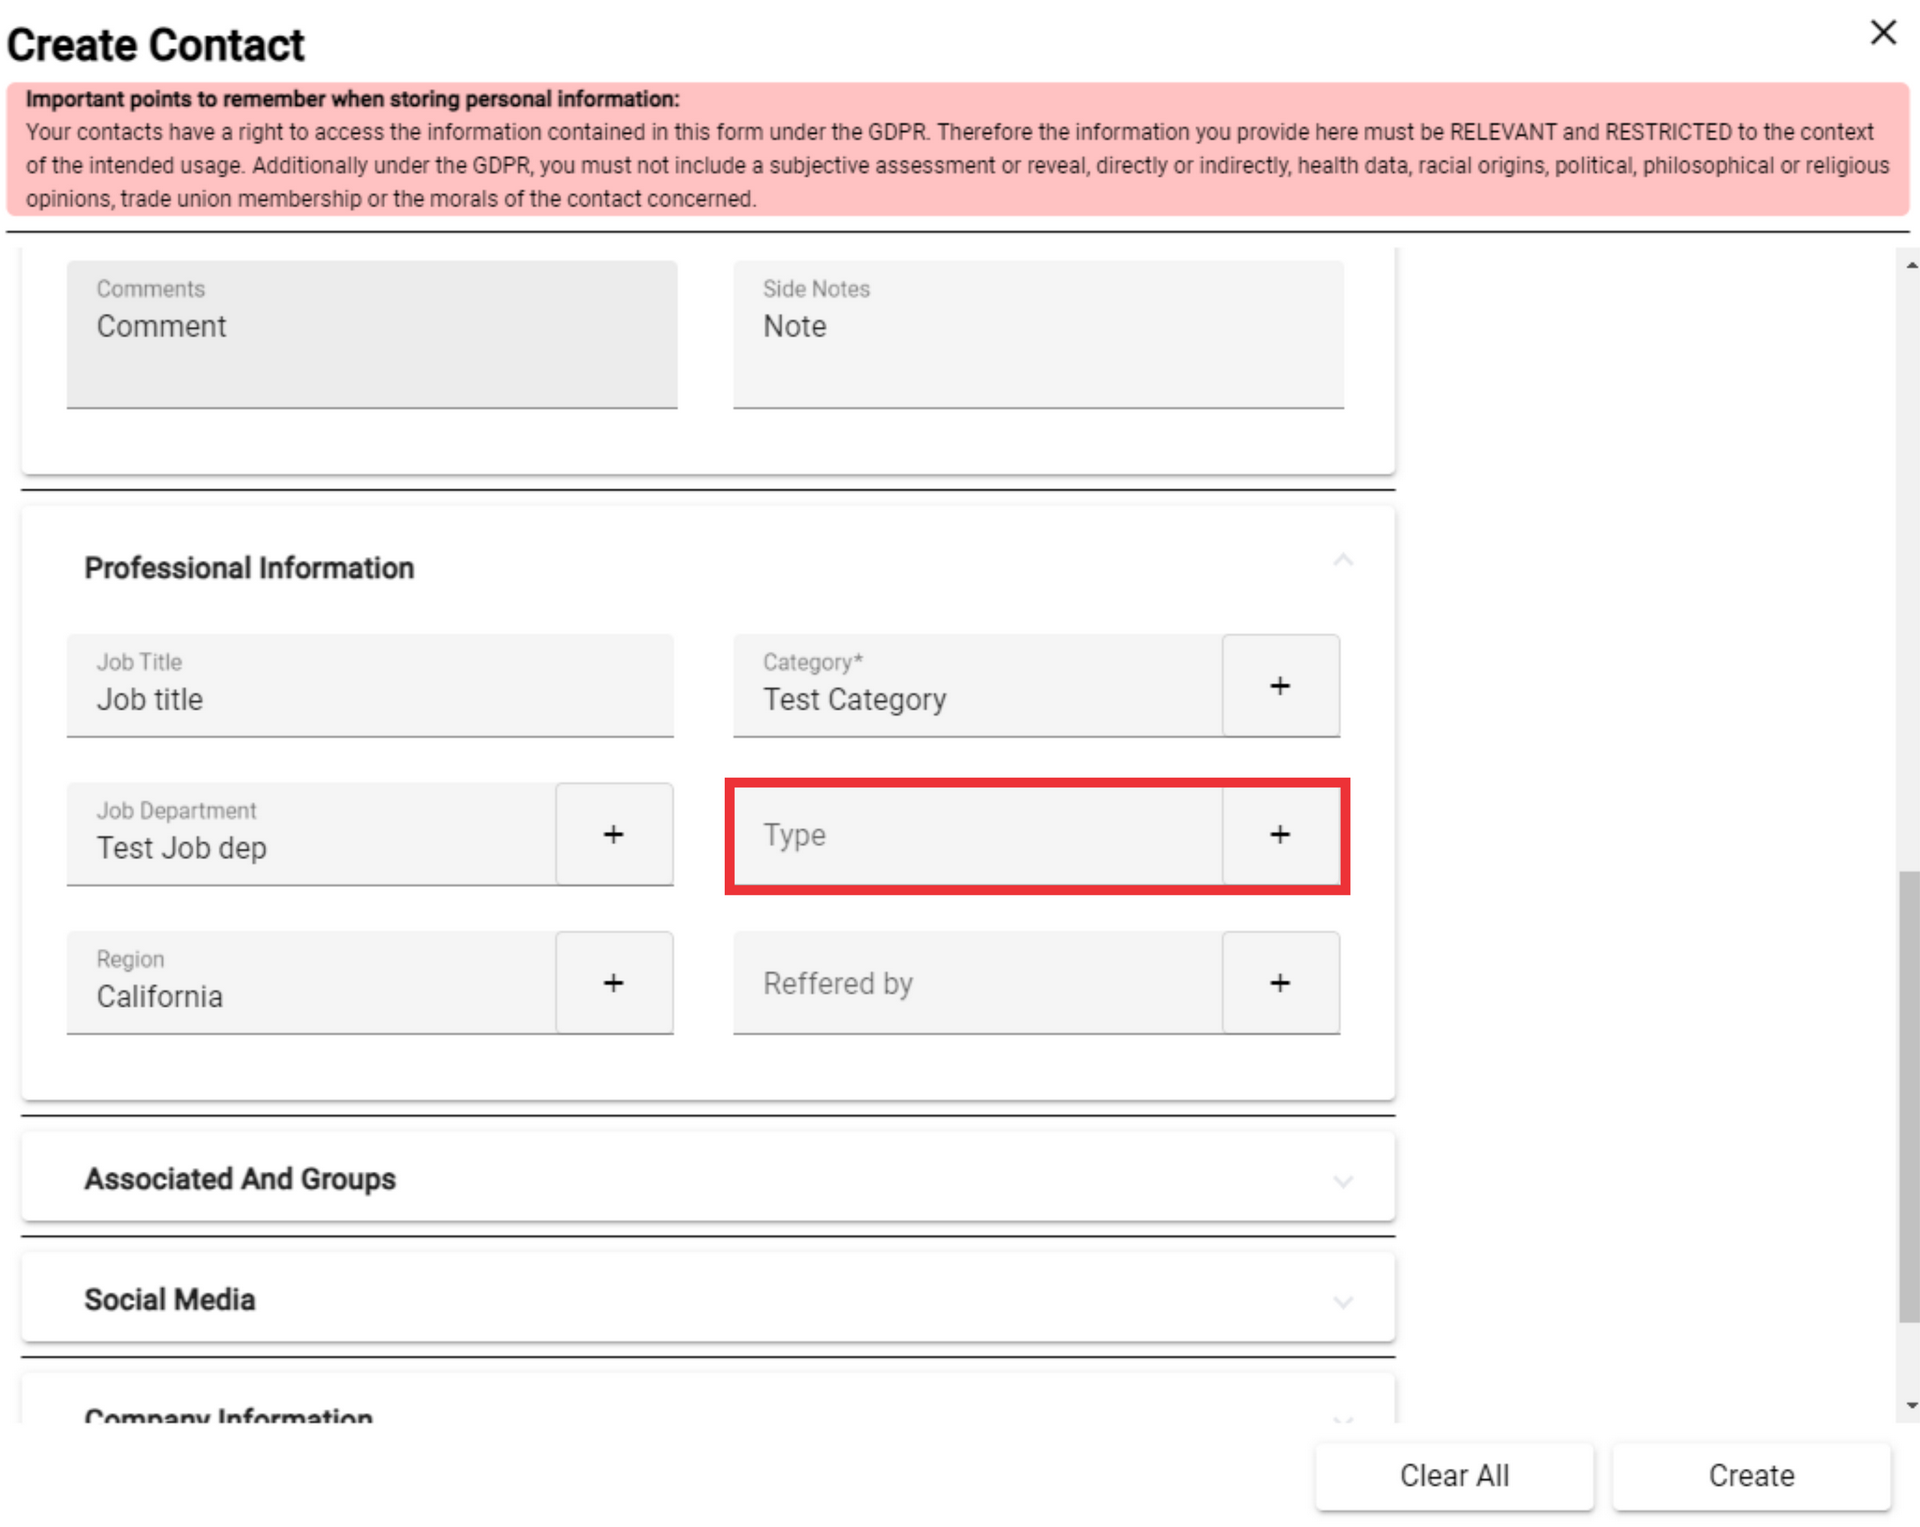
42. You can edit or delete Region as you wish.

43. Select Type from the field or add a new one by pressing the "+" button.
44. For the add a new Type click the "+" button.

45. Enter new Type description in the field and click the "OK" button to confirm.

46. You can edit or delete Type as you wish.

47. Select Type from the field or add a new one by pressing the "+" button.
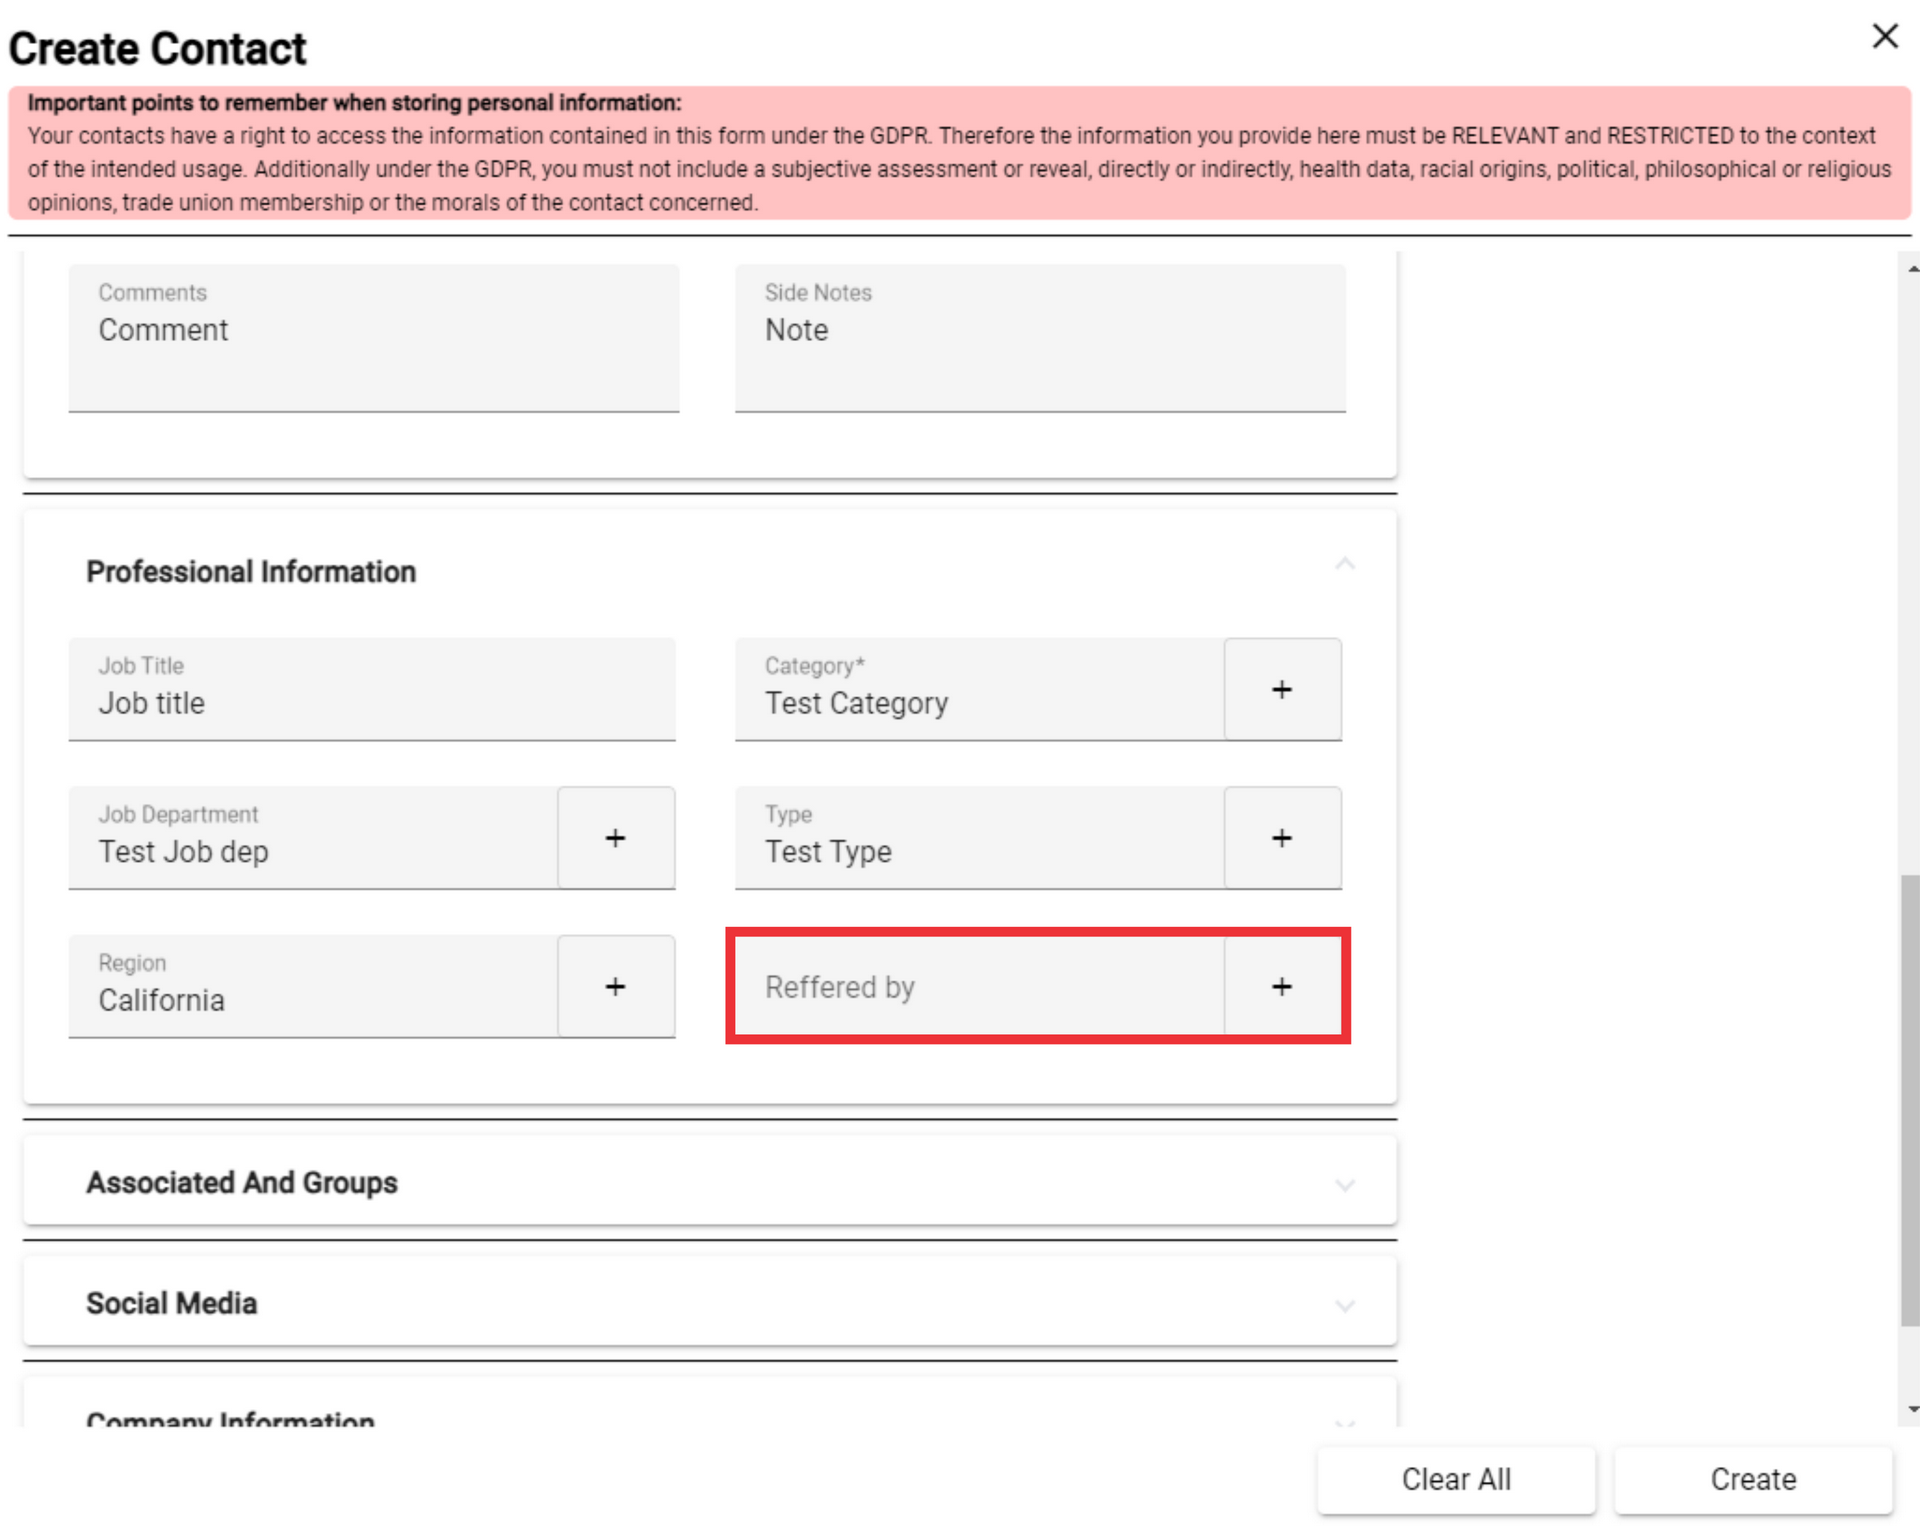
48. For the add New Reffered by description click the "+" button.

49. Enter description in the field and click the "OK" button to confirm.

50. You can edit or delete description as you wish.

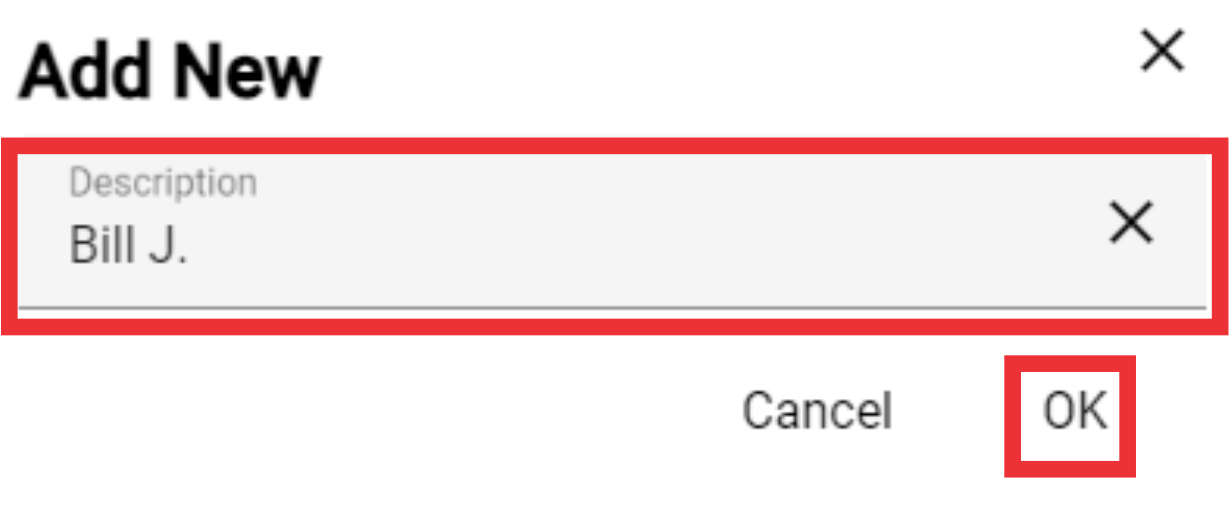
51. Select Associated contacts from the field or add a new one by pressing the "+" button.

52. For the add a new Accociated contacts click "+" button.
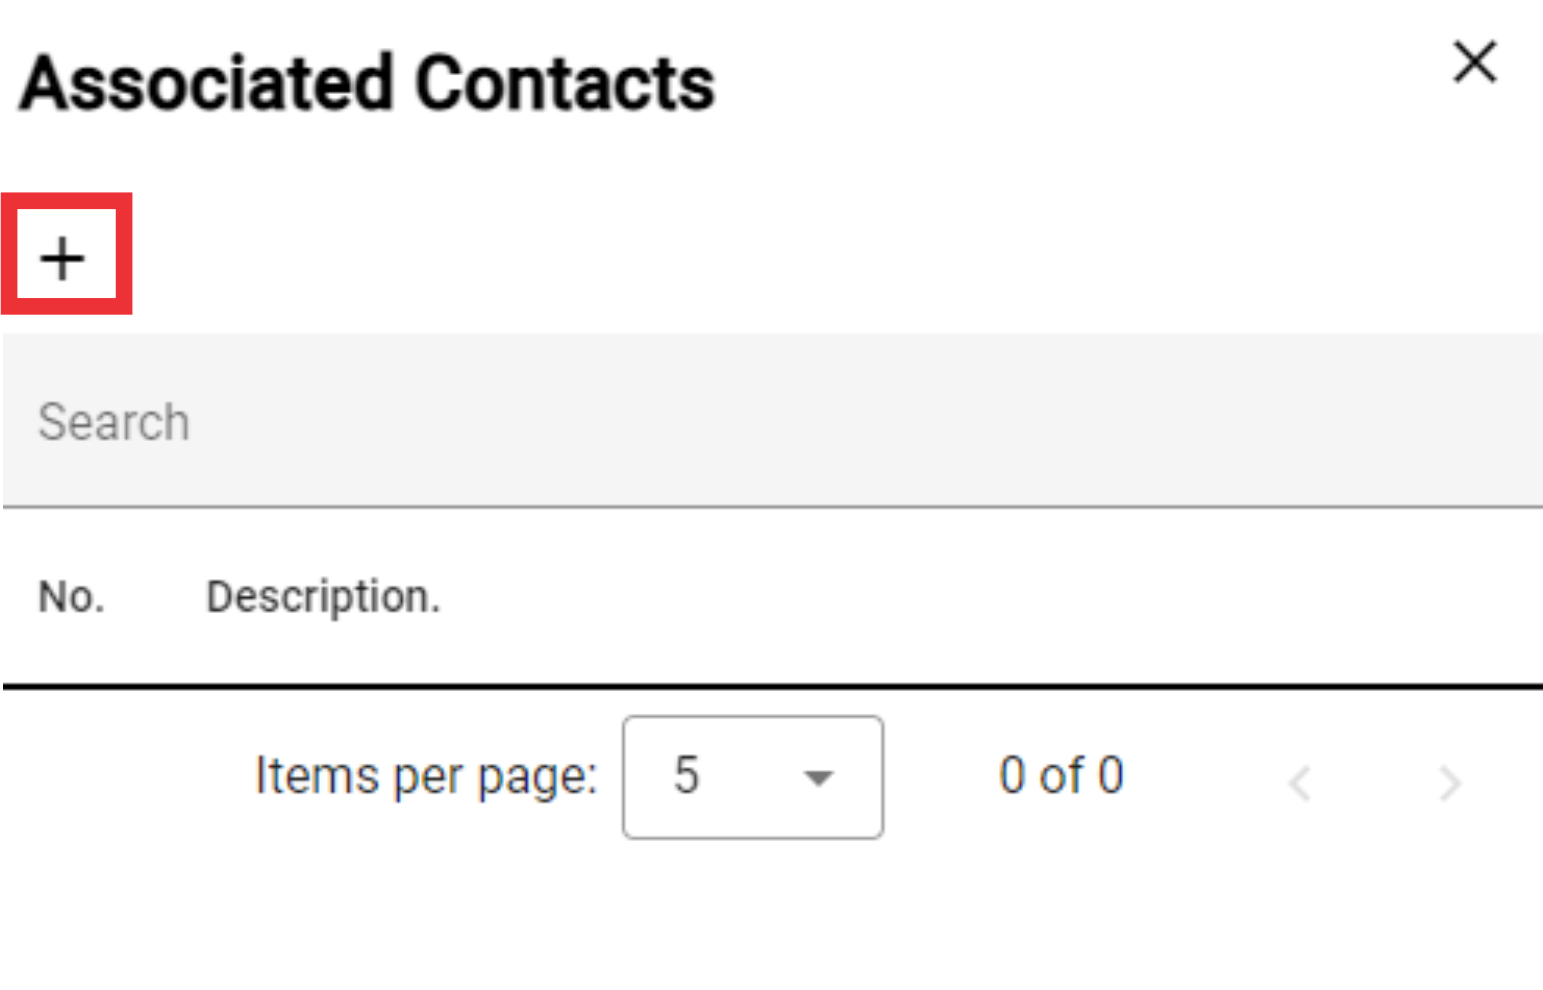
53. Enter description in the field and click the "OK" button to confirm.
54. You can edit or delete Associadet contacts from list as you wish.

55. Select Contacts Groups from the field or add a new one by pressing the "+" button.

56. Enter description in the field and click the "OK" button to confirm.

57. You can edit or delete Associadet contacts from list as you wish.

58. Enter Instagram link the field.

59. Enter Tik-Tok link the field.

60. Enter X (Twitter) link the field.

61. Enter facebook link the field.

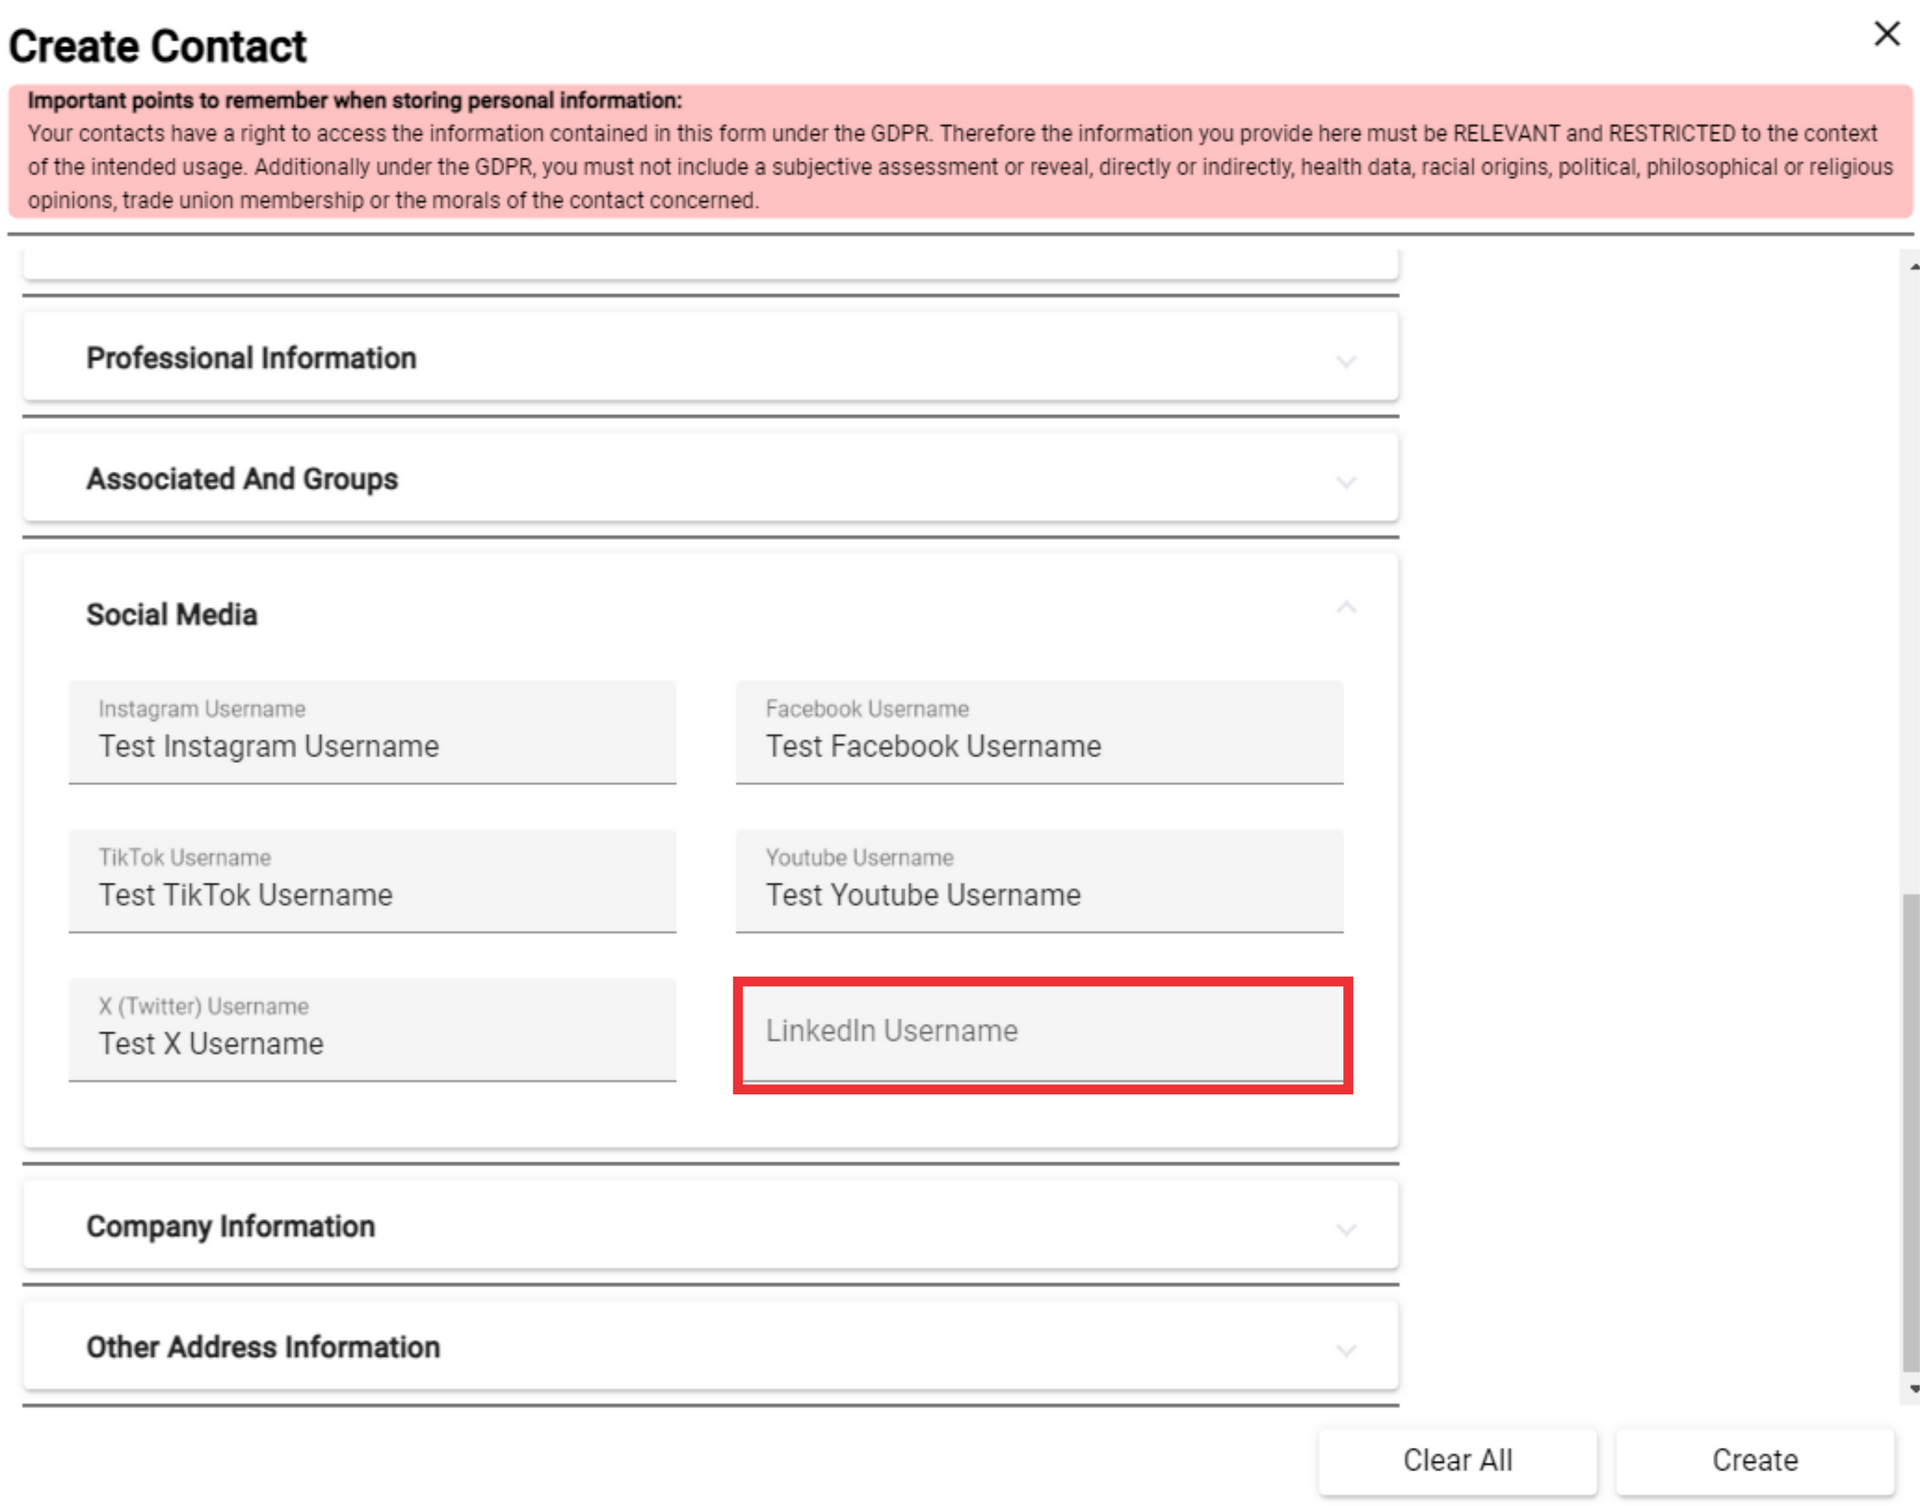
62. Enter Youtube link the field.

63. Enter Linkedln link the field.
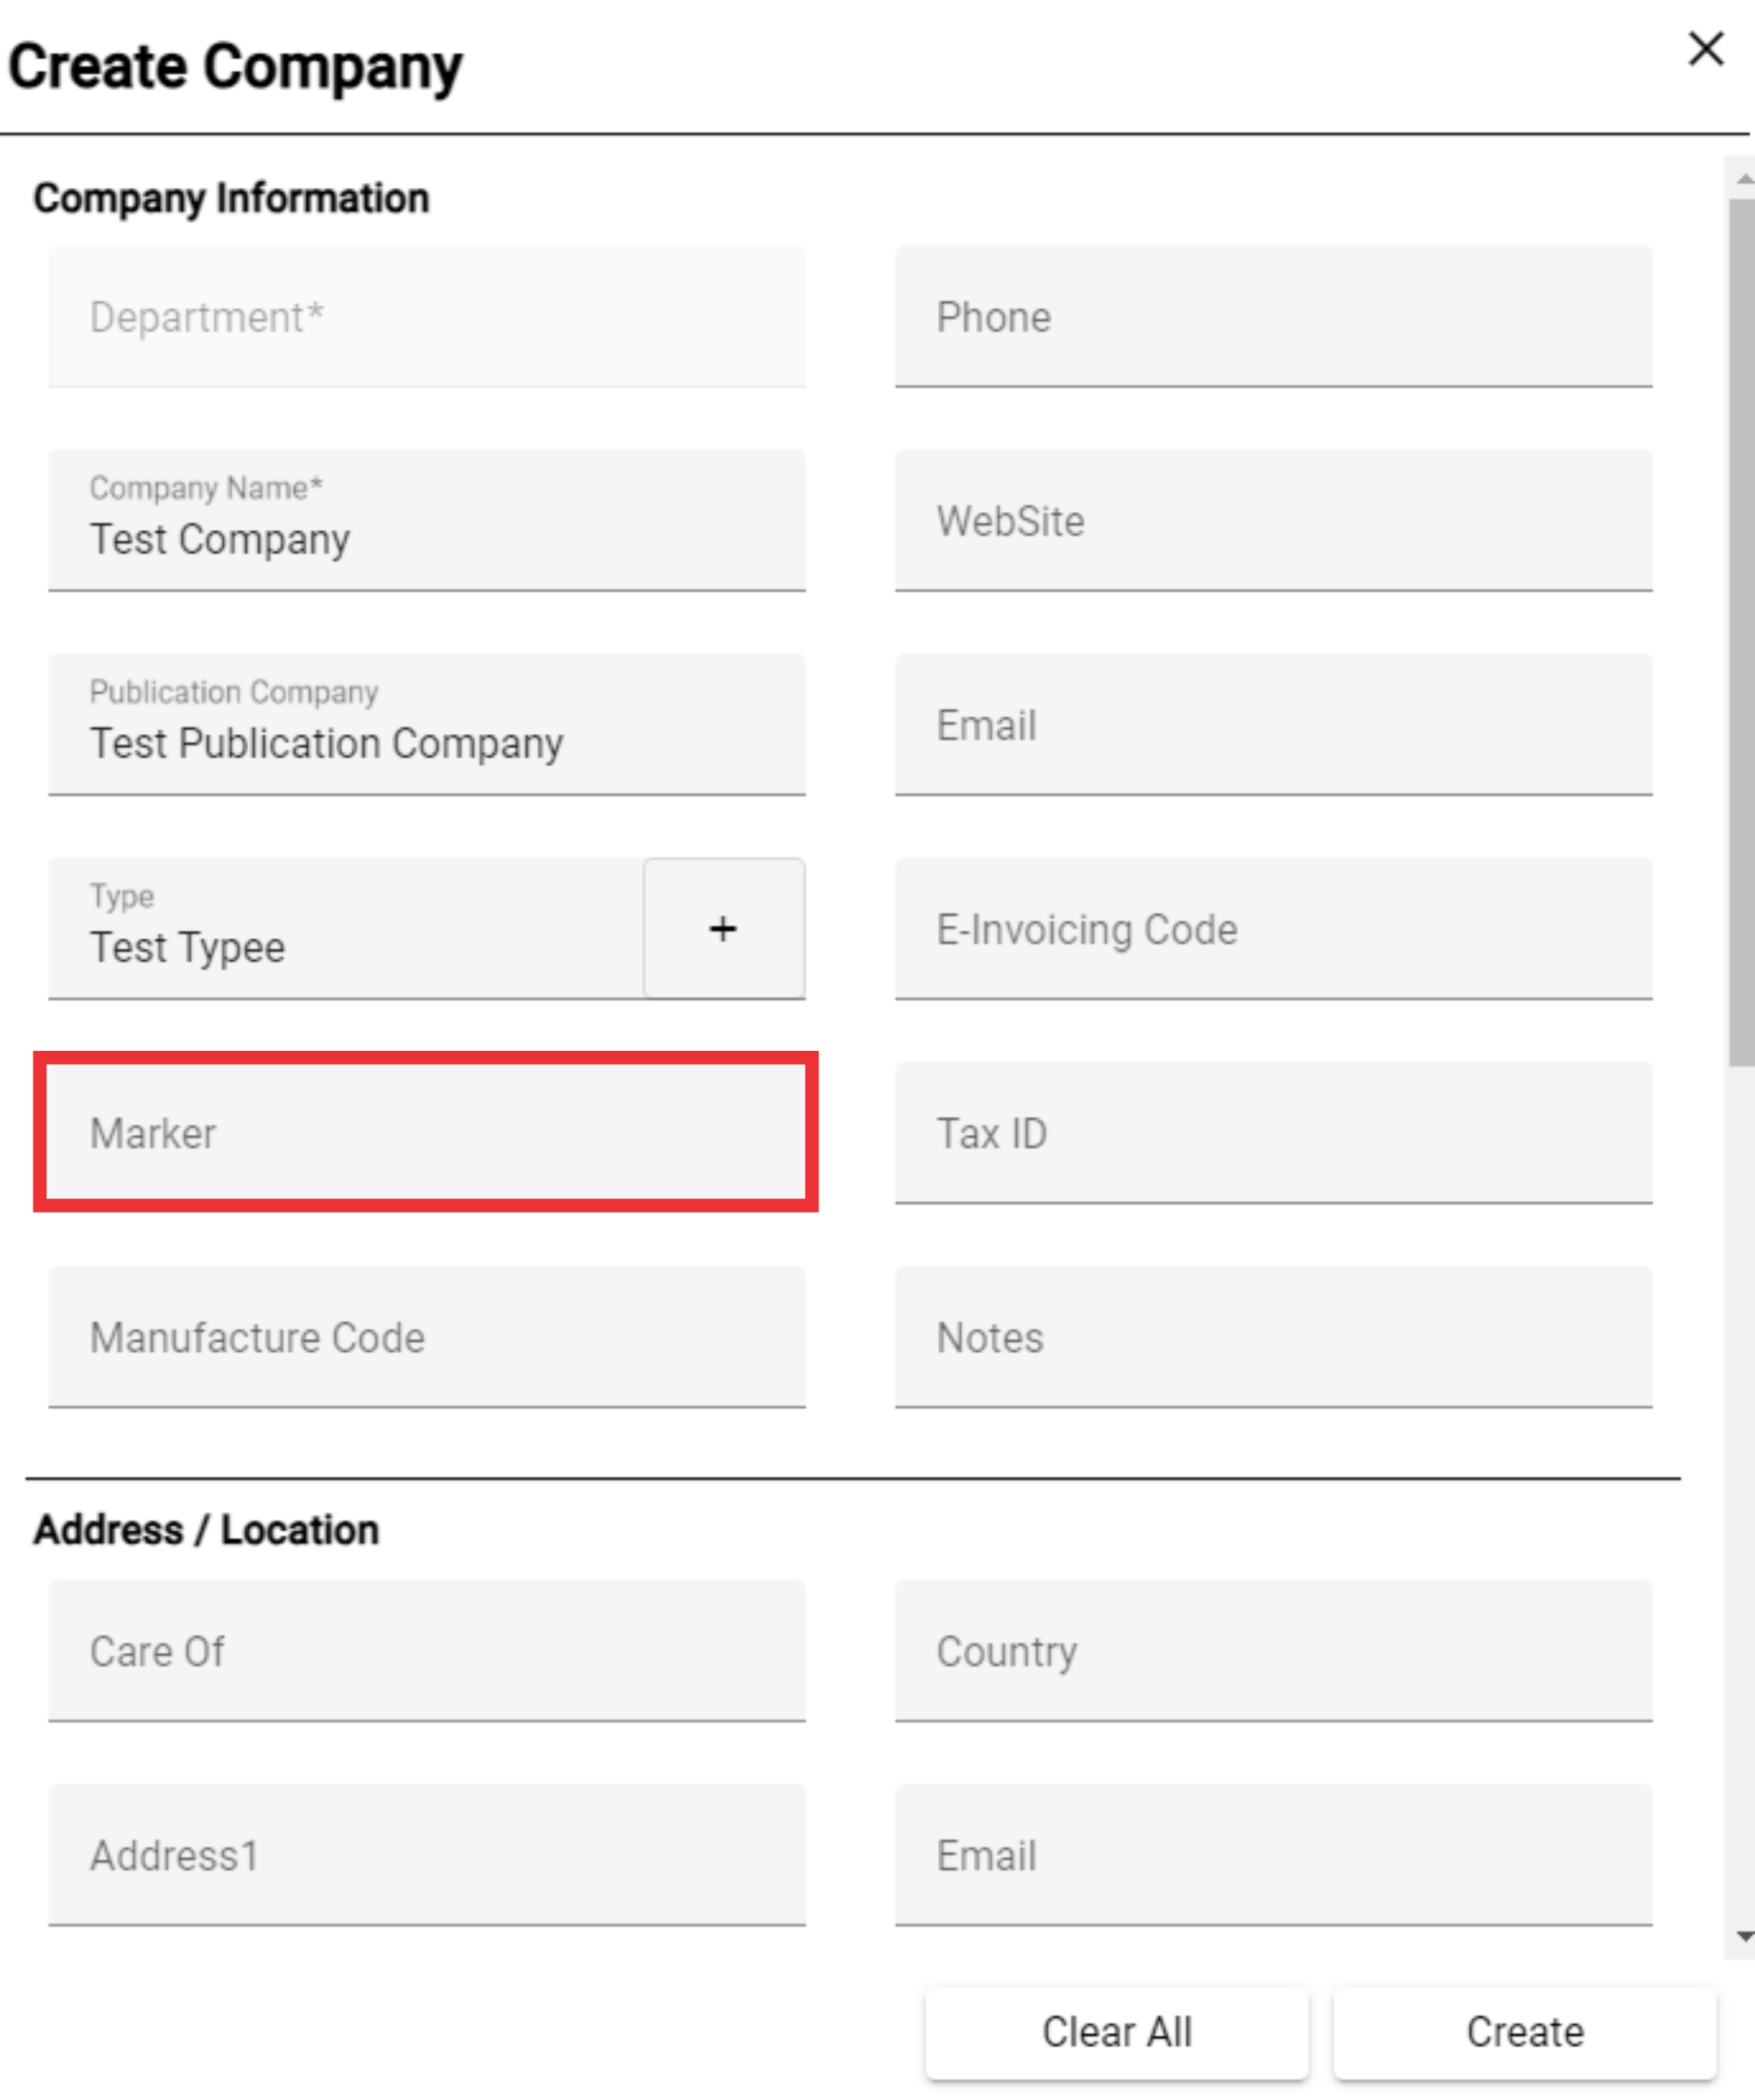
64. Click the arrow to view the Company Information fields.

65. Enter Department in the field.
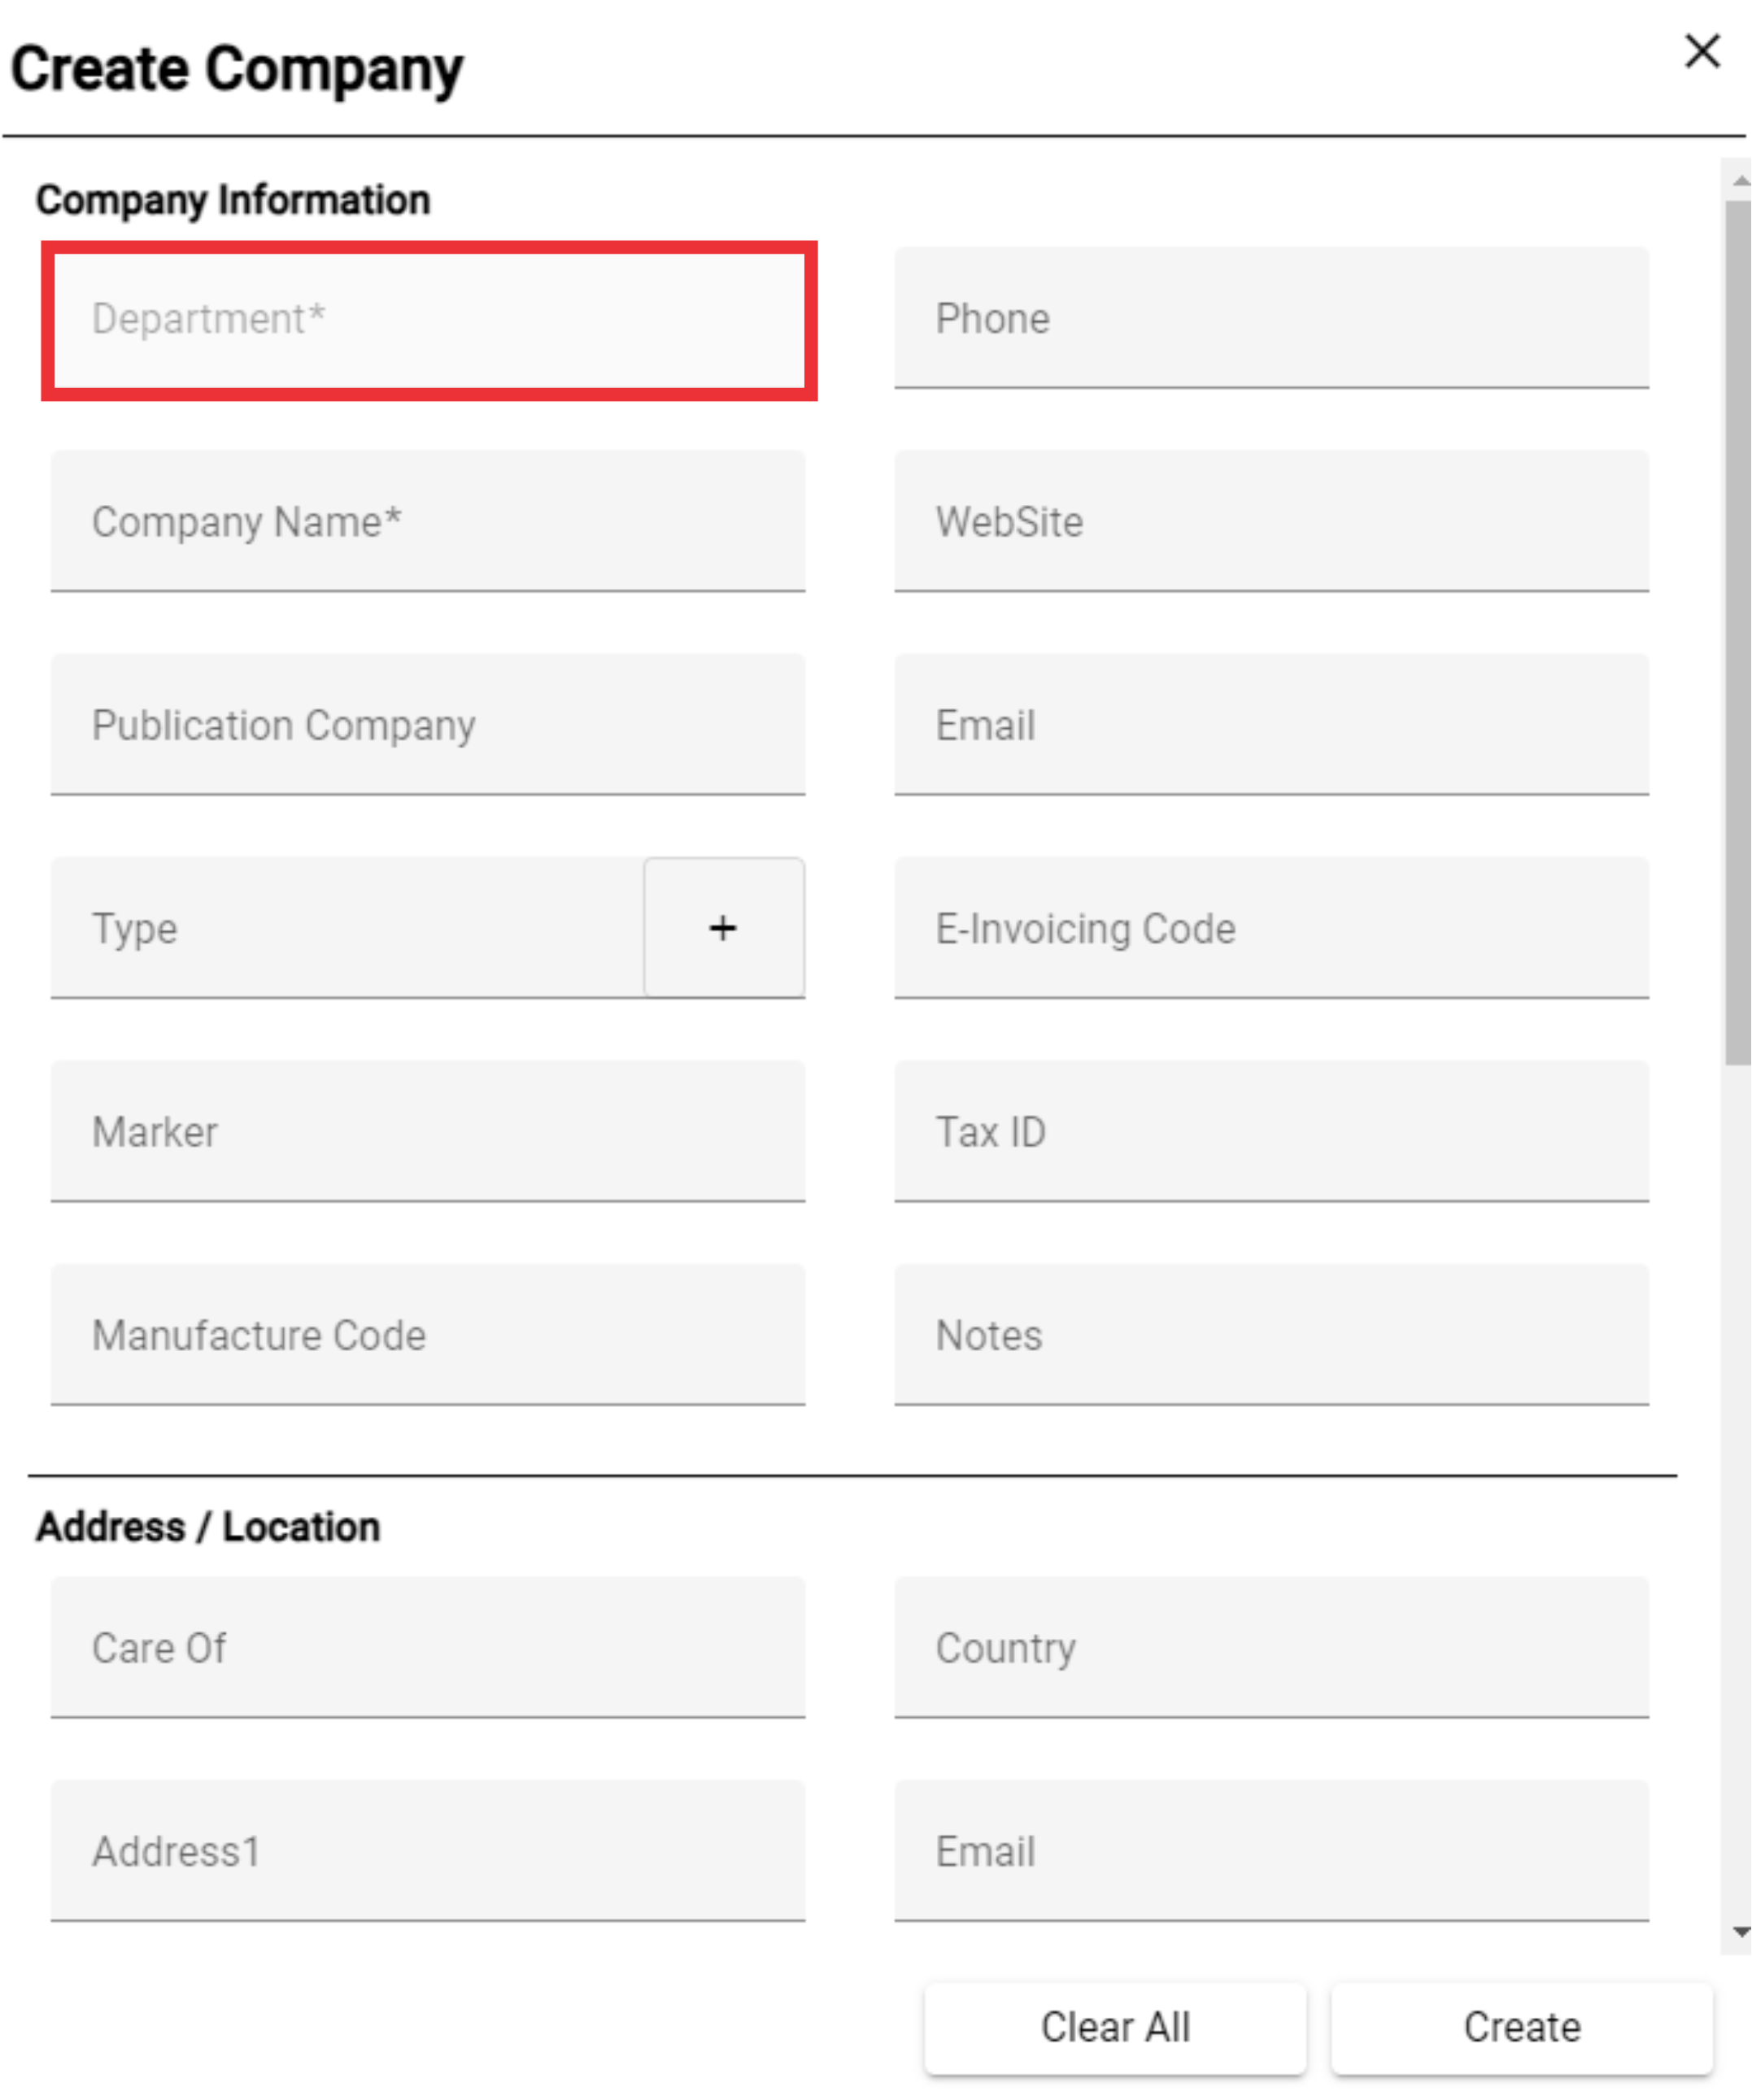
66. Enter Company Name in the field.

67. Enter Publication Company in the field.

68. Select Type from the field or add a new one by pressing the "+" button.

69. For the add an new Type click the "+" Button.

70. Enter description in the field and click the "OK" button to confirm.
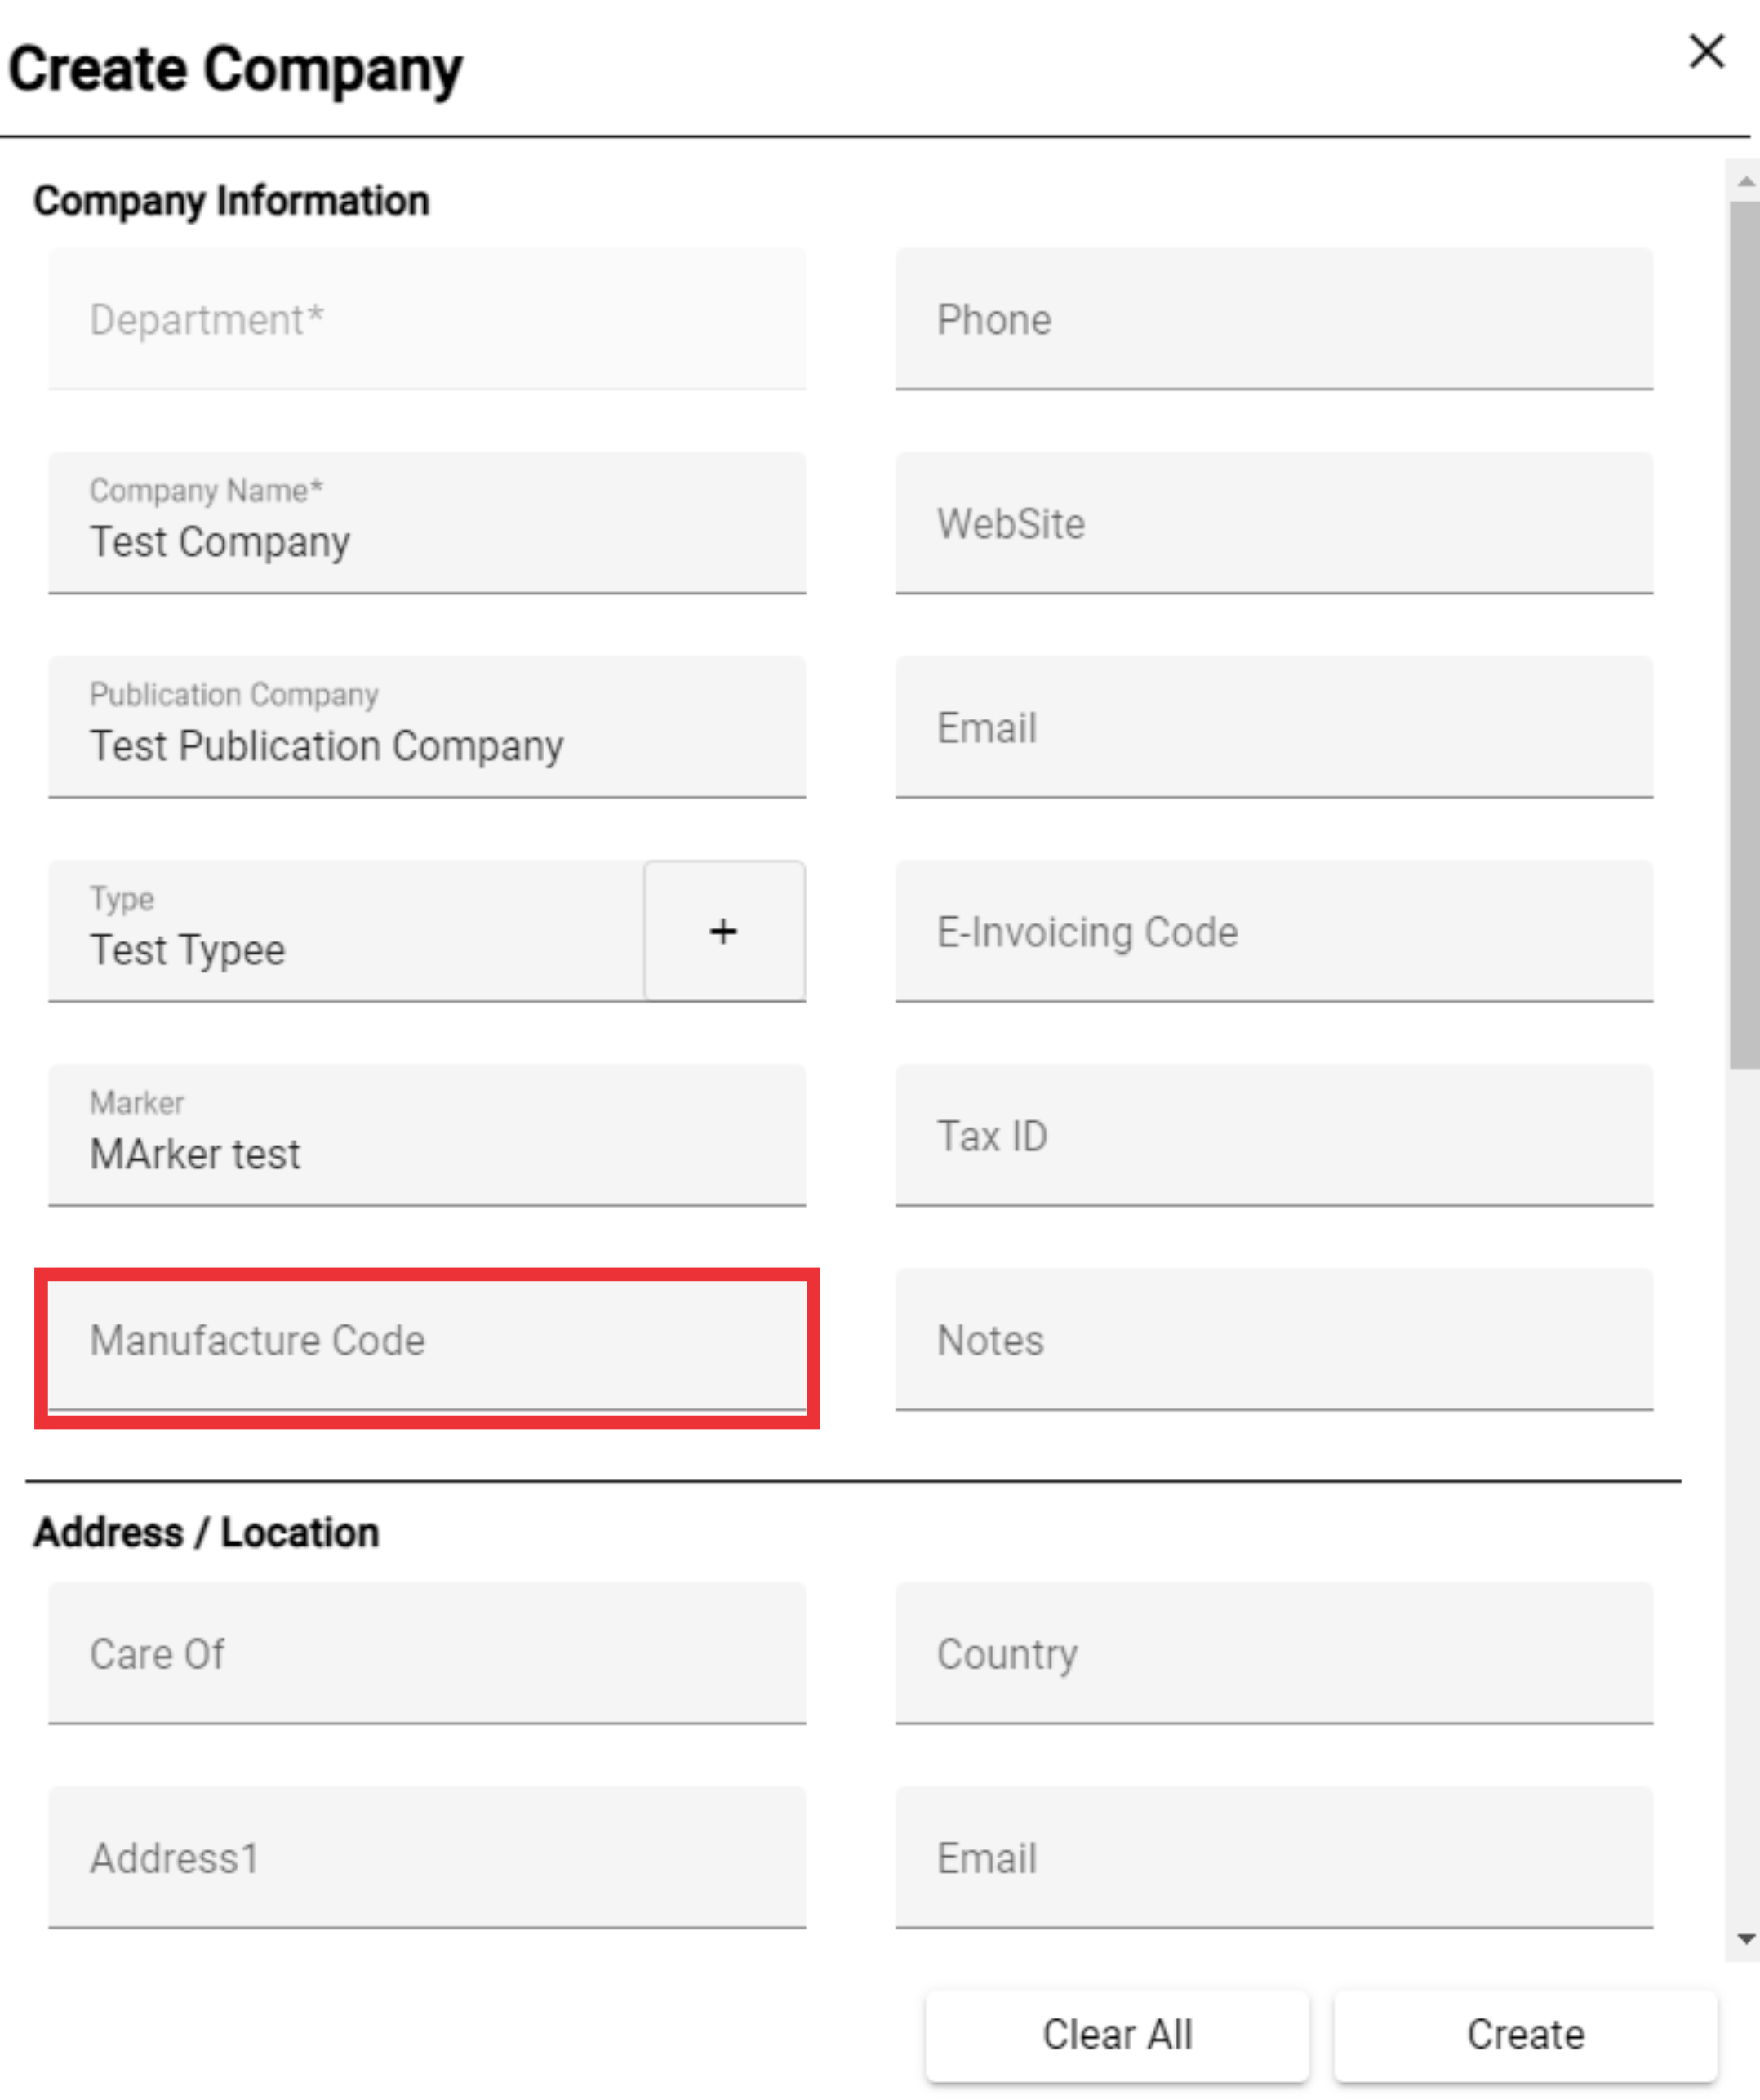
71. You can edit or delete Type from list as you wish.

72. Enter marker in the field.
73. Enter Manufacturer Code in the field.
74. Enter Phone number in the field.

75. Enter Company Website address in the field.
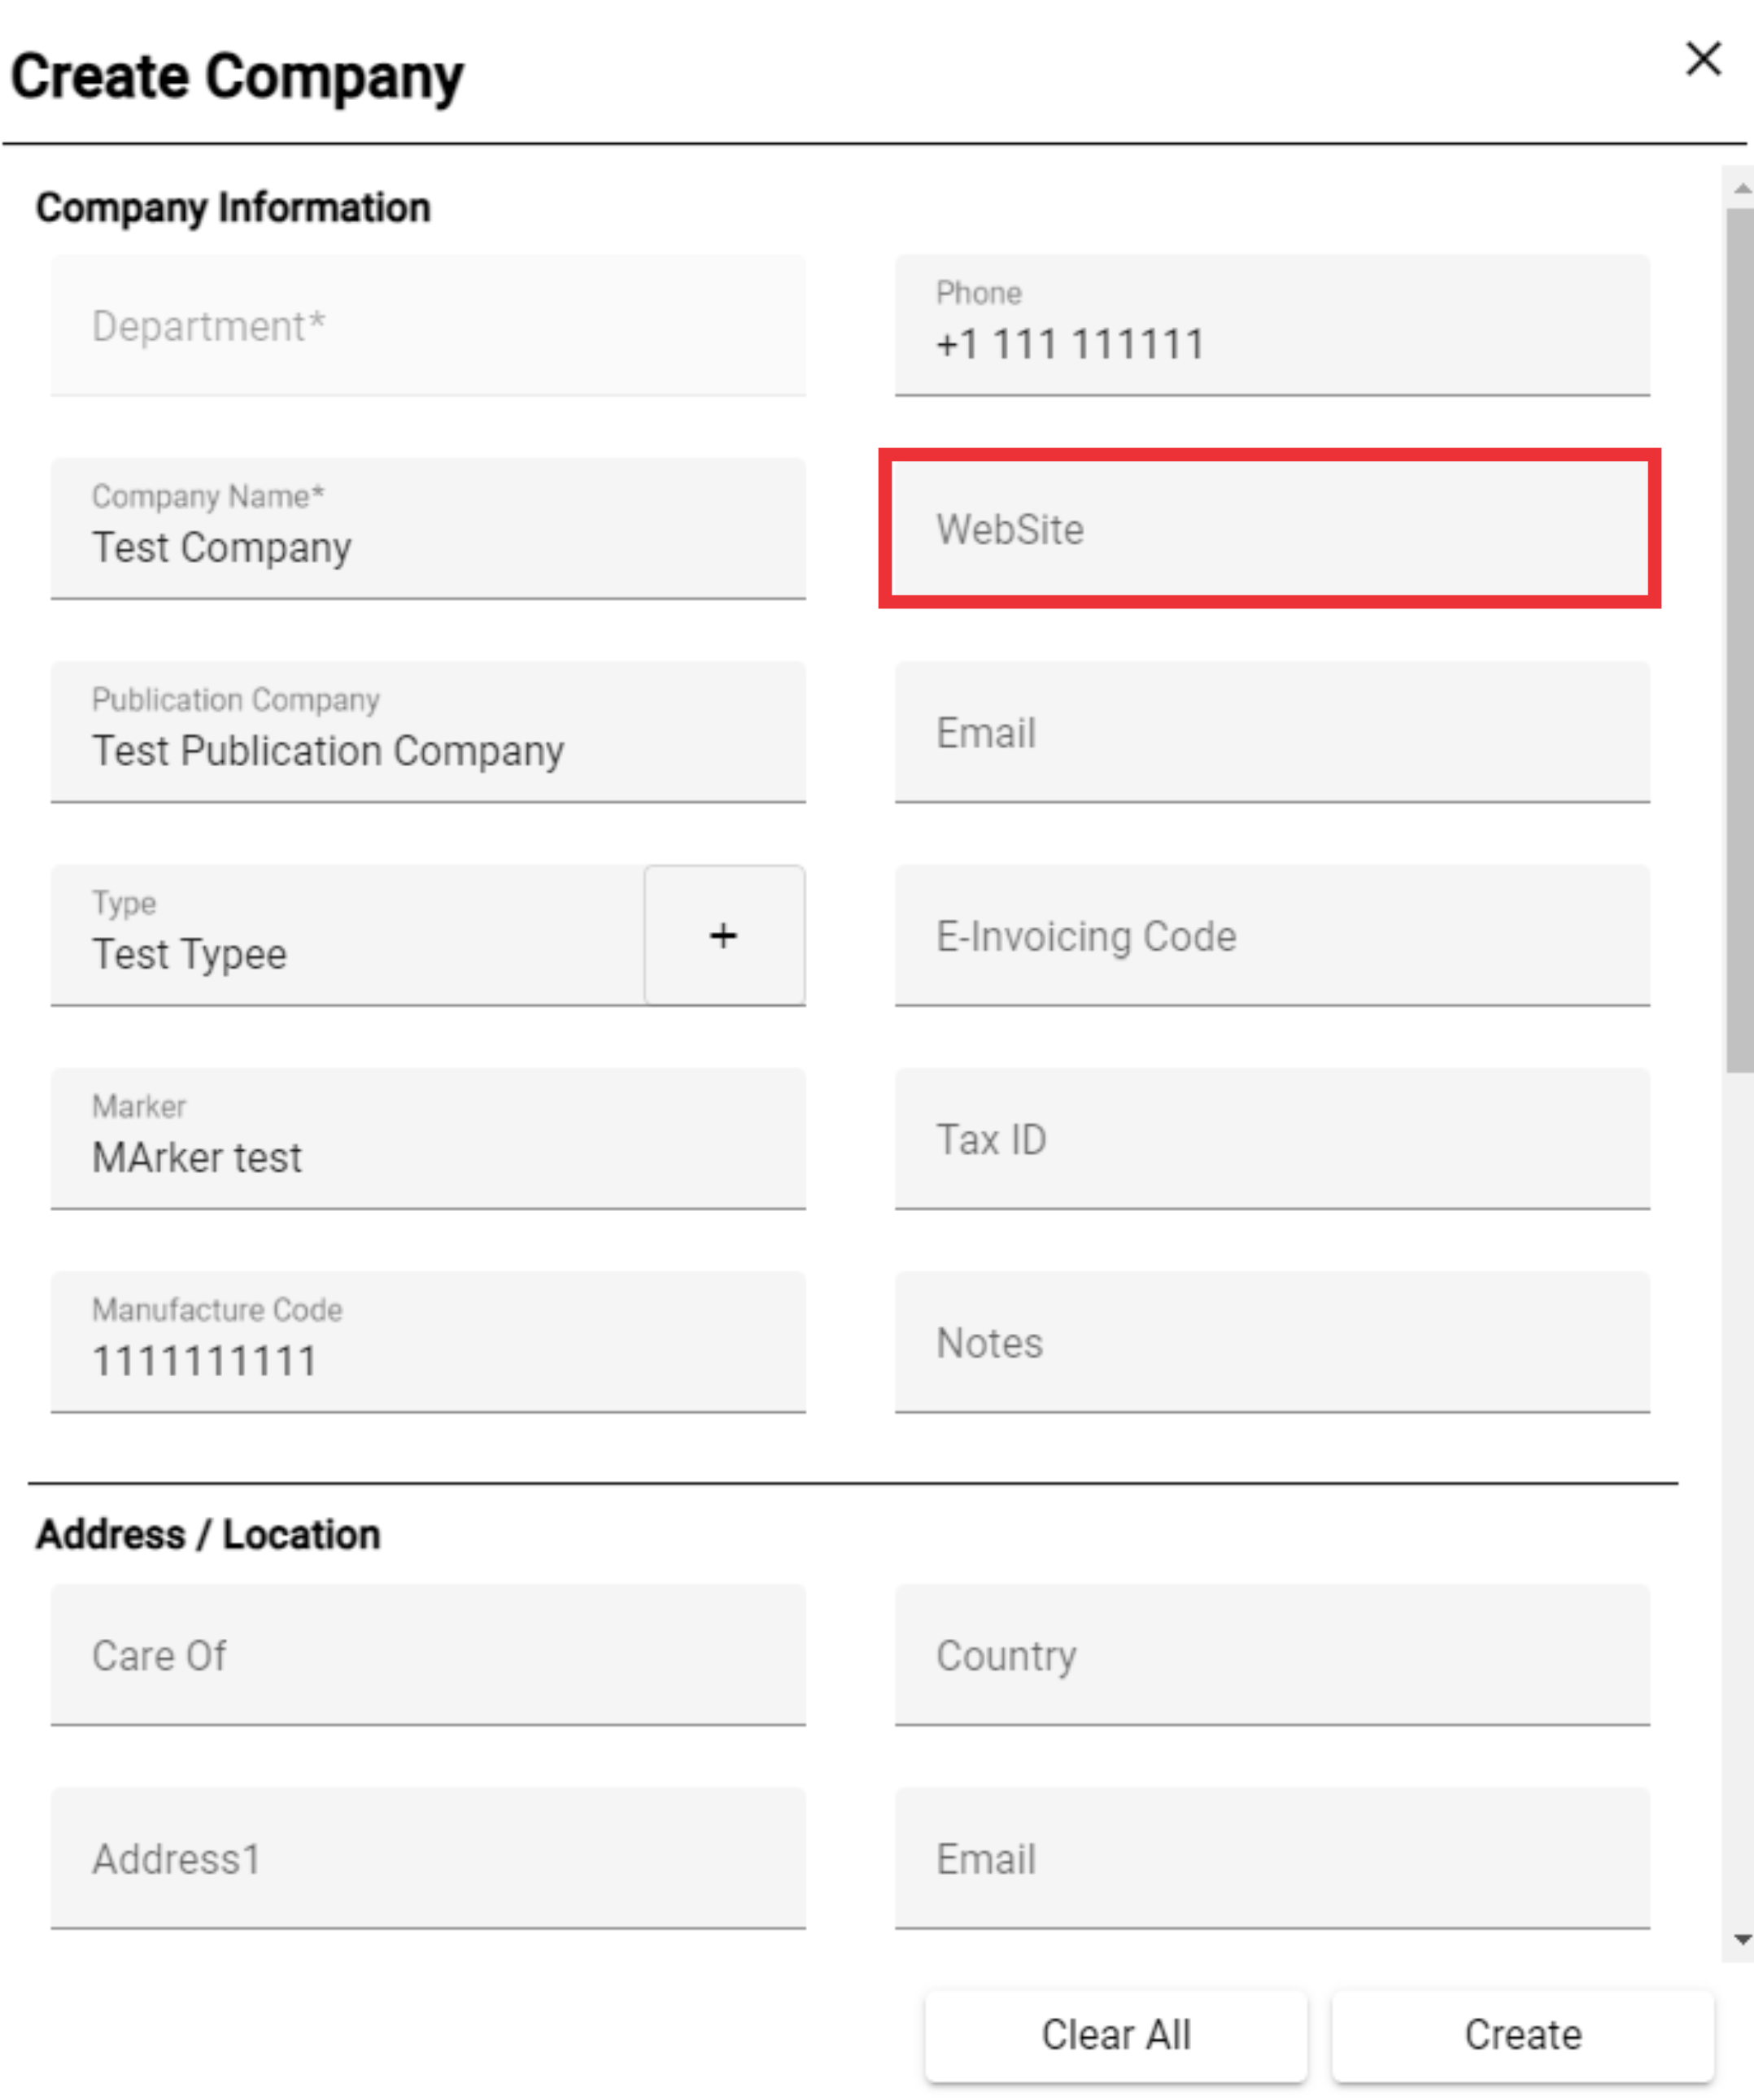
76. Enter Email address in the field.

77. Enter Electronic Invoicing code in the field.

78. Enter company Tax ID in the field.

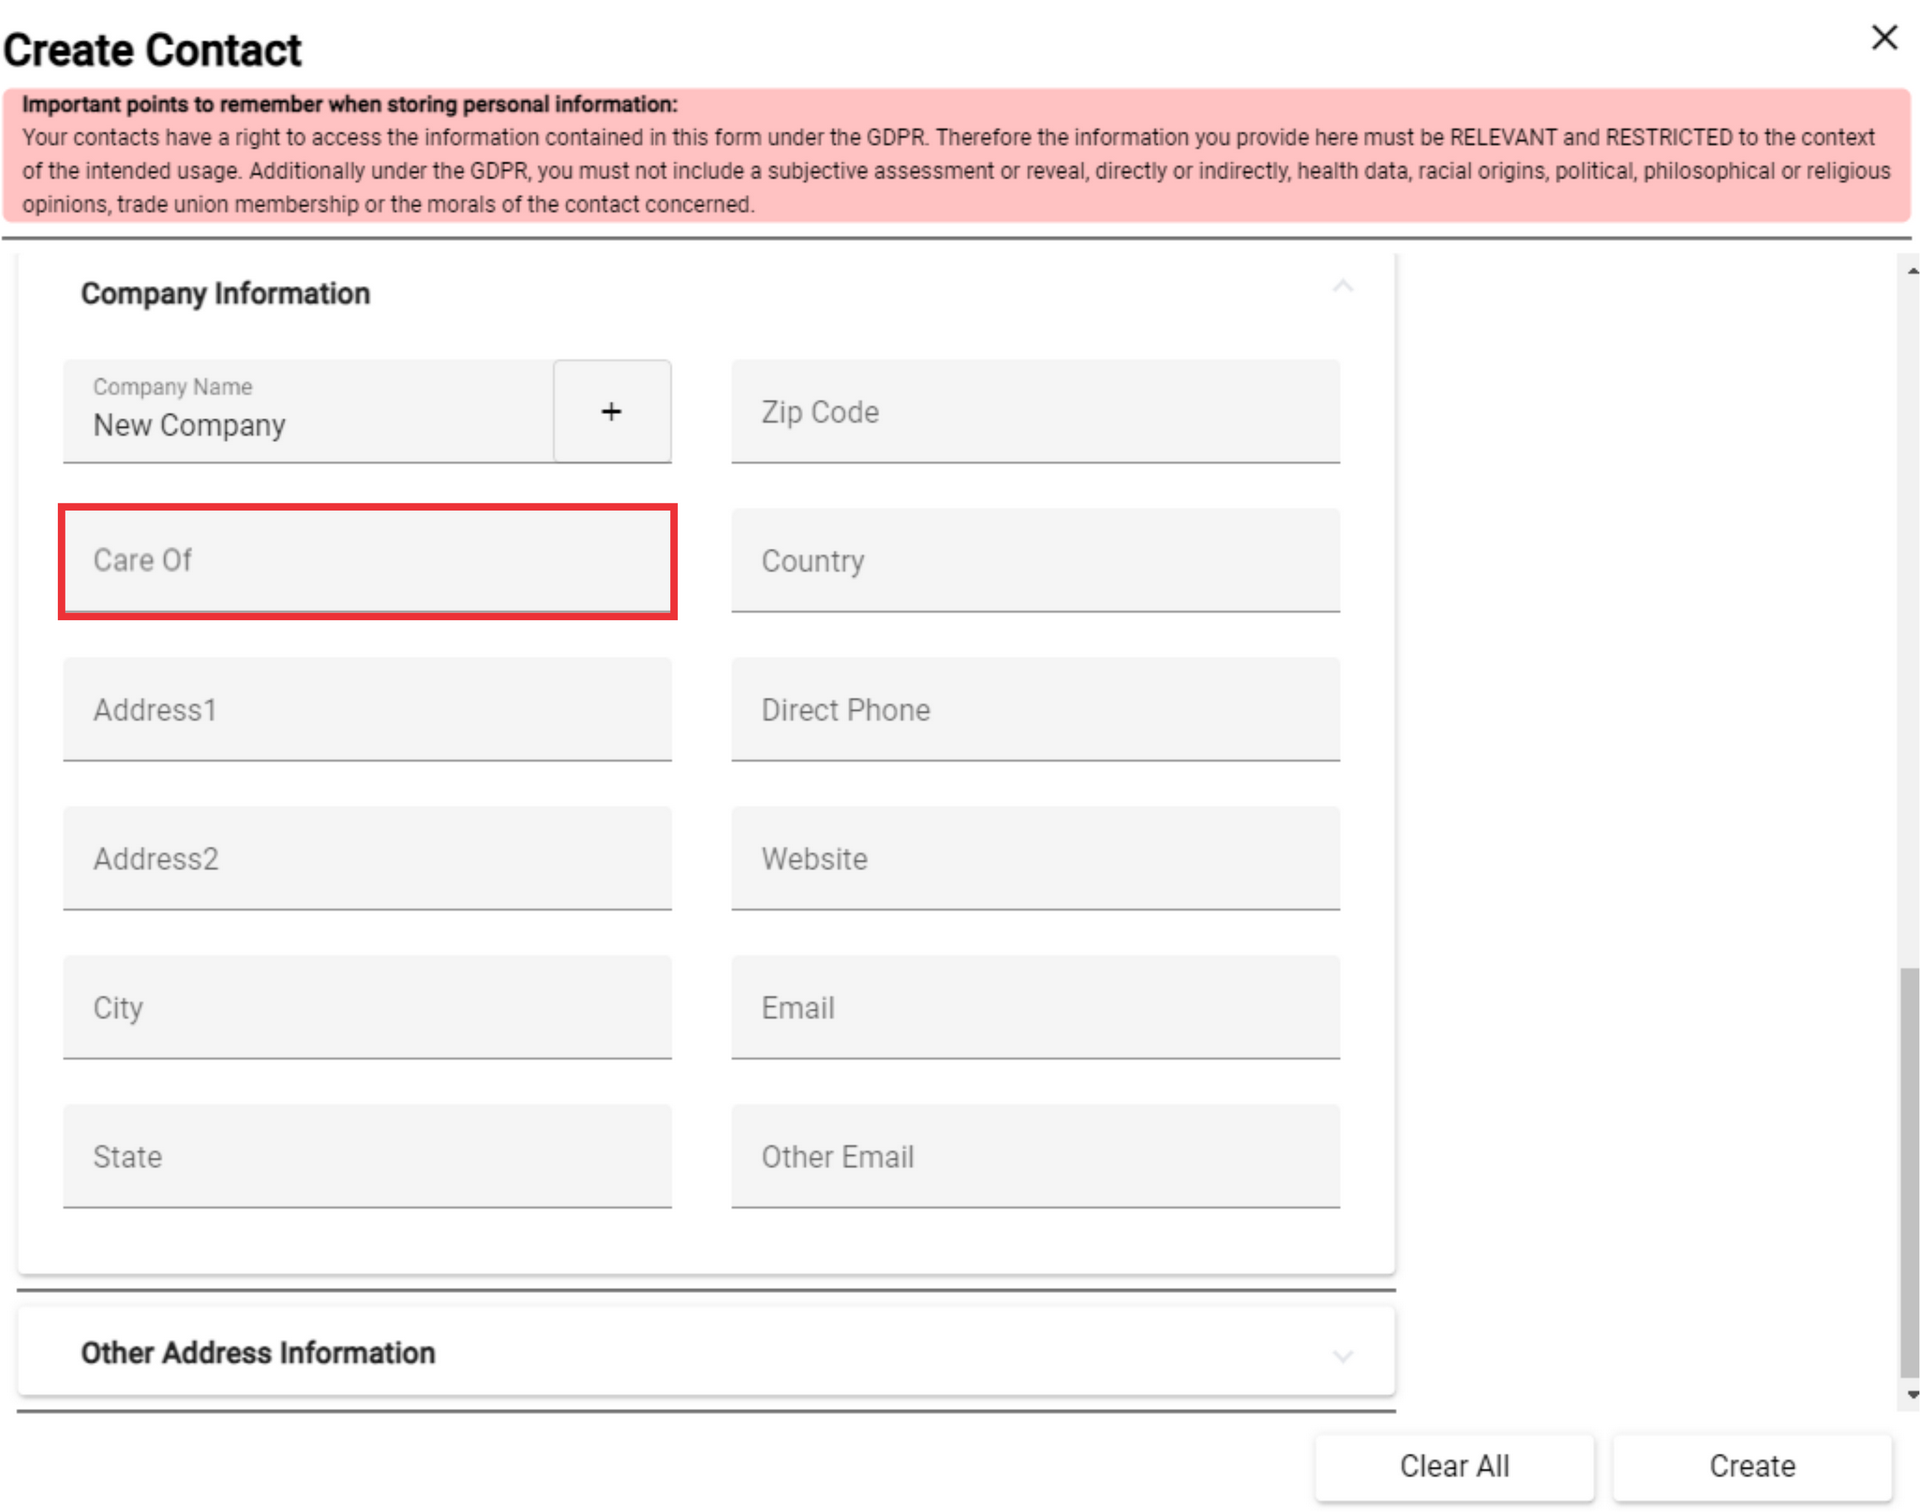
79. Enter Notes in the field.

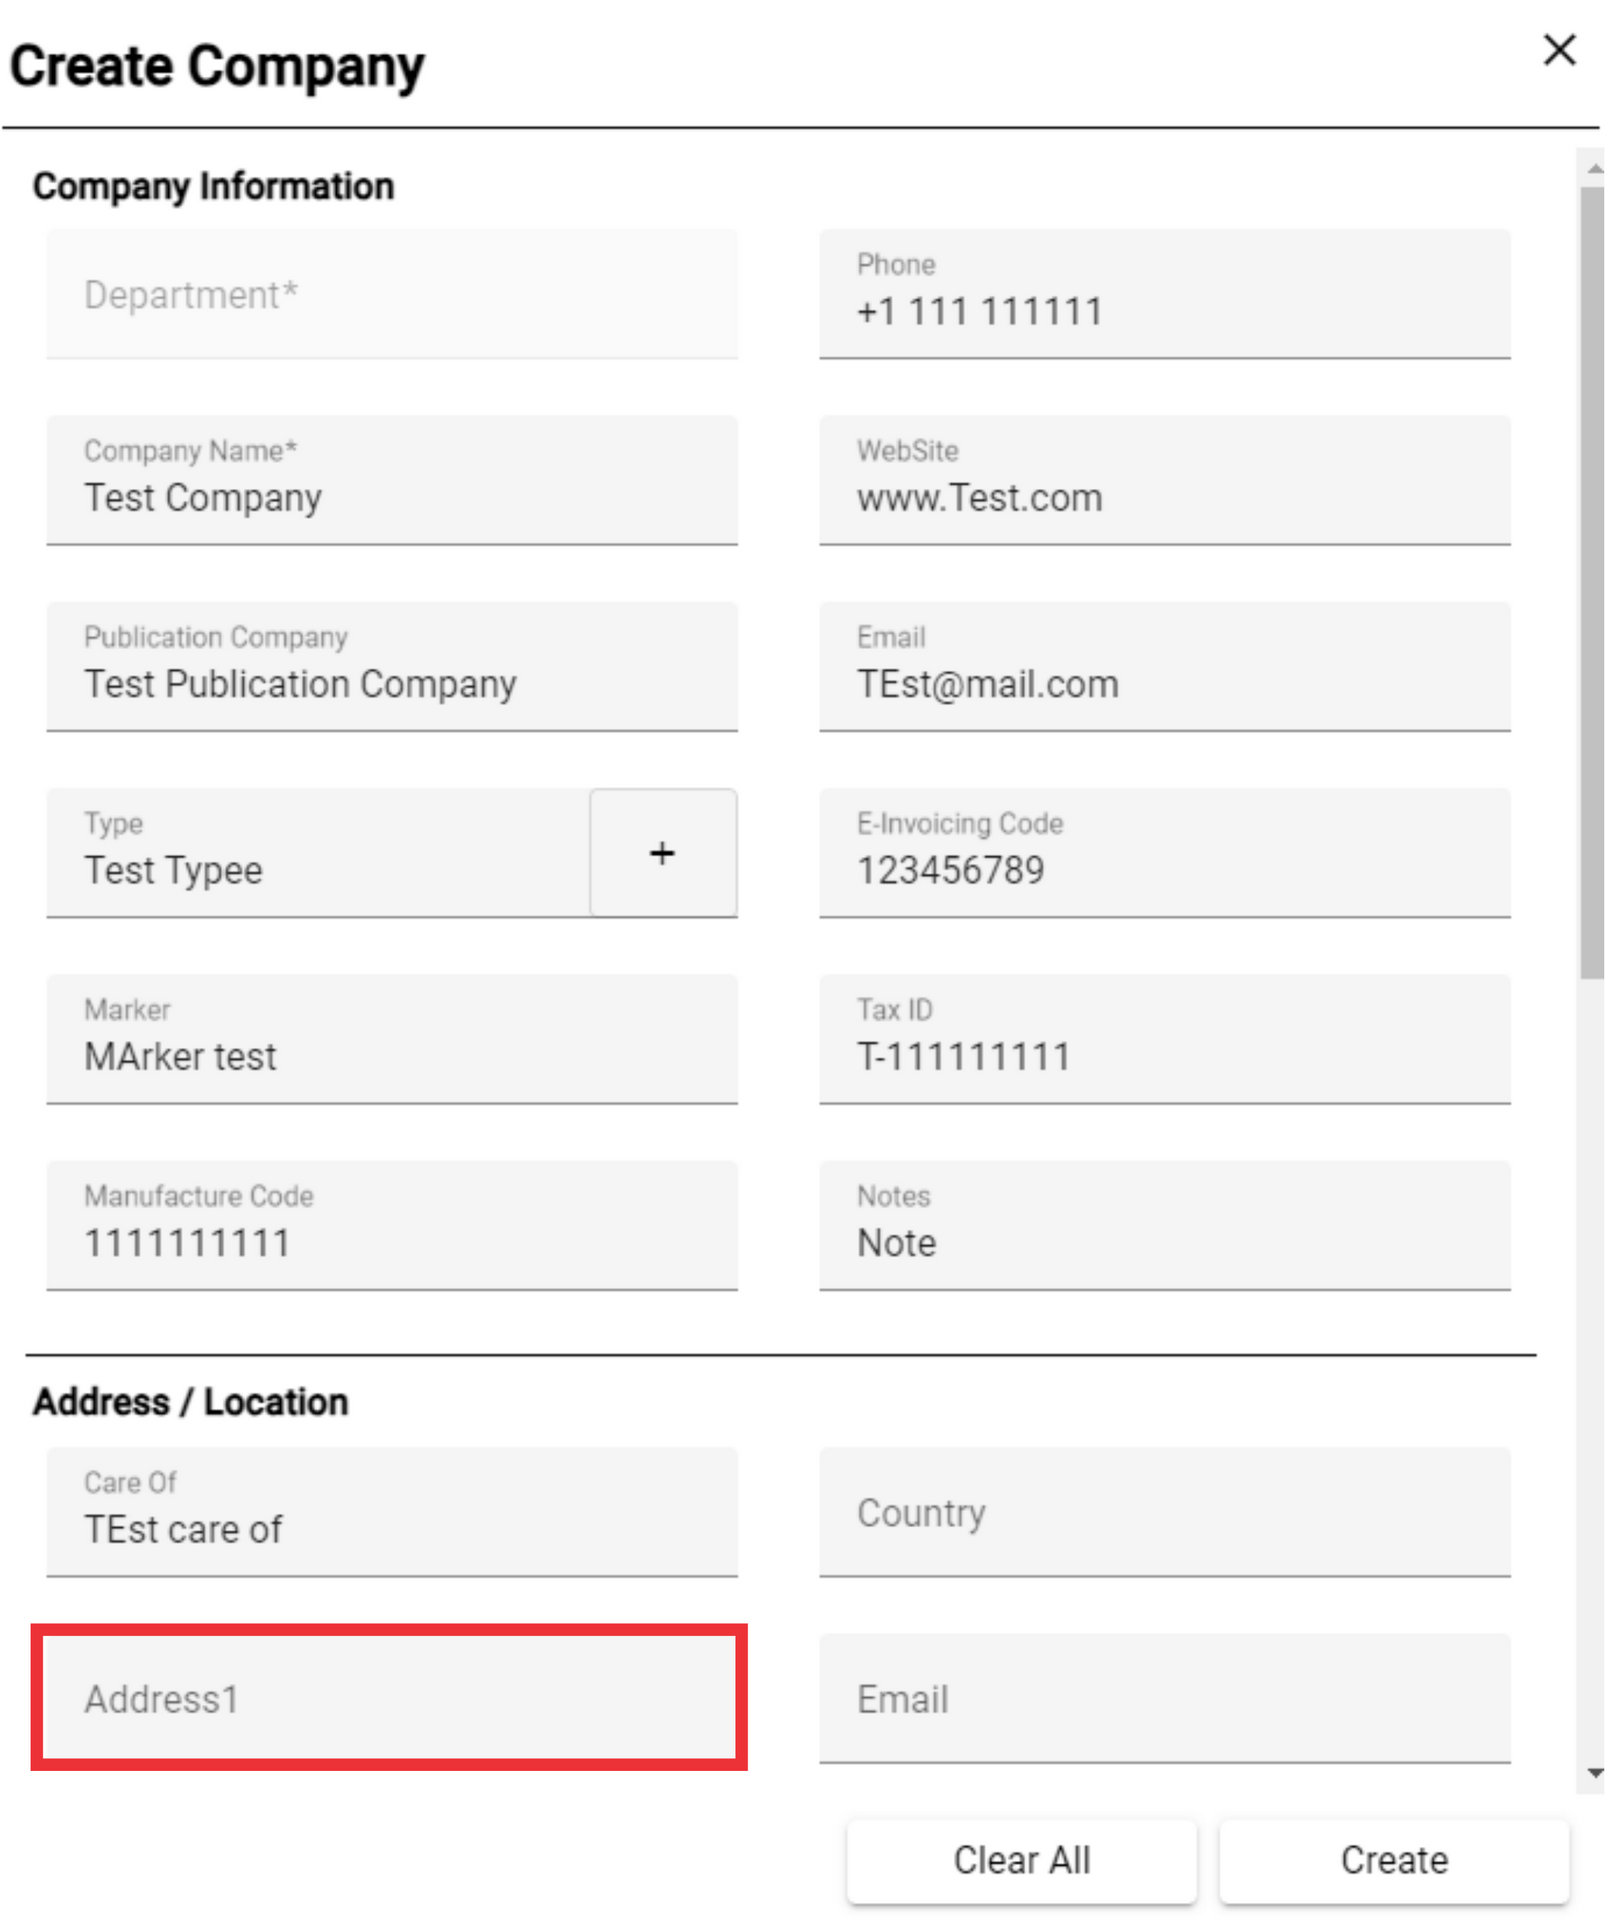
80. Enter the Care Of text in the field..

81. Write the address of the company in the field.
82. Choose the country from the list in which the company operates.

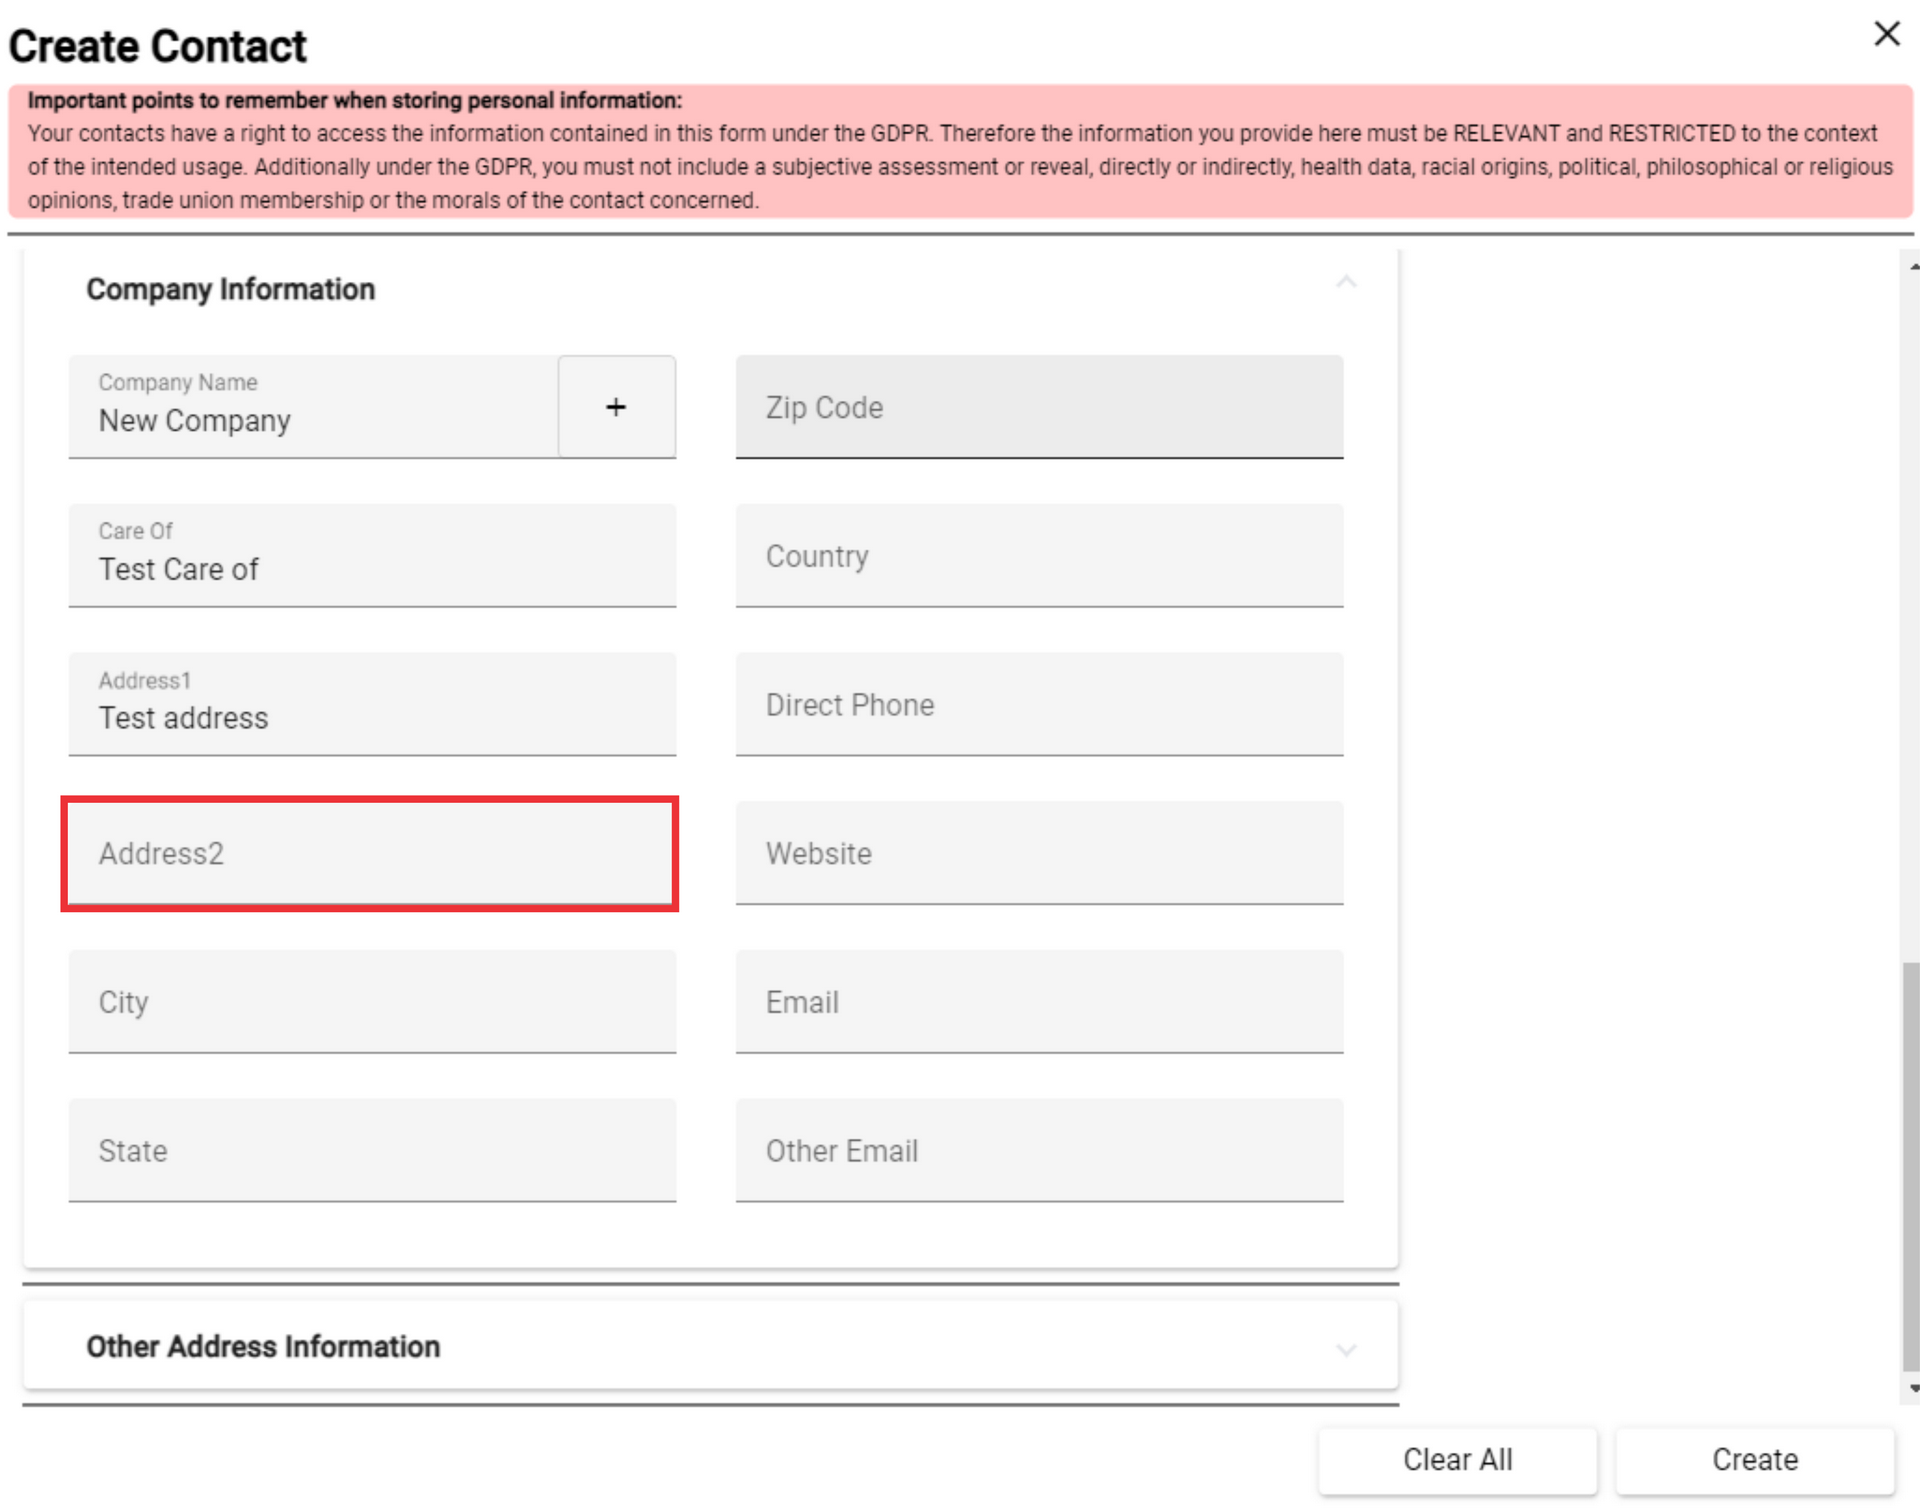
83. Enter the company email in the empty field.

84. Enter the second address of the company in the field, if there is one.

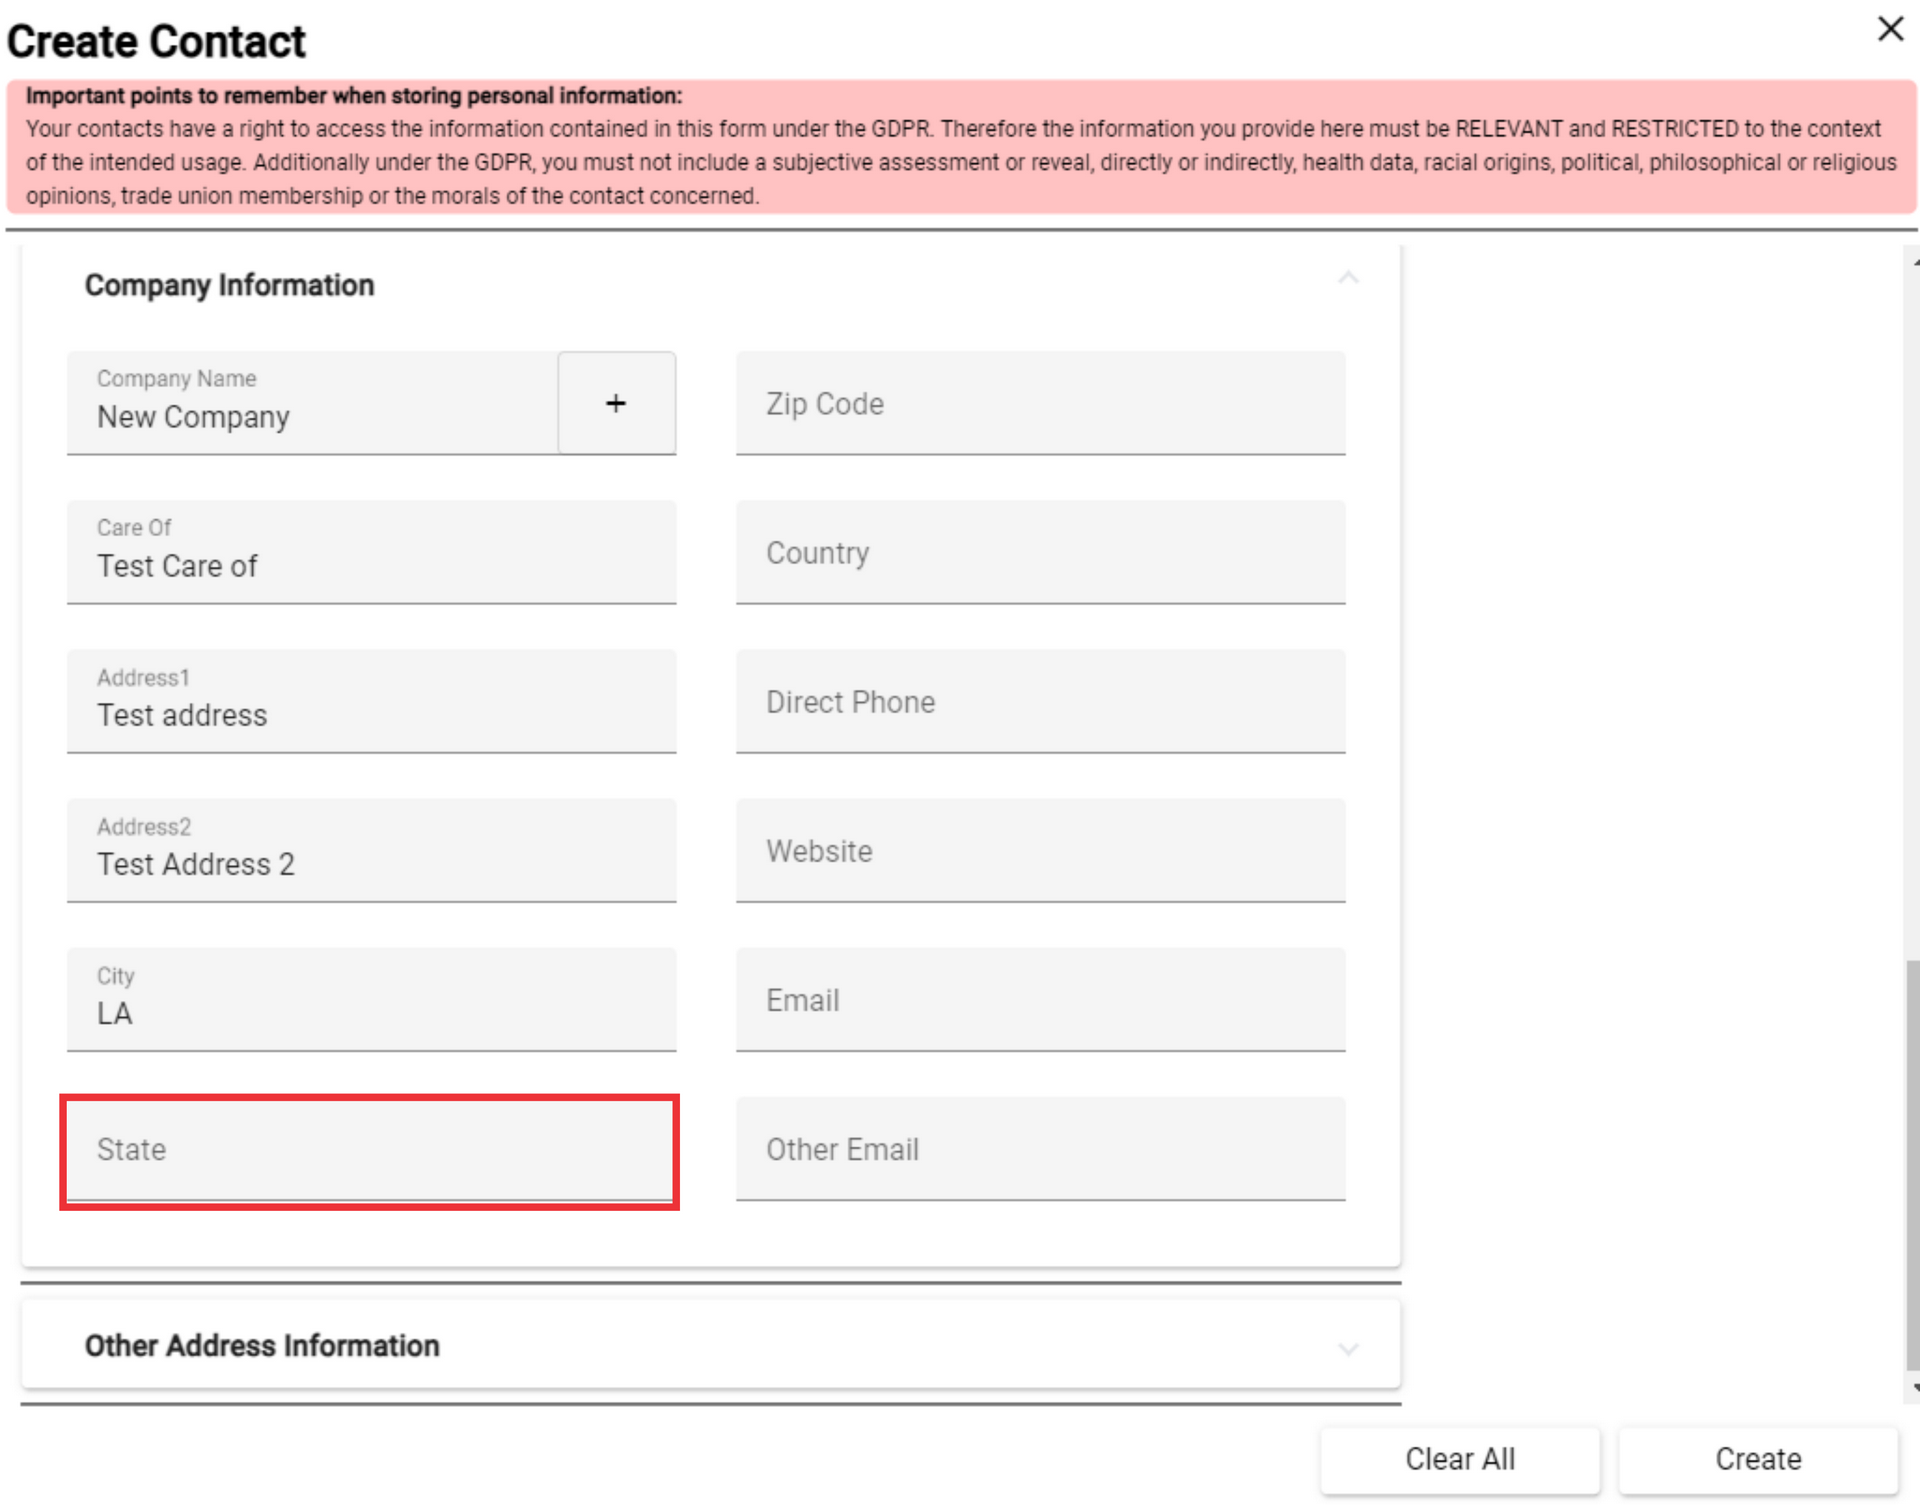
85. Enter the city where the company is located.
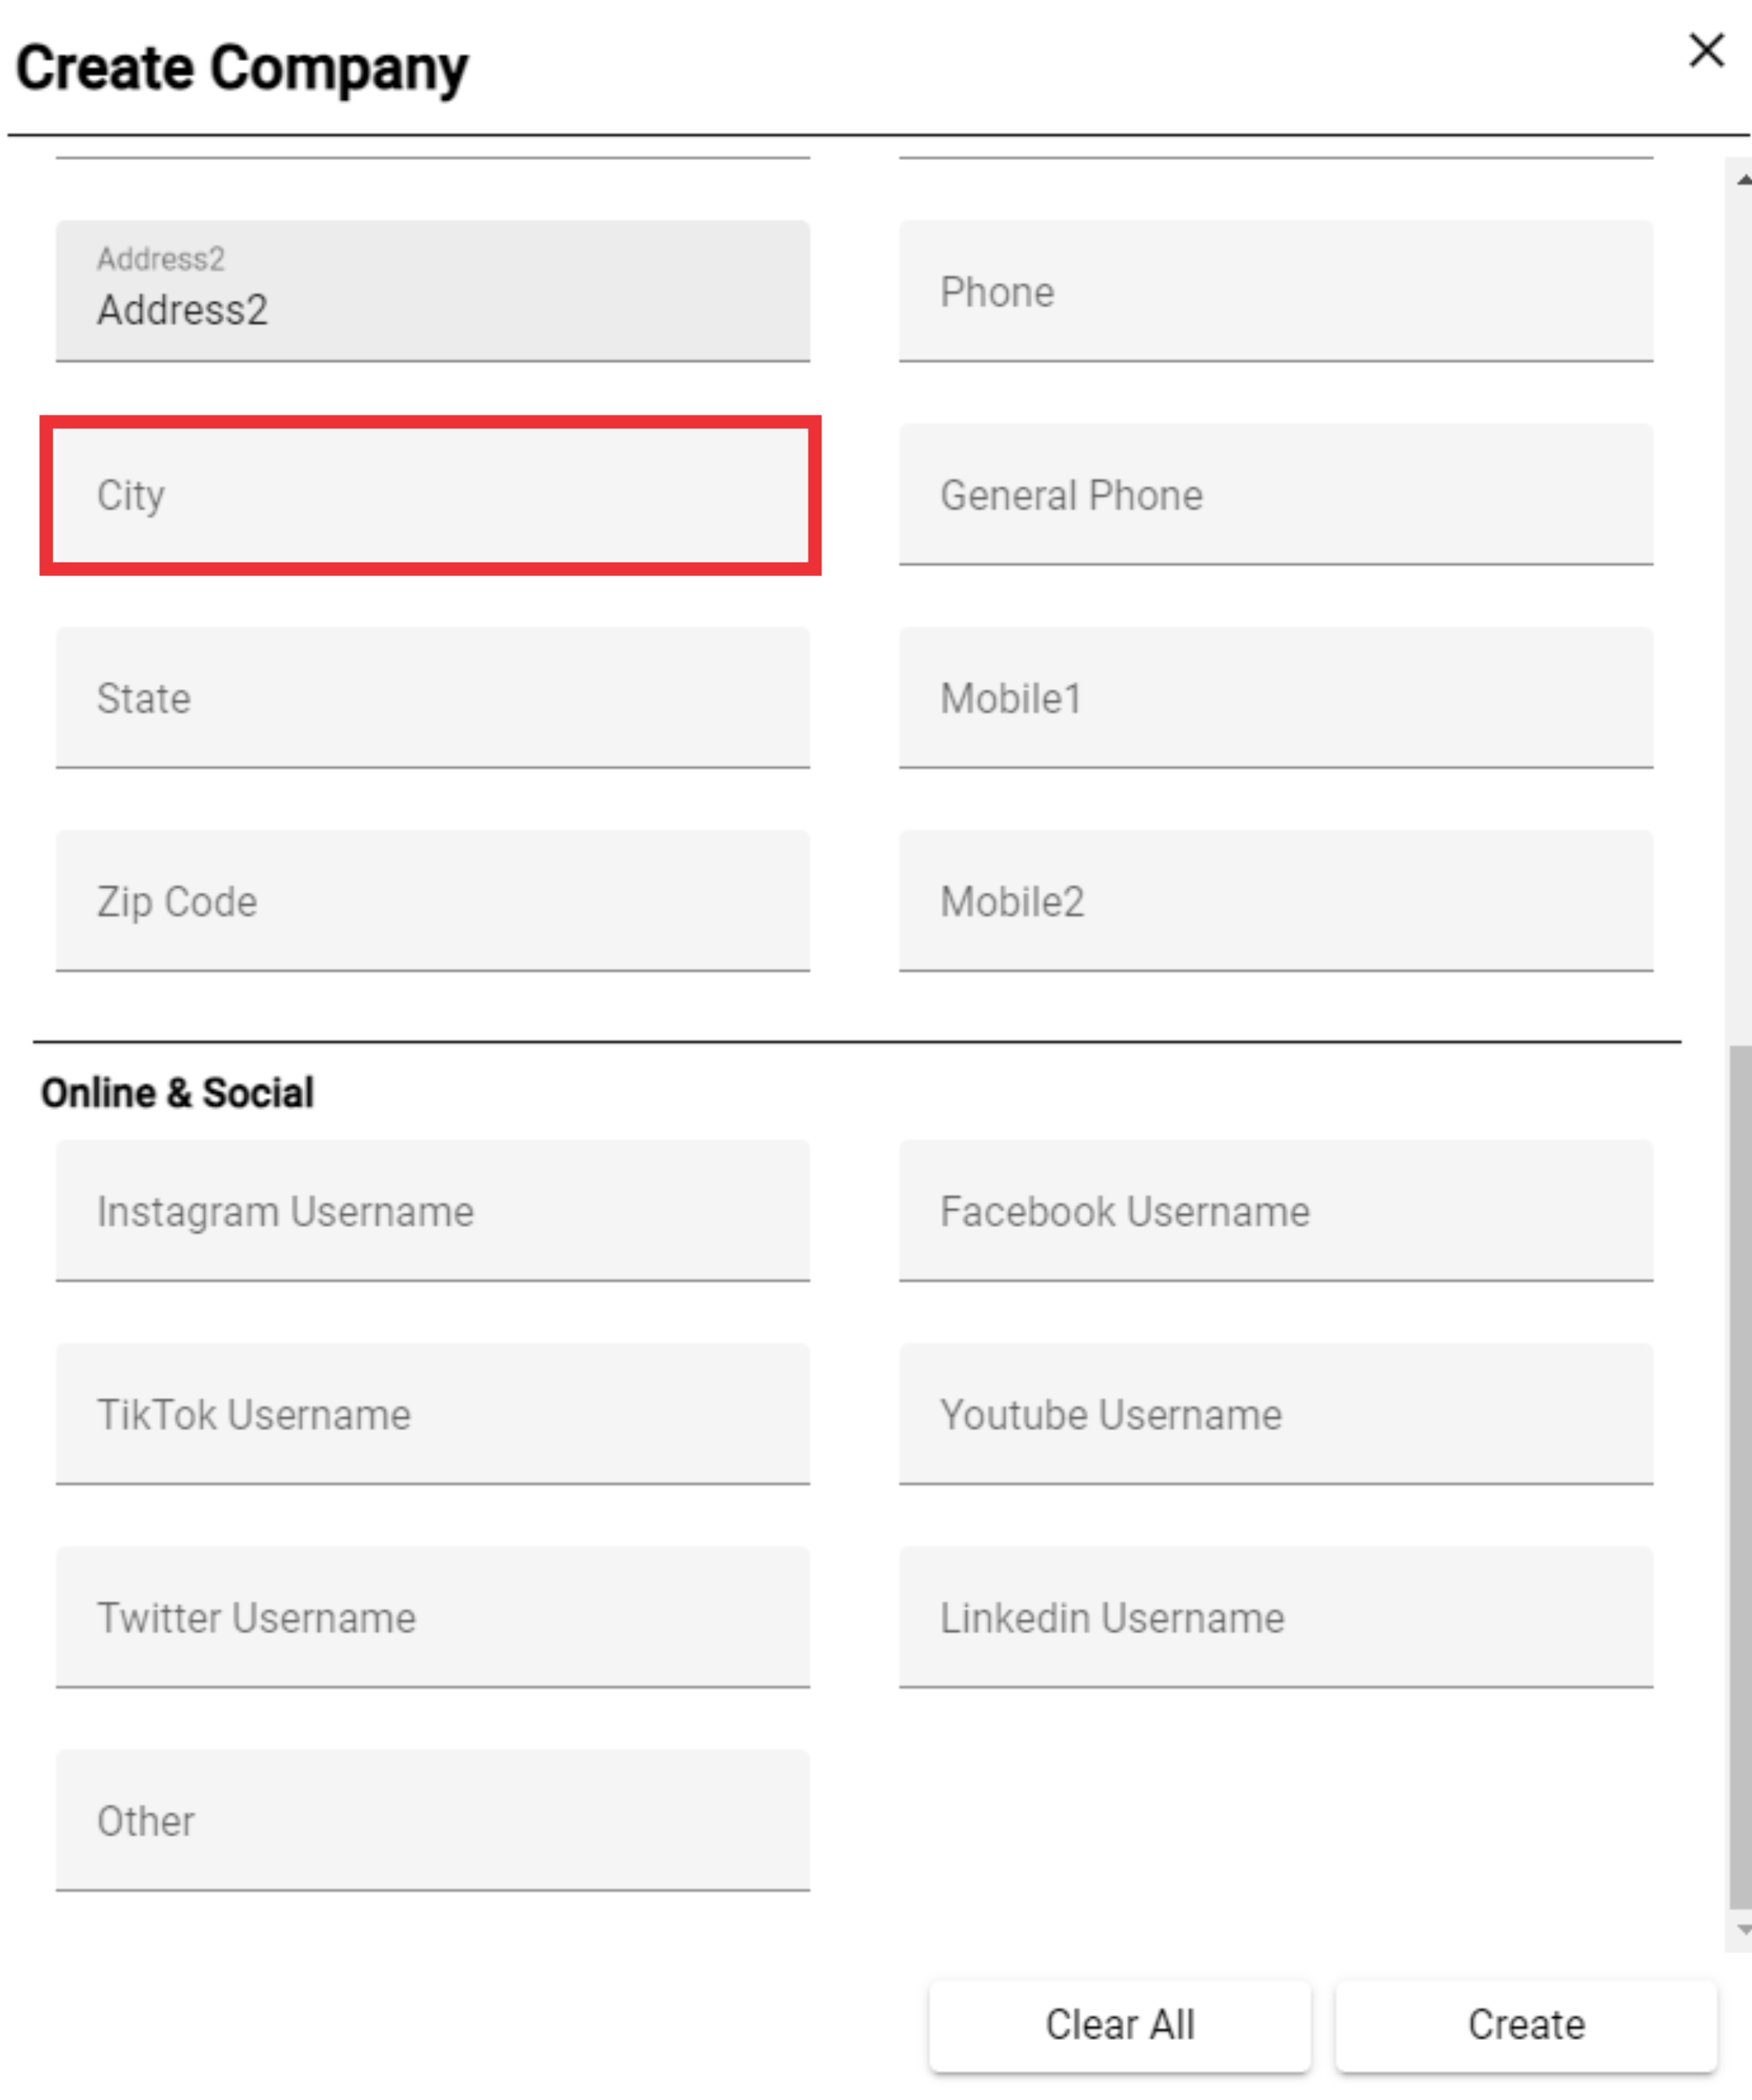
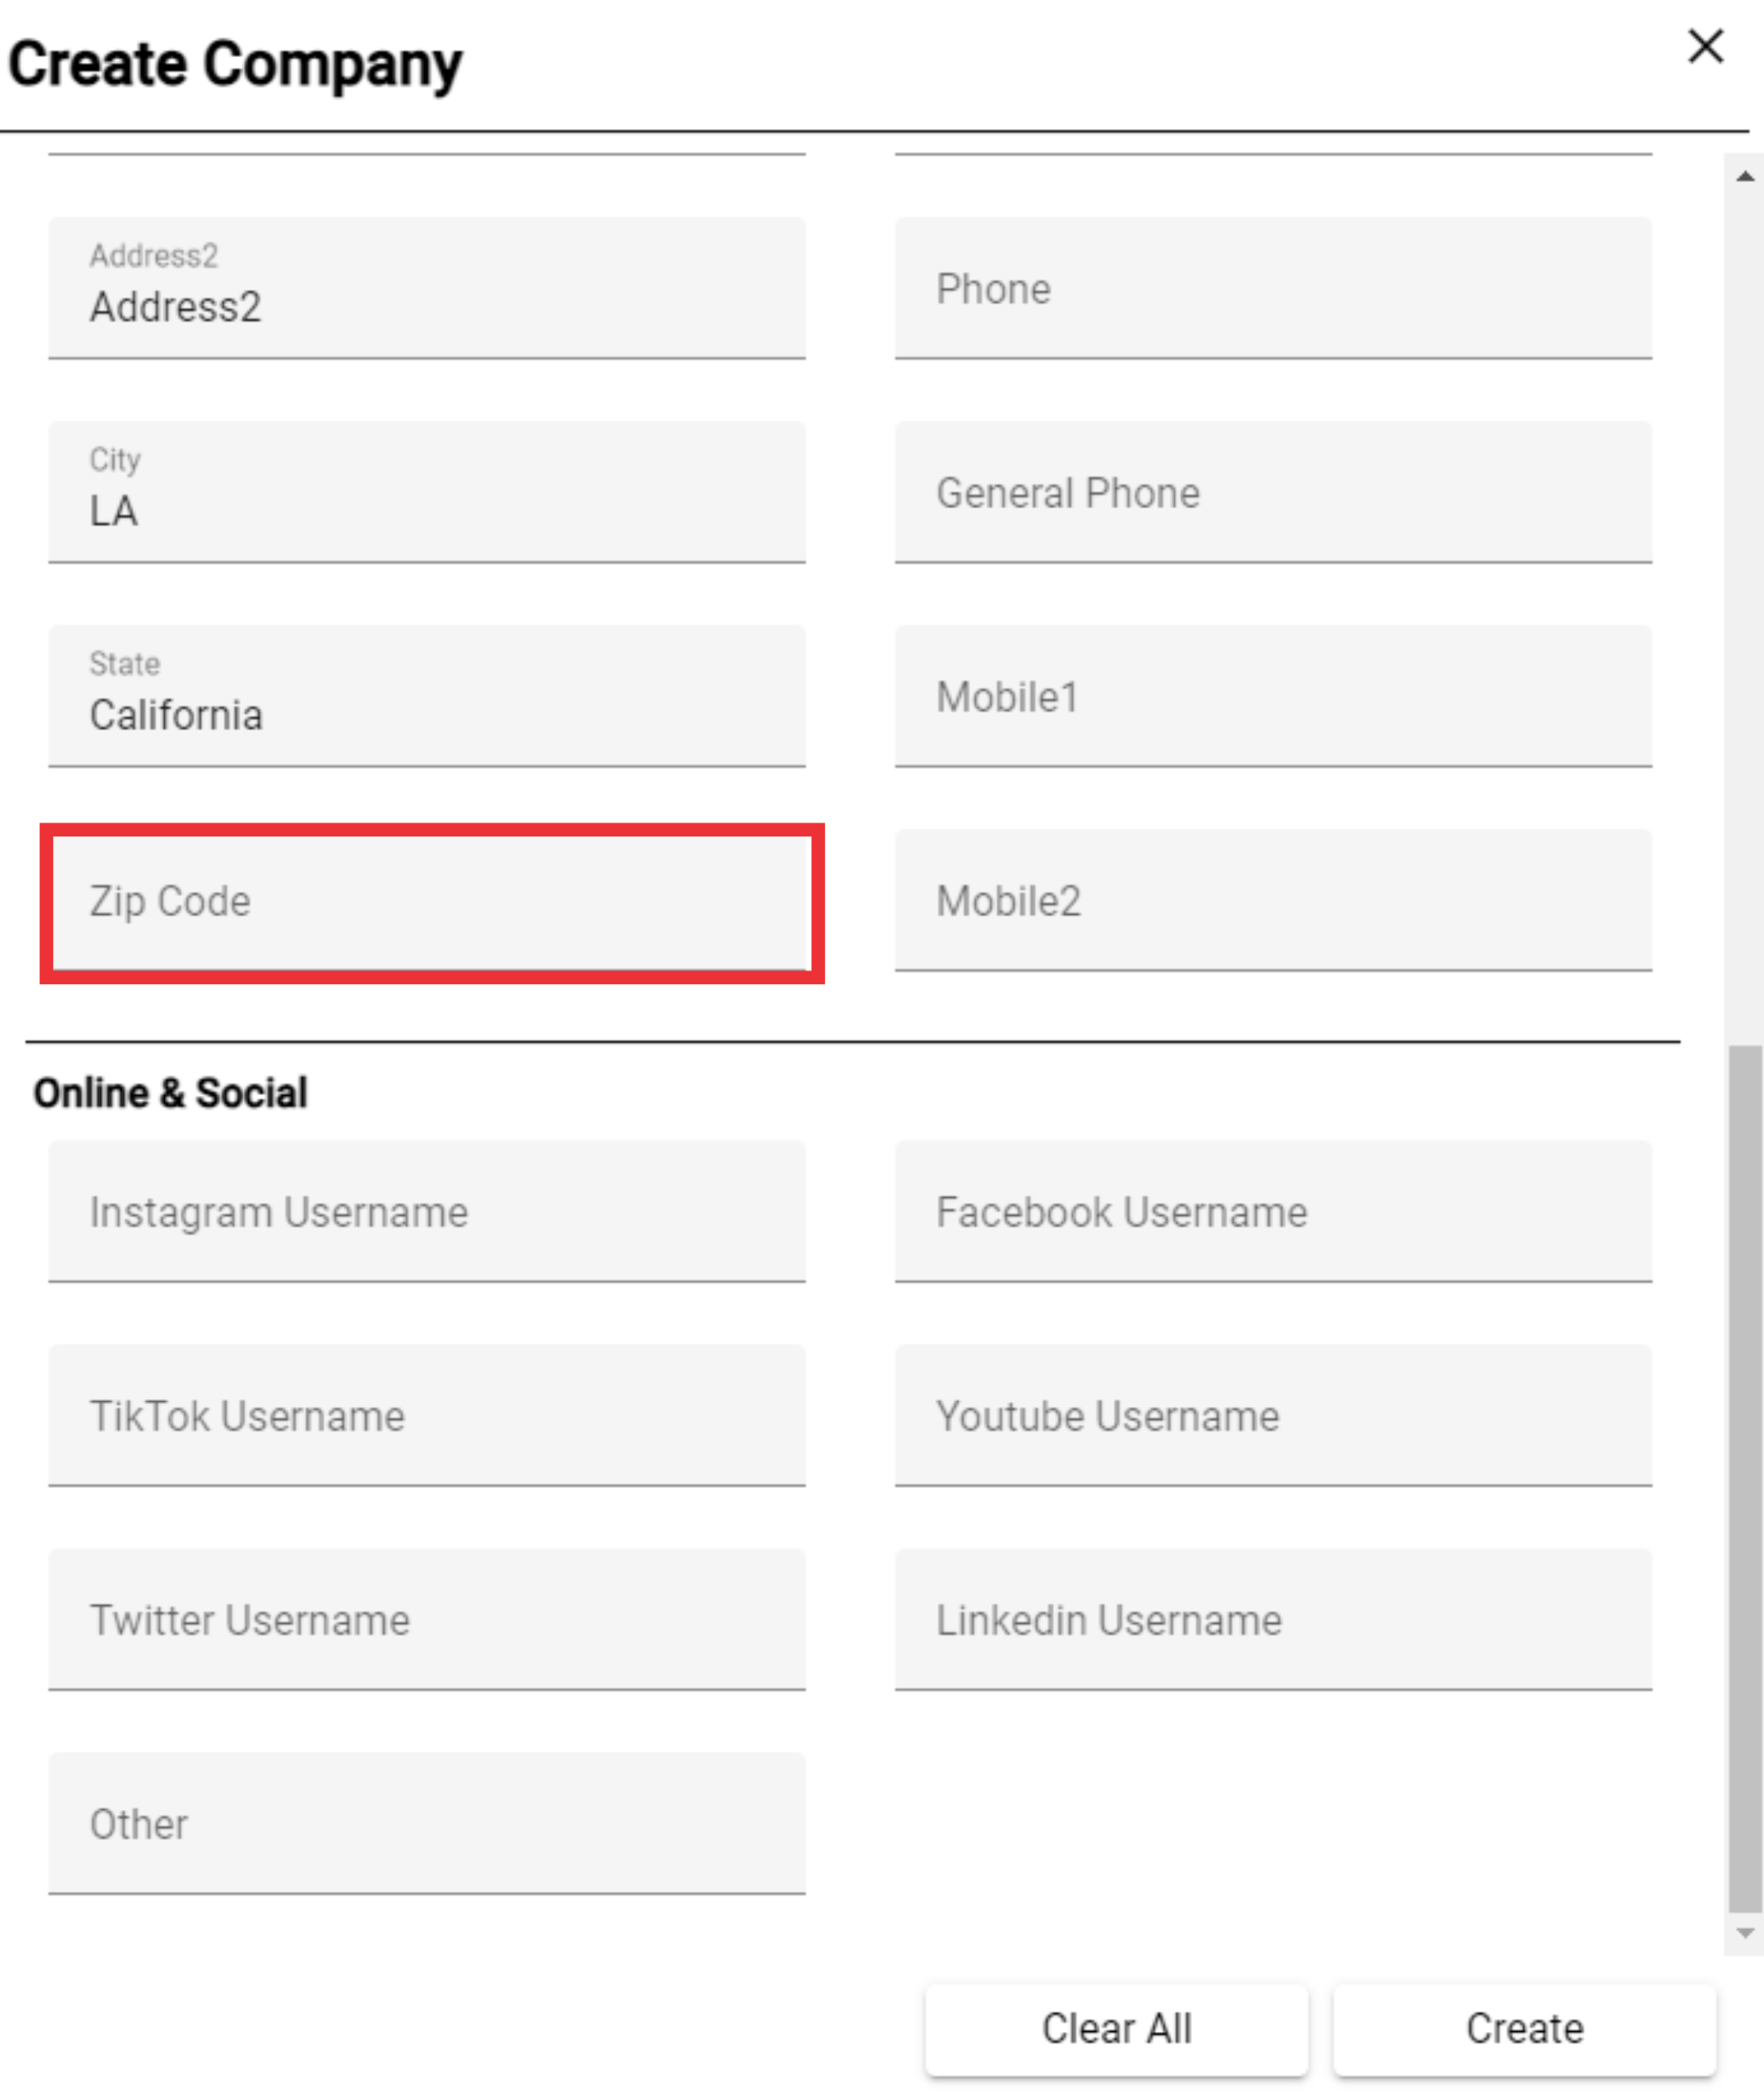
86. Enter the state in which the company is located in the field.

87. Enter the zip code.
88. Enter the main phone number of the company.
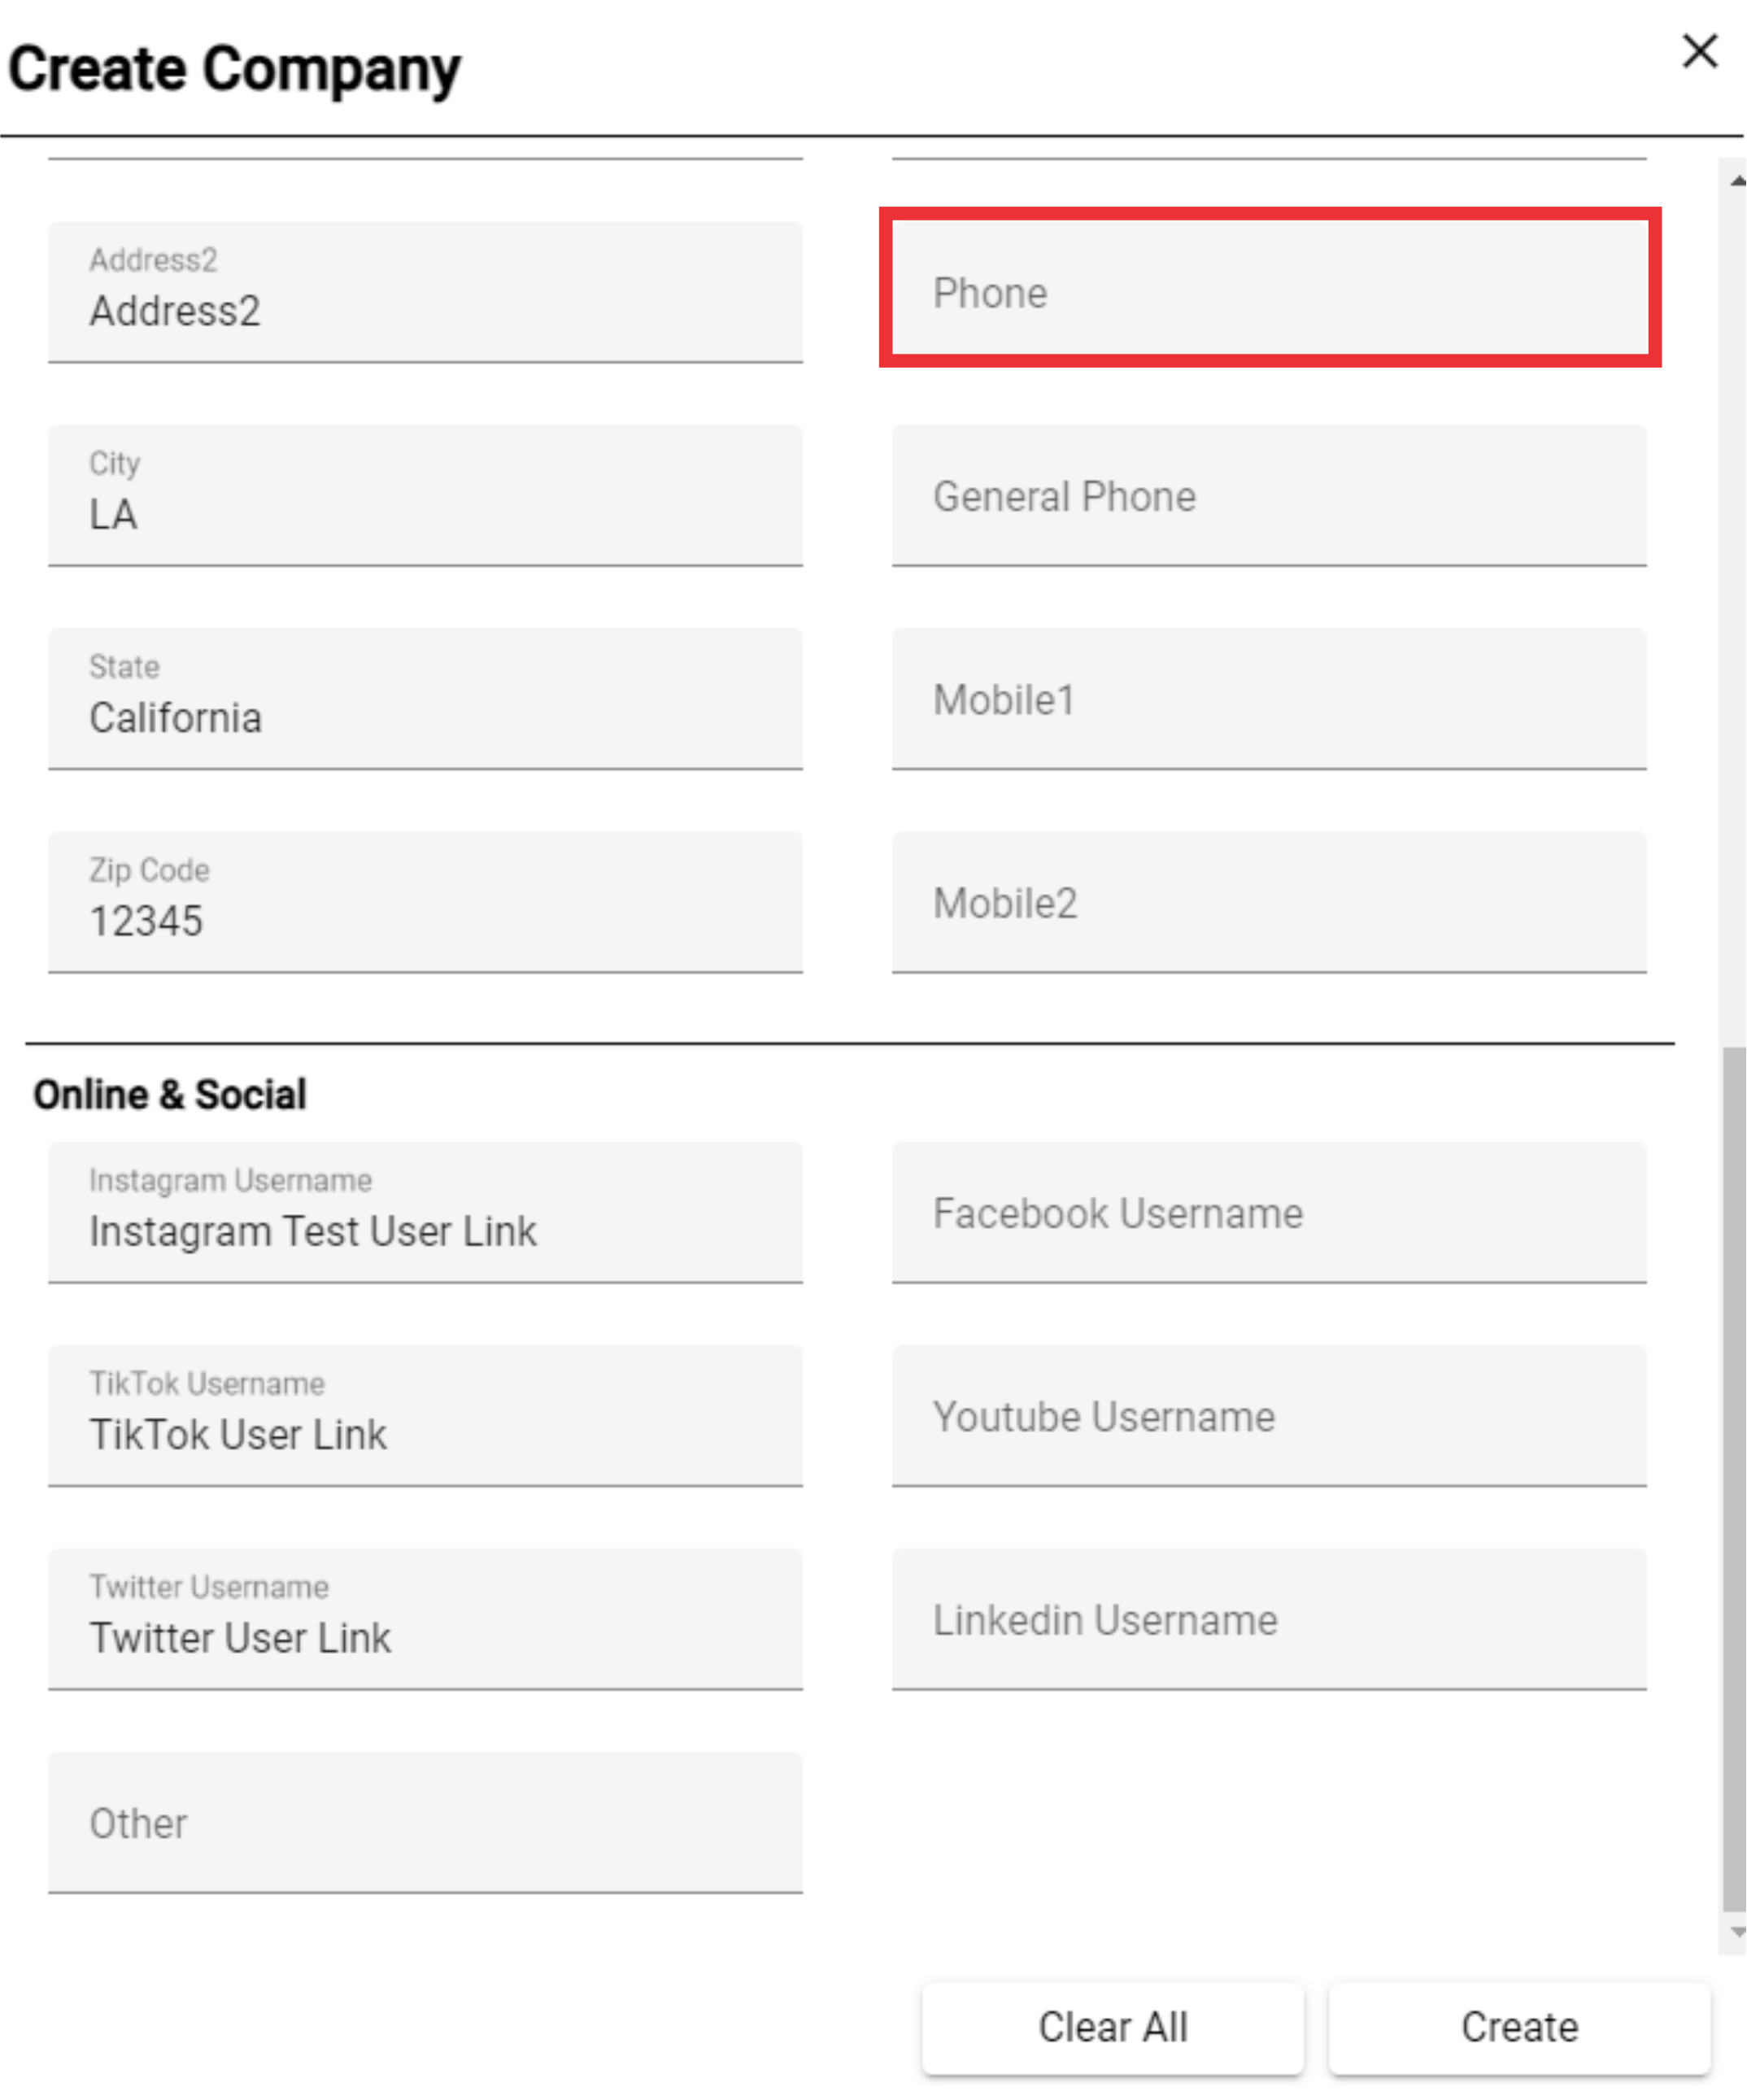
89. Enter the company's general phone number.

90. Enter the company's mobile phone number.

91. Enter the company's second mobile phone number.

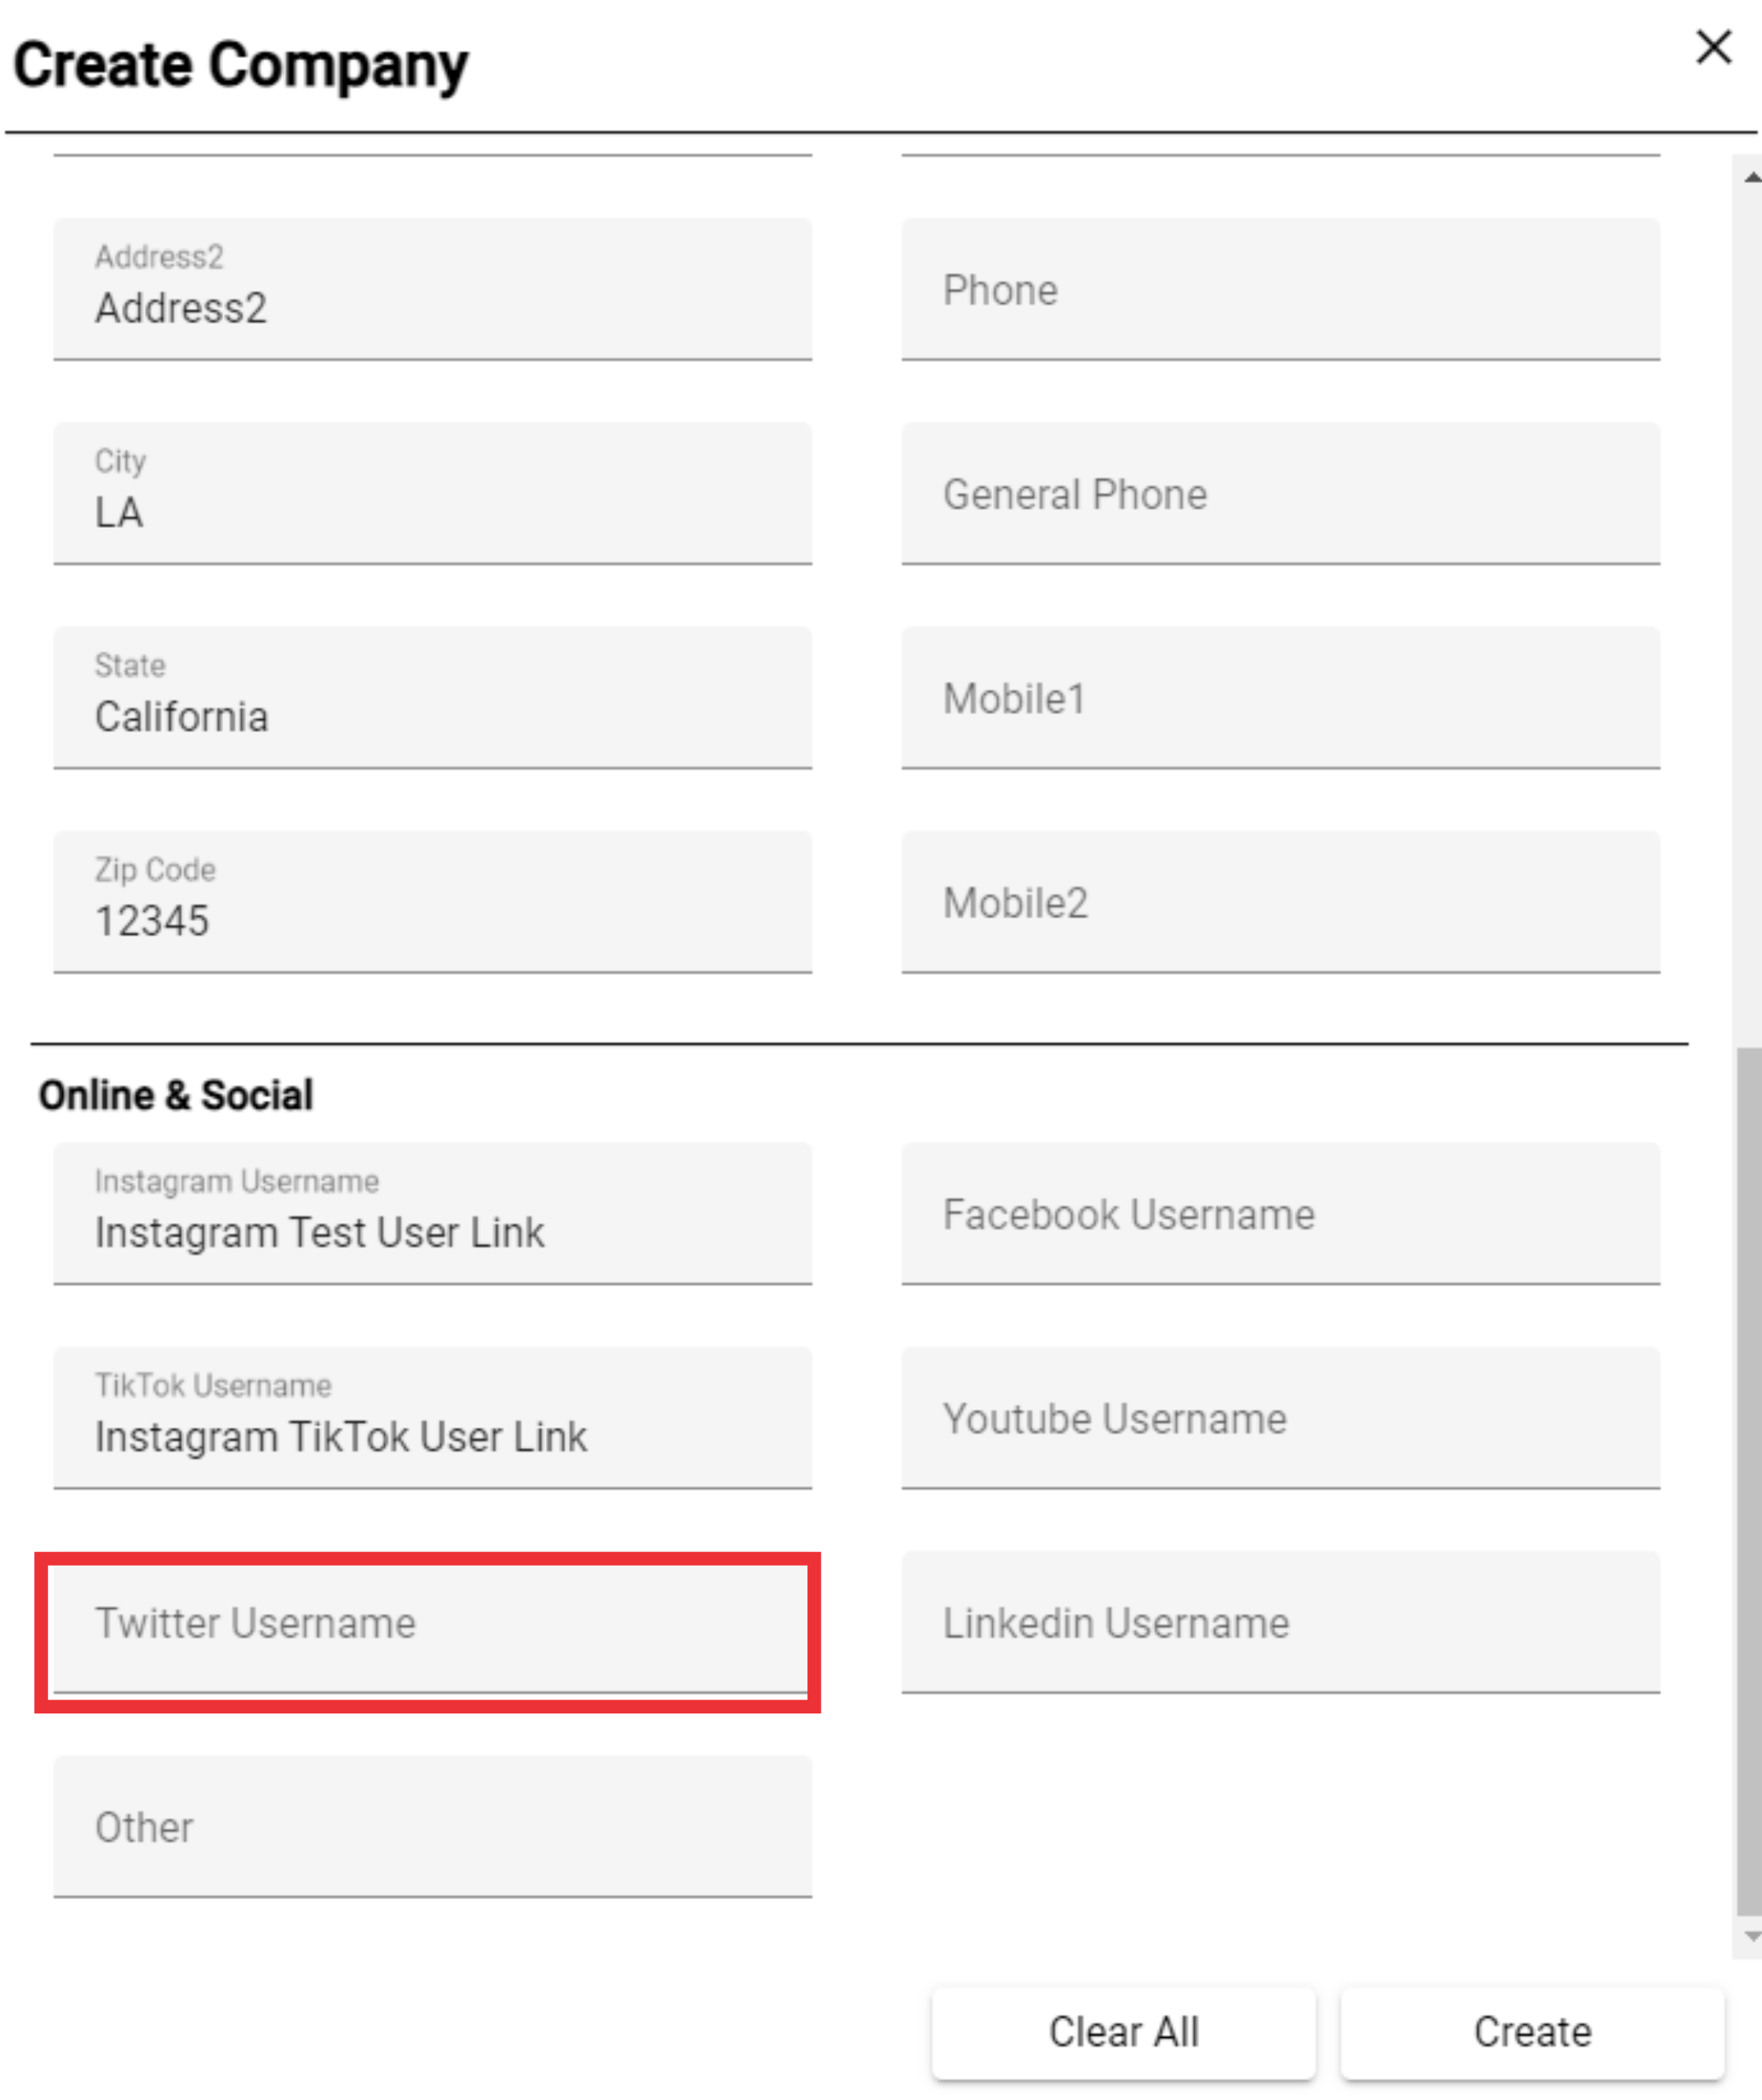
92. Paste the Instagram link of the company.

93. Paste the company's TikTok link.

94. Paste the company's X (Twitter) link.
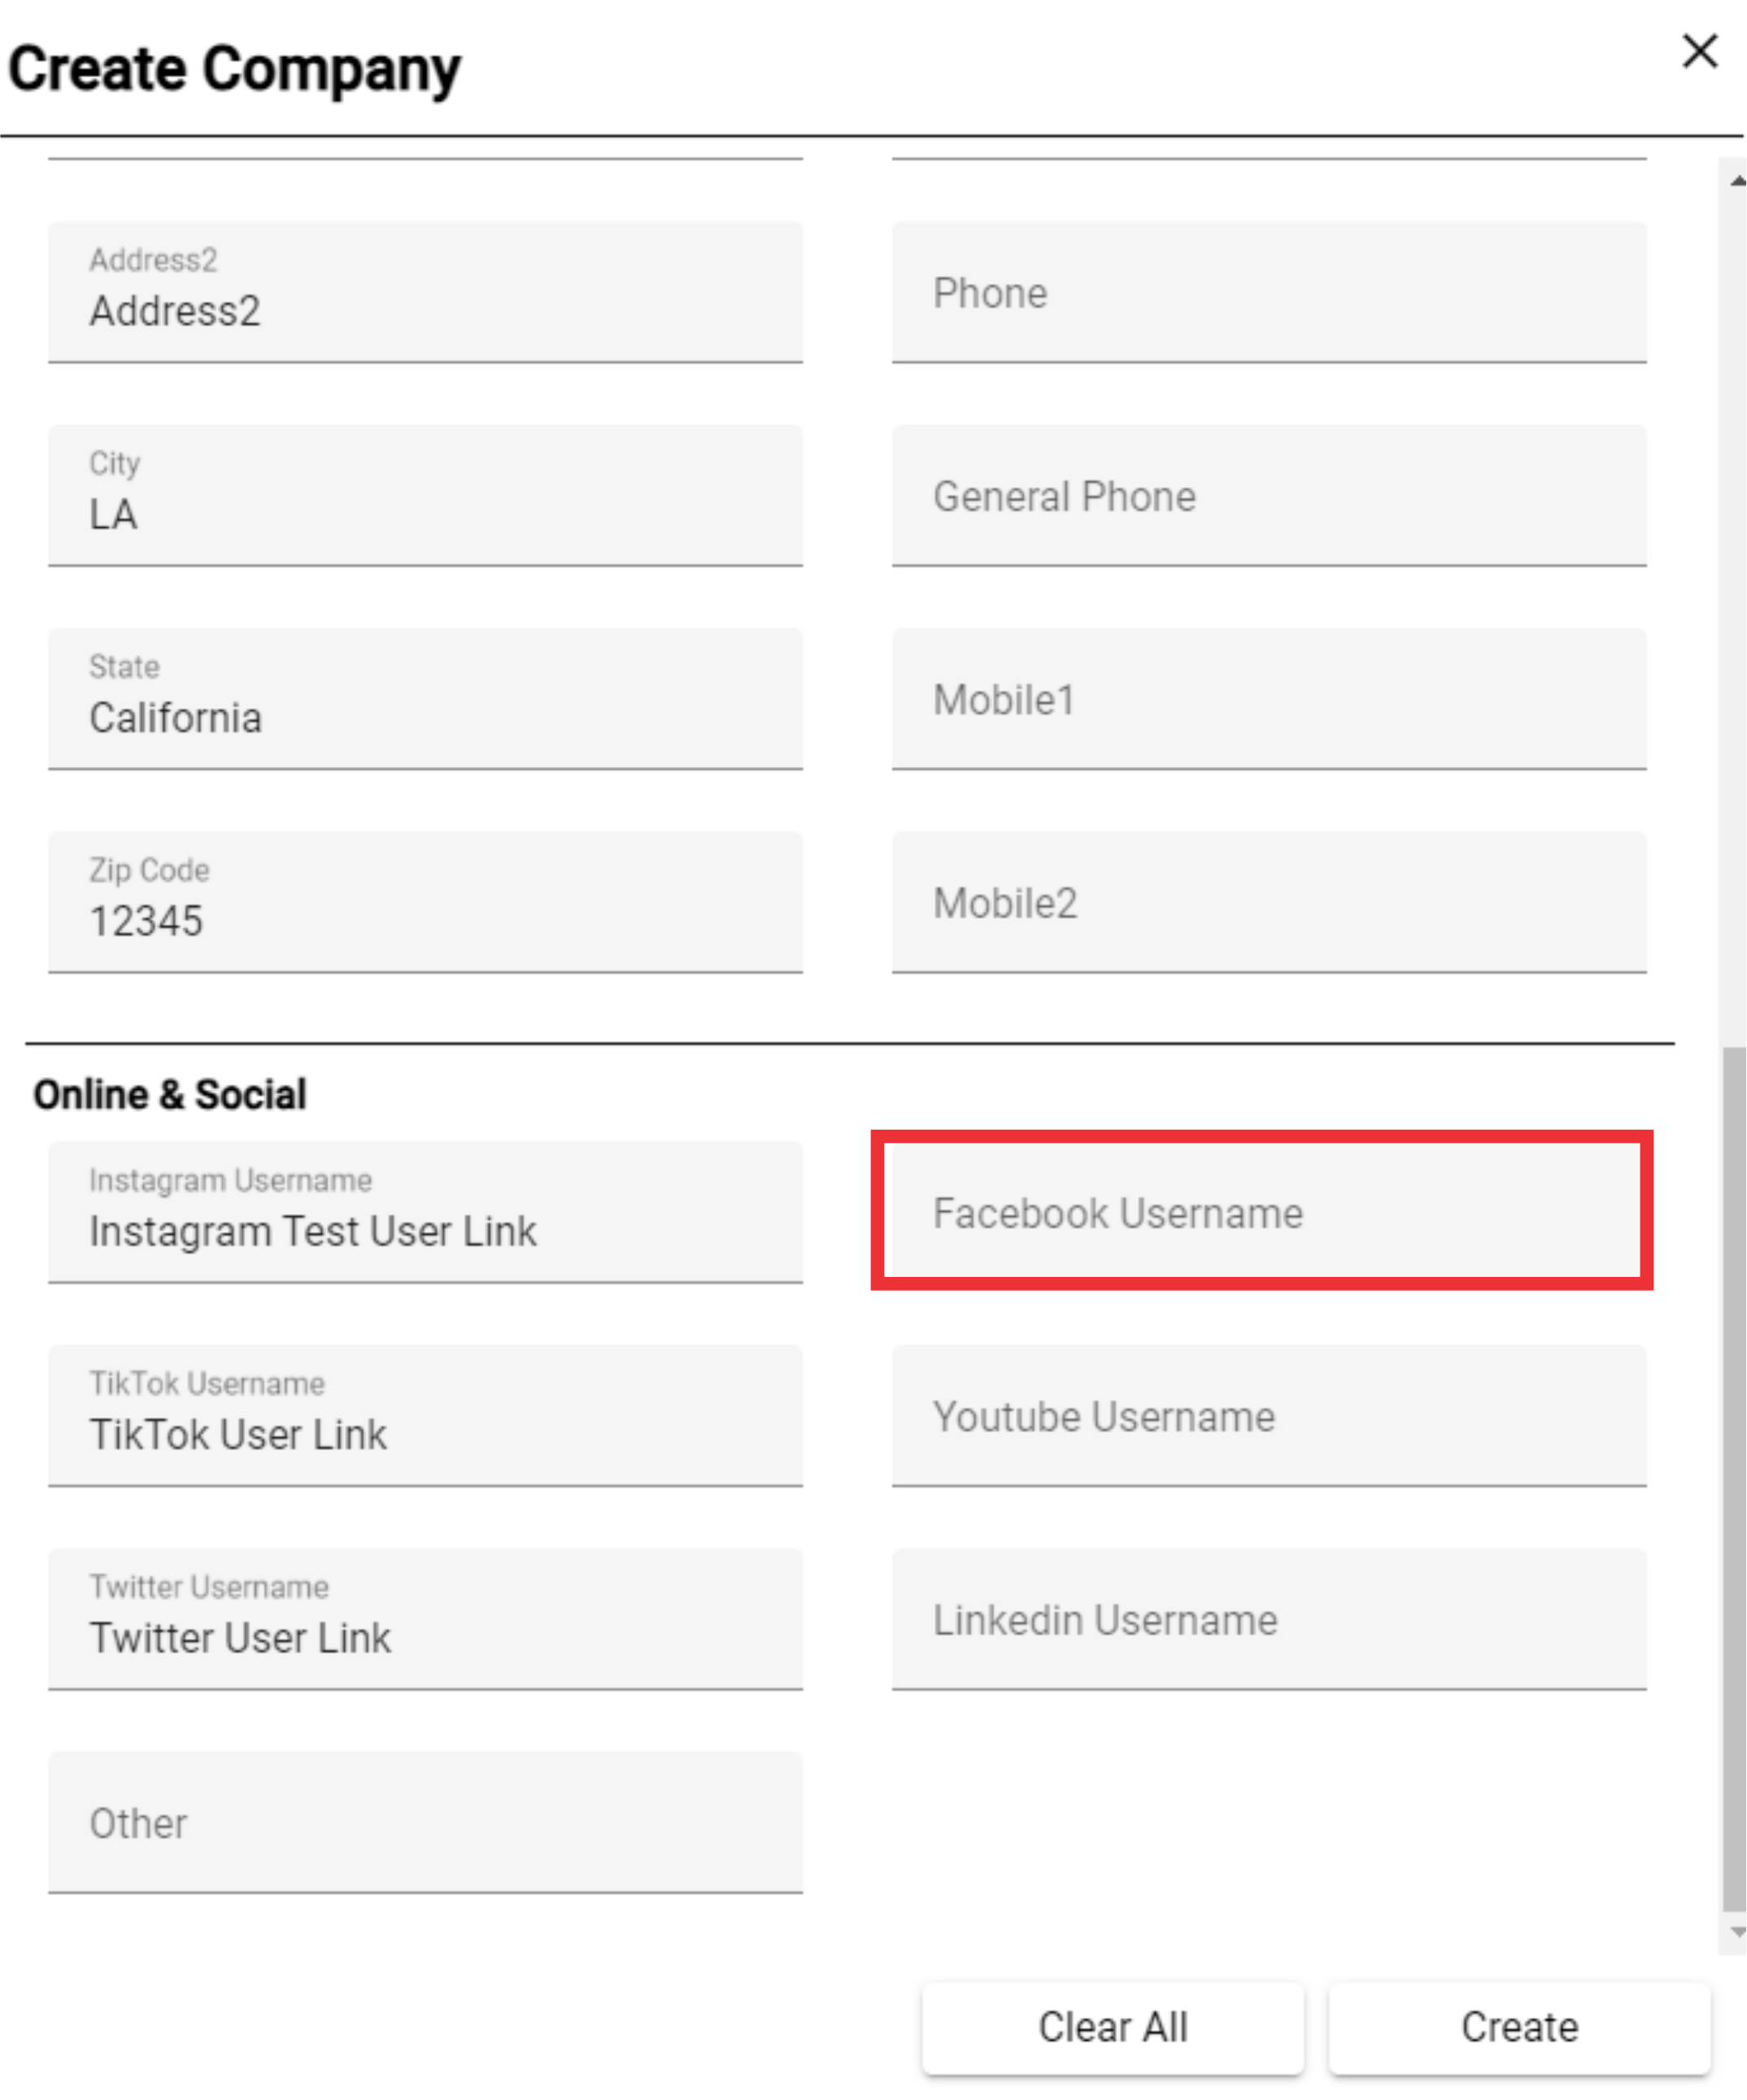
95. Enter any other social network link of the company.

96. Paste the company's Facebook link.
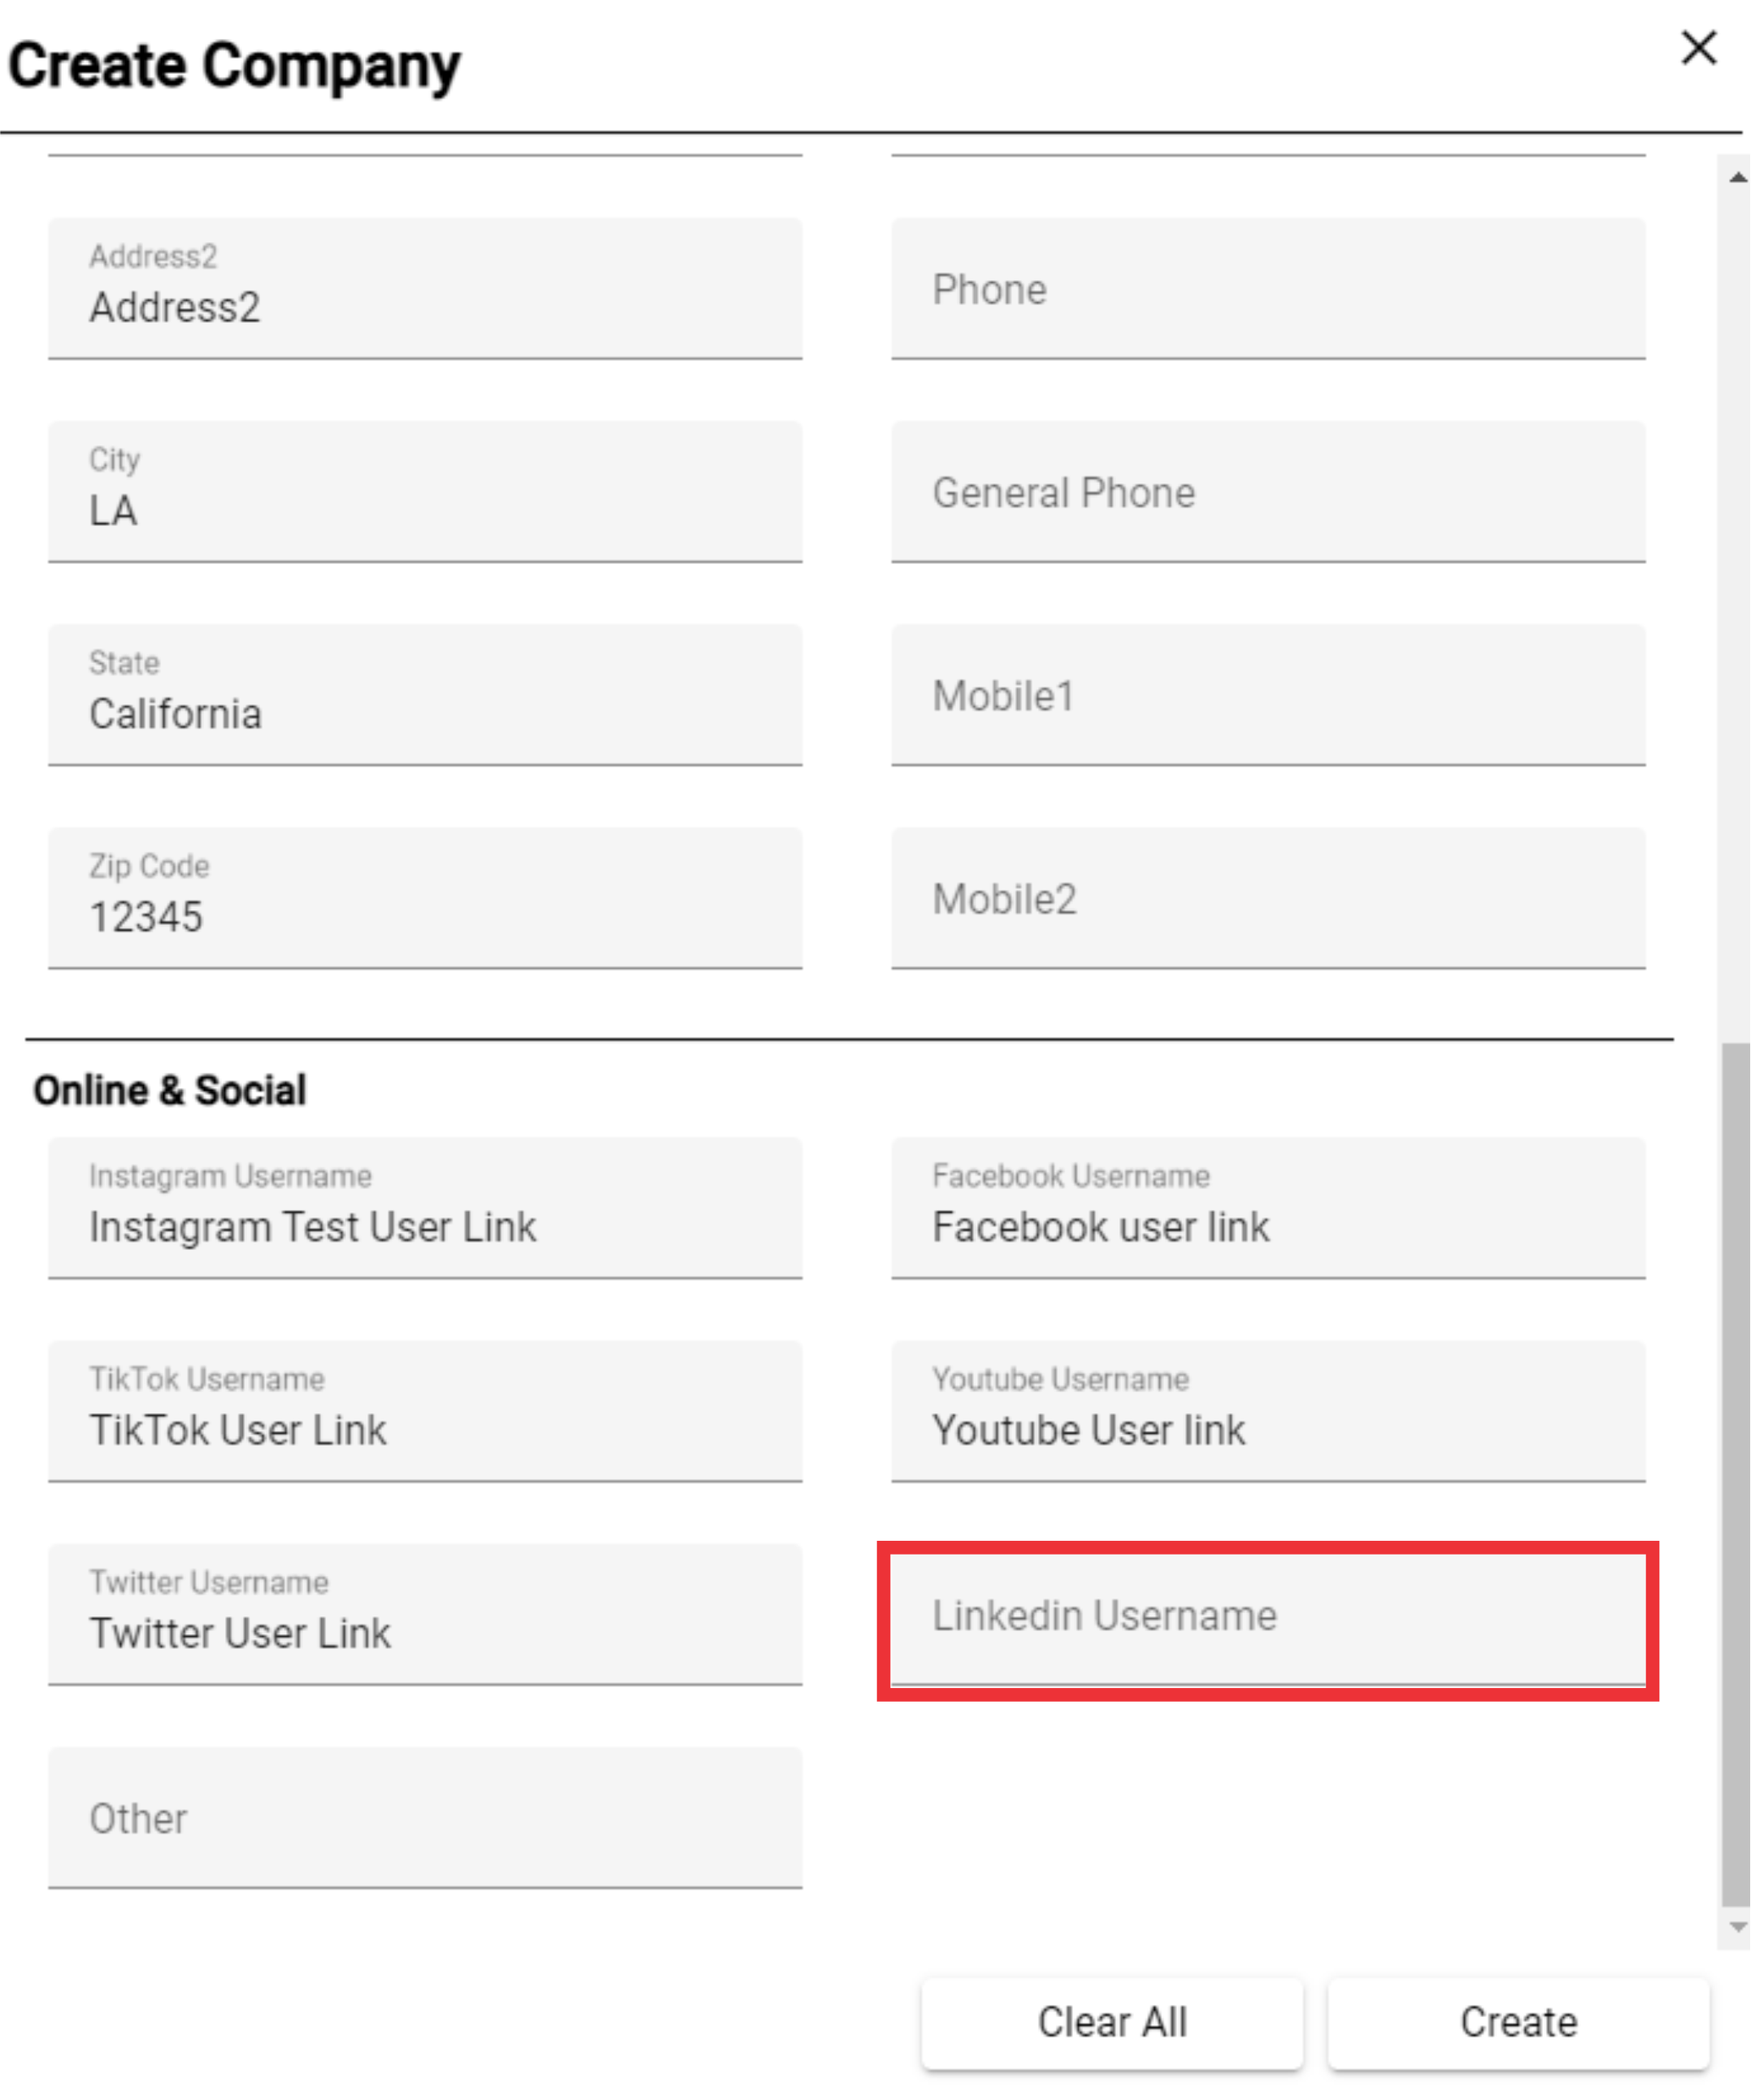
97. Paste the company's Youtube) link.

98. Paste the company's linkdln link.
99. For the create company click the "Create" button.

100. Enter the care off name in the field.
101. Write the address of the company in the field.

102. Enter the second address of the company in the field, if there is one.
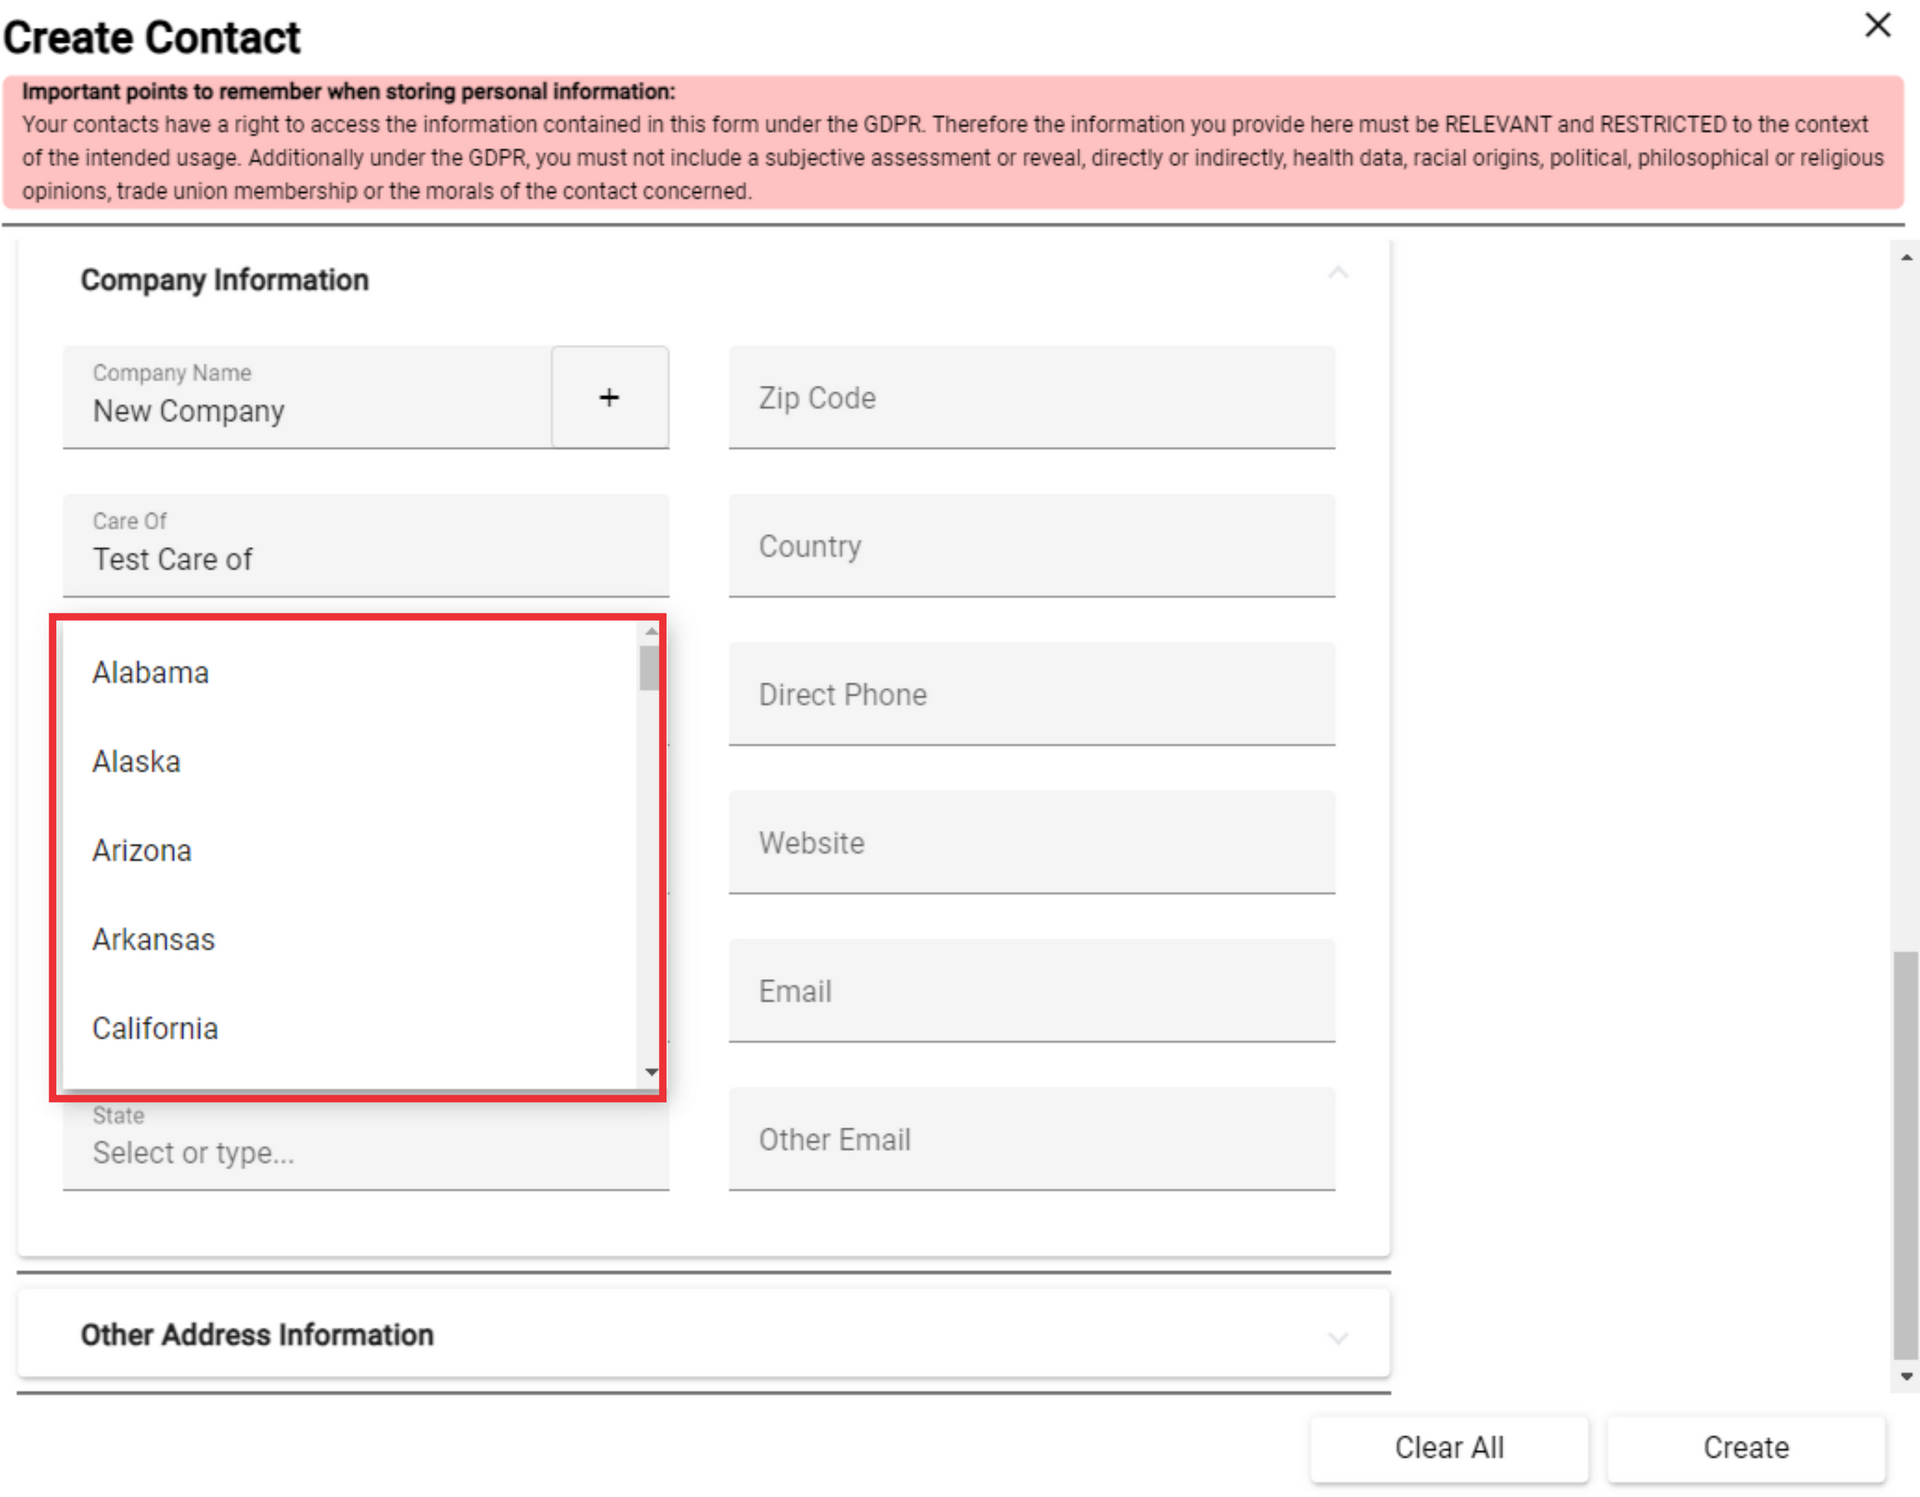
103. Enter the city where the company is located.

104. Click the State button to select state from the drop down list.
105. Enter the state in which the company is located in the field.
106. Enter the zip code.

107. Select The county from the drop down list in which the company is located in the field.

108. Type the company Direct phone number in the field.

109. Enter the address of the company's web page in the empty field.

110. Type the company's email address in the field.

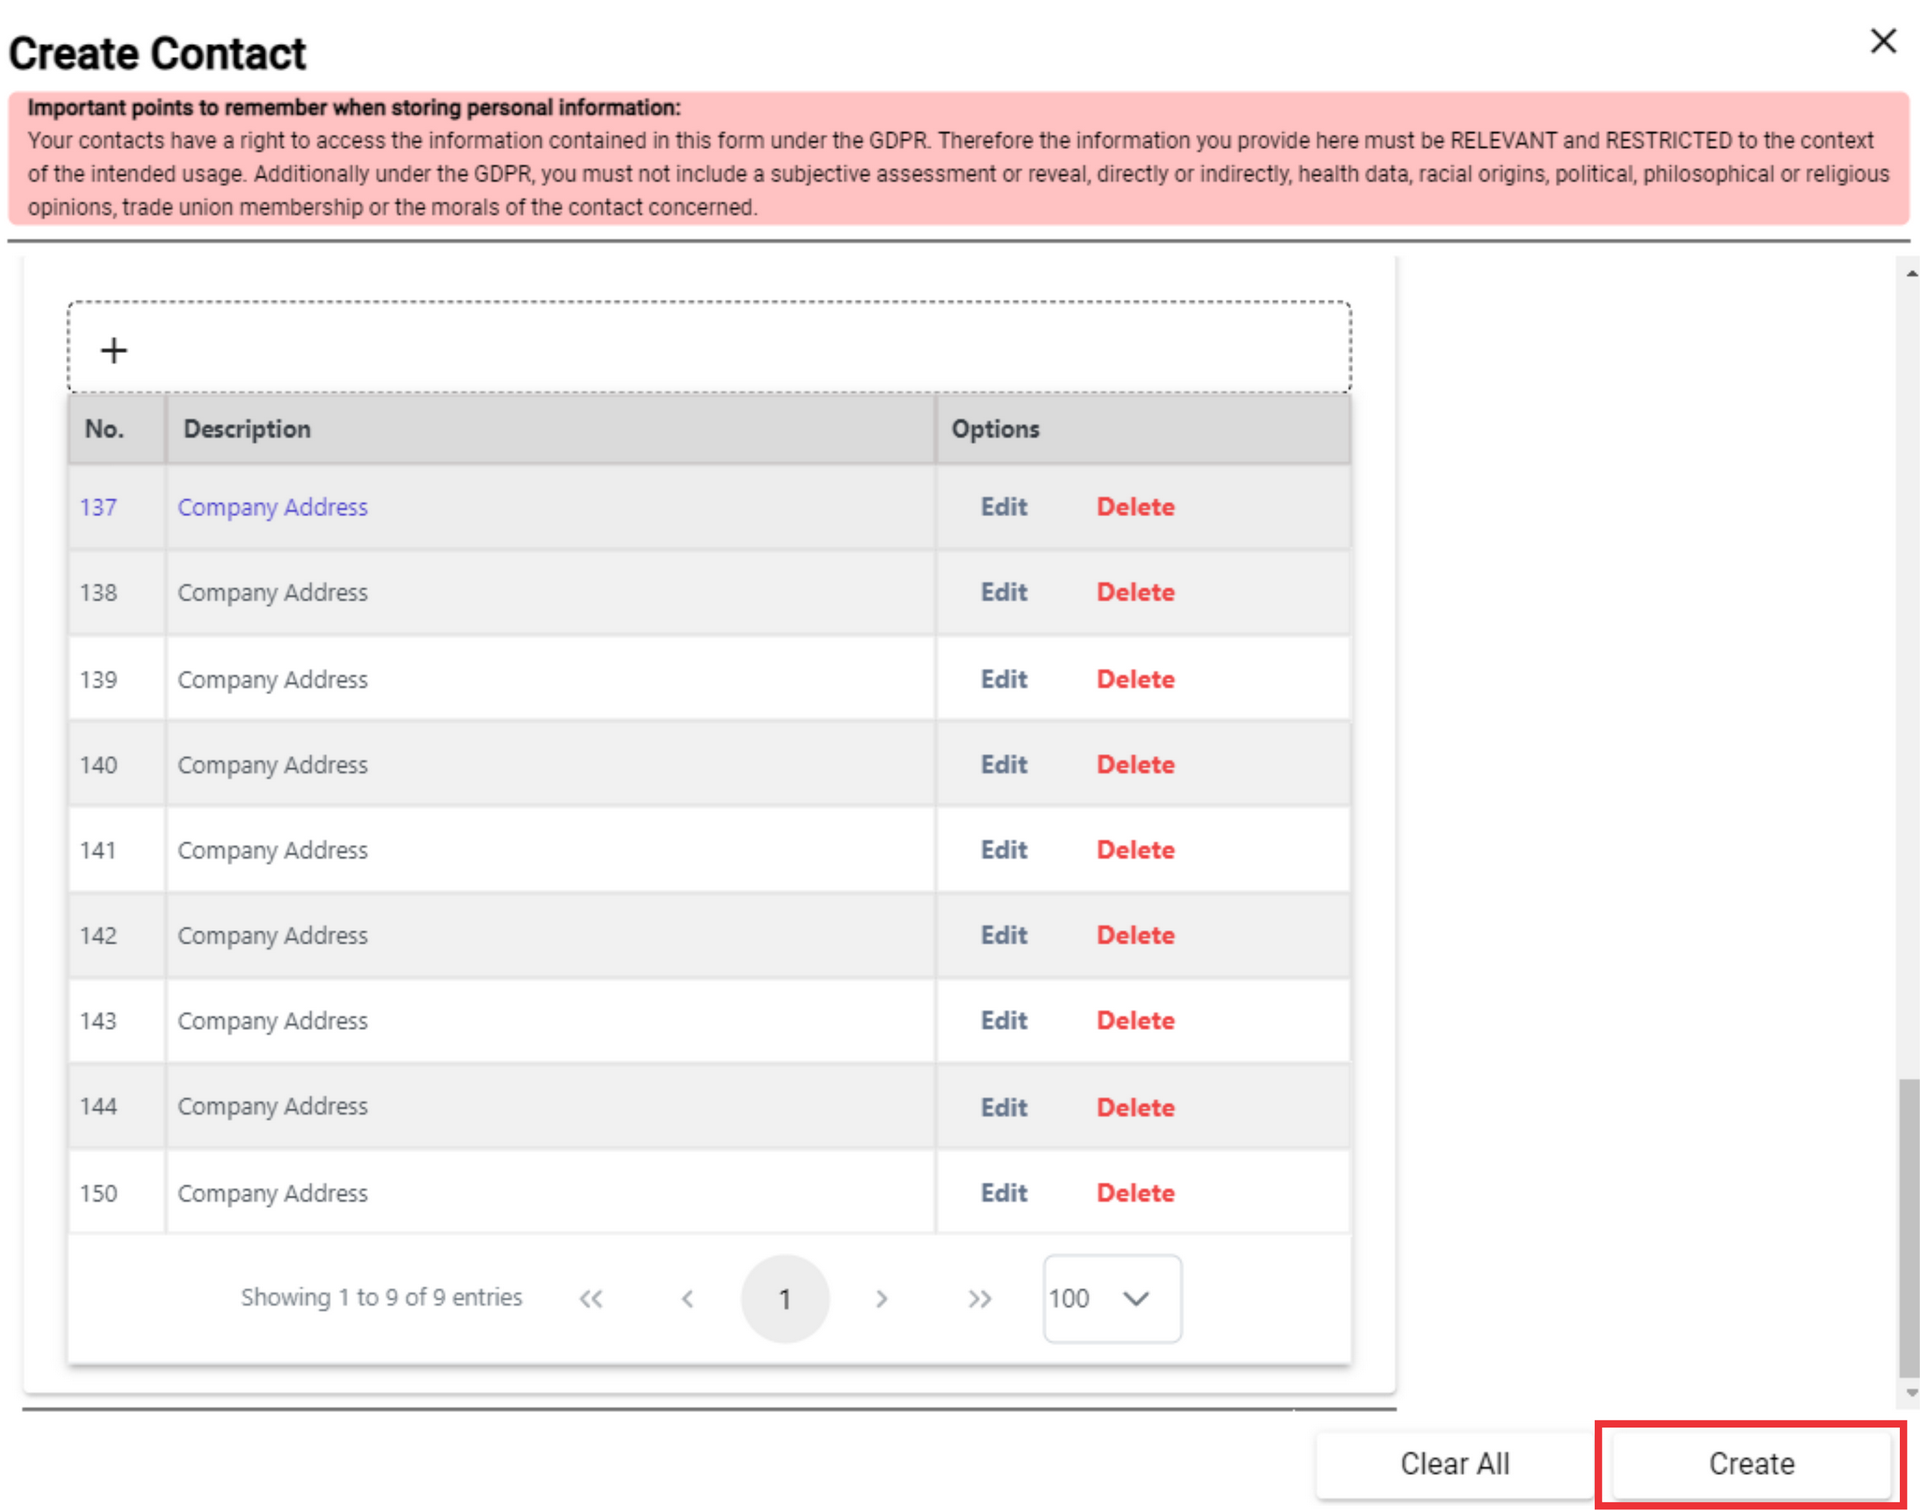
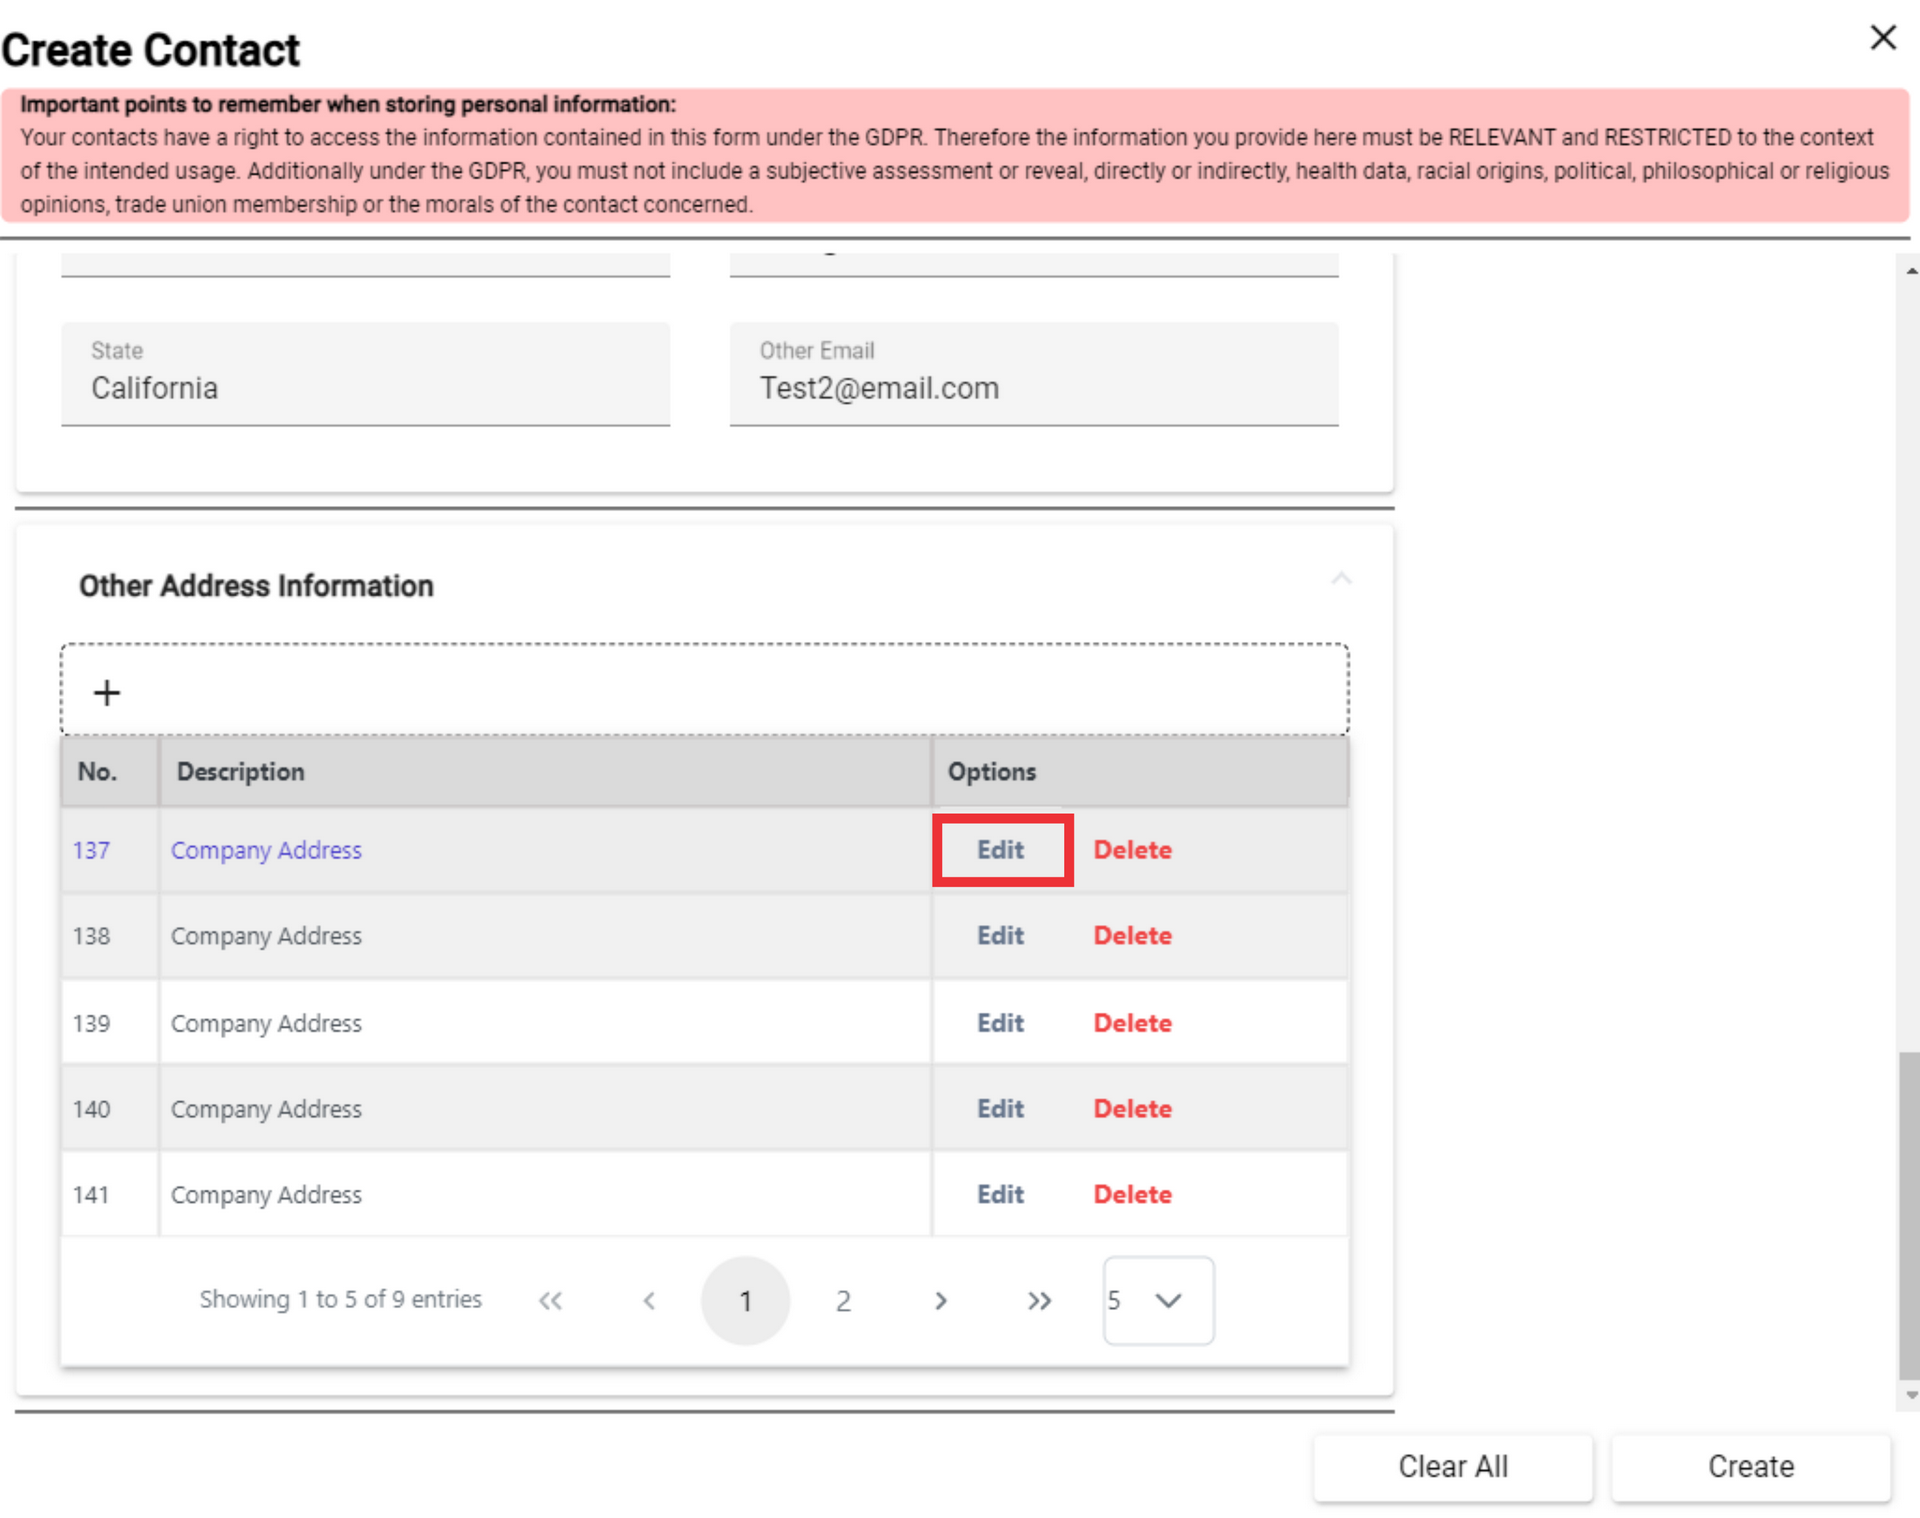
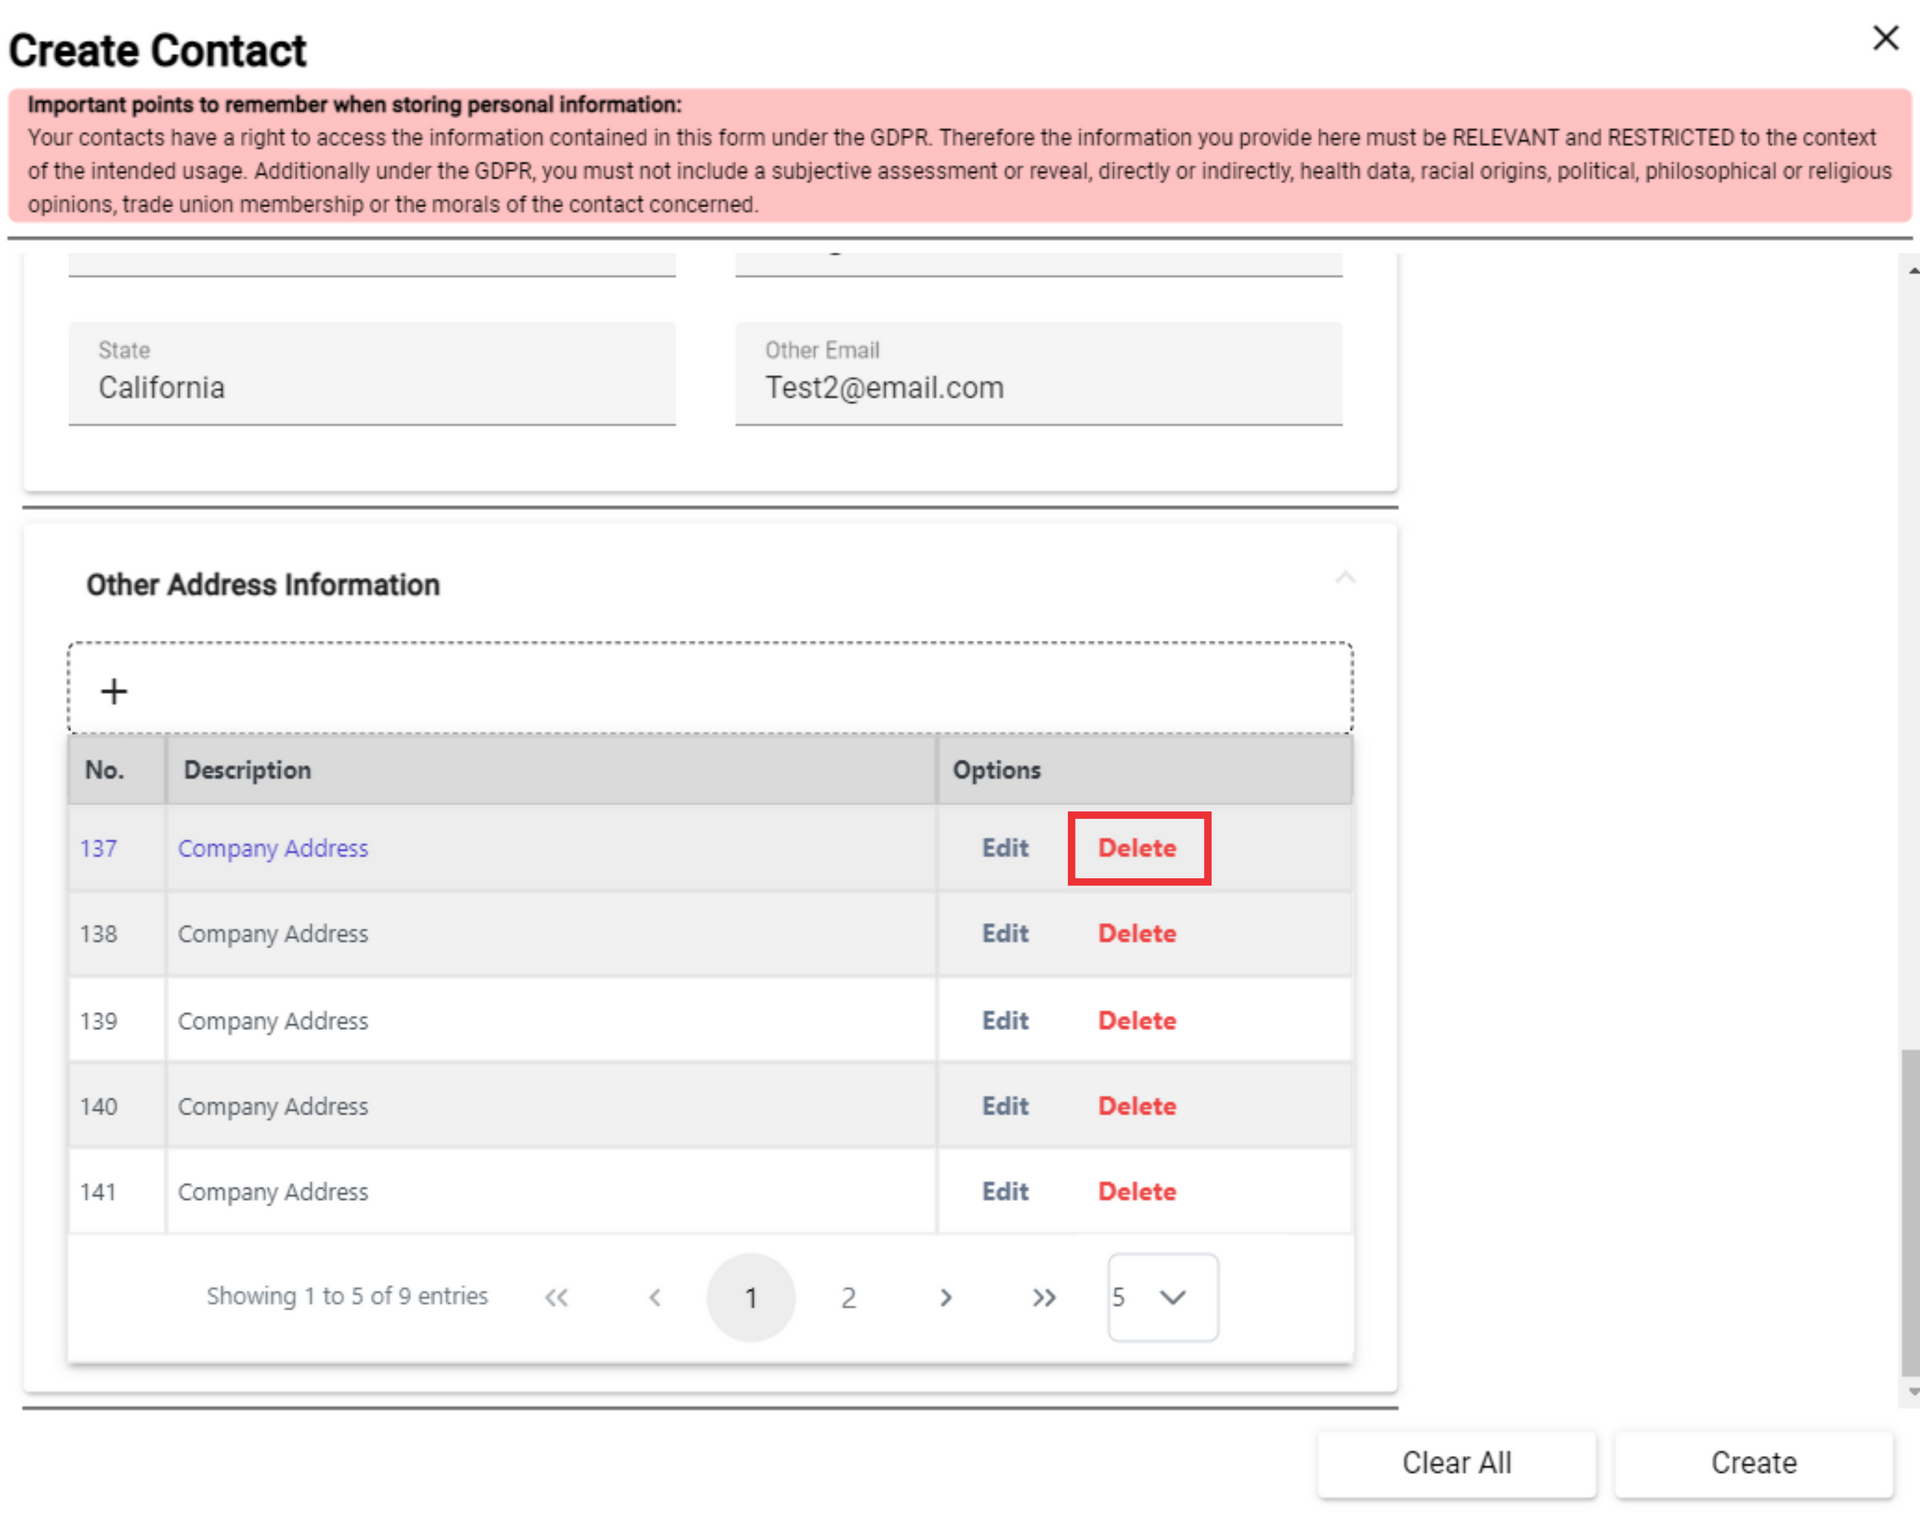
111. Type the company's other email address in the field.

112. For the view company`s address lists click the "+" button.
113. For the edit company`s address click the "Edit" button.
114. Enter the company description in the field.
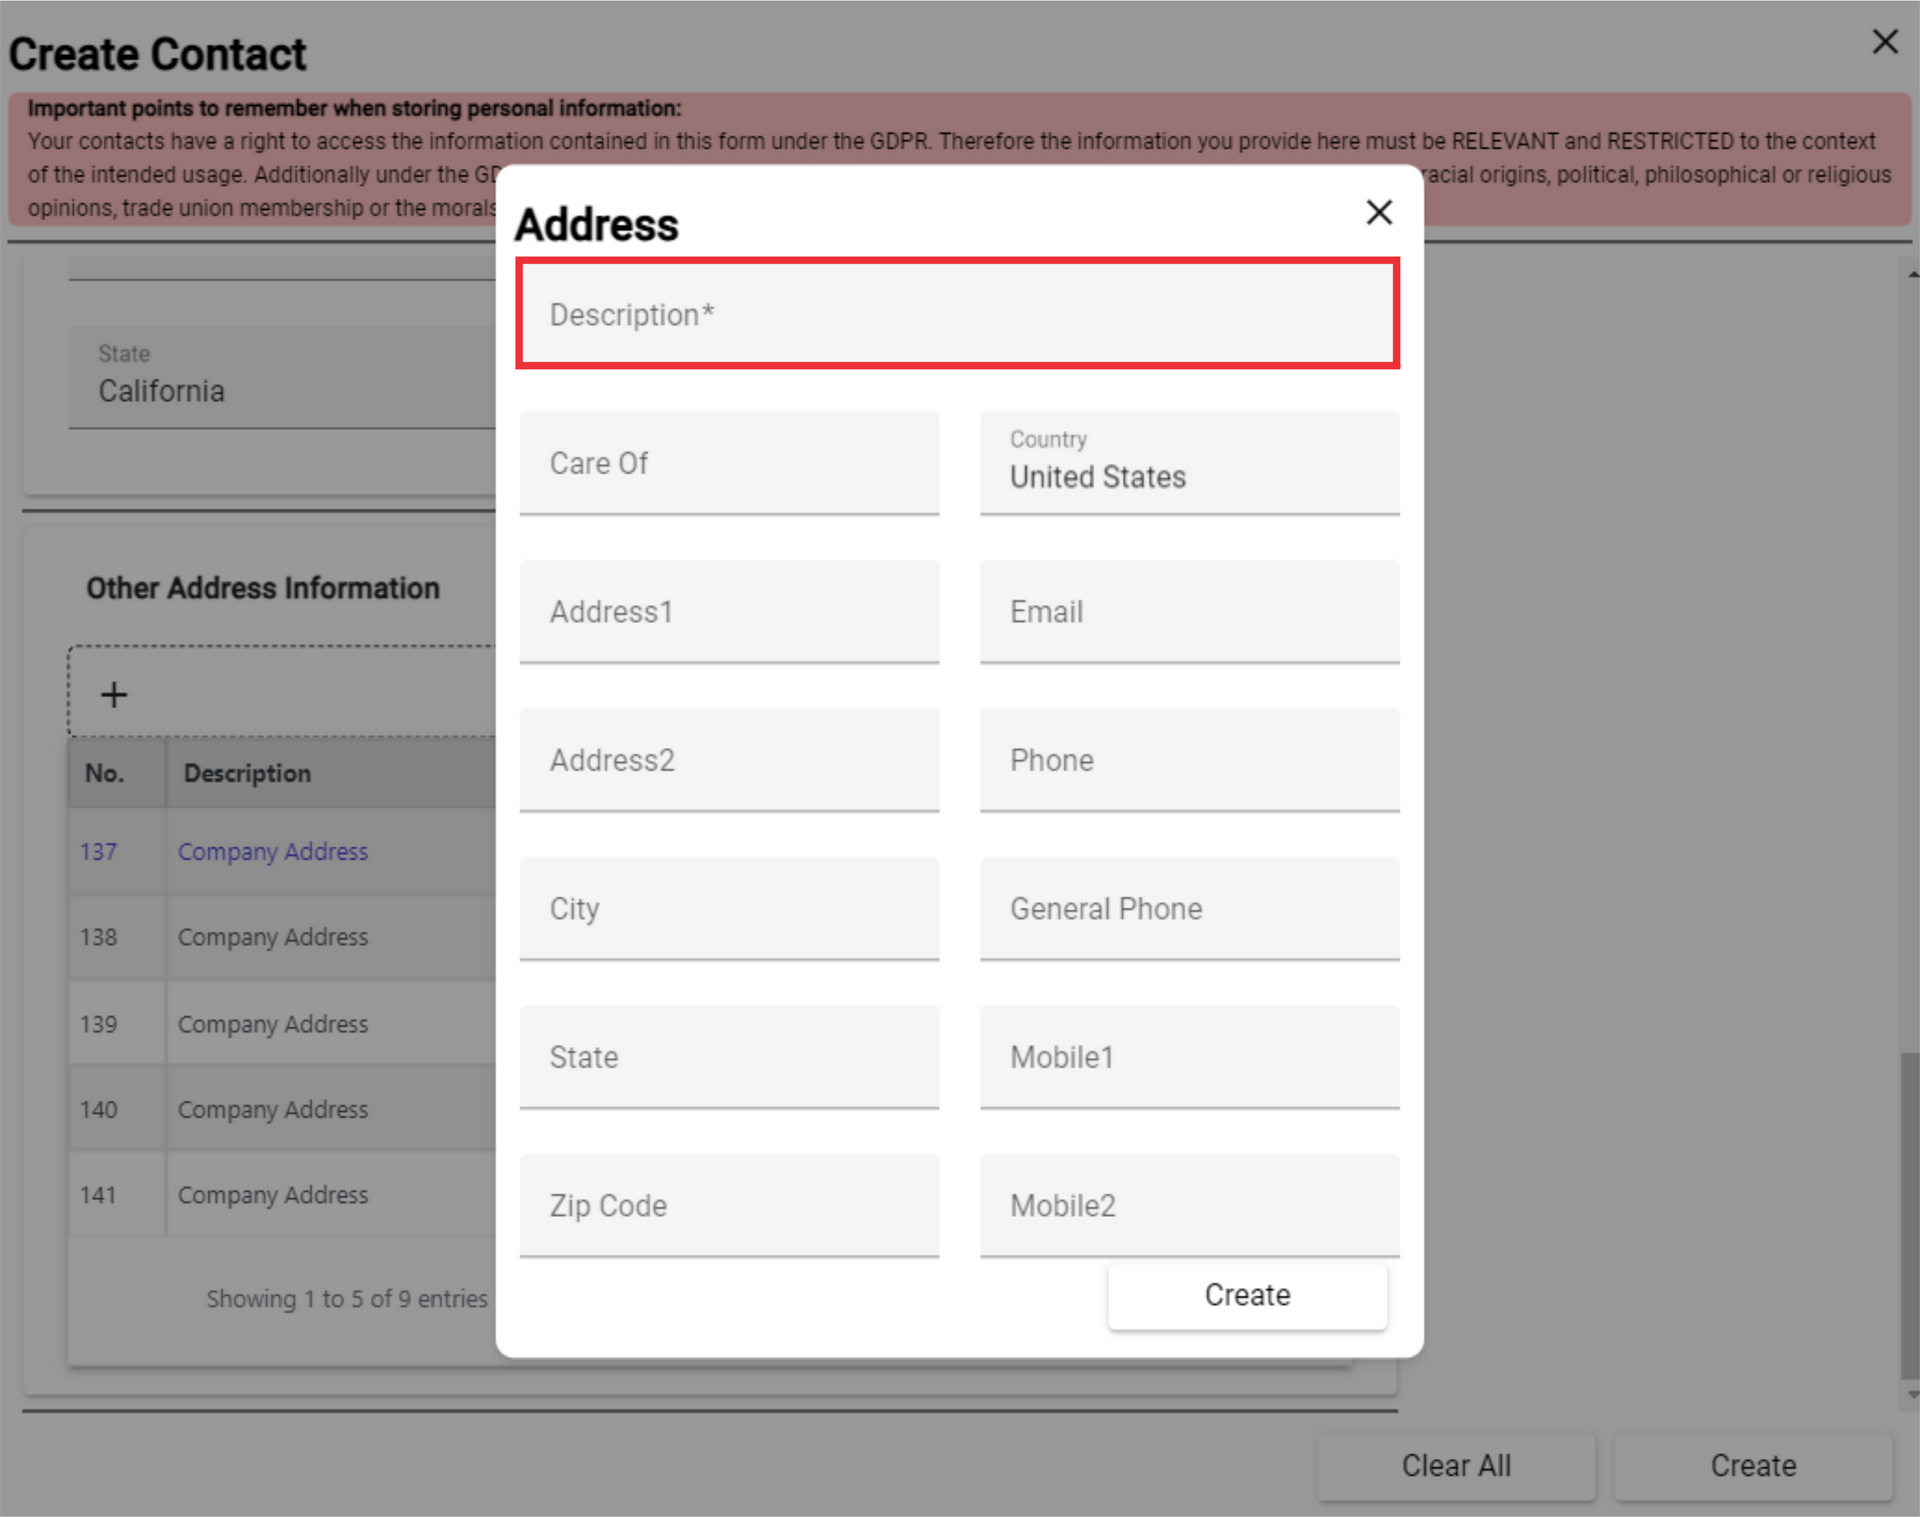
115. Enter the Care Of text in the field.
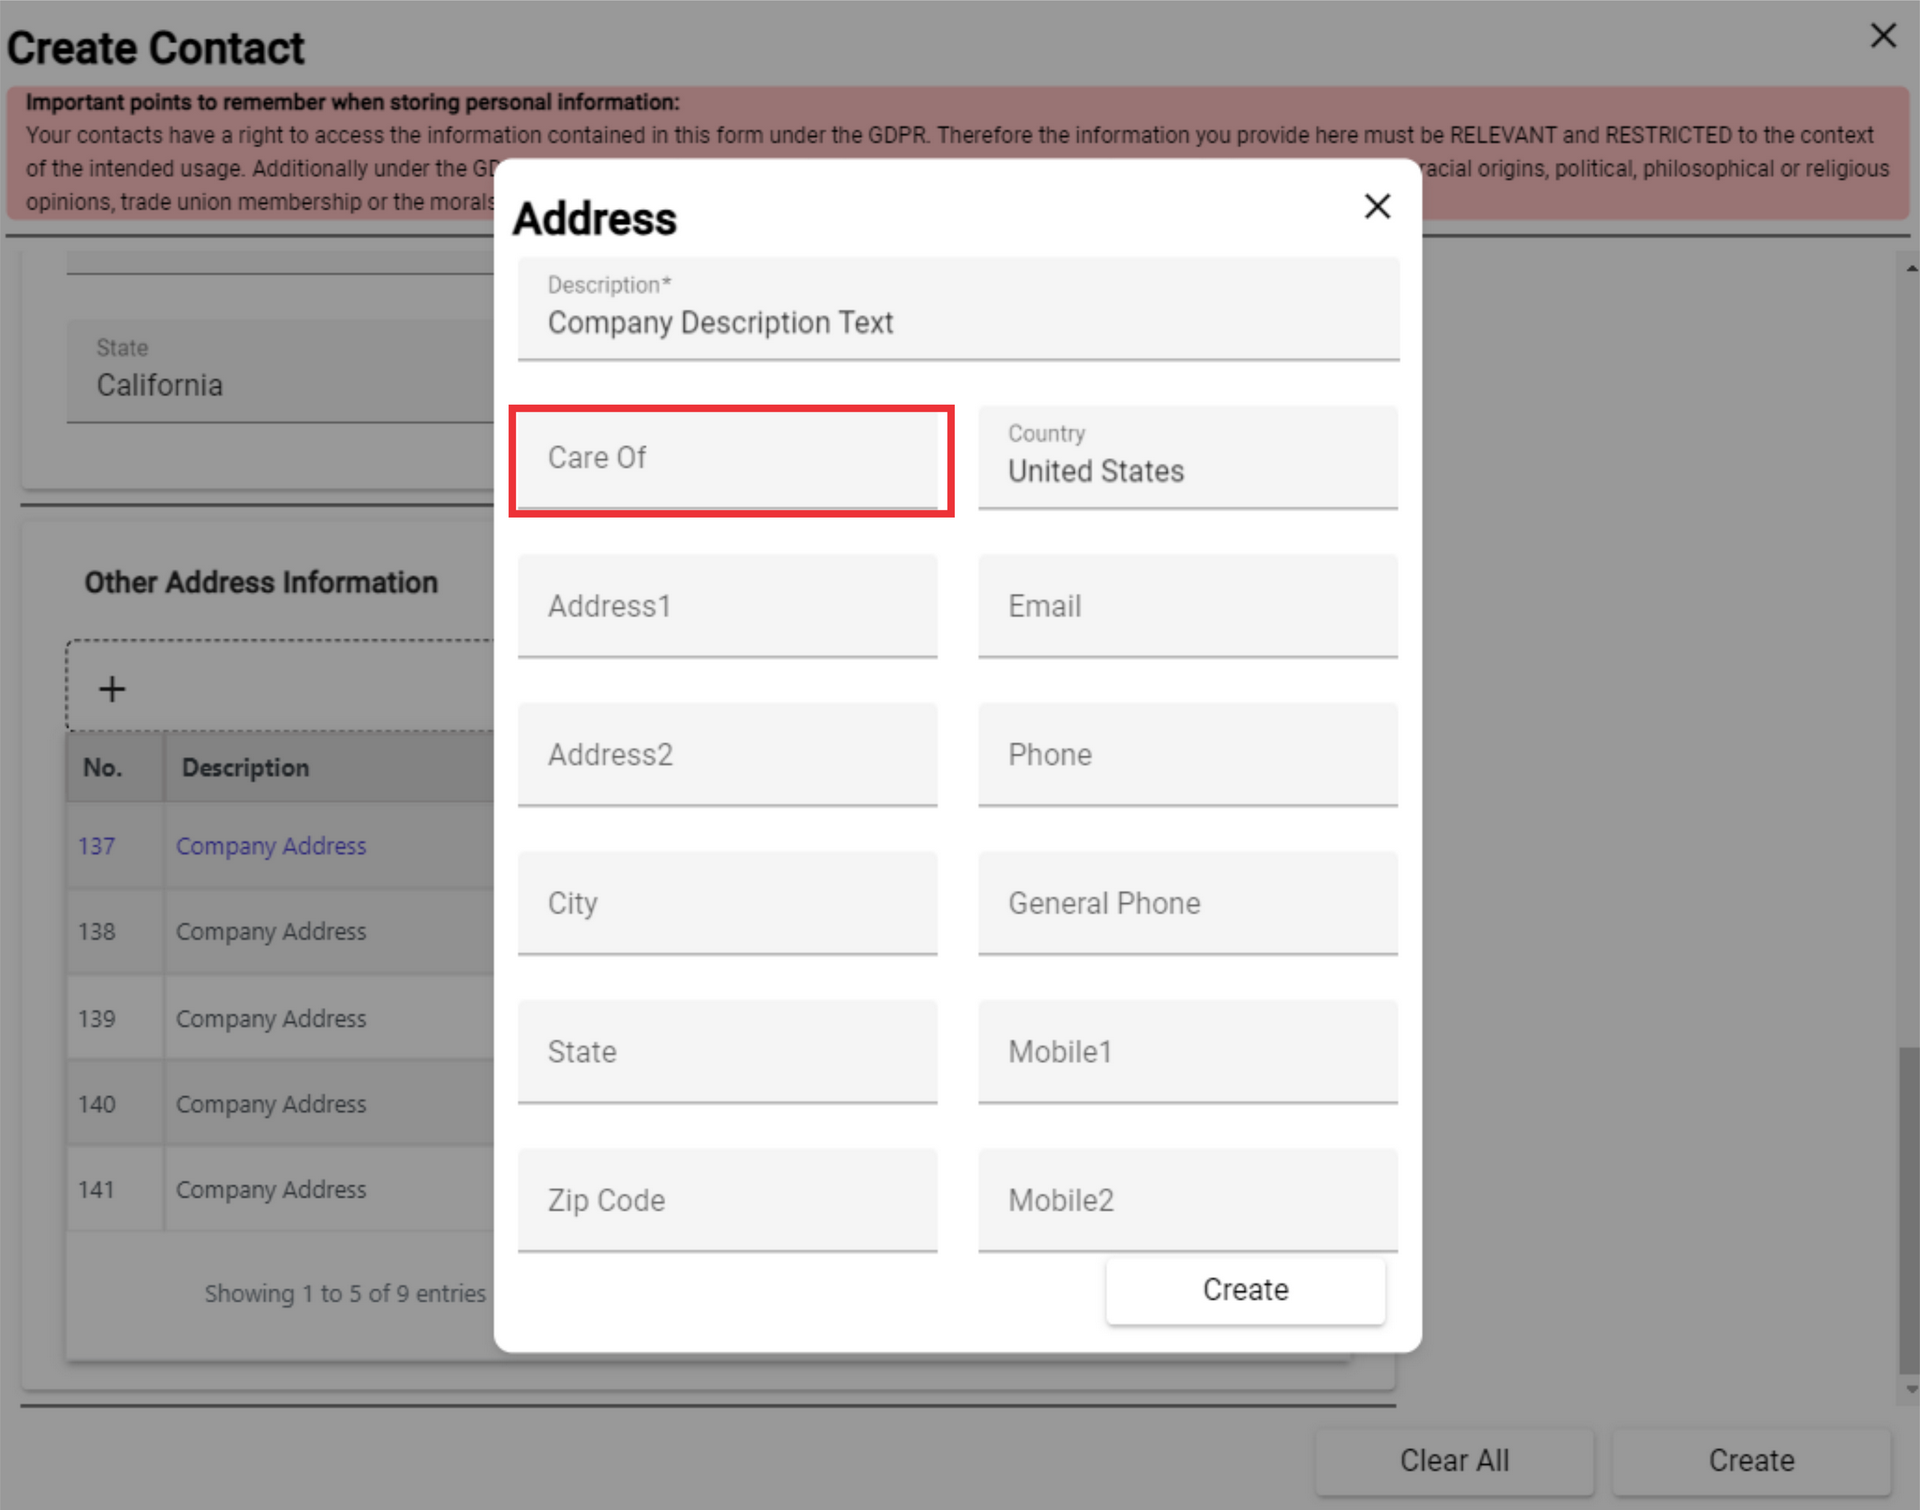
116. Write the address of the company in the field.

117. Enter the second address of the company in the field, if there is one.
 118. Enter the city where the company is located.
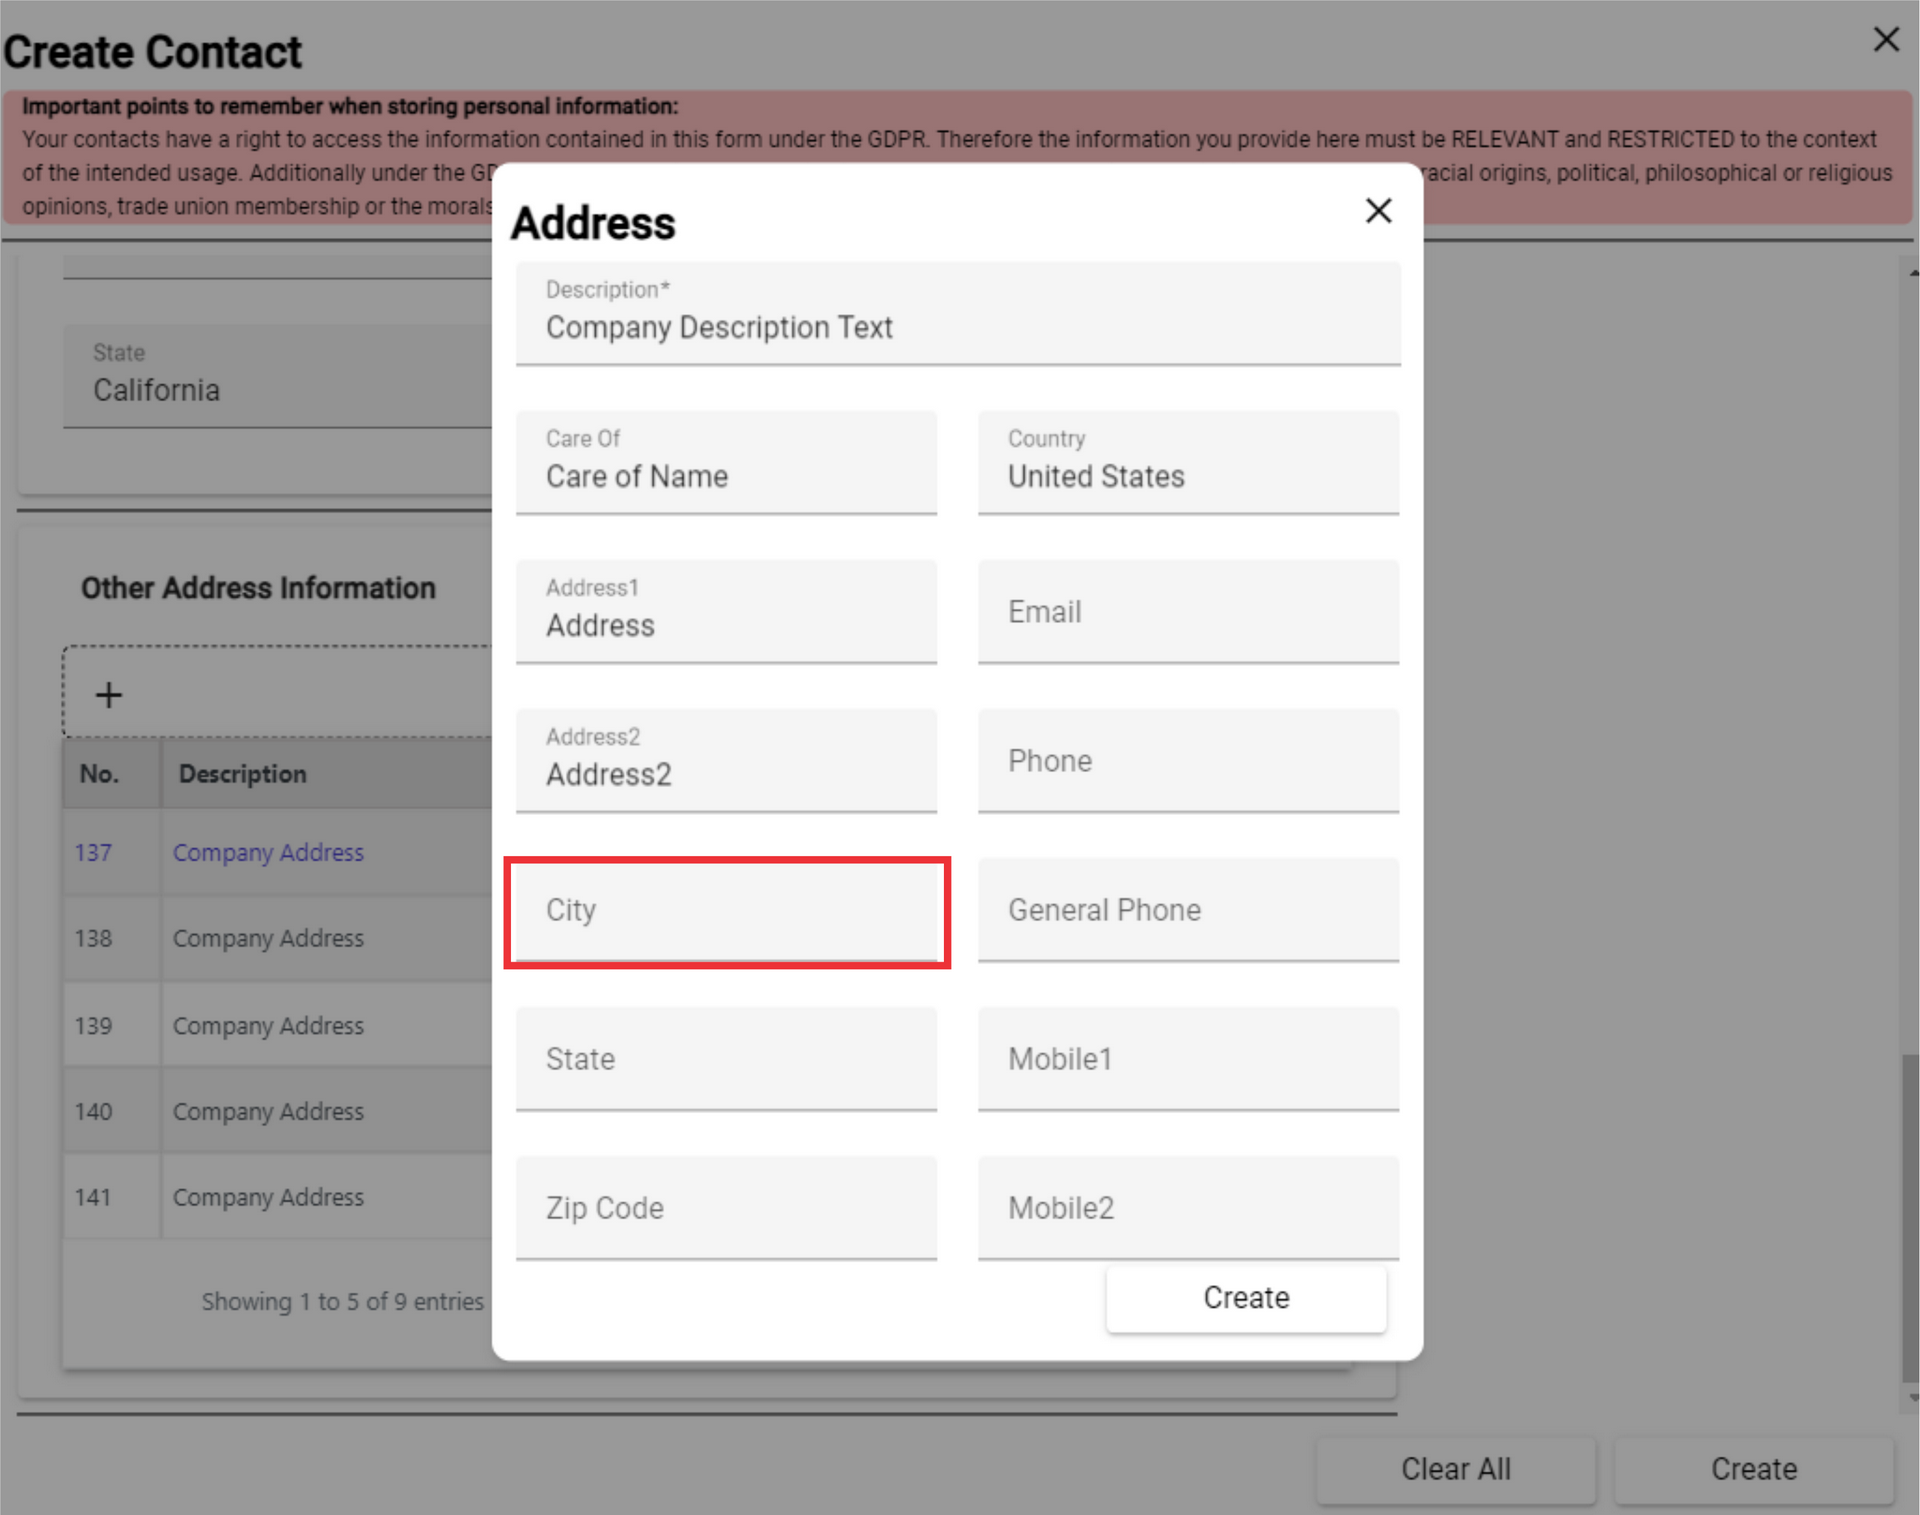
119. Click the State button to select state in which the company is located in the field.

120. Select from drop down state in which the company is located in the field.

121. Click the Country field to Choose from the drop down list country in which the company operates.

122. Choose the country from the drop down list in which the company operates.

123. Type the company's email address in the field.

124. Type the company's Phone number in the field.

125. Type the company's General Phone number in the field.

126. Type the company's Mobile phone number in the field.

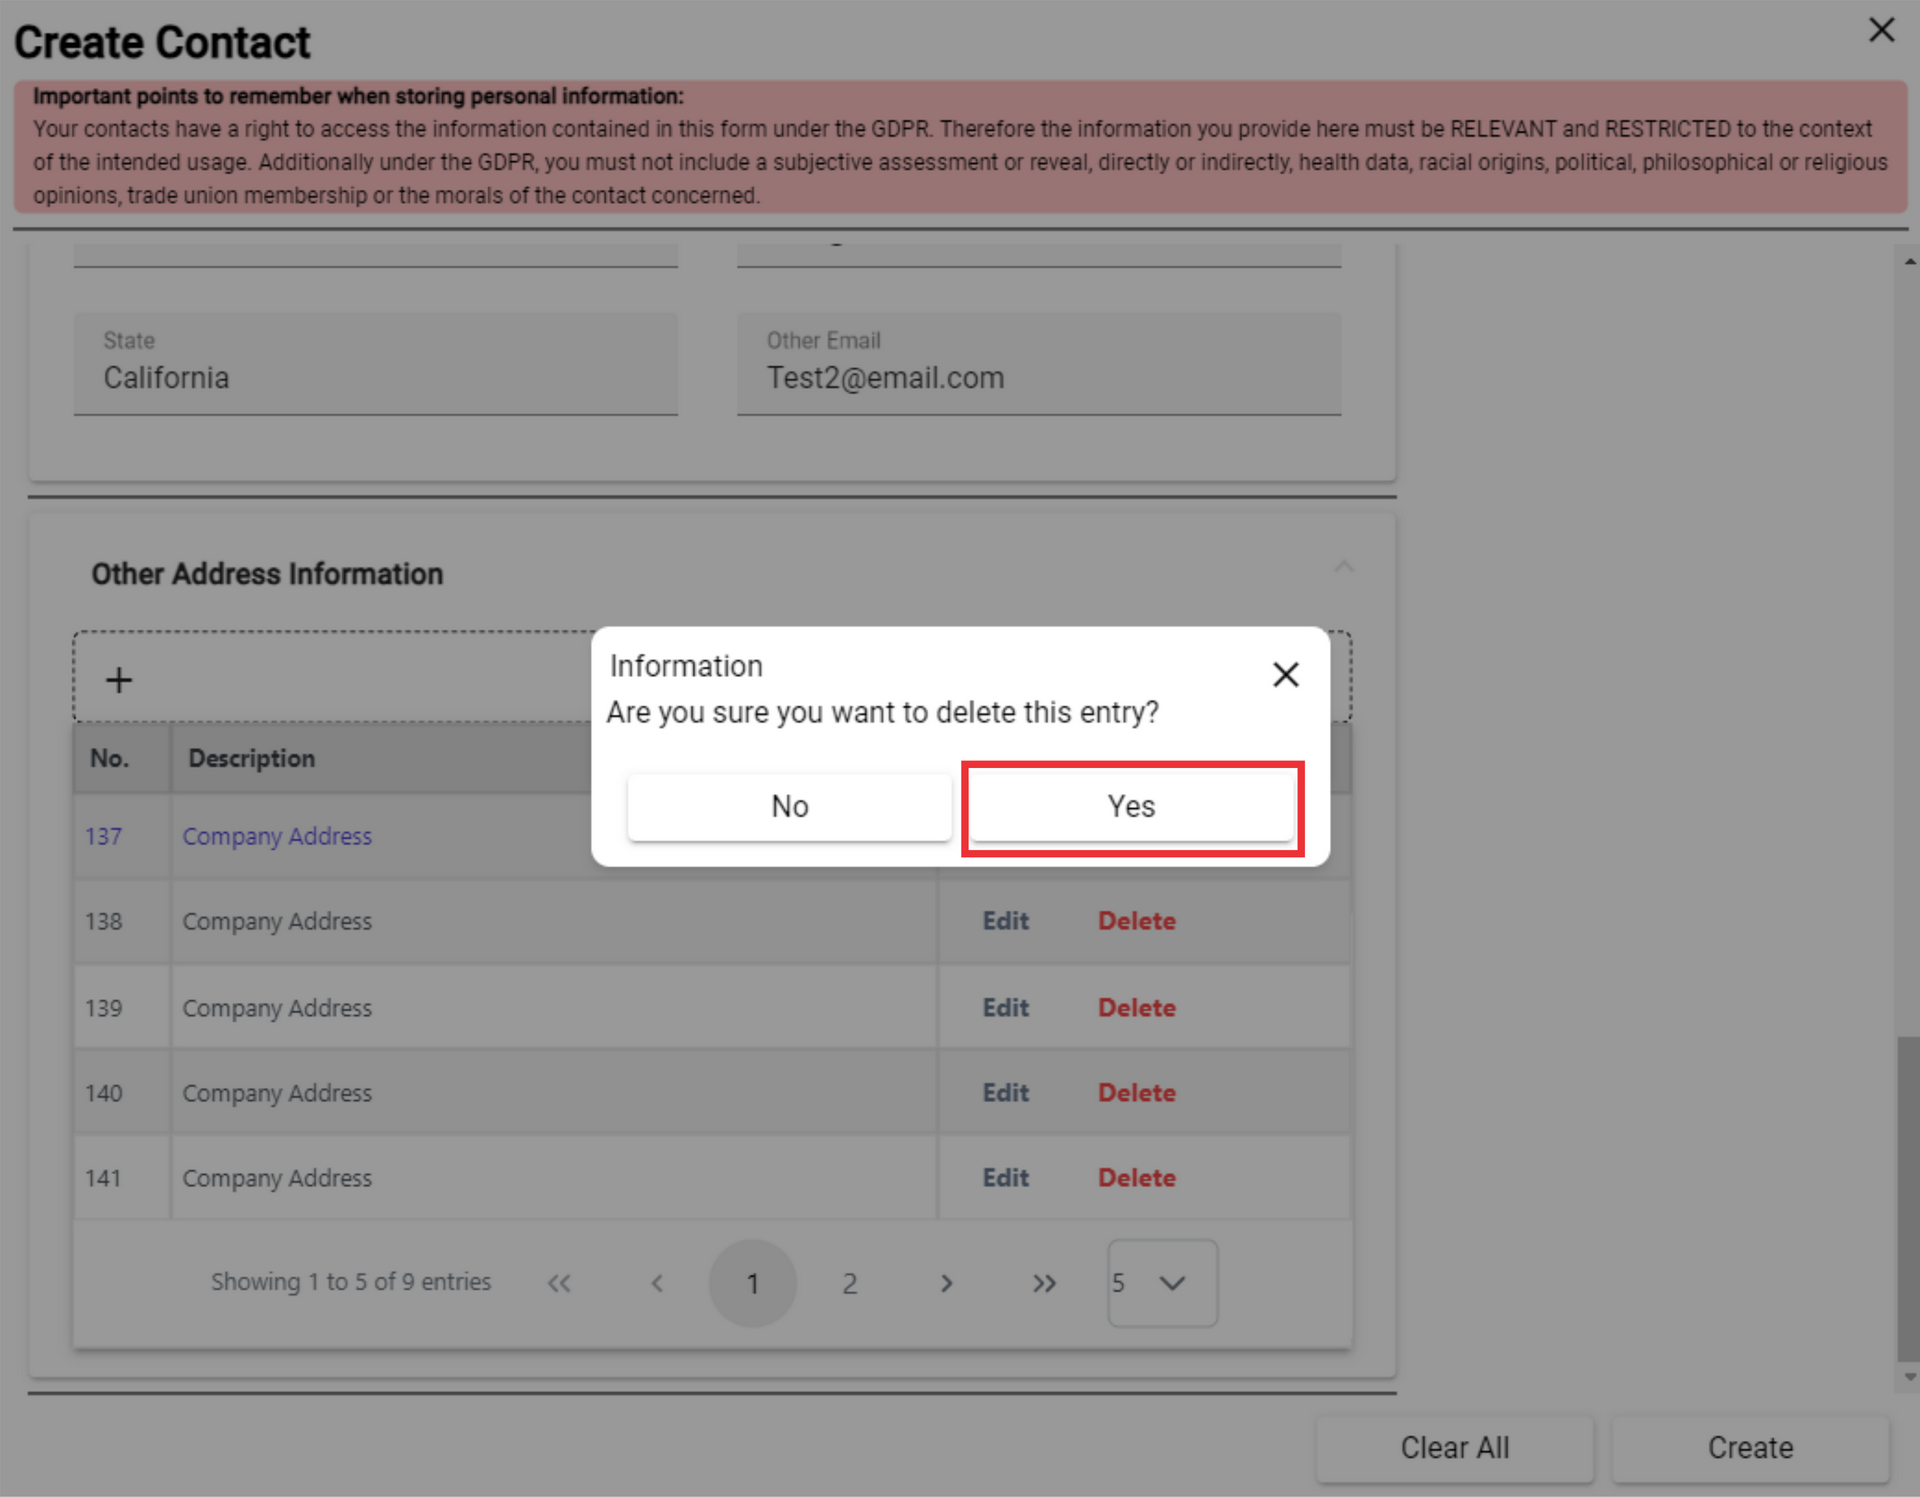
127. Type the company's Second mobile phone number in the field.

128. For the edit company address click the create button.

129. For the delete company address from the list click the "Delete" button.
 130. Click the "Yes" button to confirm.
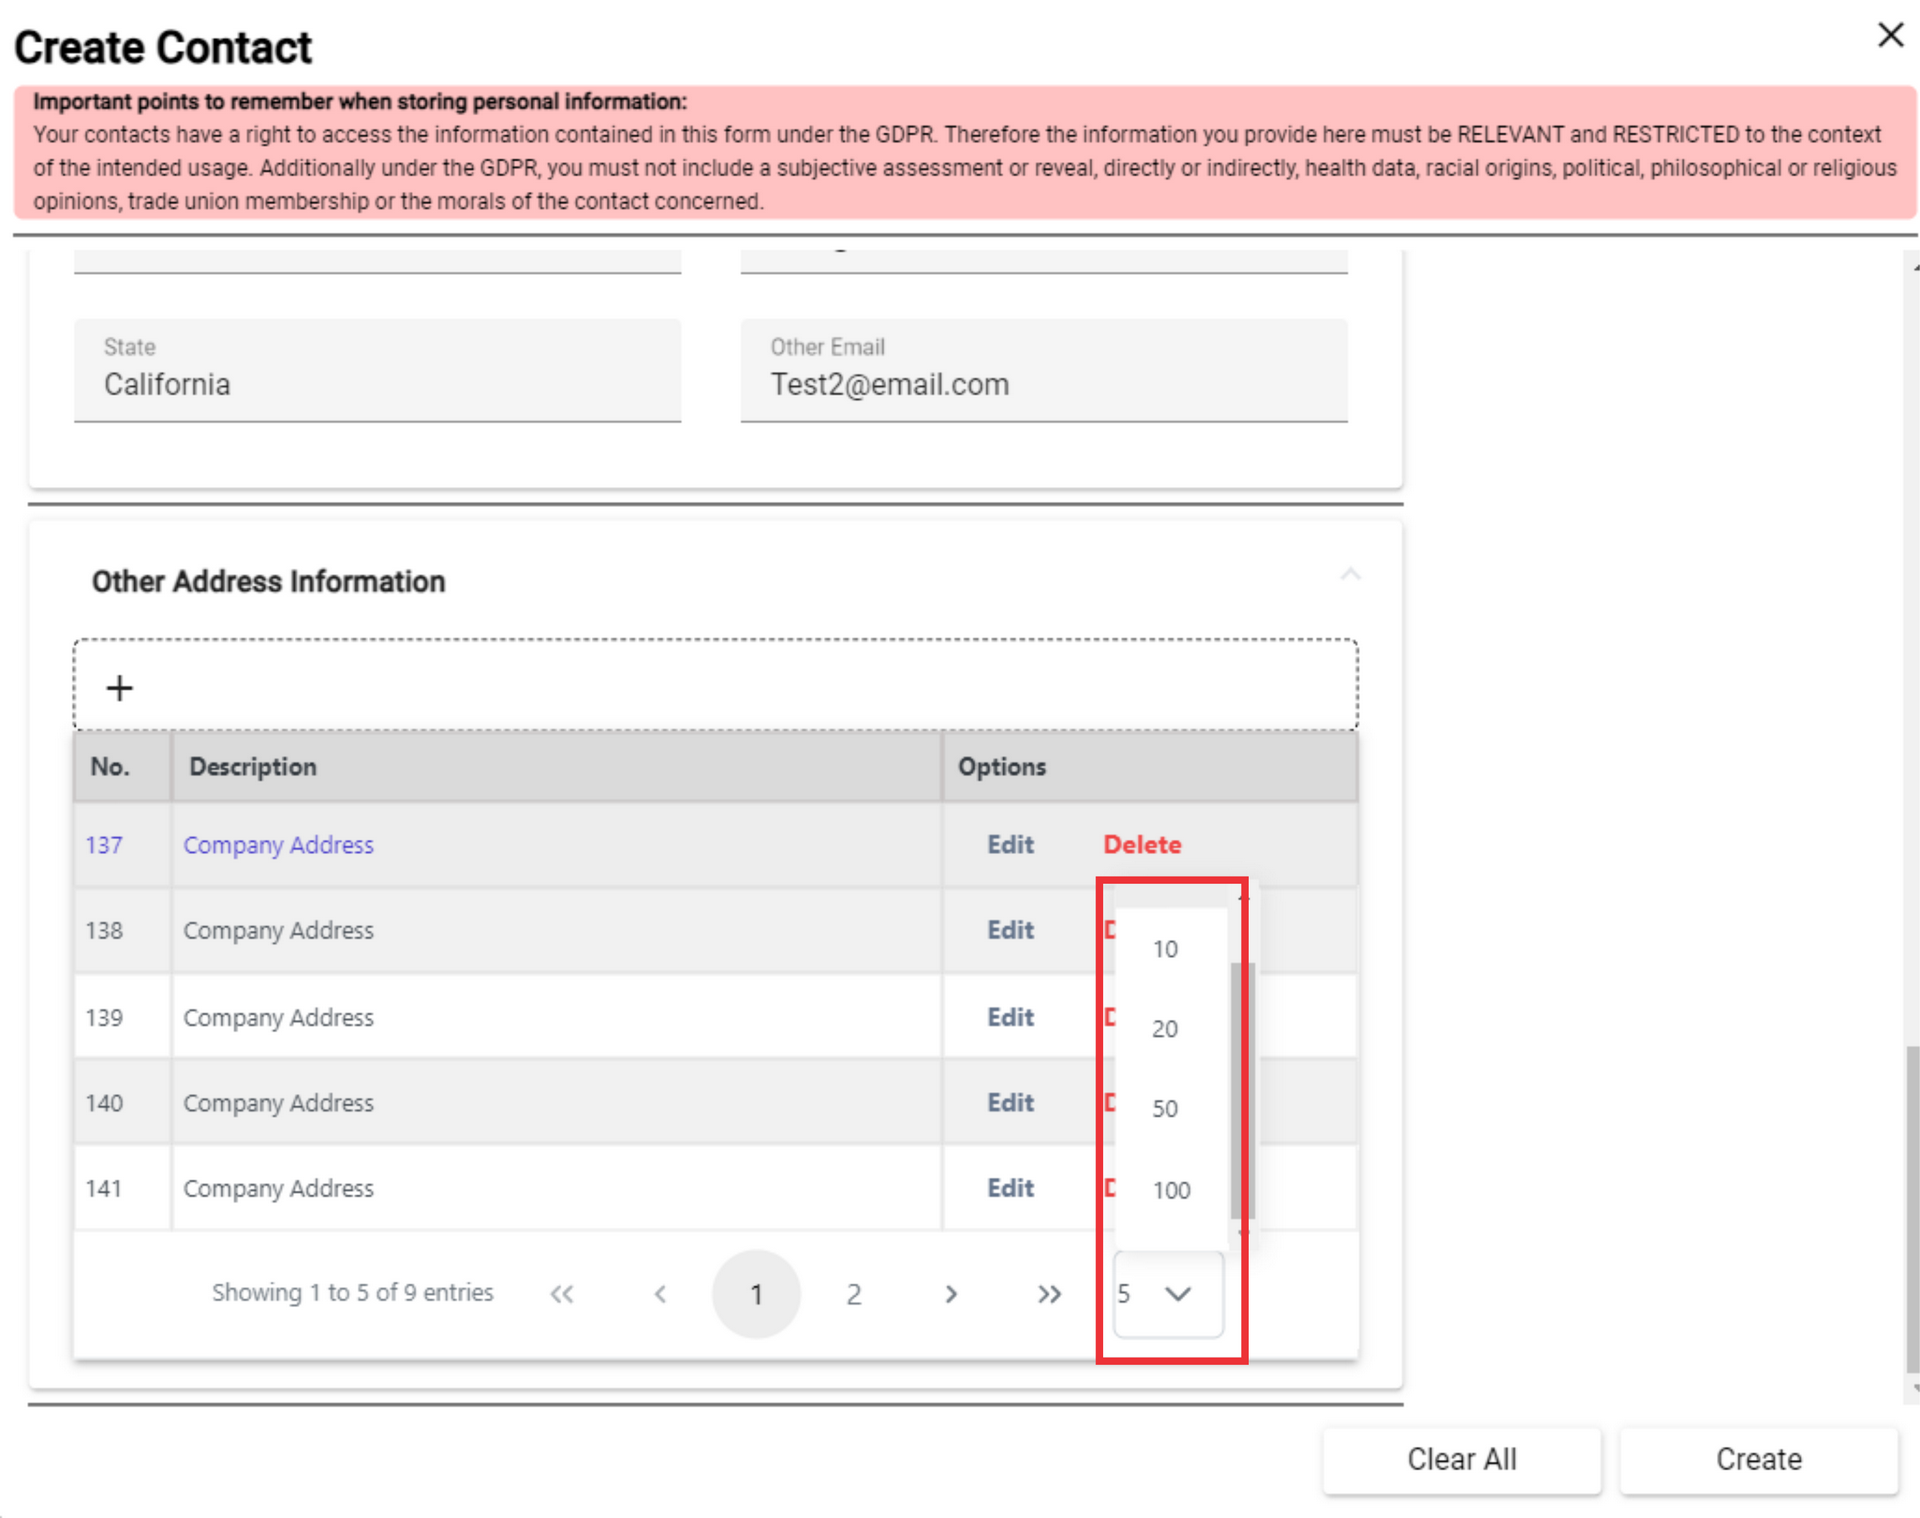
131. To view the next page of the company's address list, click the next page button.

132. To change the number of company addresses on one page, press the number button and select the desired number.
133. For the Create New contact click the "Create" button.