This section is used to prepare your order by grouping the samples together and preparing them for shipment, including documentation.
Follow the step-by-step instructions:
1. Click the Samples button to enter the application.

2. Click the Send Out button to open the menu.

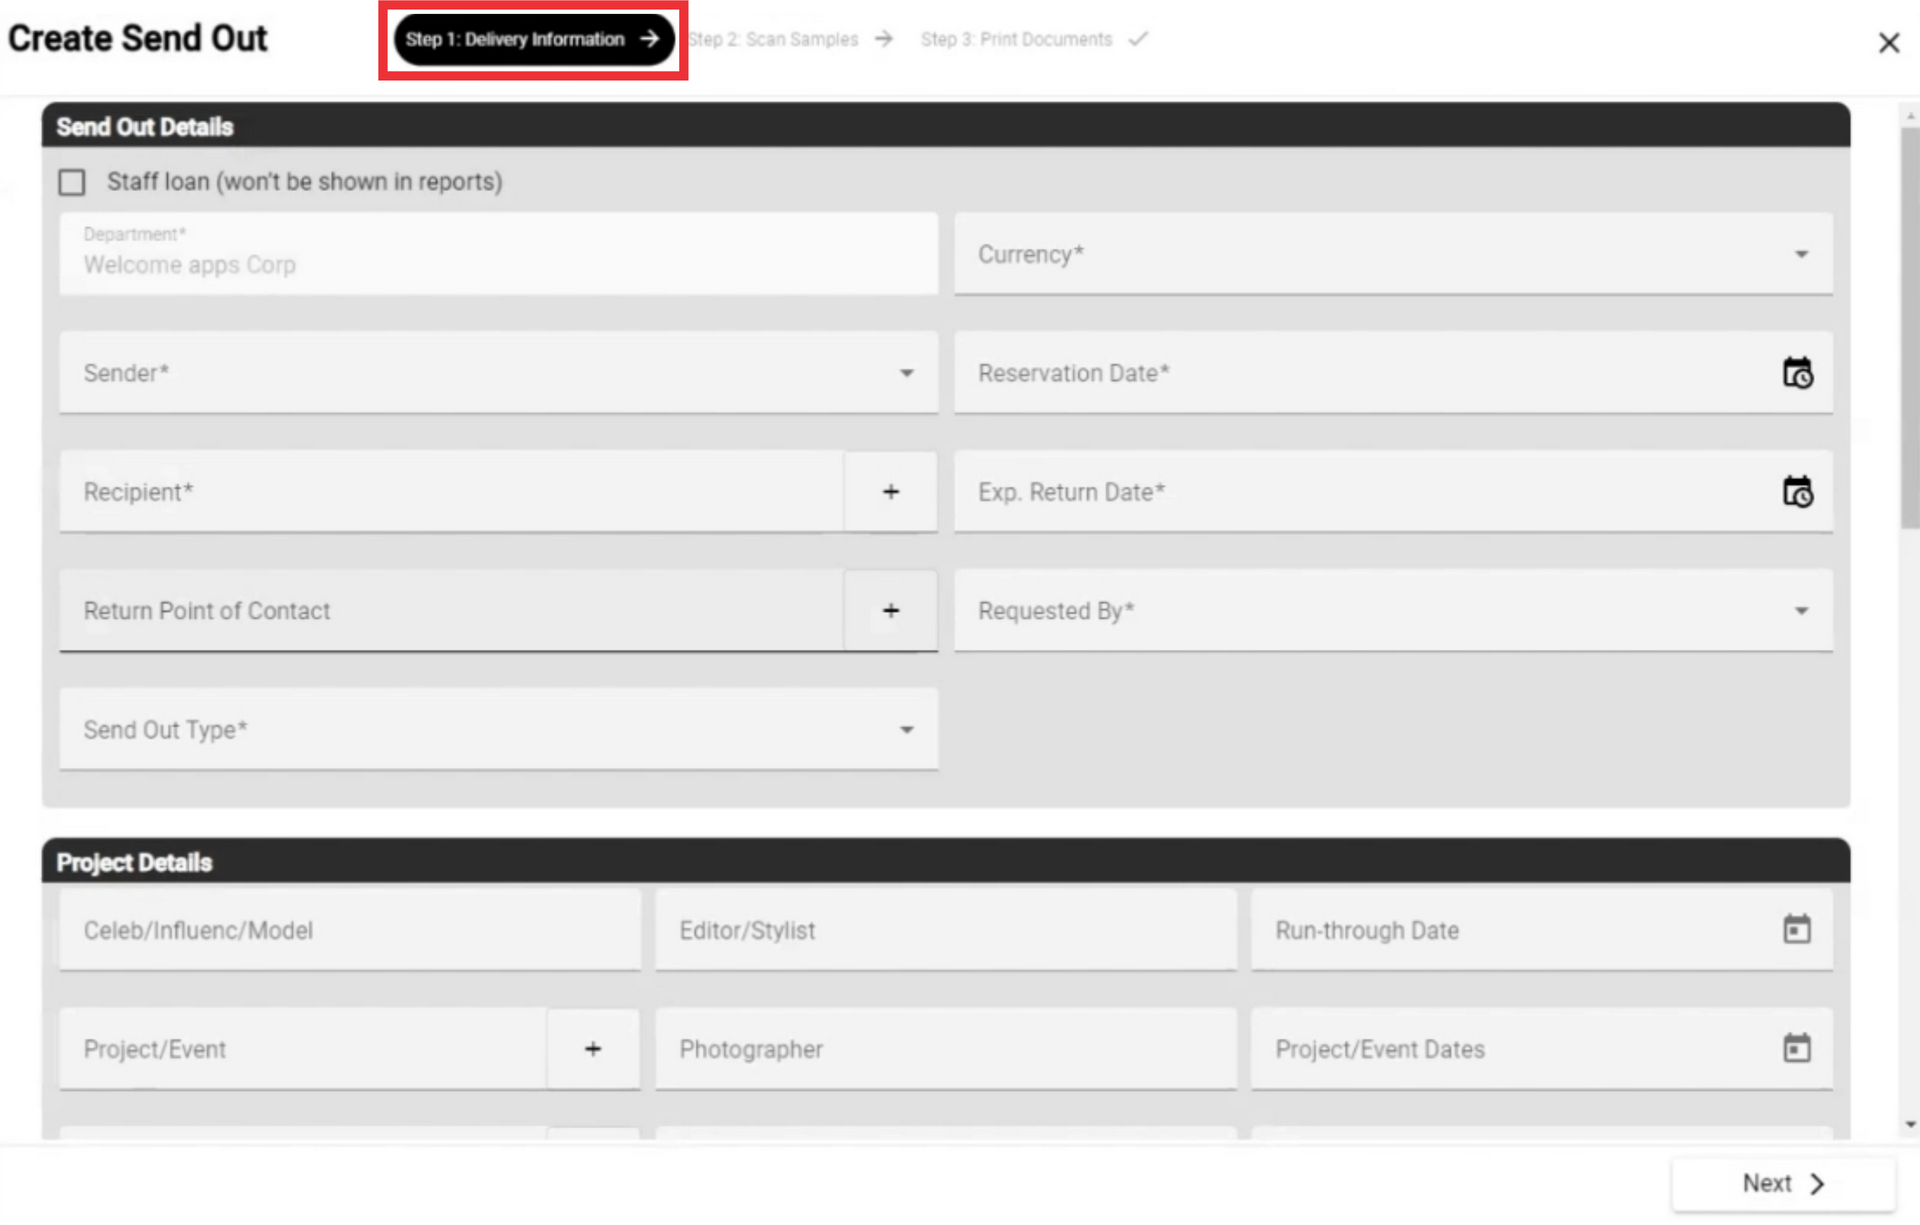
3. Click the Create Send Out button.

4. The first step in the menu that appears is the information about the sender and receiver. In this section, you will also be able to create or edit existing company or contacts from scratch.
5. This form is used only if you are not going to send the sample and you or your employee temporarily receives it for some manipulations.

6. Select your department from the list if you own two or more. If there is one, the department will be marked automatically.

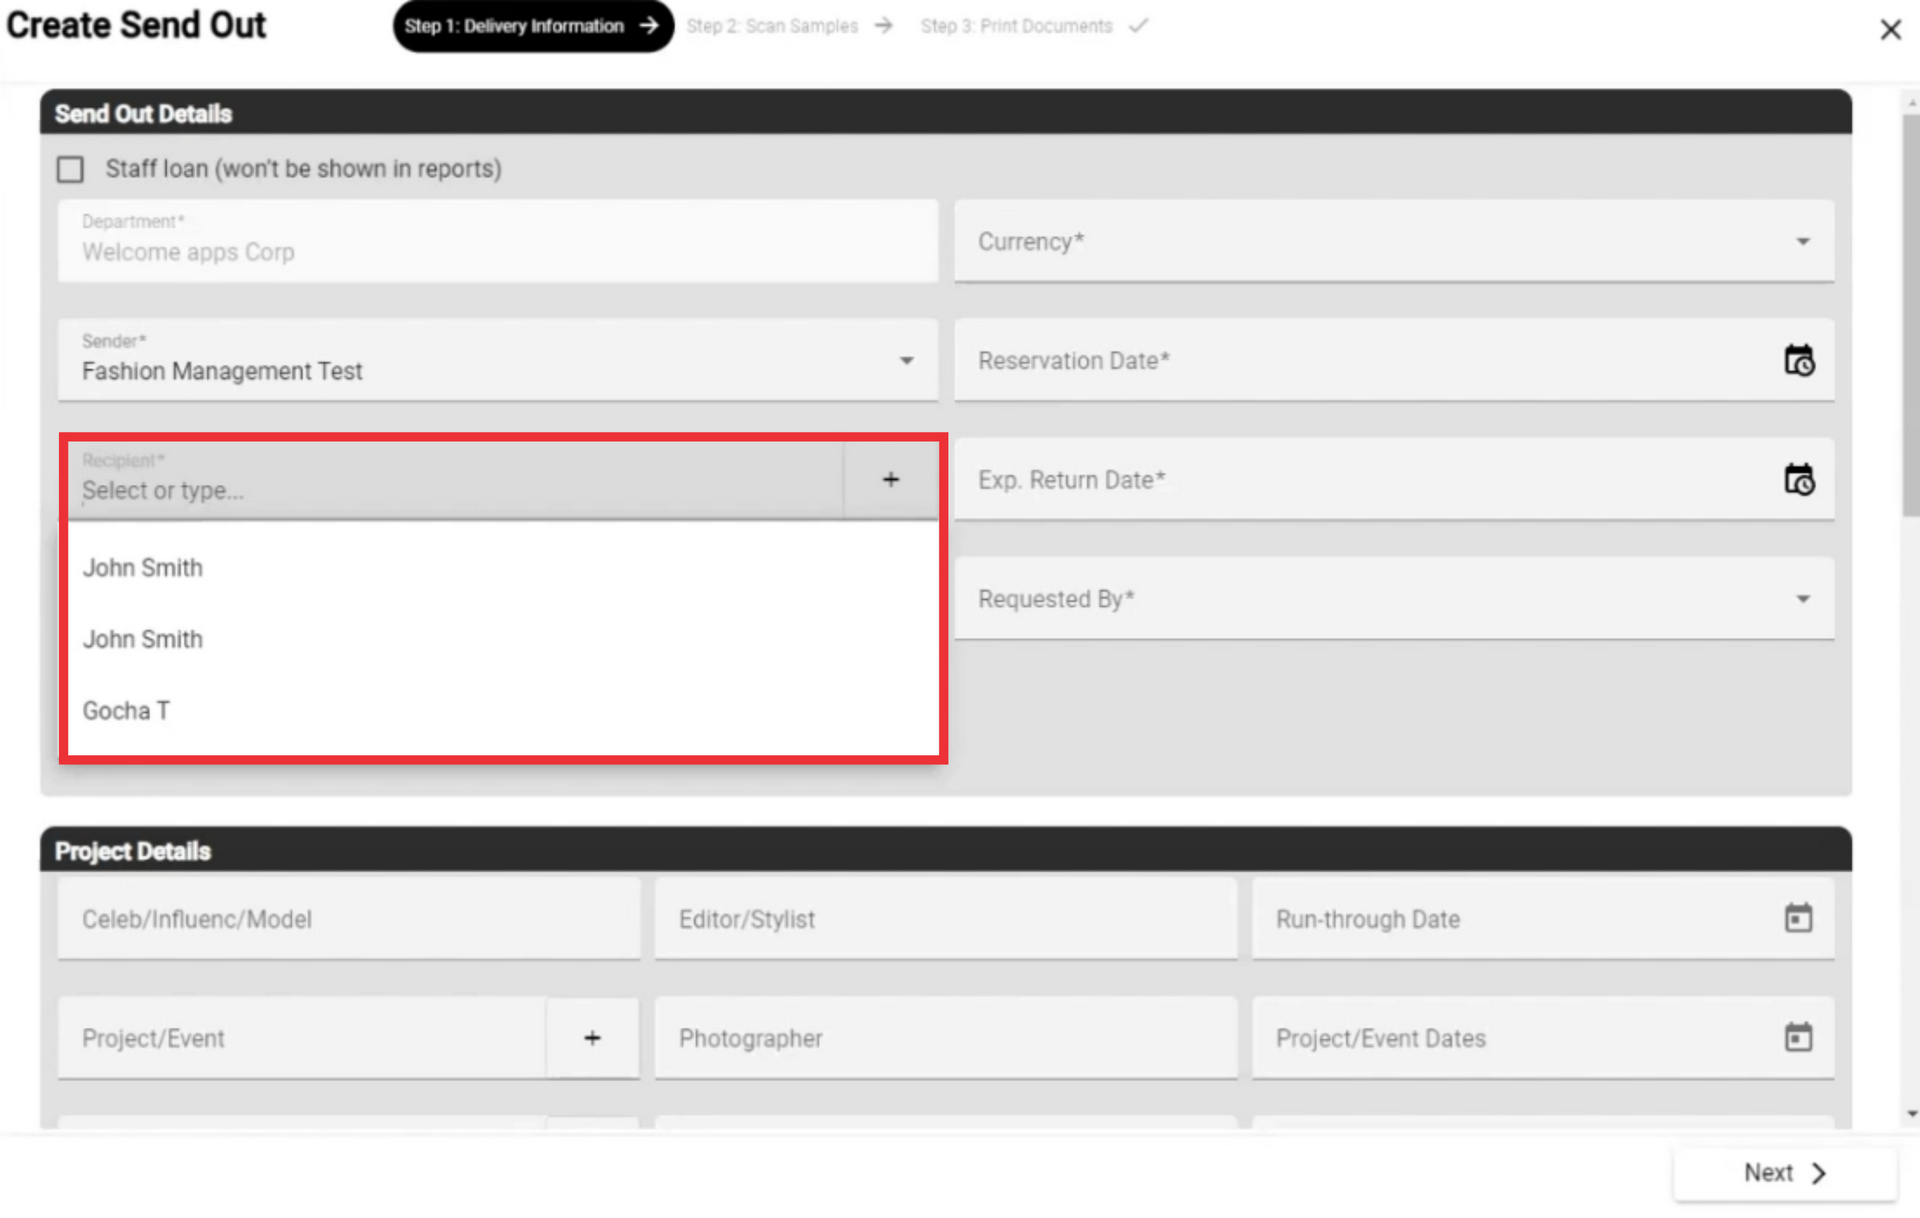
7. Choose the sender from the list.

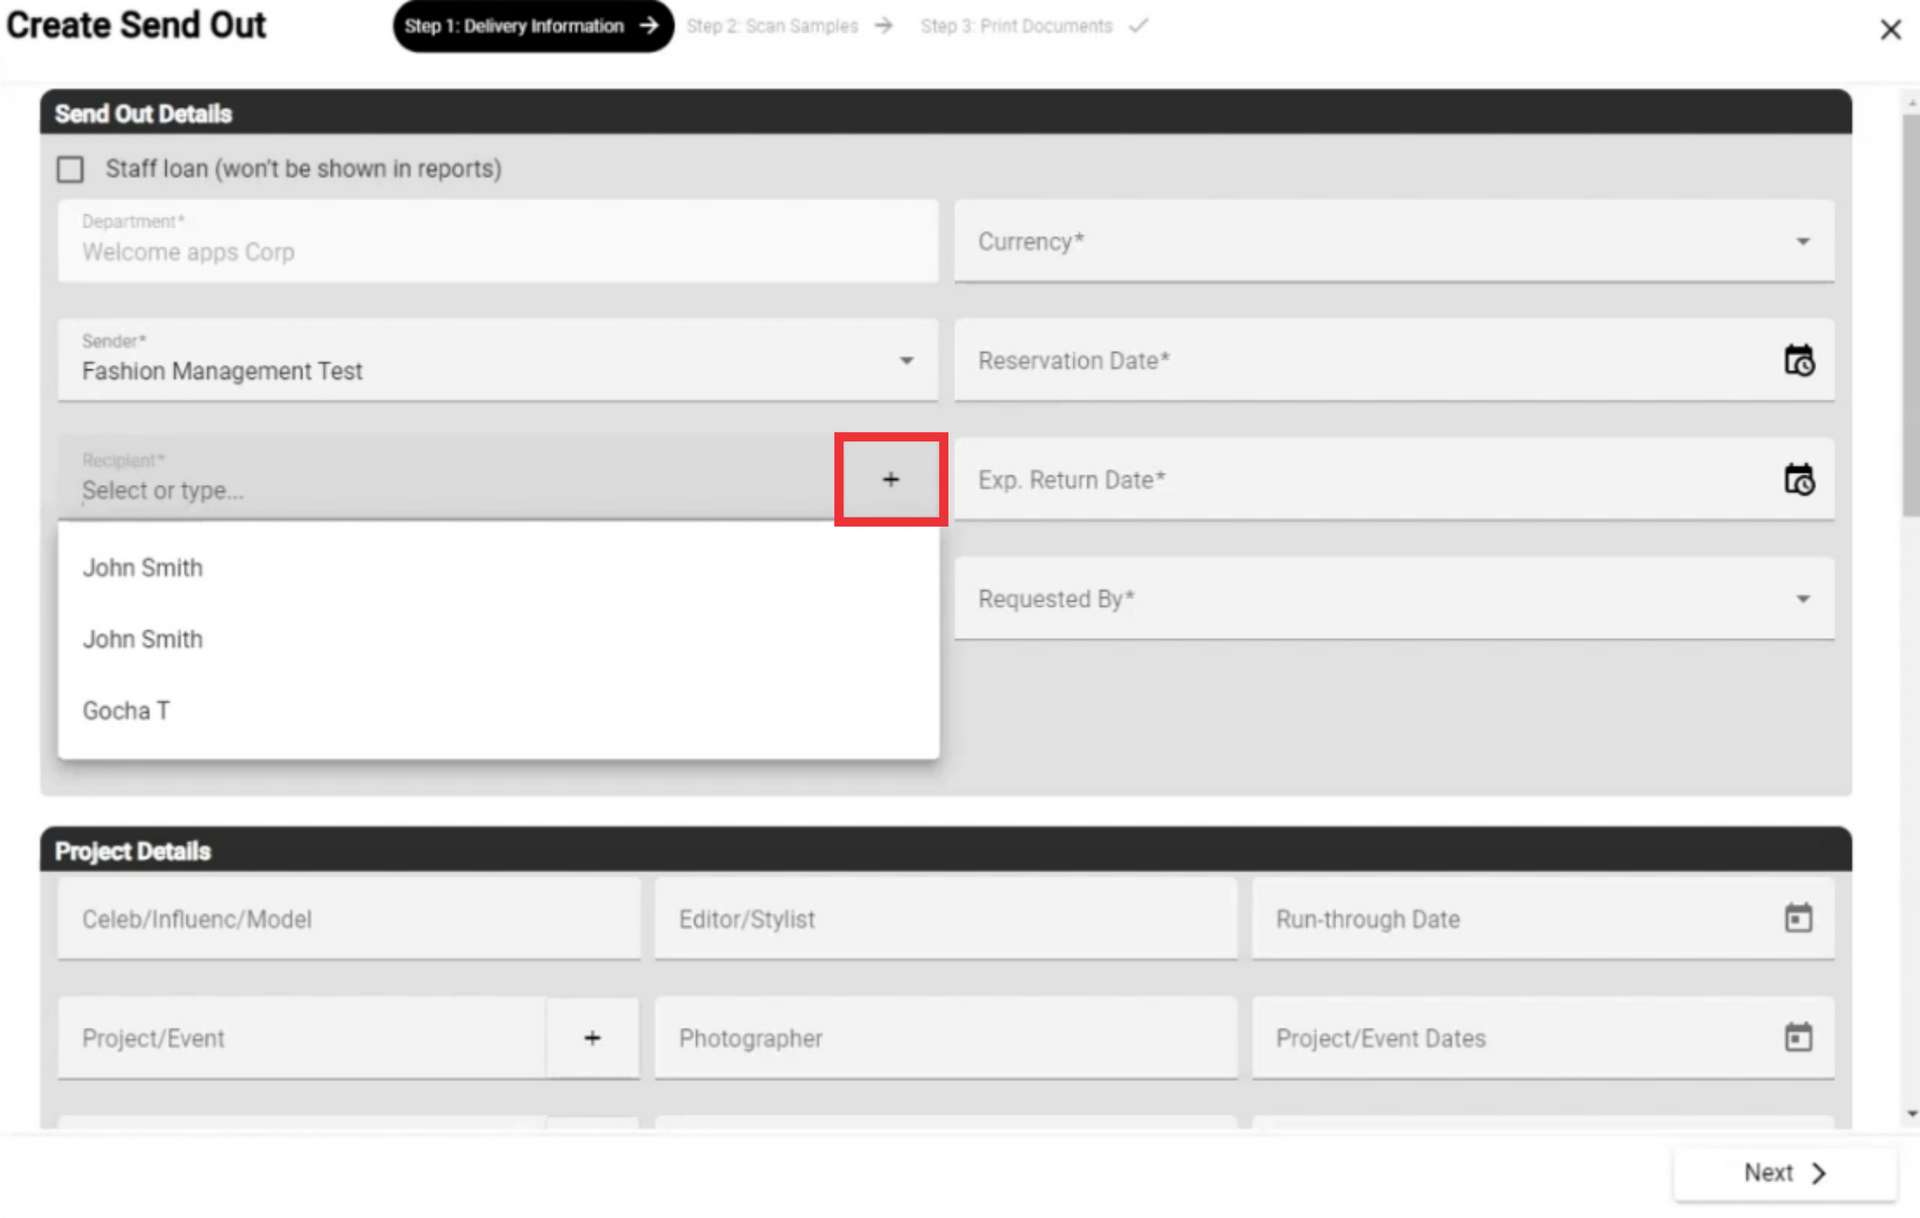
8. Choose the recipient of the package from the list if you already have them in your contacts, or create a new contact.
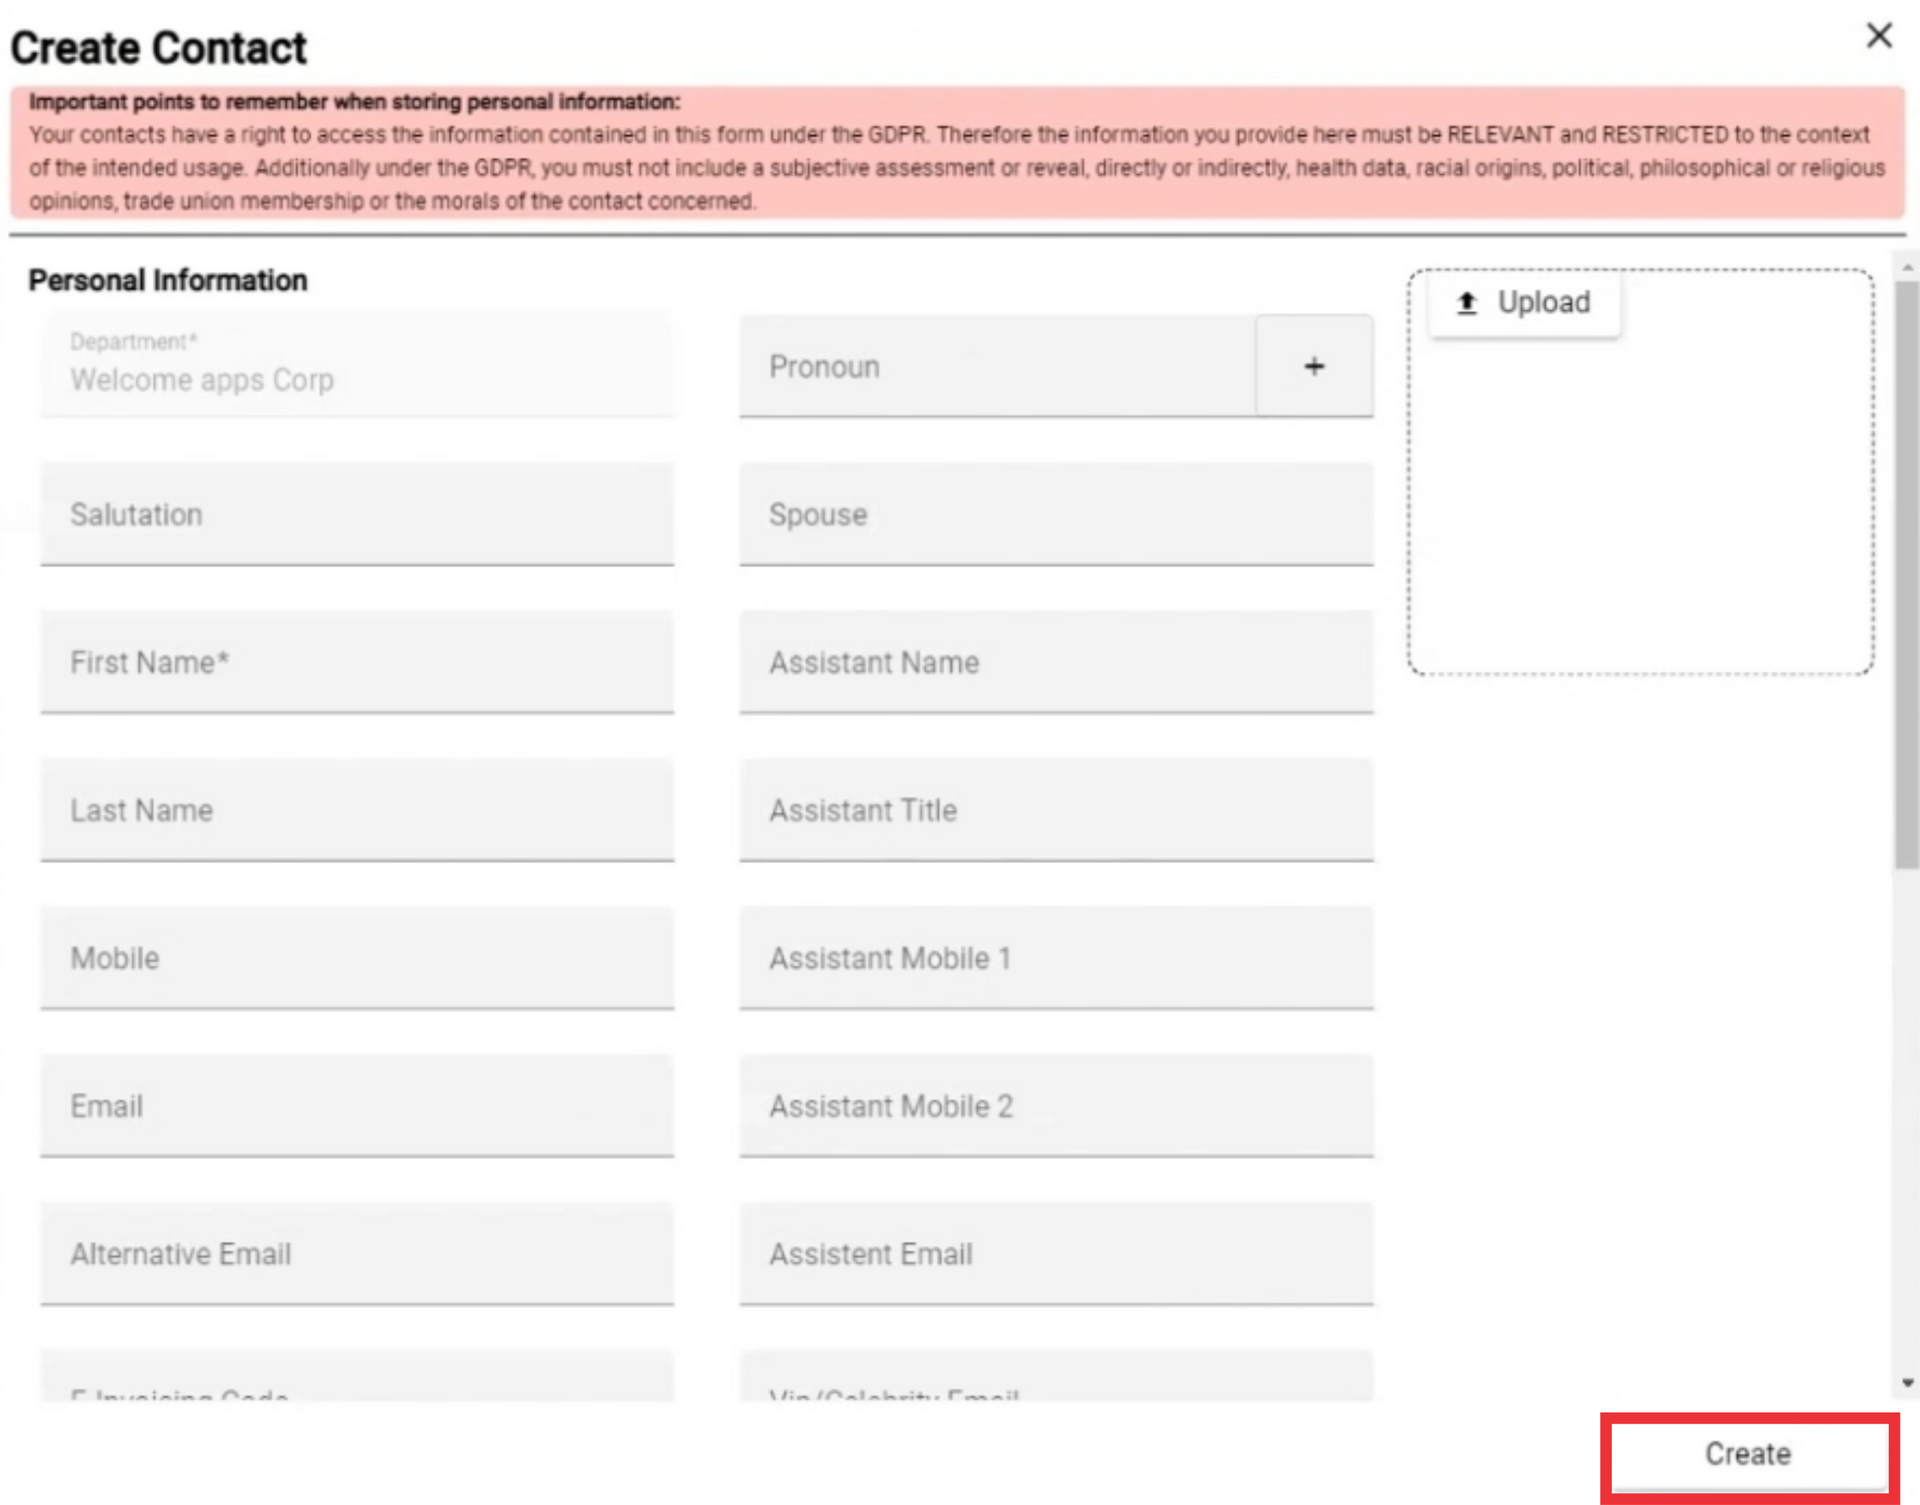
9. For the Create a new contact click the "+" Button.
10. Fill in all required fields and other fields as desired. (all Mandatory fields are marked with a *Asterisks)
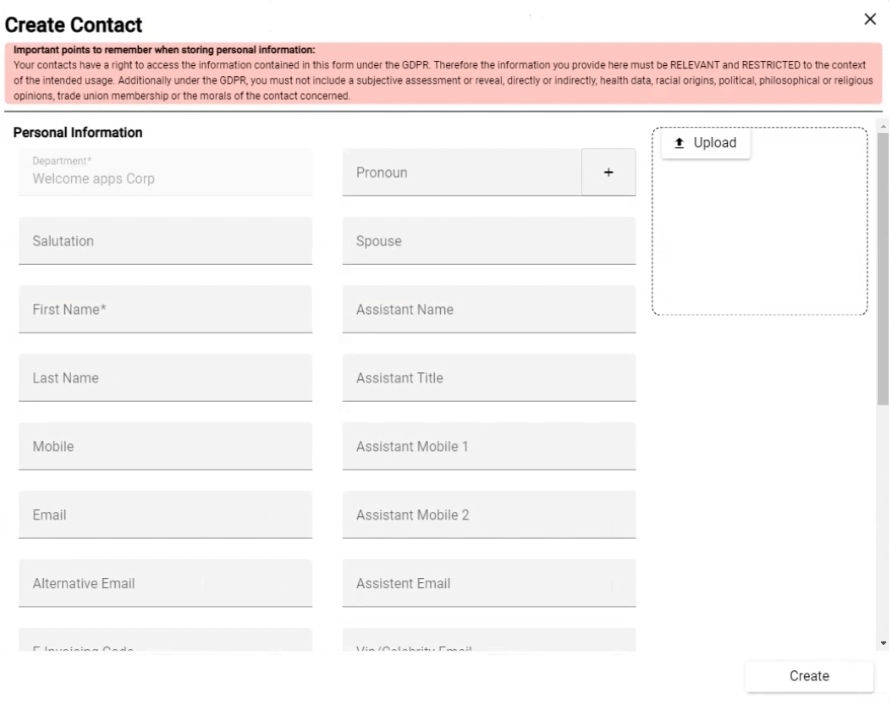
11. For the create new contact click the "Create" button.

12. Click the edit button to make changes to the recipient's contact.
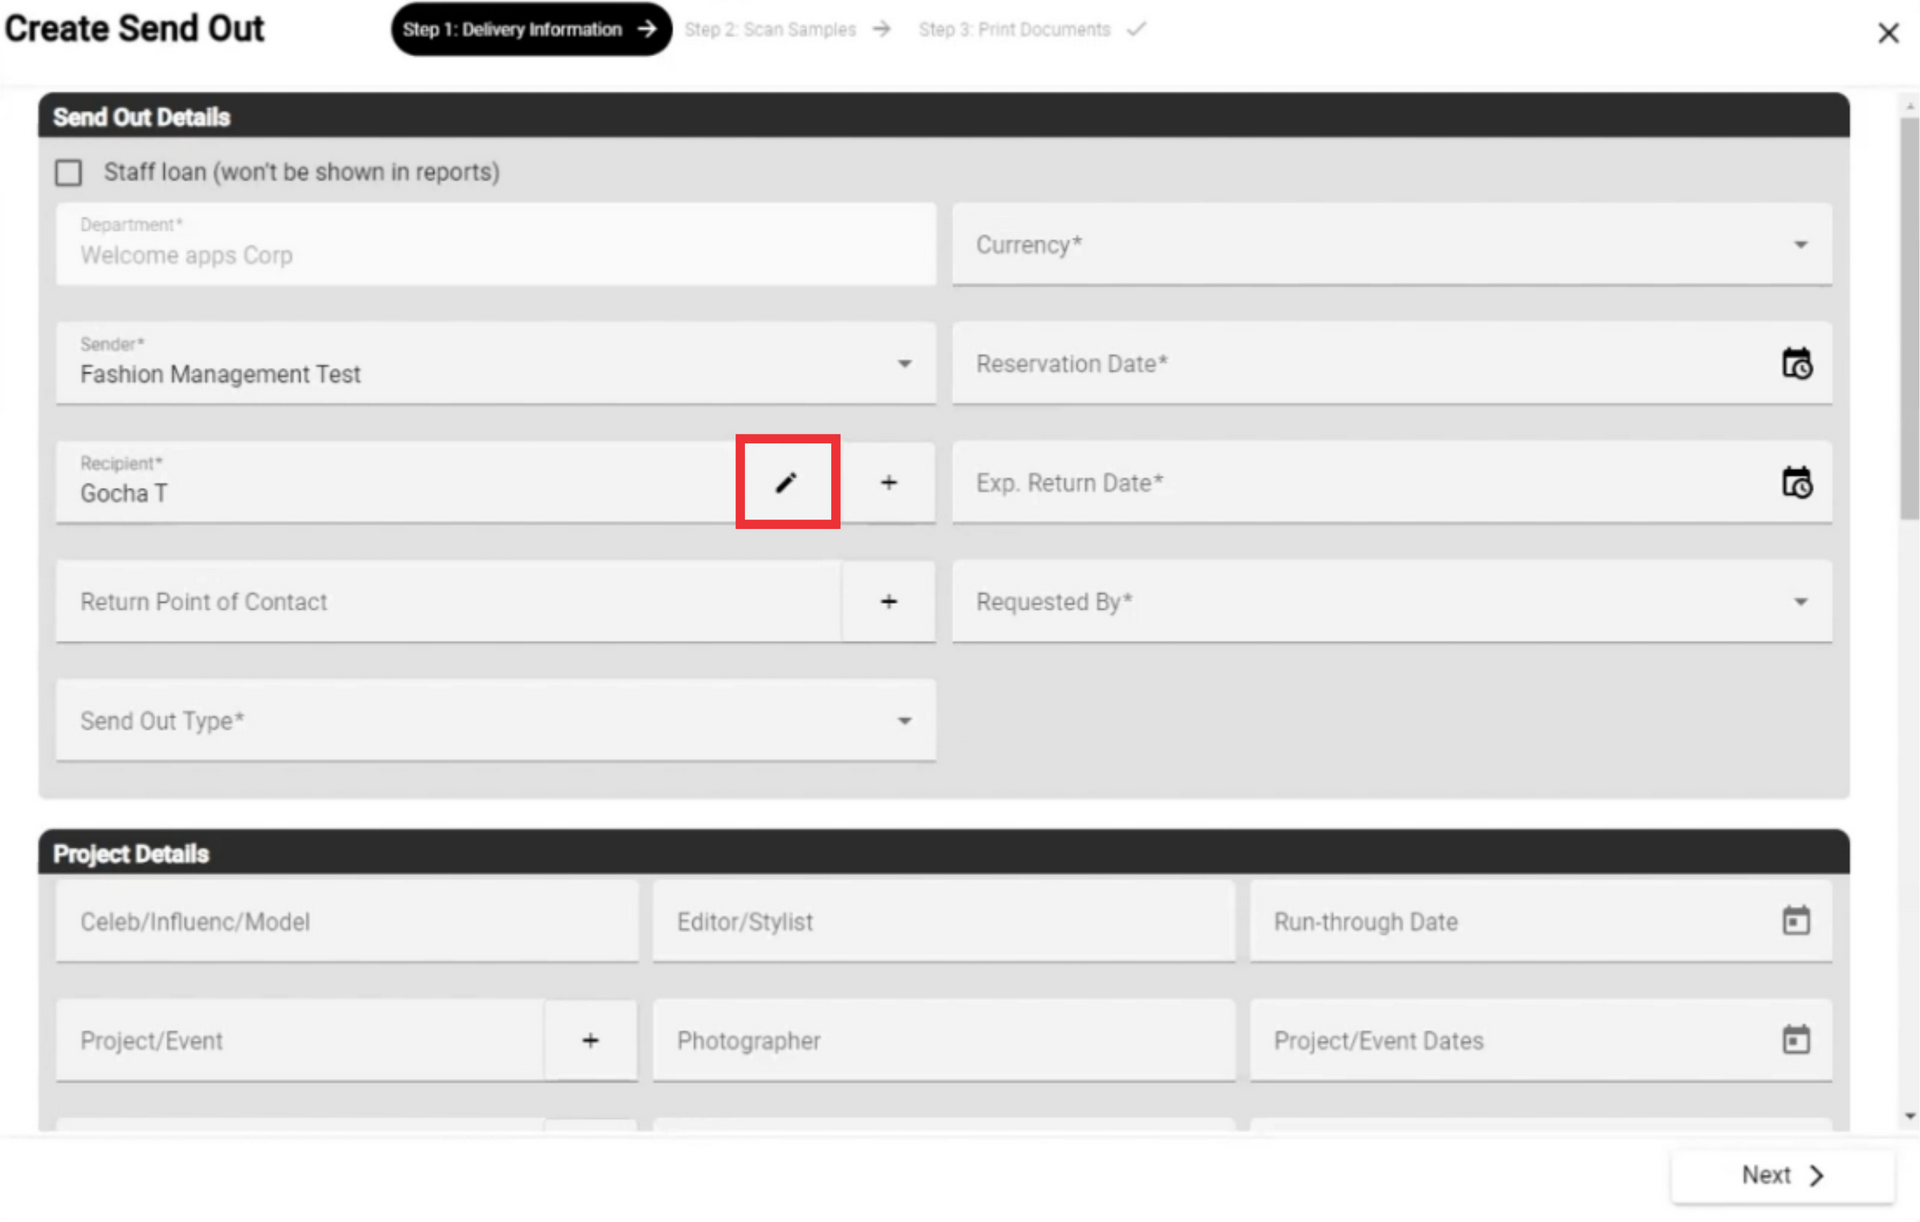
13. Edit desired fields and click the Create button to confirm.

14. Select the item return point of contact from the list or add a new one.

15. For the add a new return point of contact click the "+" button.
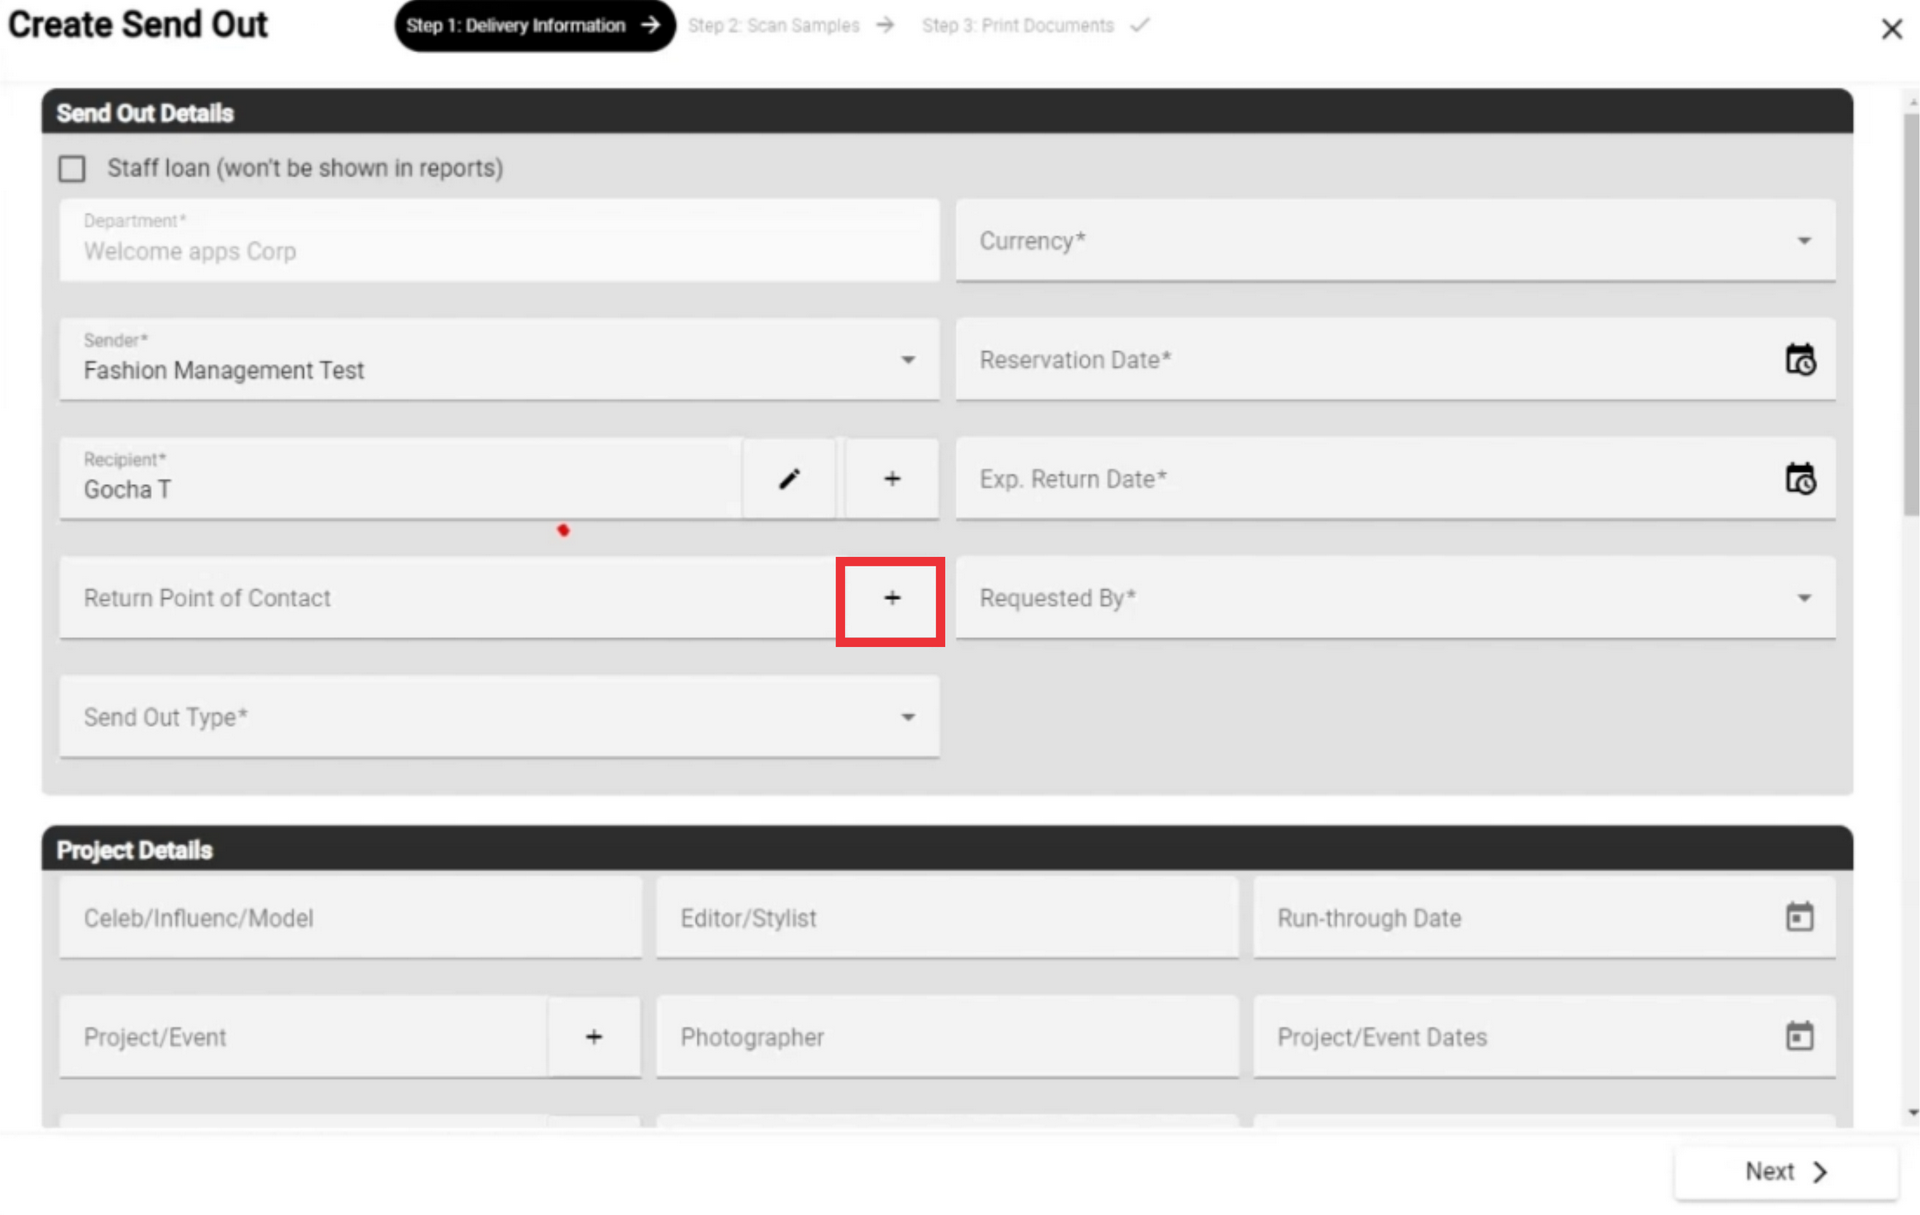
16. Fill in all required fields and other fields as desired and click the "Create" button to confirm.
(all Mandatory fields are marked with a *Asterisks)
17. Select from the list Return point of contact.

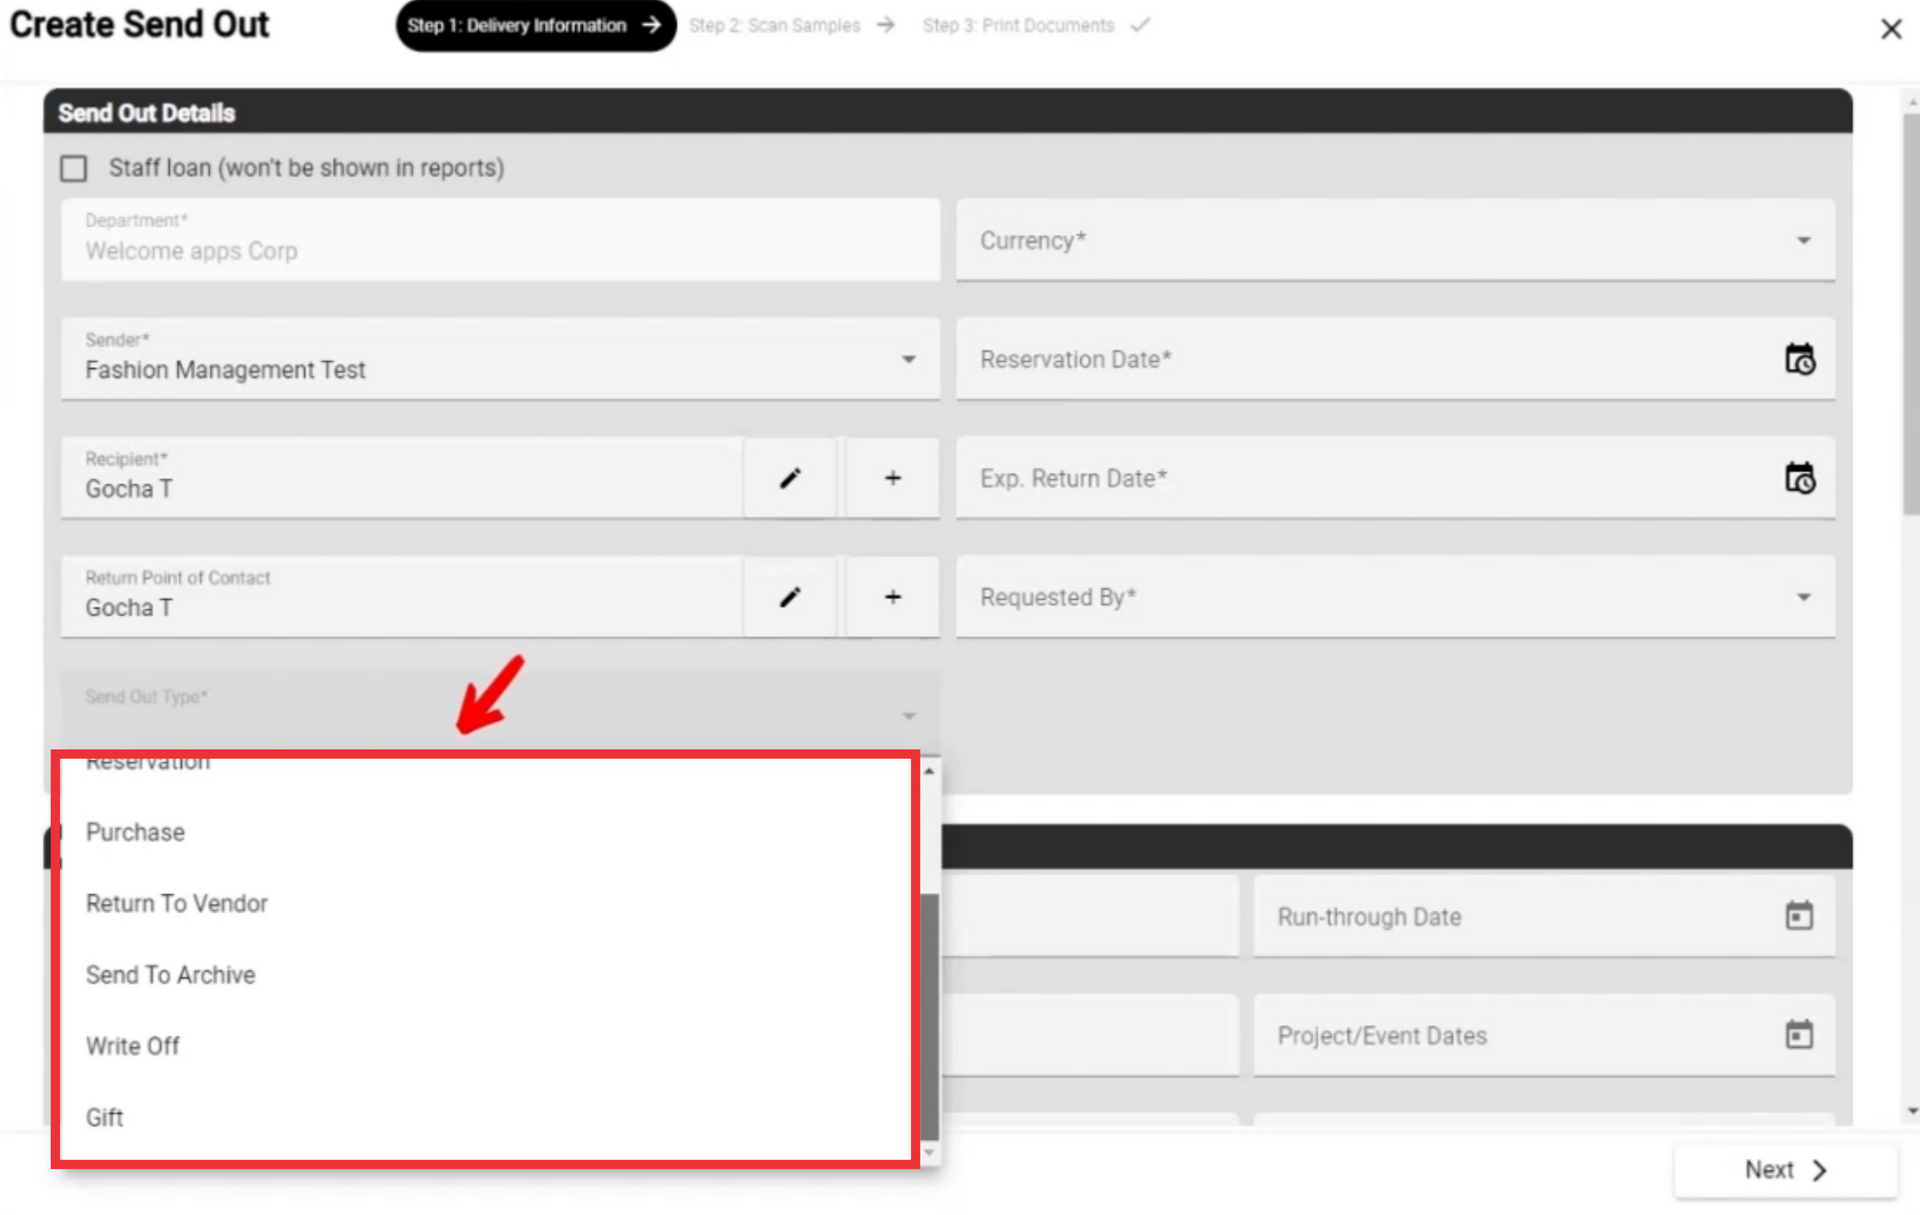
18. Click the sendout type field to view the list.
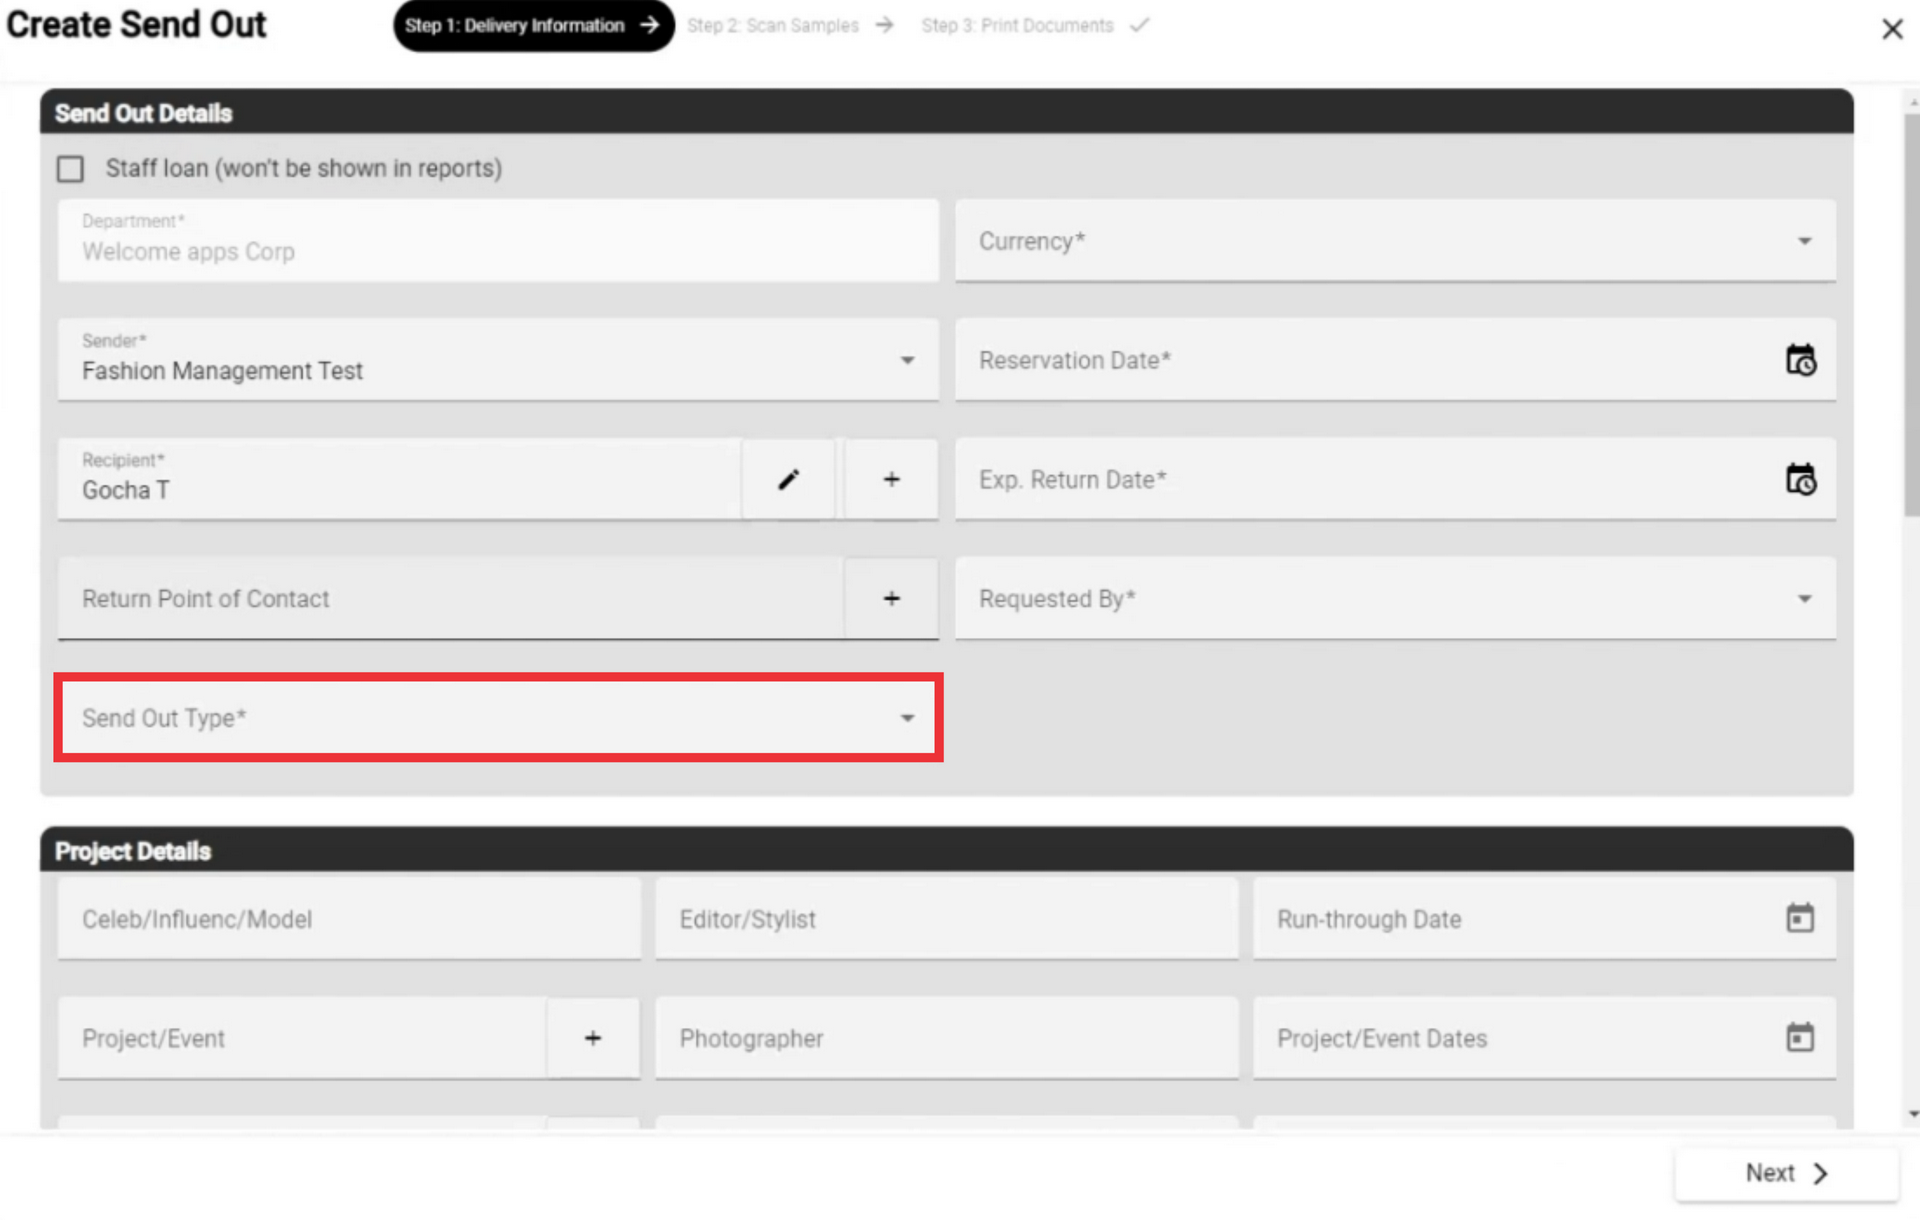
19. Select the type of send out and click on it.
20. Click on the box and select the desired currency.

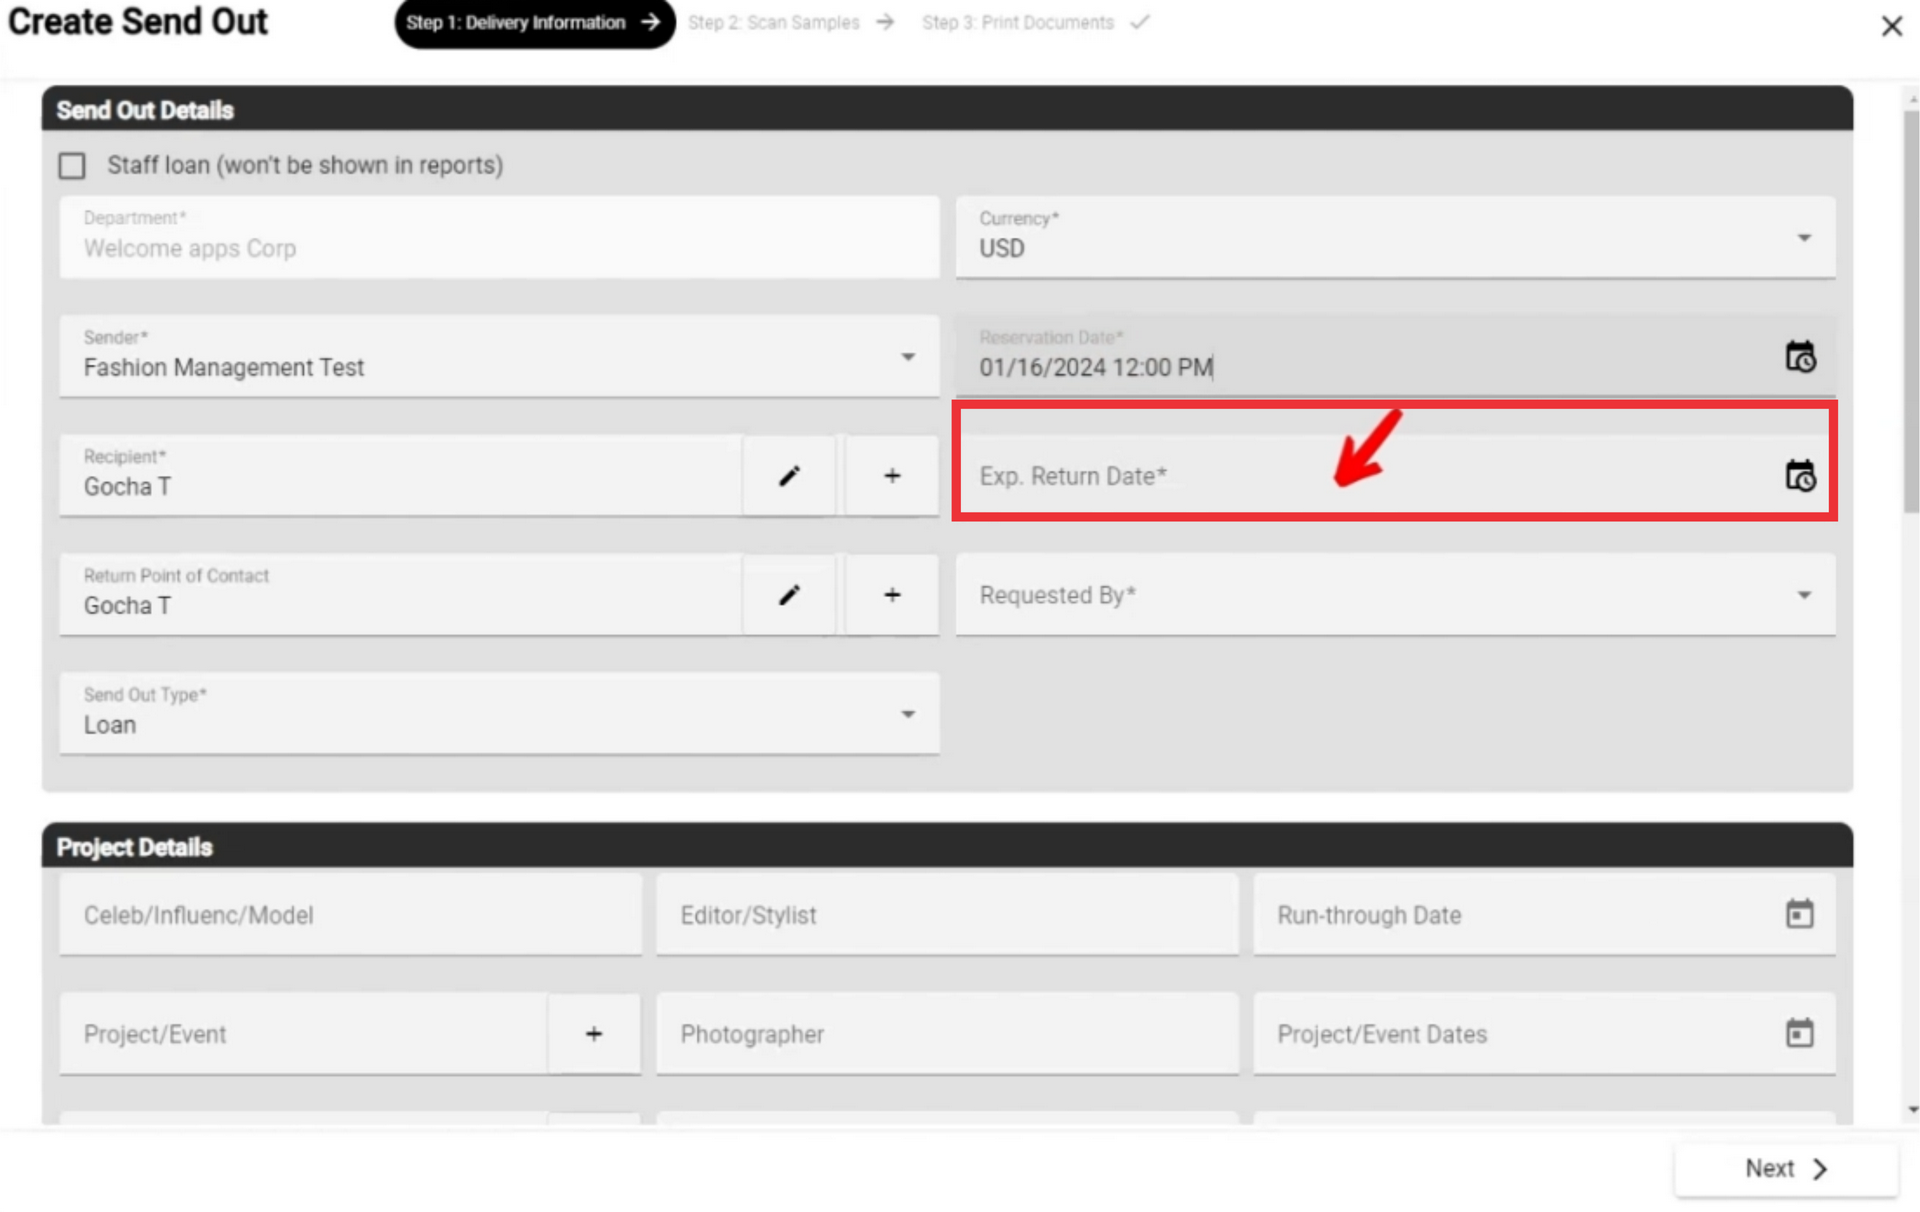
21.If you are going to rent an item, you need to choose the dates of delivery and return. (Filling of these fields is mandatory). Click the field to select a date.

22. Select the date of reservation the sample in the calendar.

23. Select the sample reservation issue hour.

24. Click on the box to be able to select a sample return date.
25. Select the return date on the calendar.

26. Select the return hour on the clock.

27. Click the field to select the employee who was requested to prepare the send out.

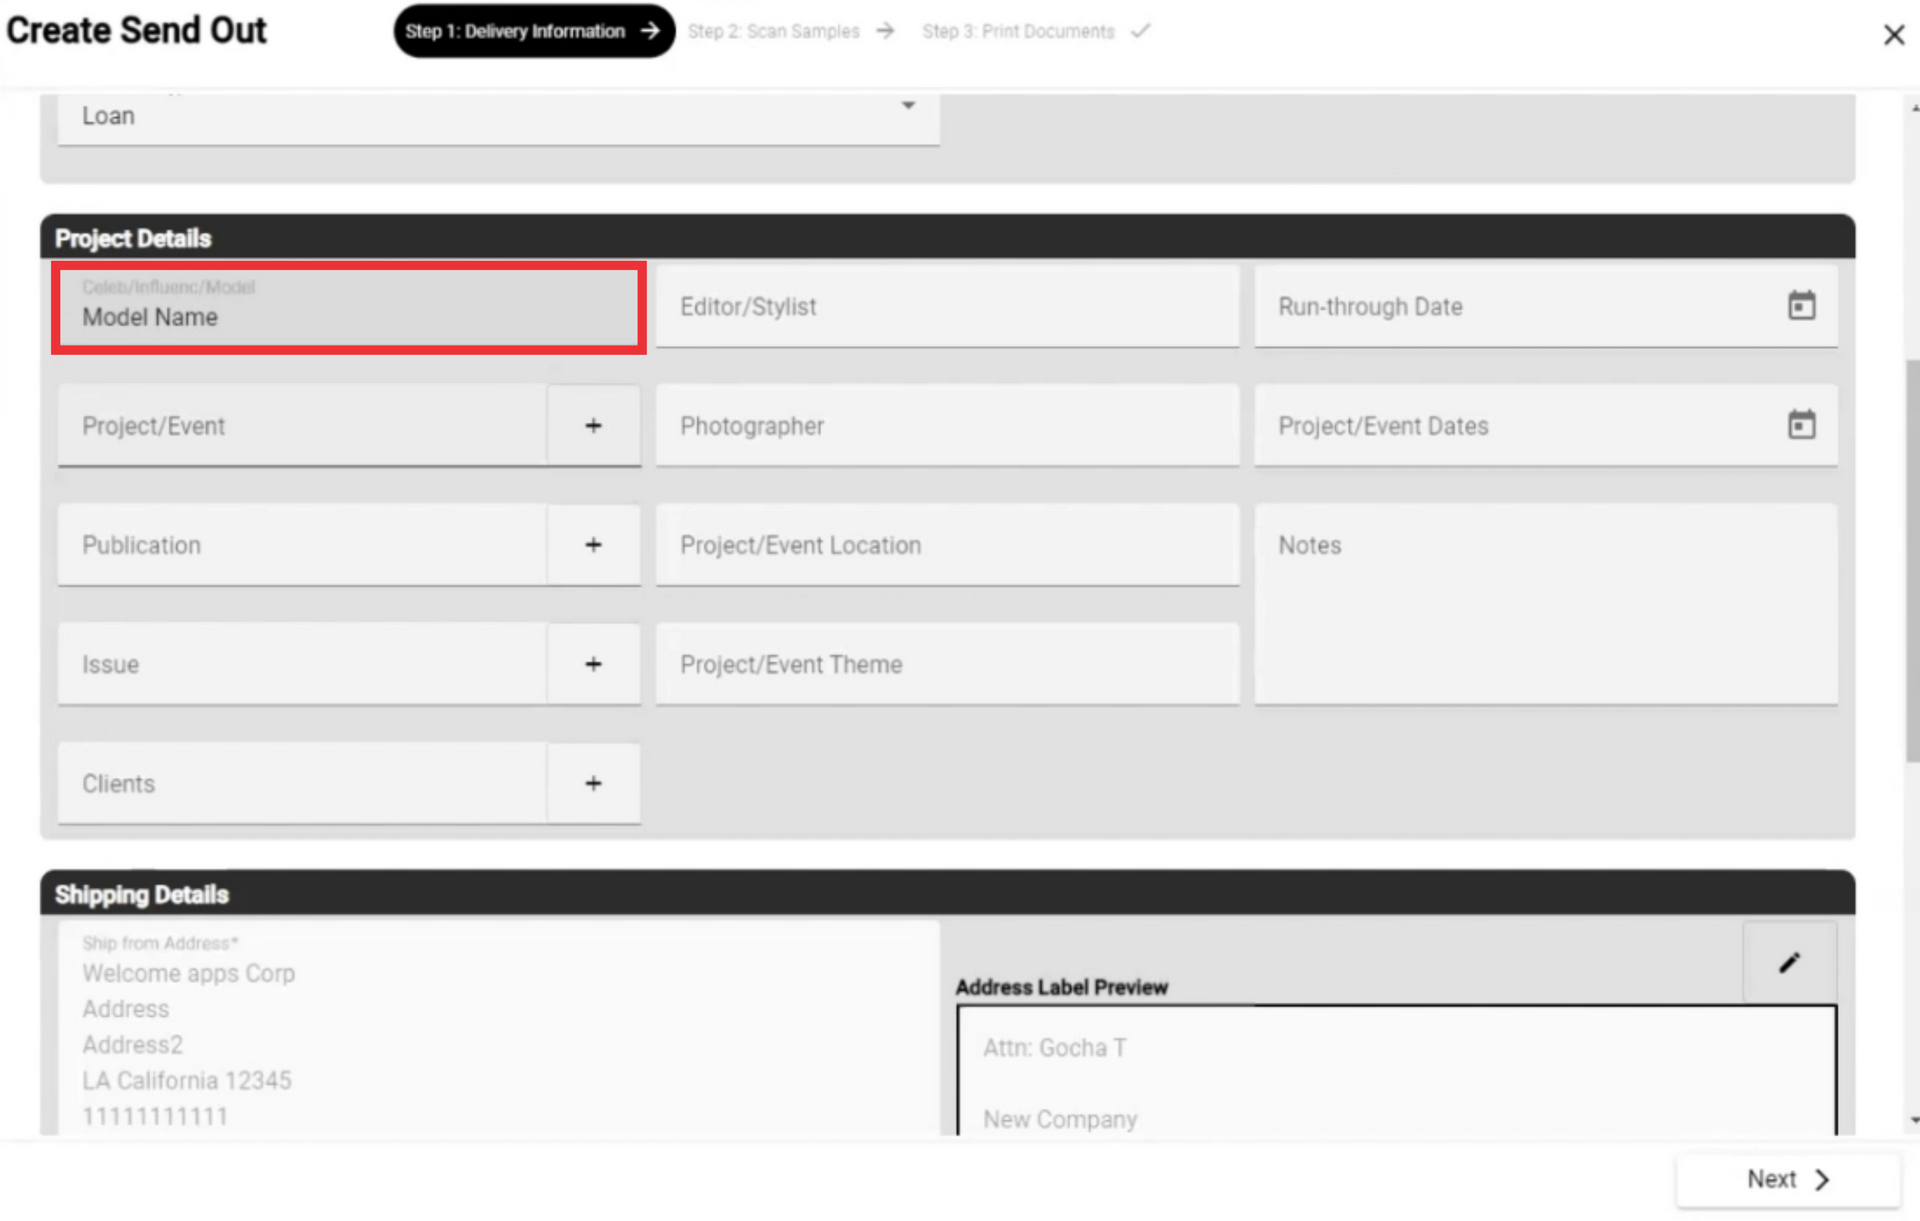
28. If desired, enter the name and surname of the celebrity/influencer/model in the project details fields.
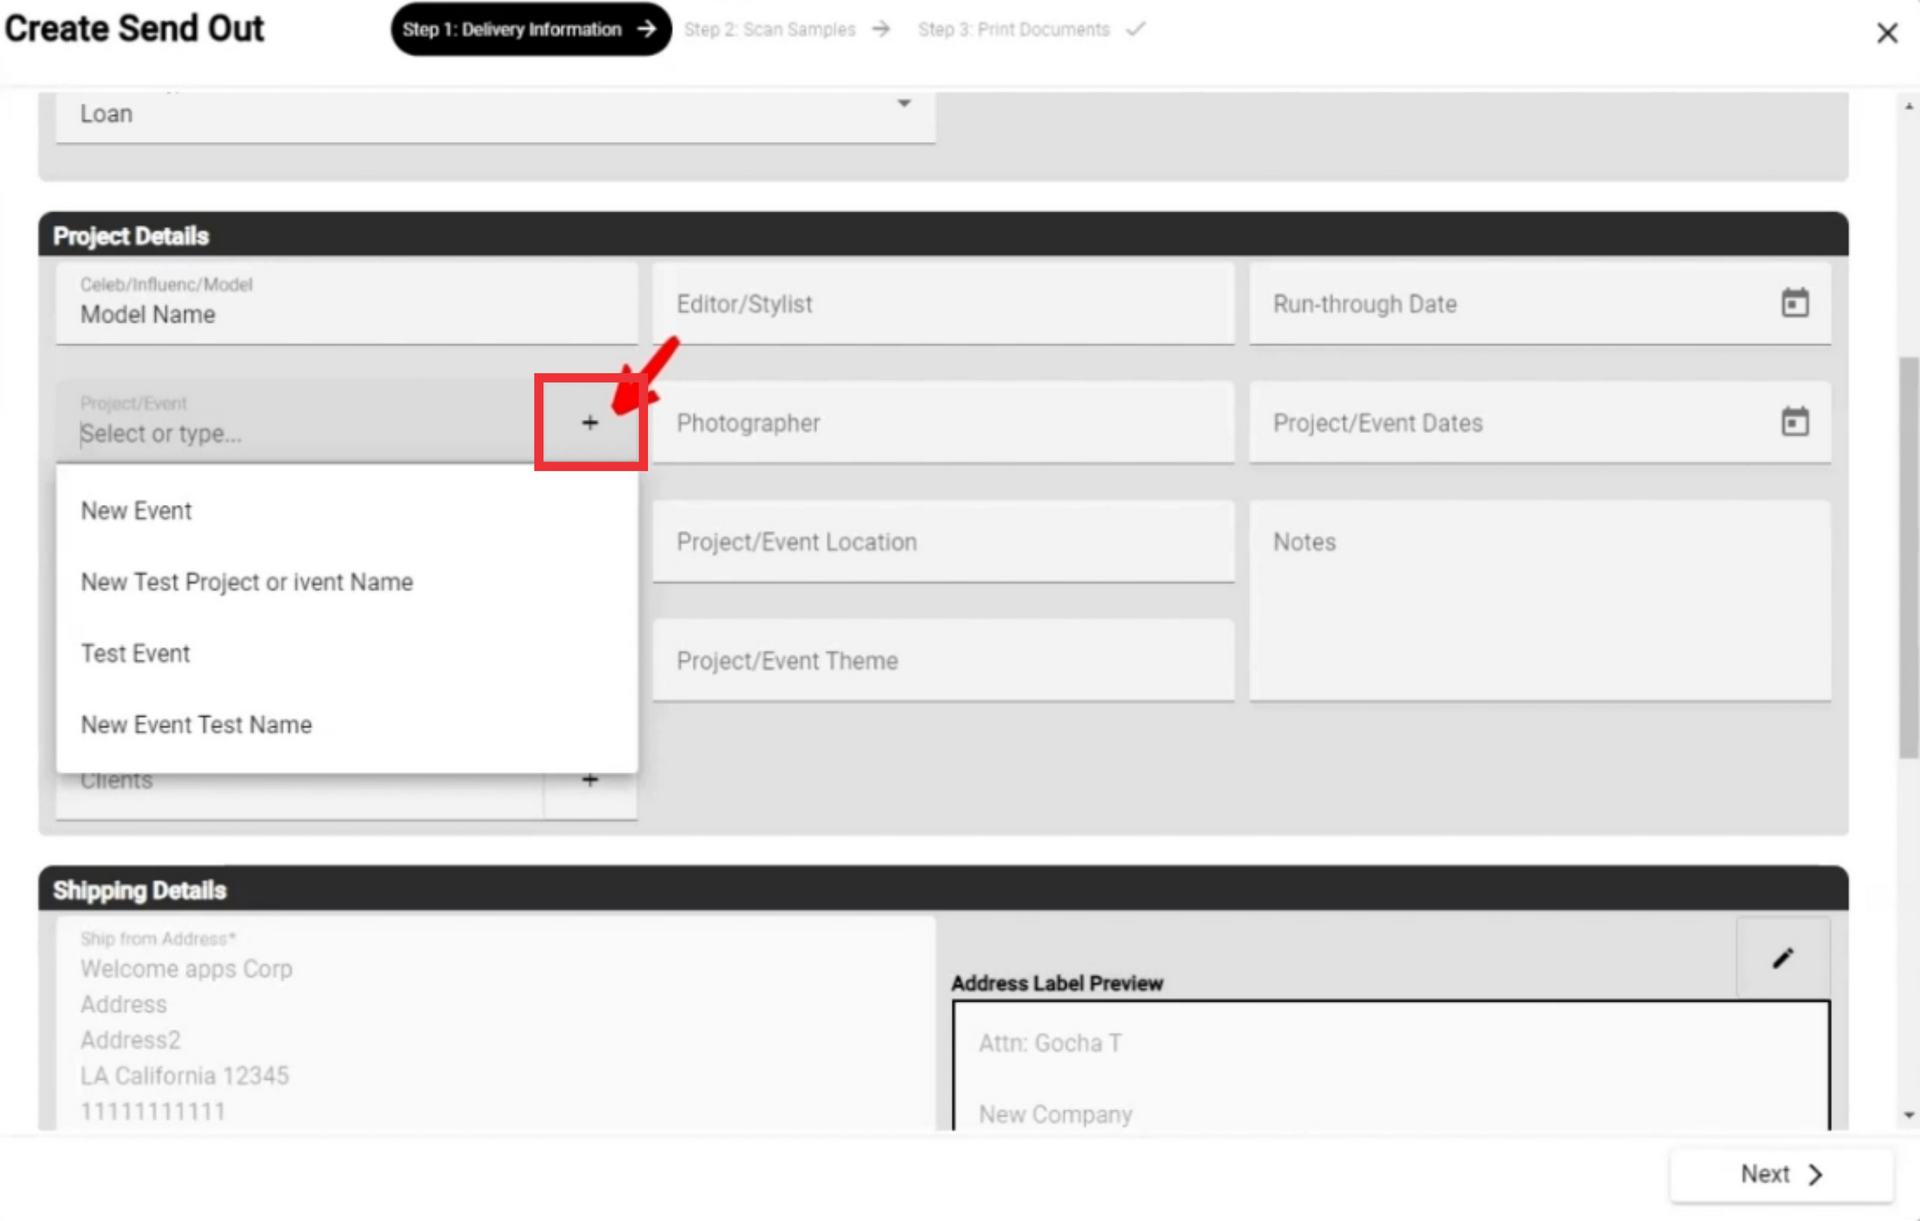
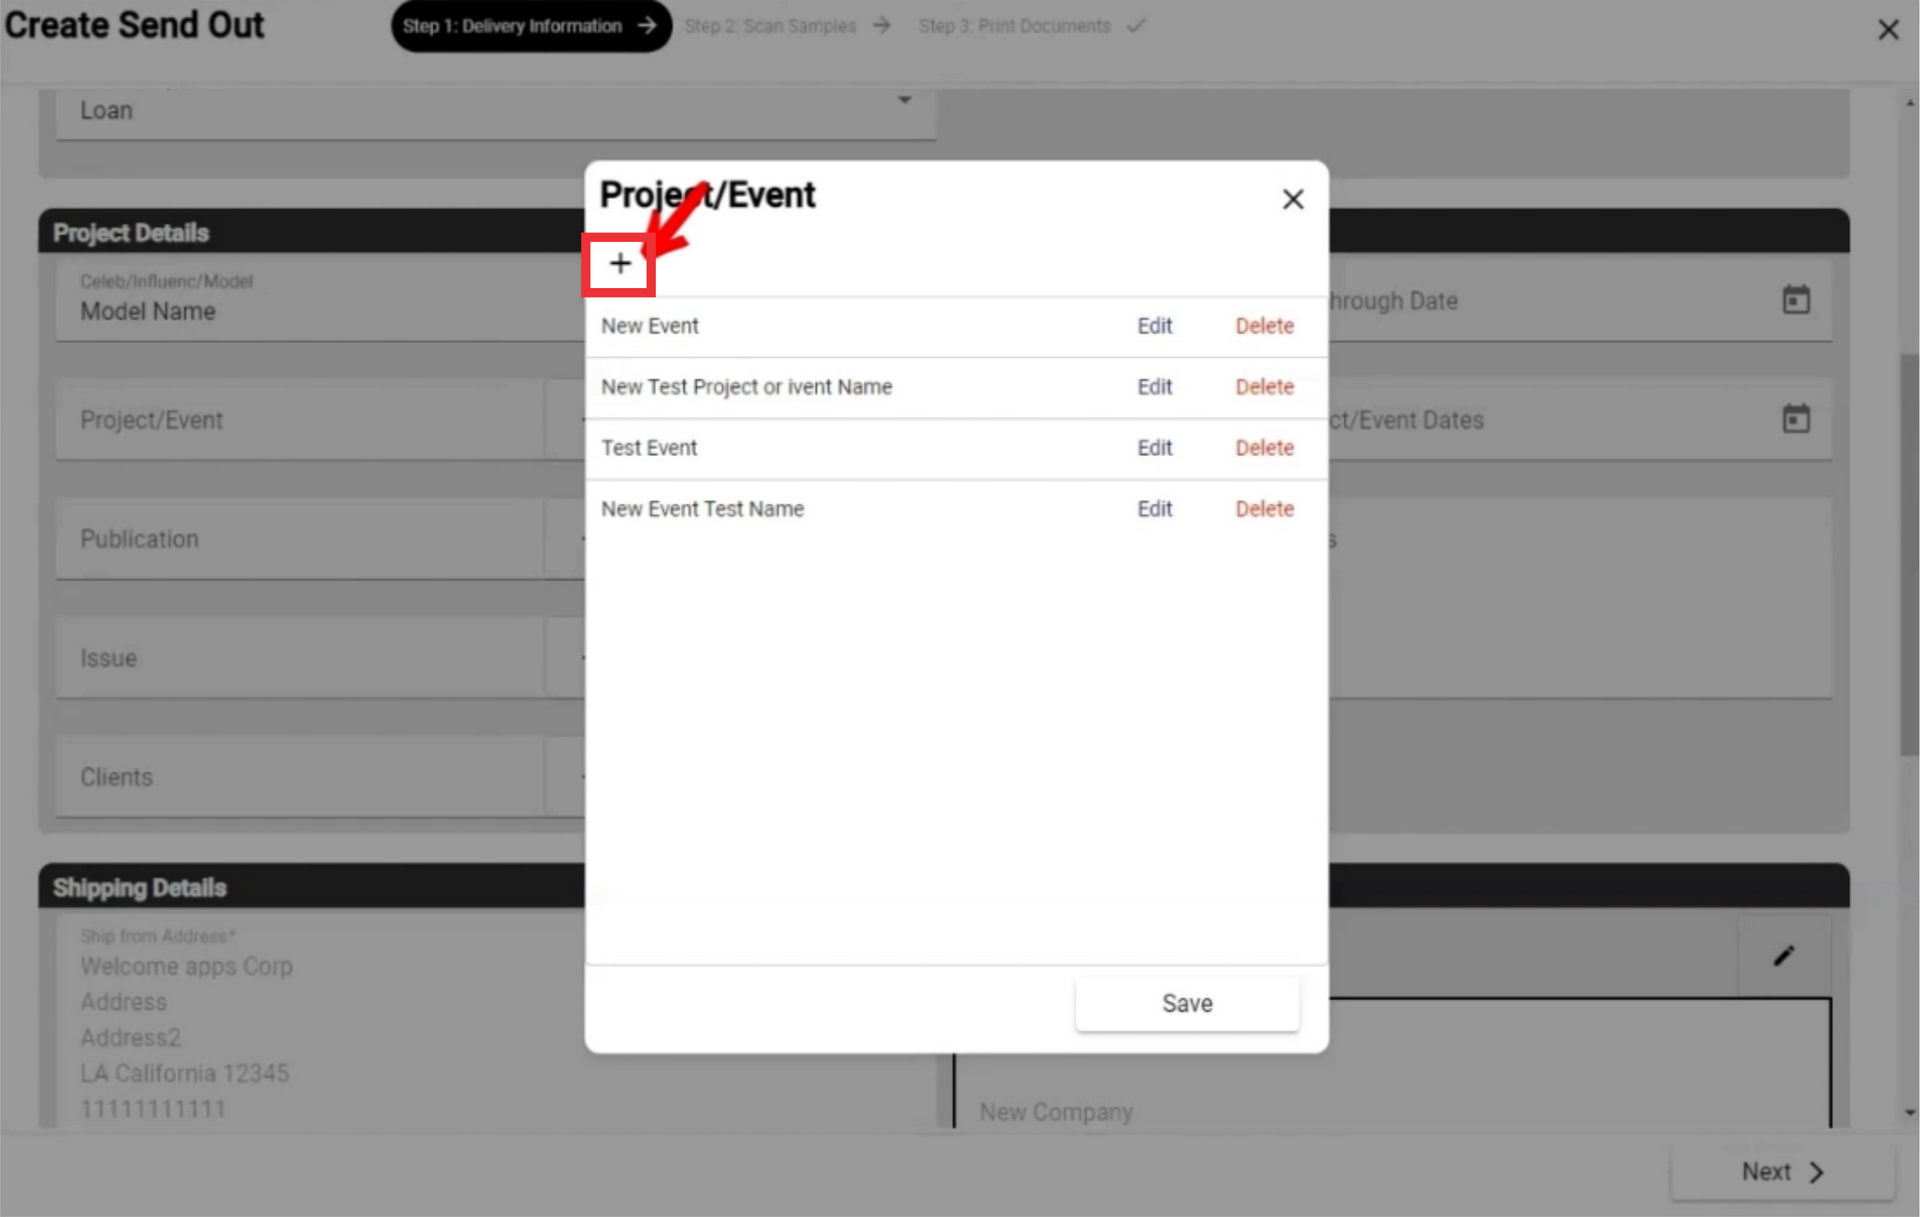
29. Select a project/event from the list or add a new one by clicking the plus button.

30. For the add a new Project or Event Click the "+" button.
31. For the add a new Project/Event Click the "+" button.
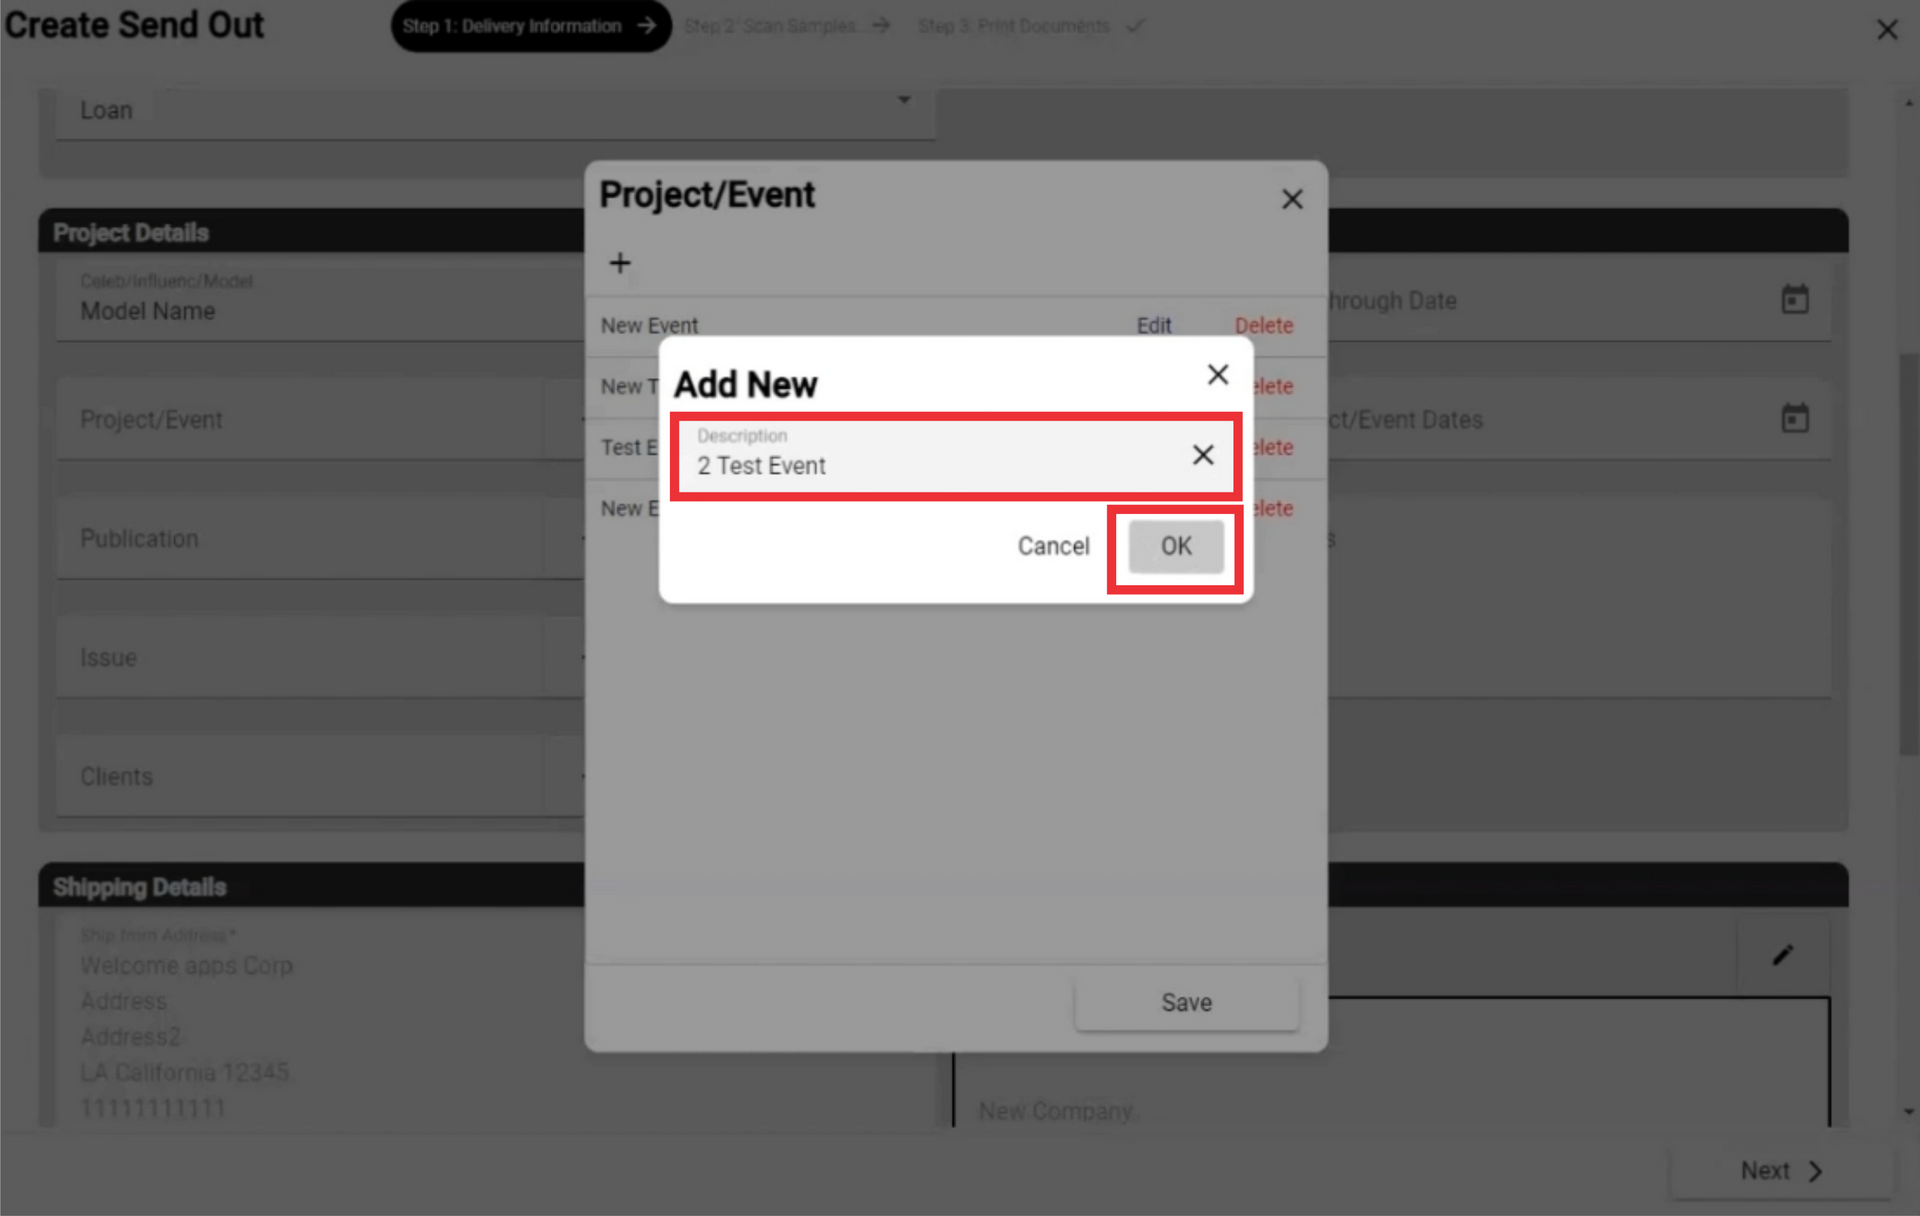
32. Enter the name of the project or event in the field and click the "OK" button to confirm.
33. For the edir Project/Event click the "Edit" button.

34. Edit Project/Event description and click the "OK" button to confirm.

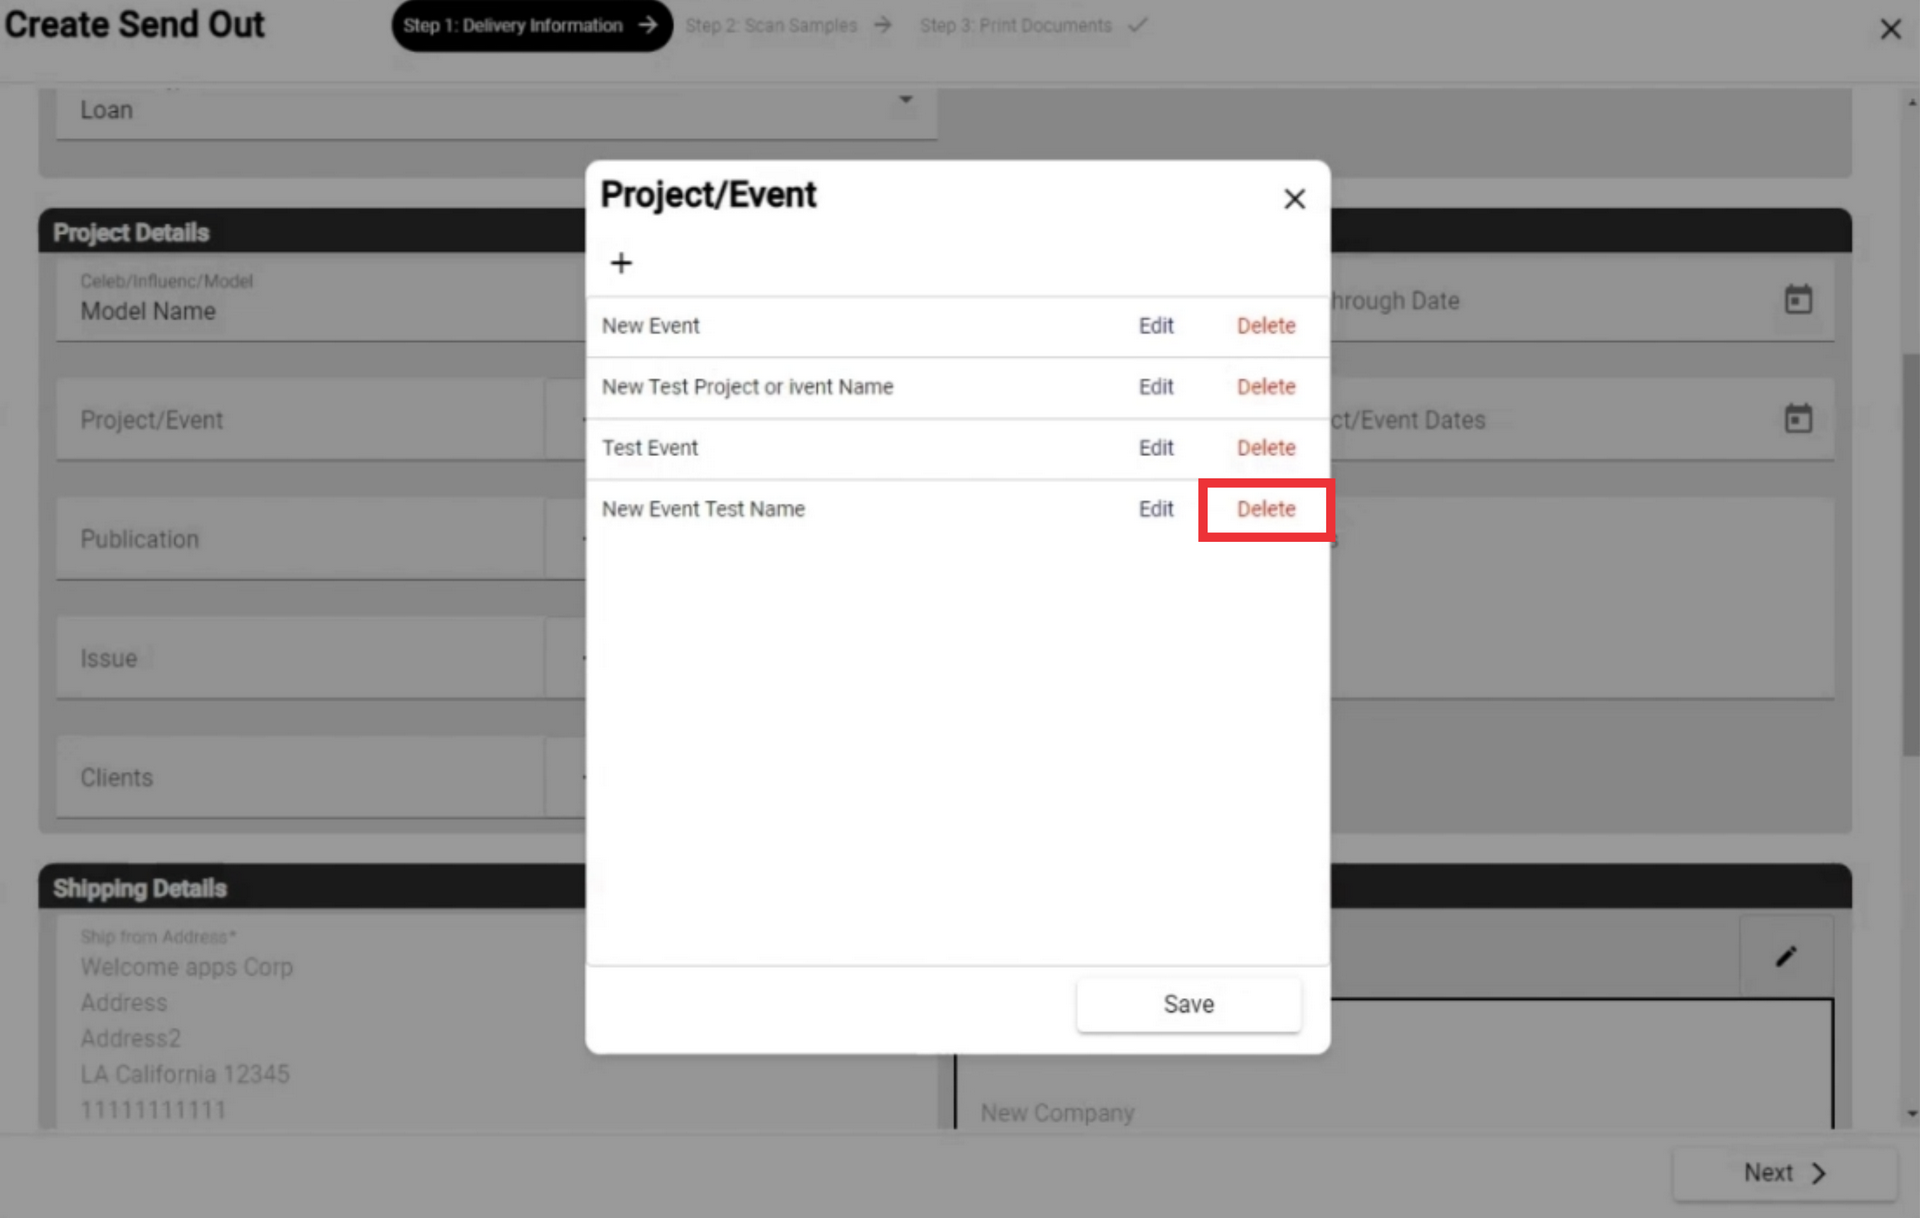
35. For the remove Project/Event from the list click the "Delete" button.
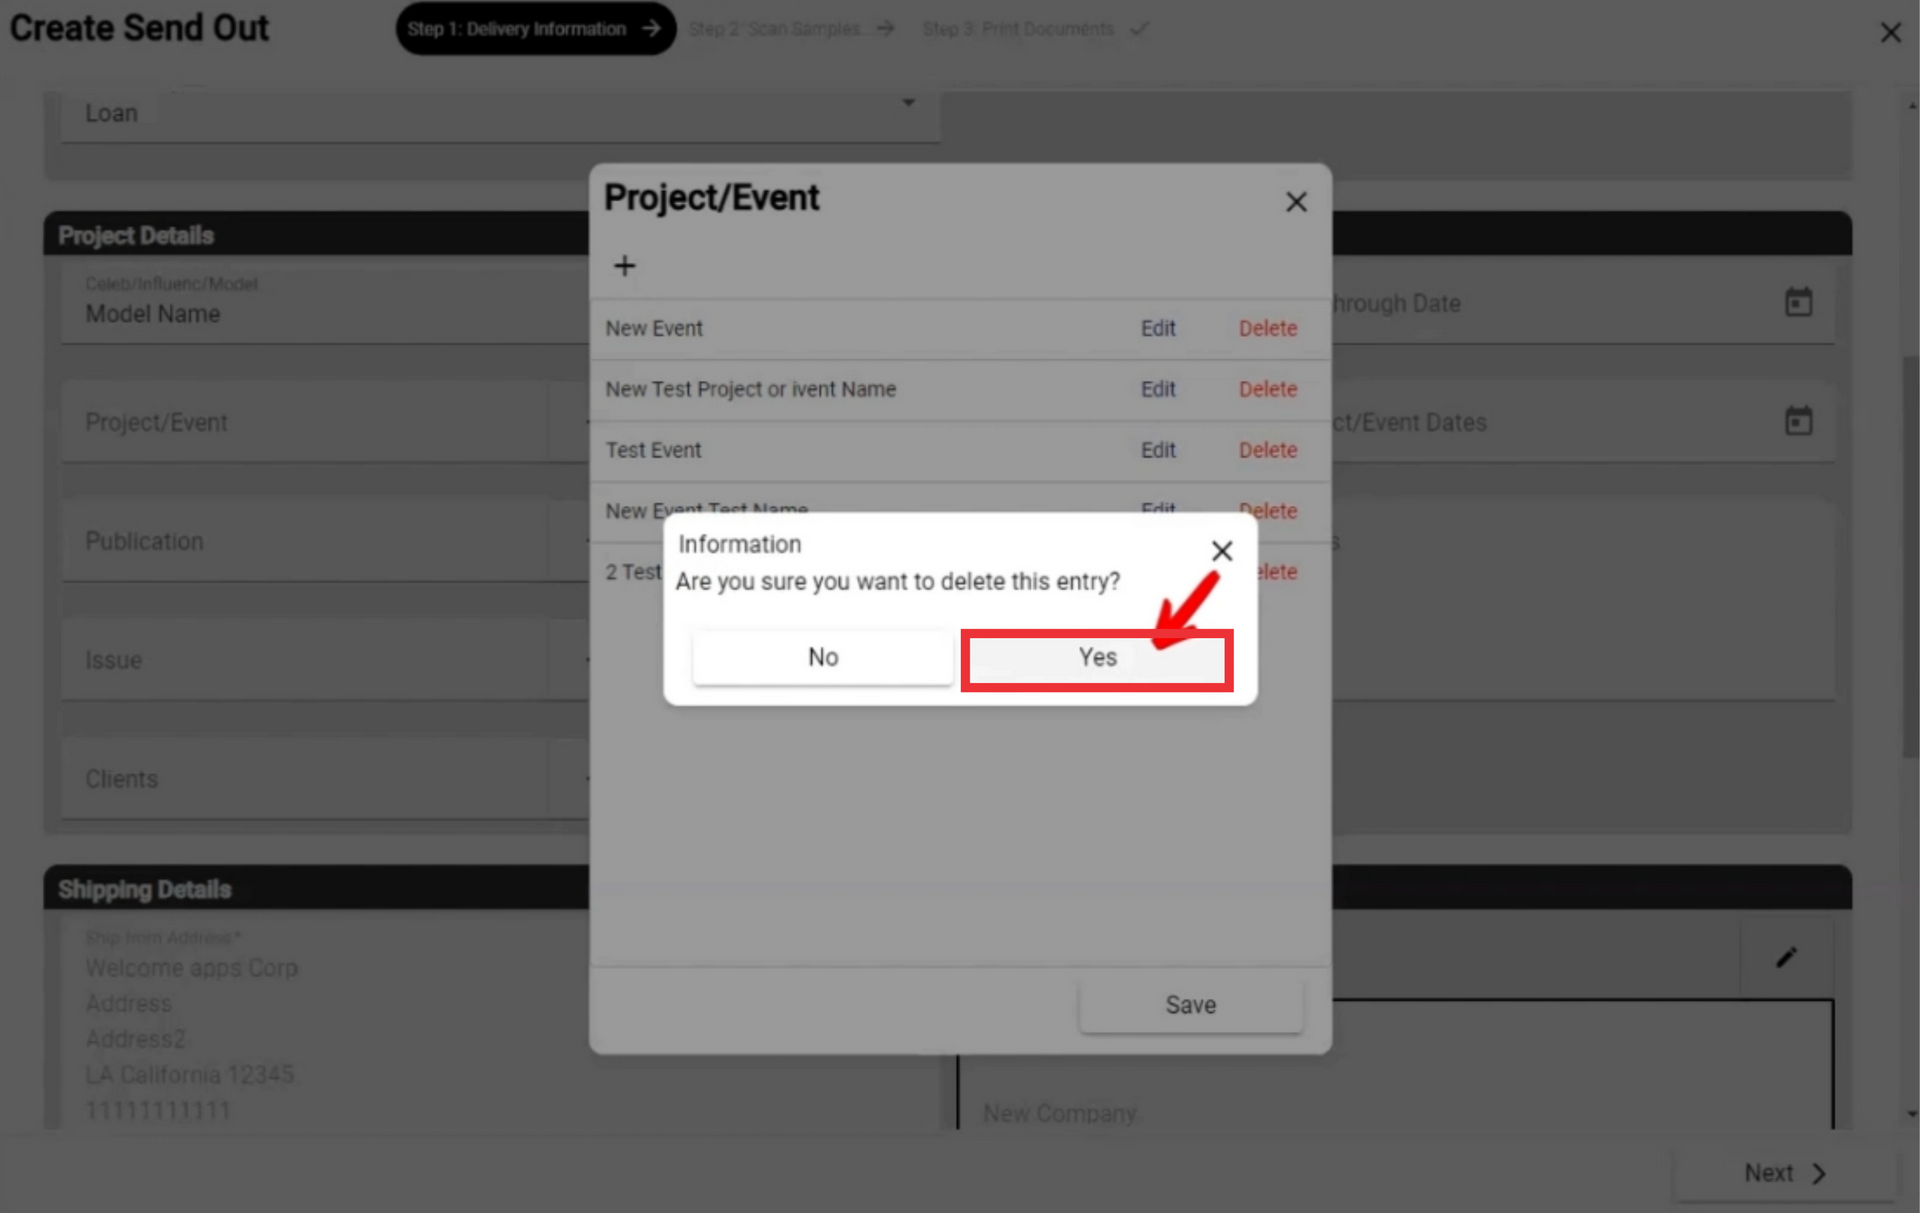
36. Click the "Yes" button to confirm.
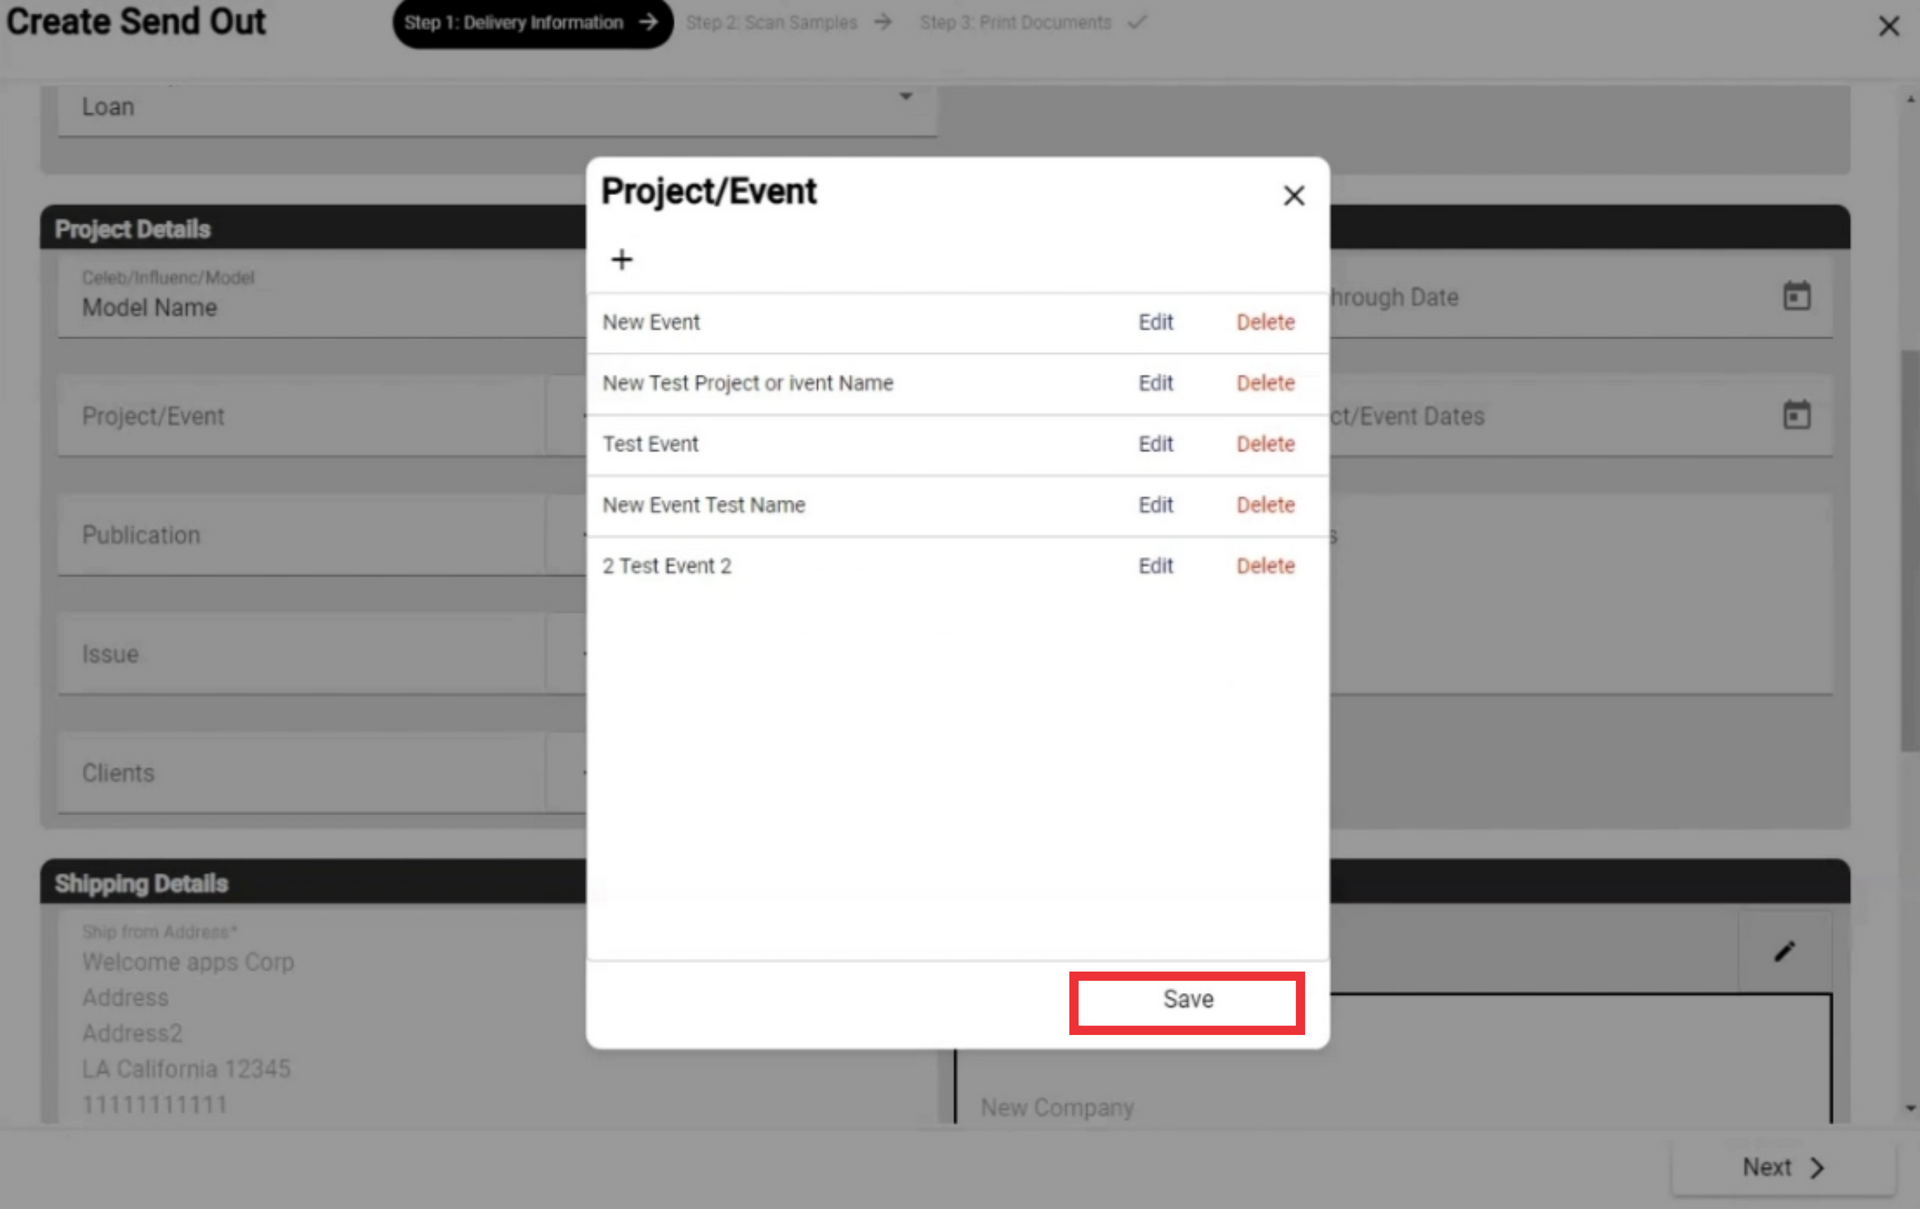
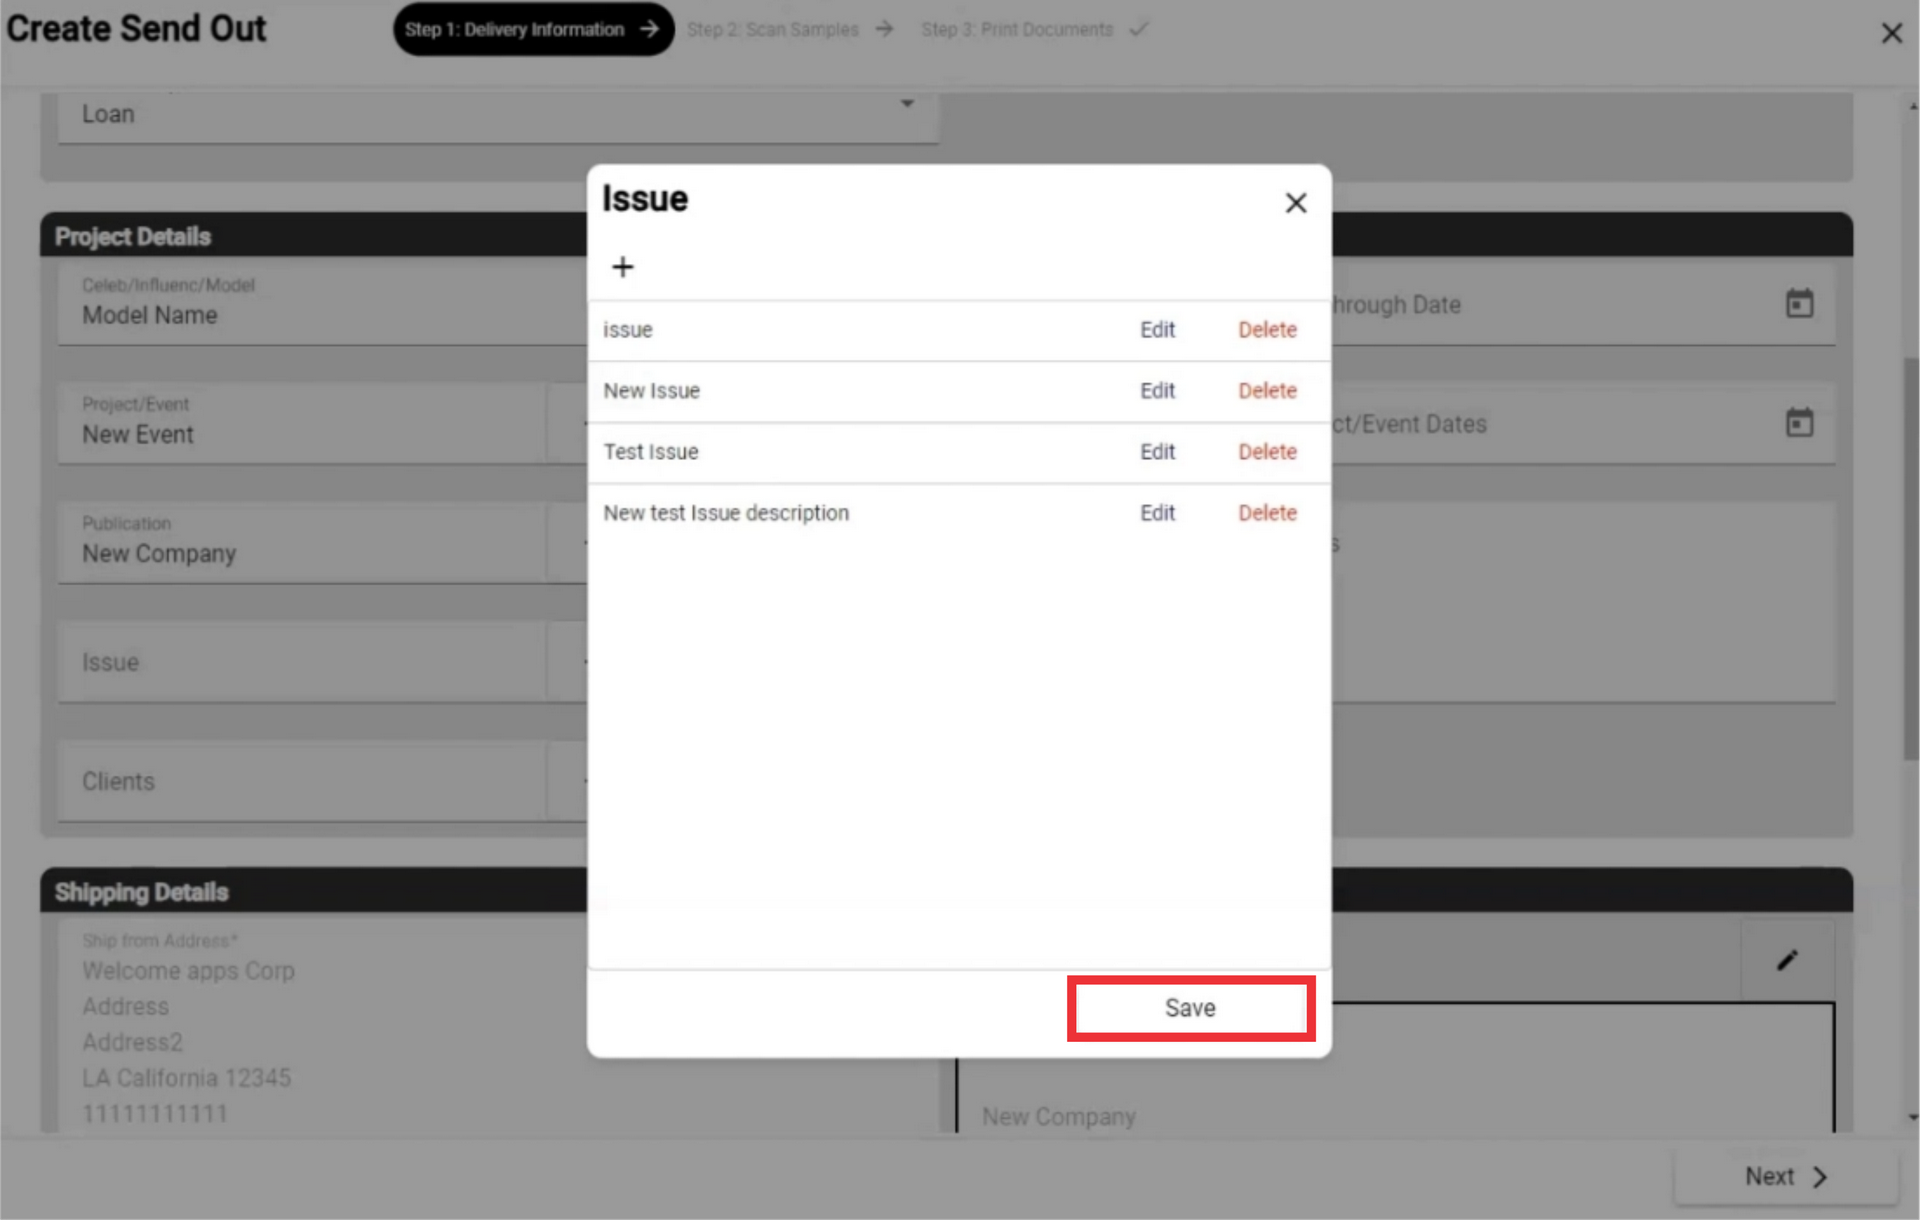
37. Click the "Save" button.
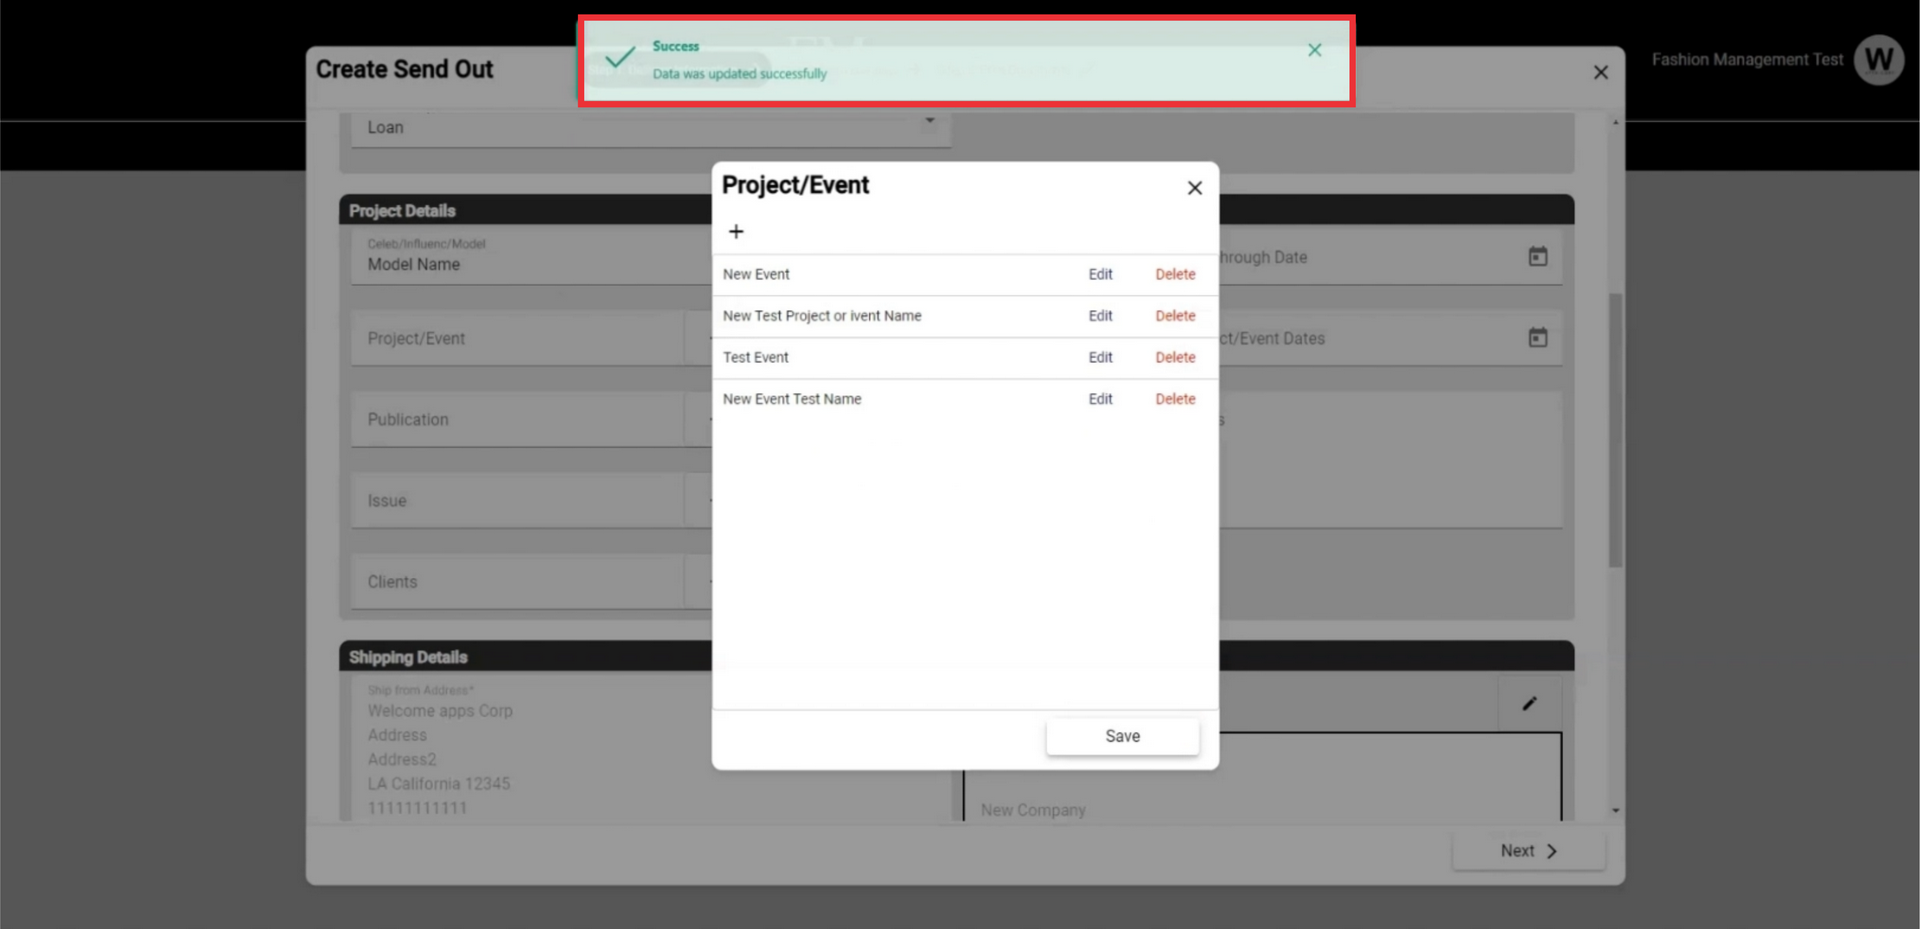
38. A message about saving data successfully is displayed on the upper middle screen.
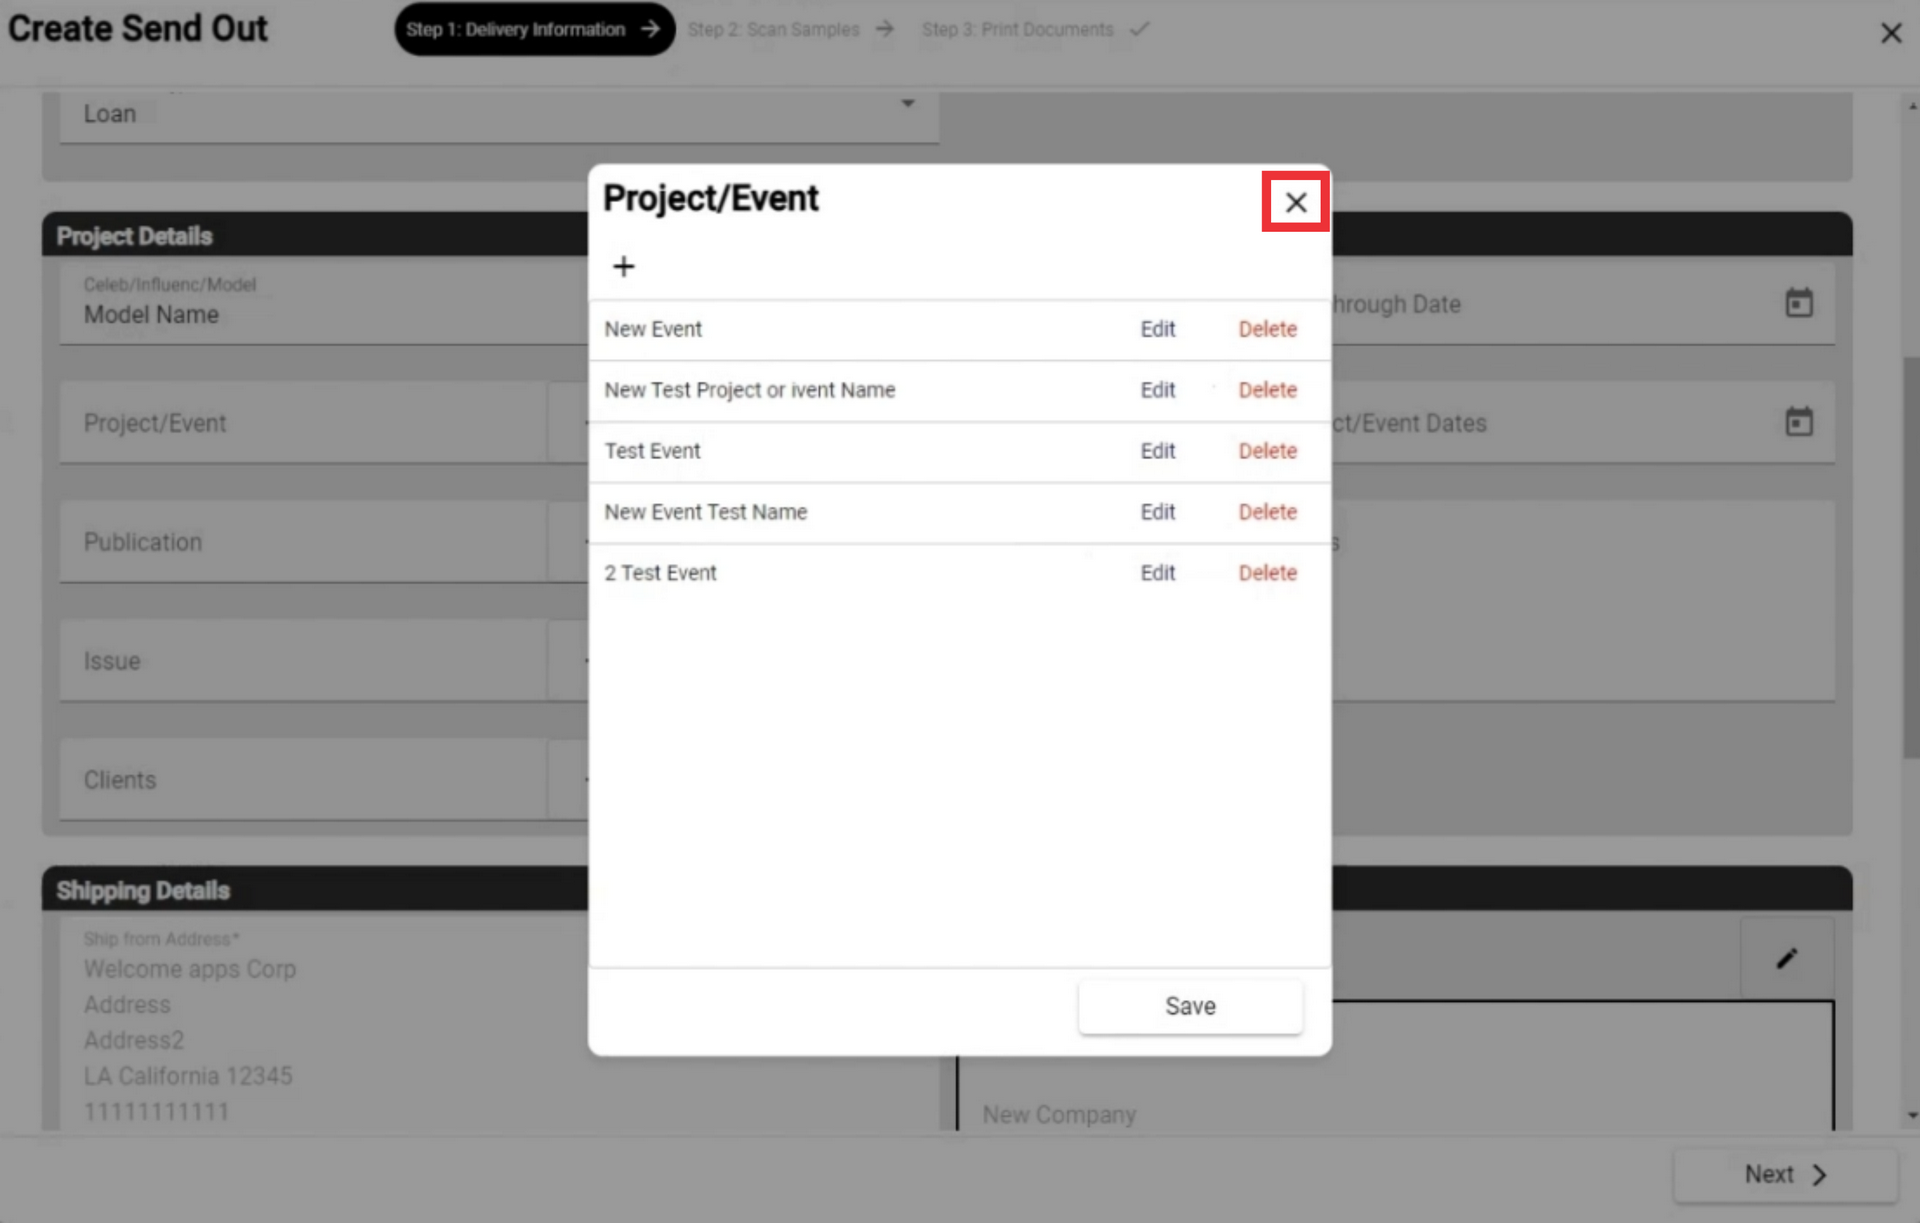
39. For the close this window lick the "X" button.
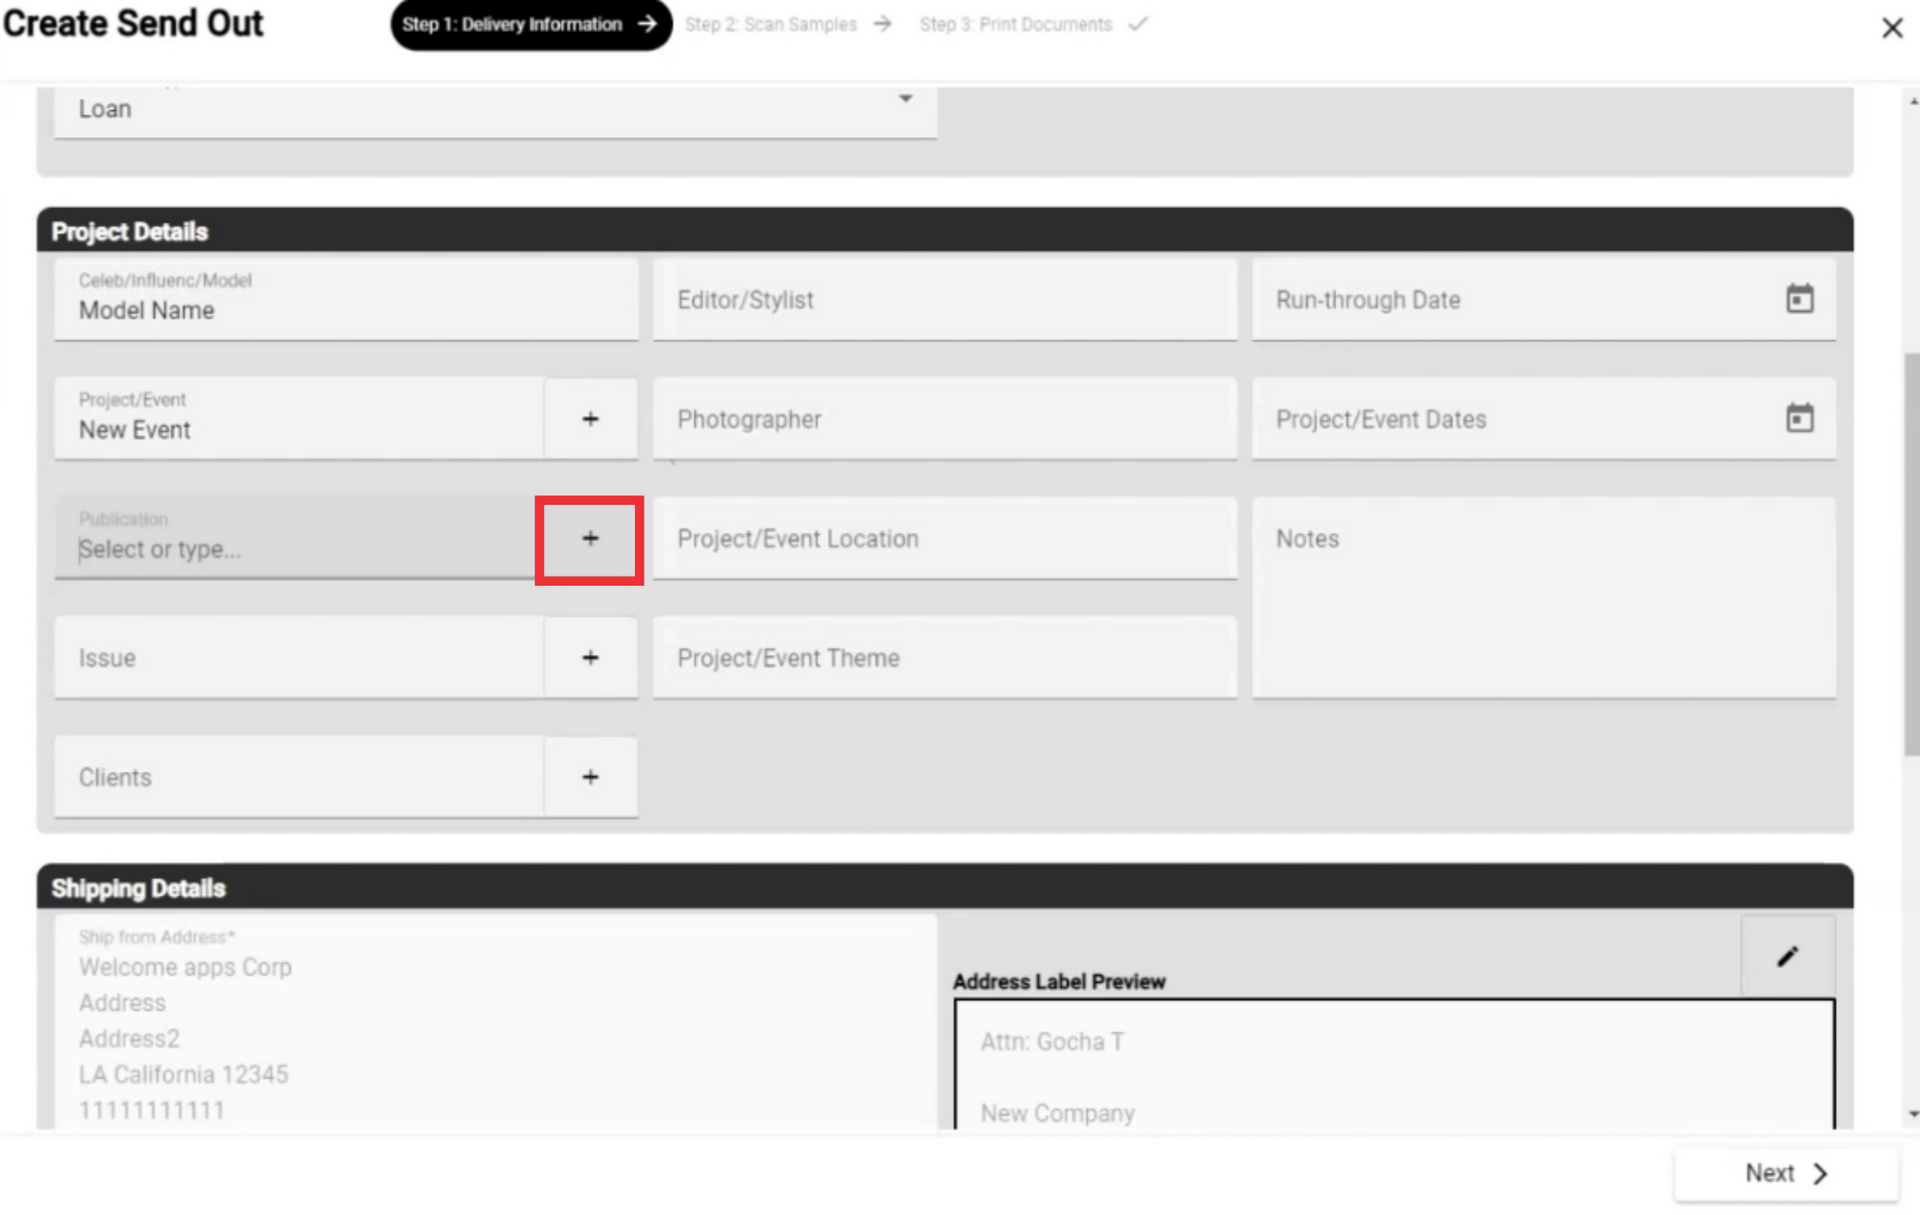
40. Select or type publication company name or add a new one.

41. For the add a new Publication company click the "+" button.
42. Fill in all required fields and other fields as desired and click the "Create" button to confirm. (all Mandatory fields are marked with a *Asterisks)

43. Select the issue or add a new one.
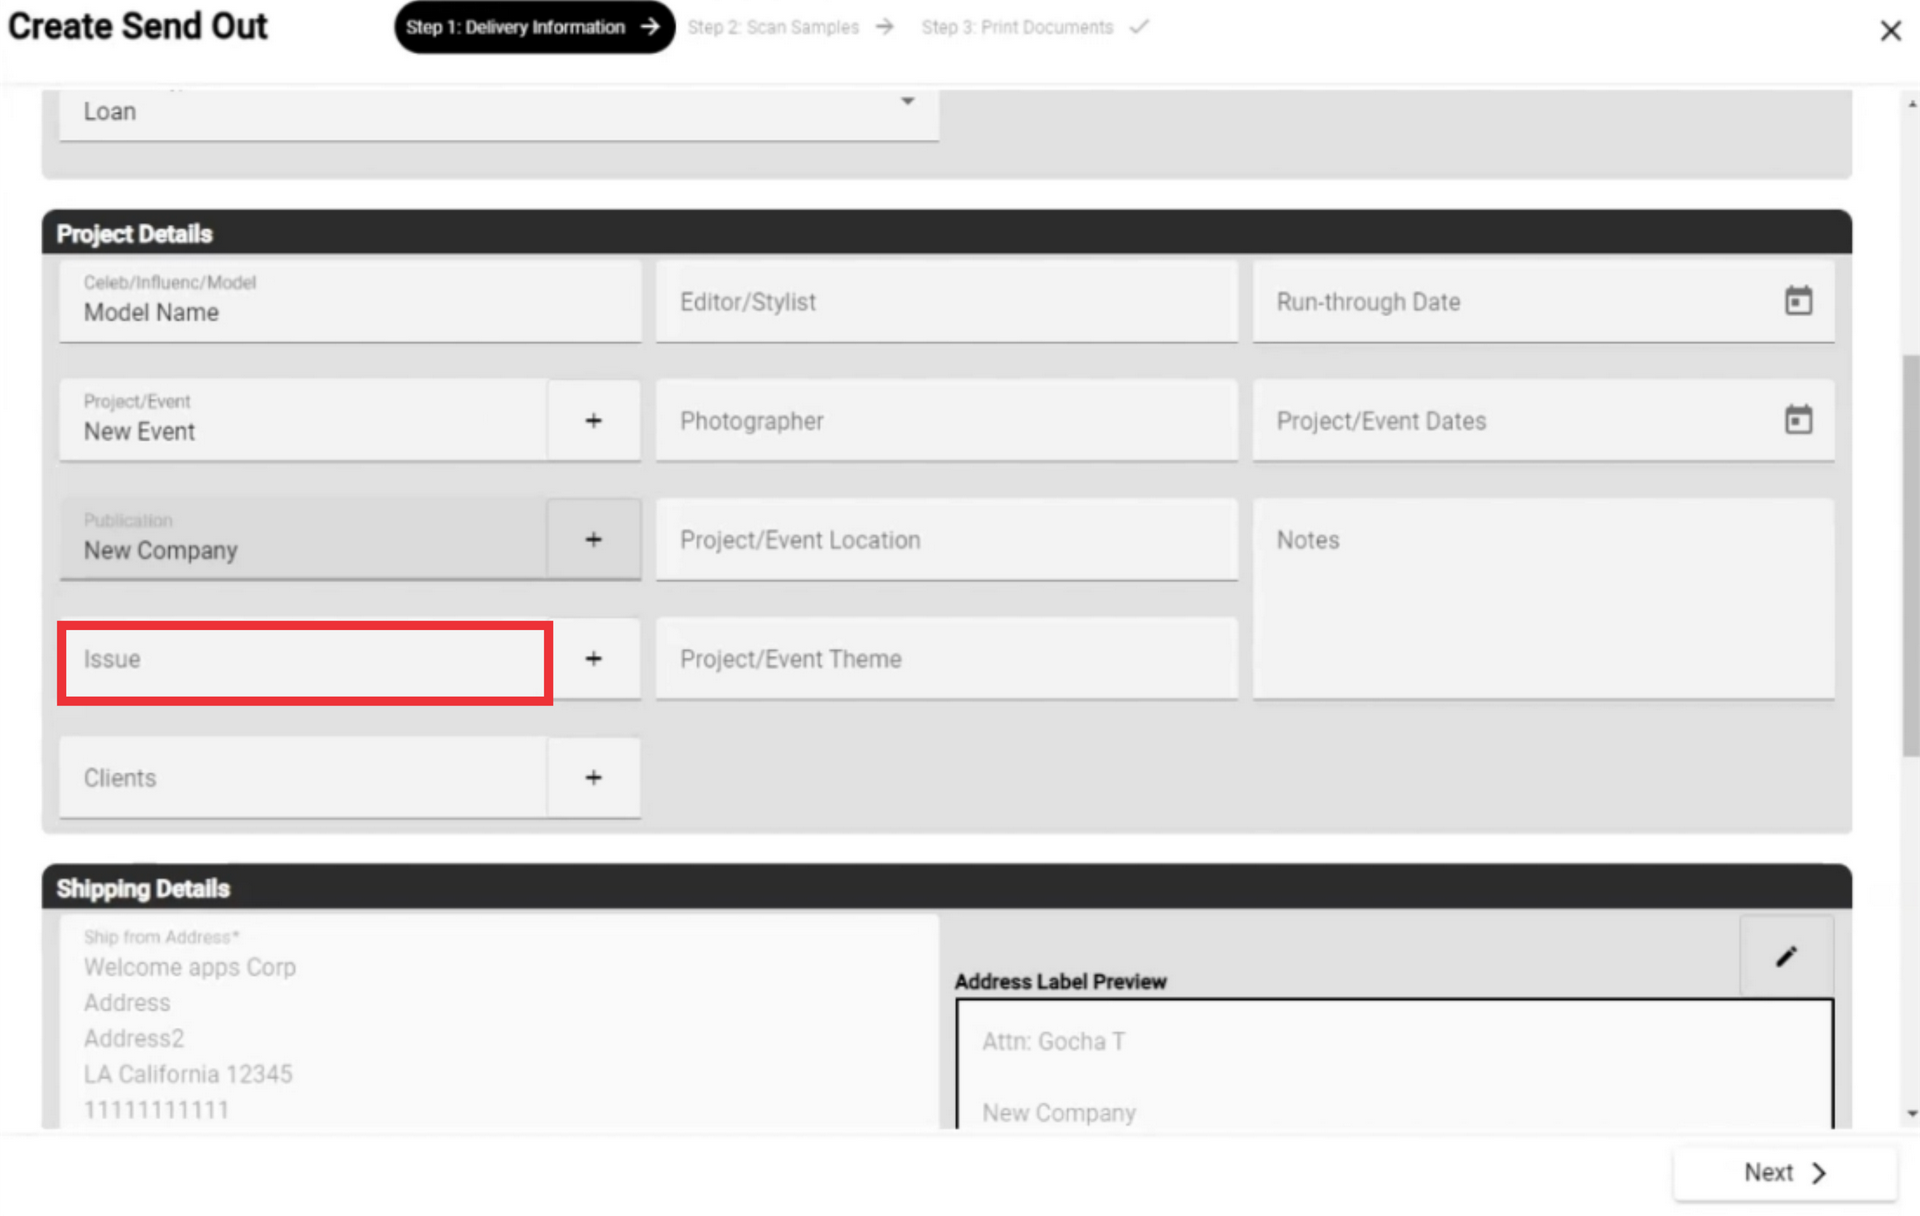
44. For the add a new Issue click the "+" button.

45. For the add a new Issue click the "+" button.
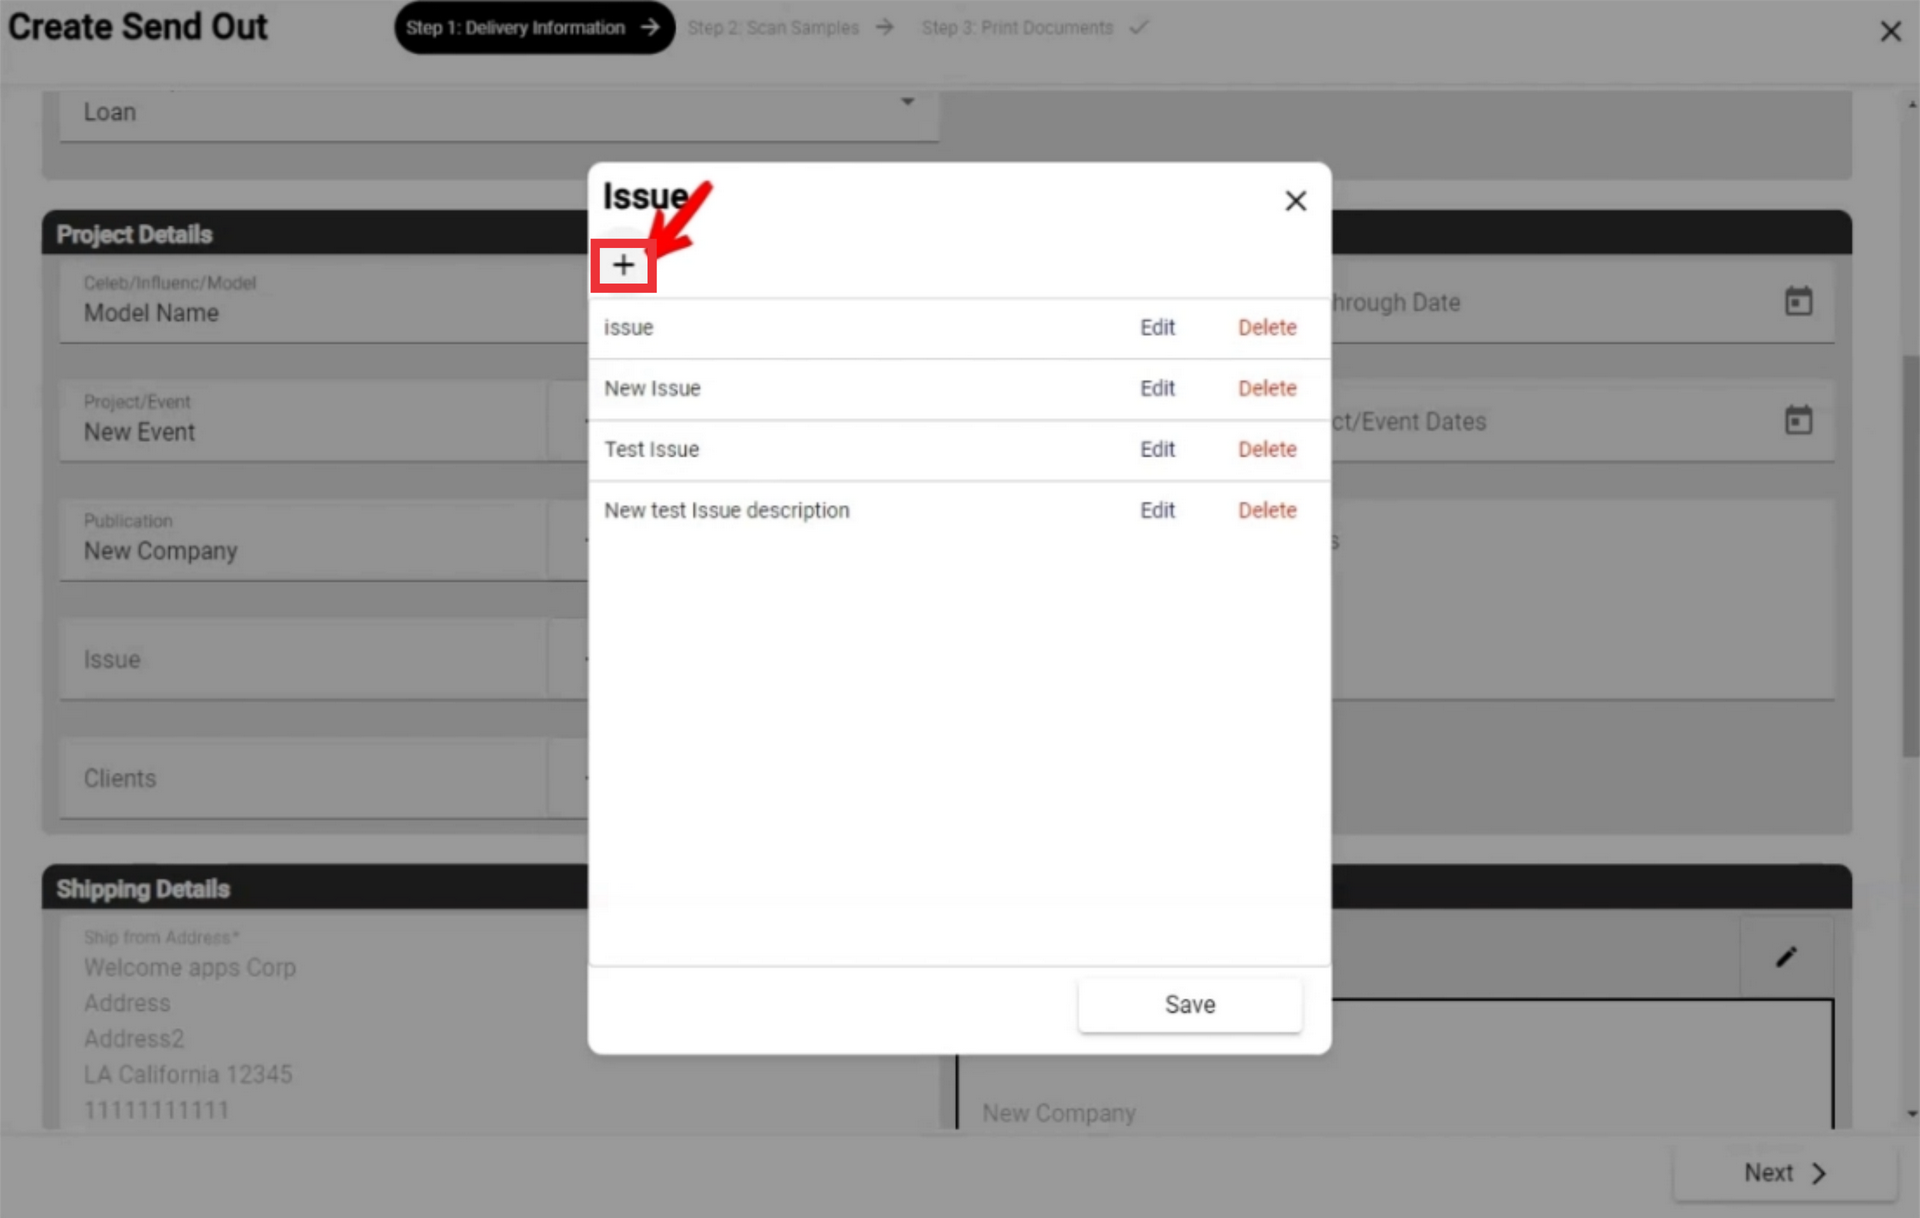
46. Enter Description in the field and click the "OK" button to confirm.

47. For the edit issue click the "Edit" button.
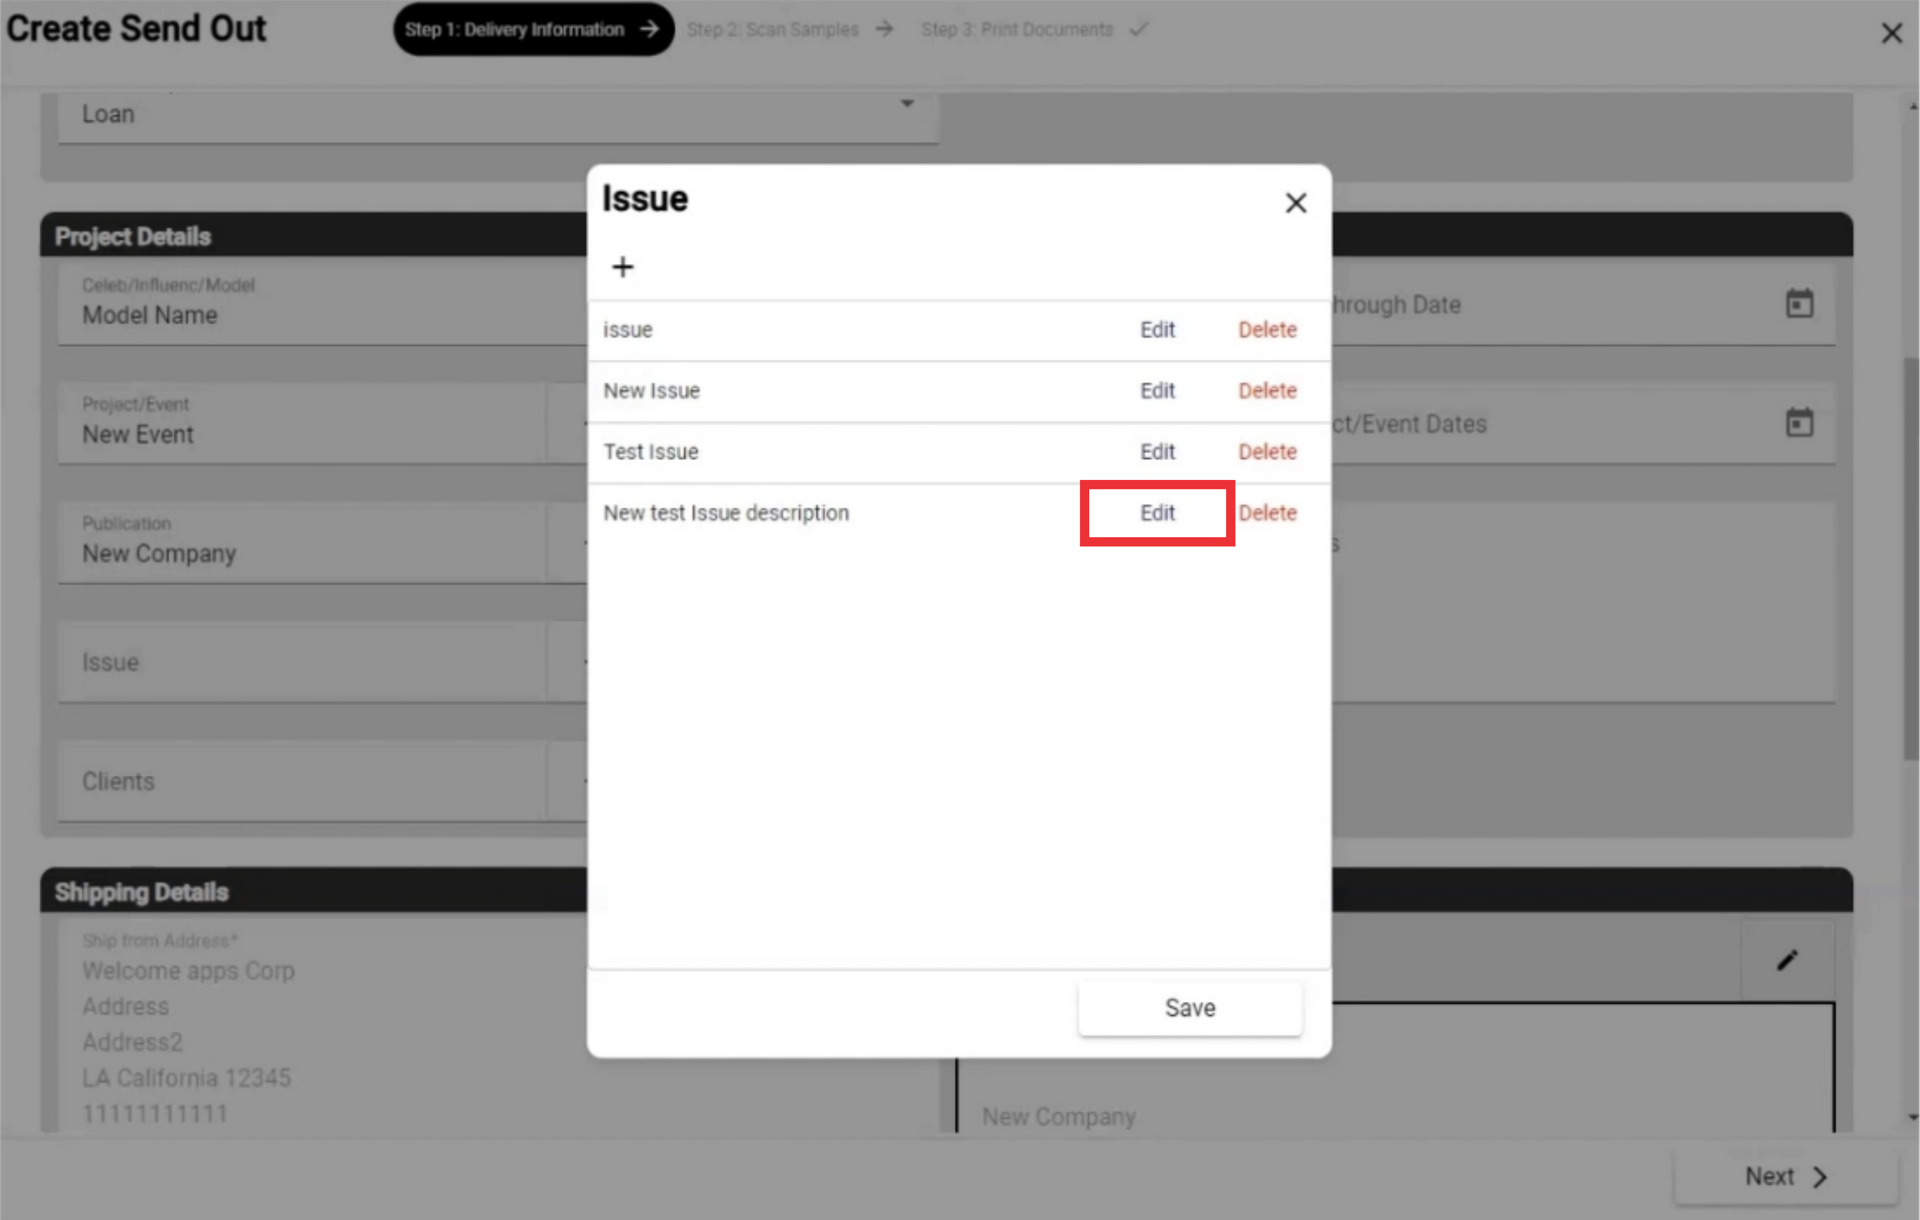 48. Edit description and click the "OK" button to confirm.

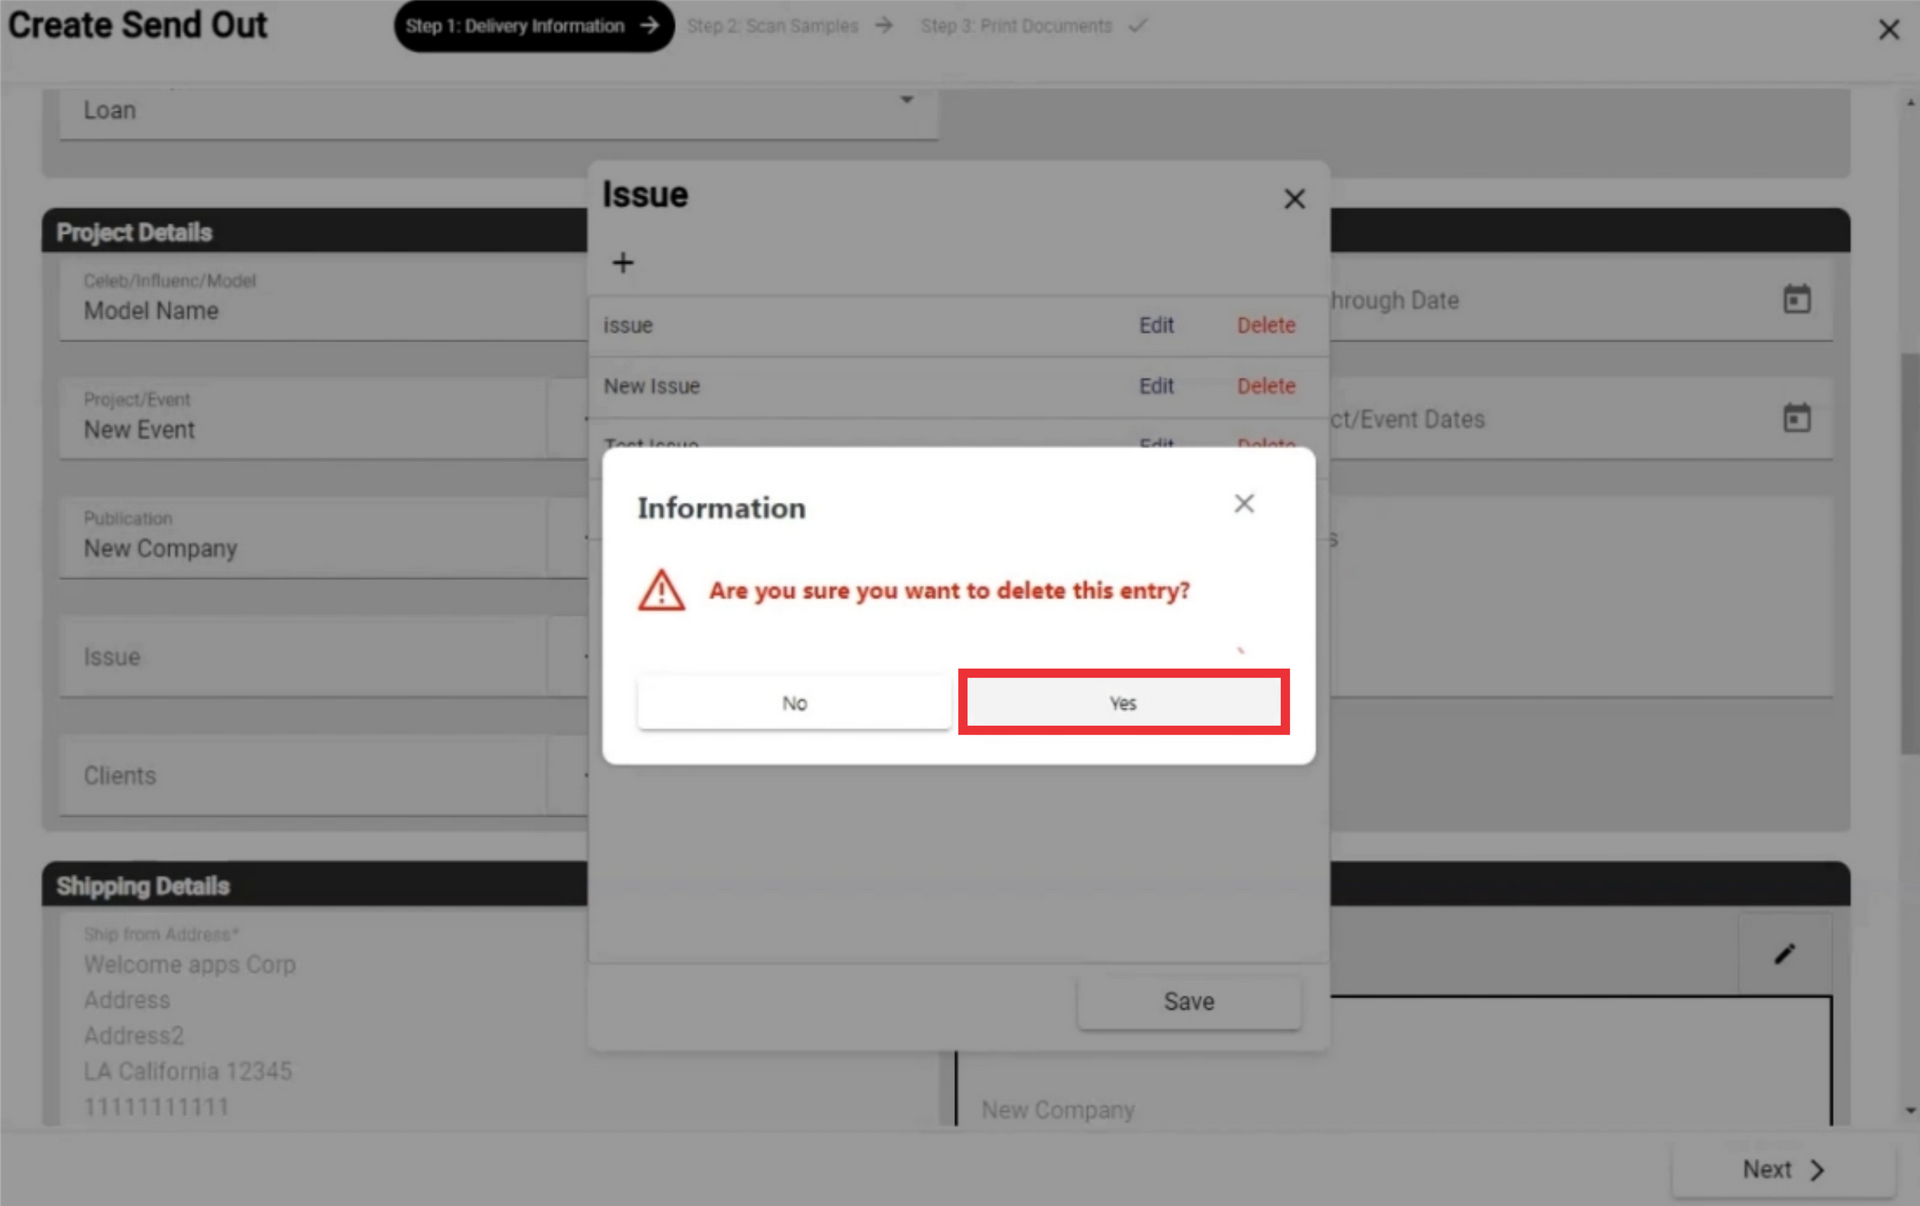
49. For the remove issue from the list click the "Delete" button.

50. click the "Yes" button to confirm.
51. For the save changes the "Save" button.
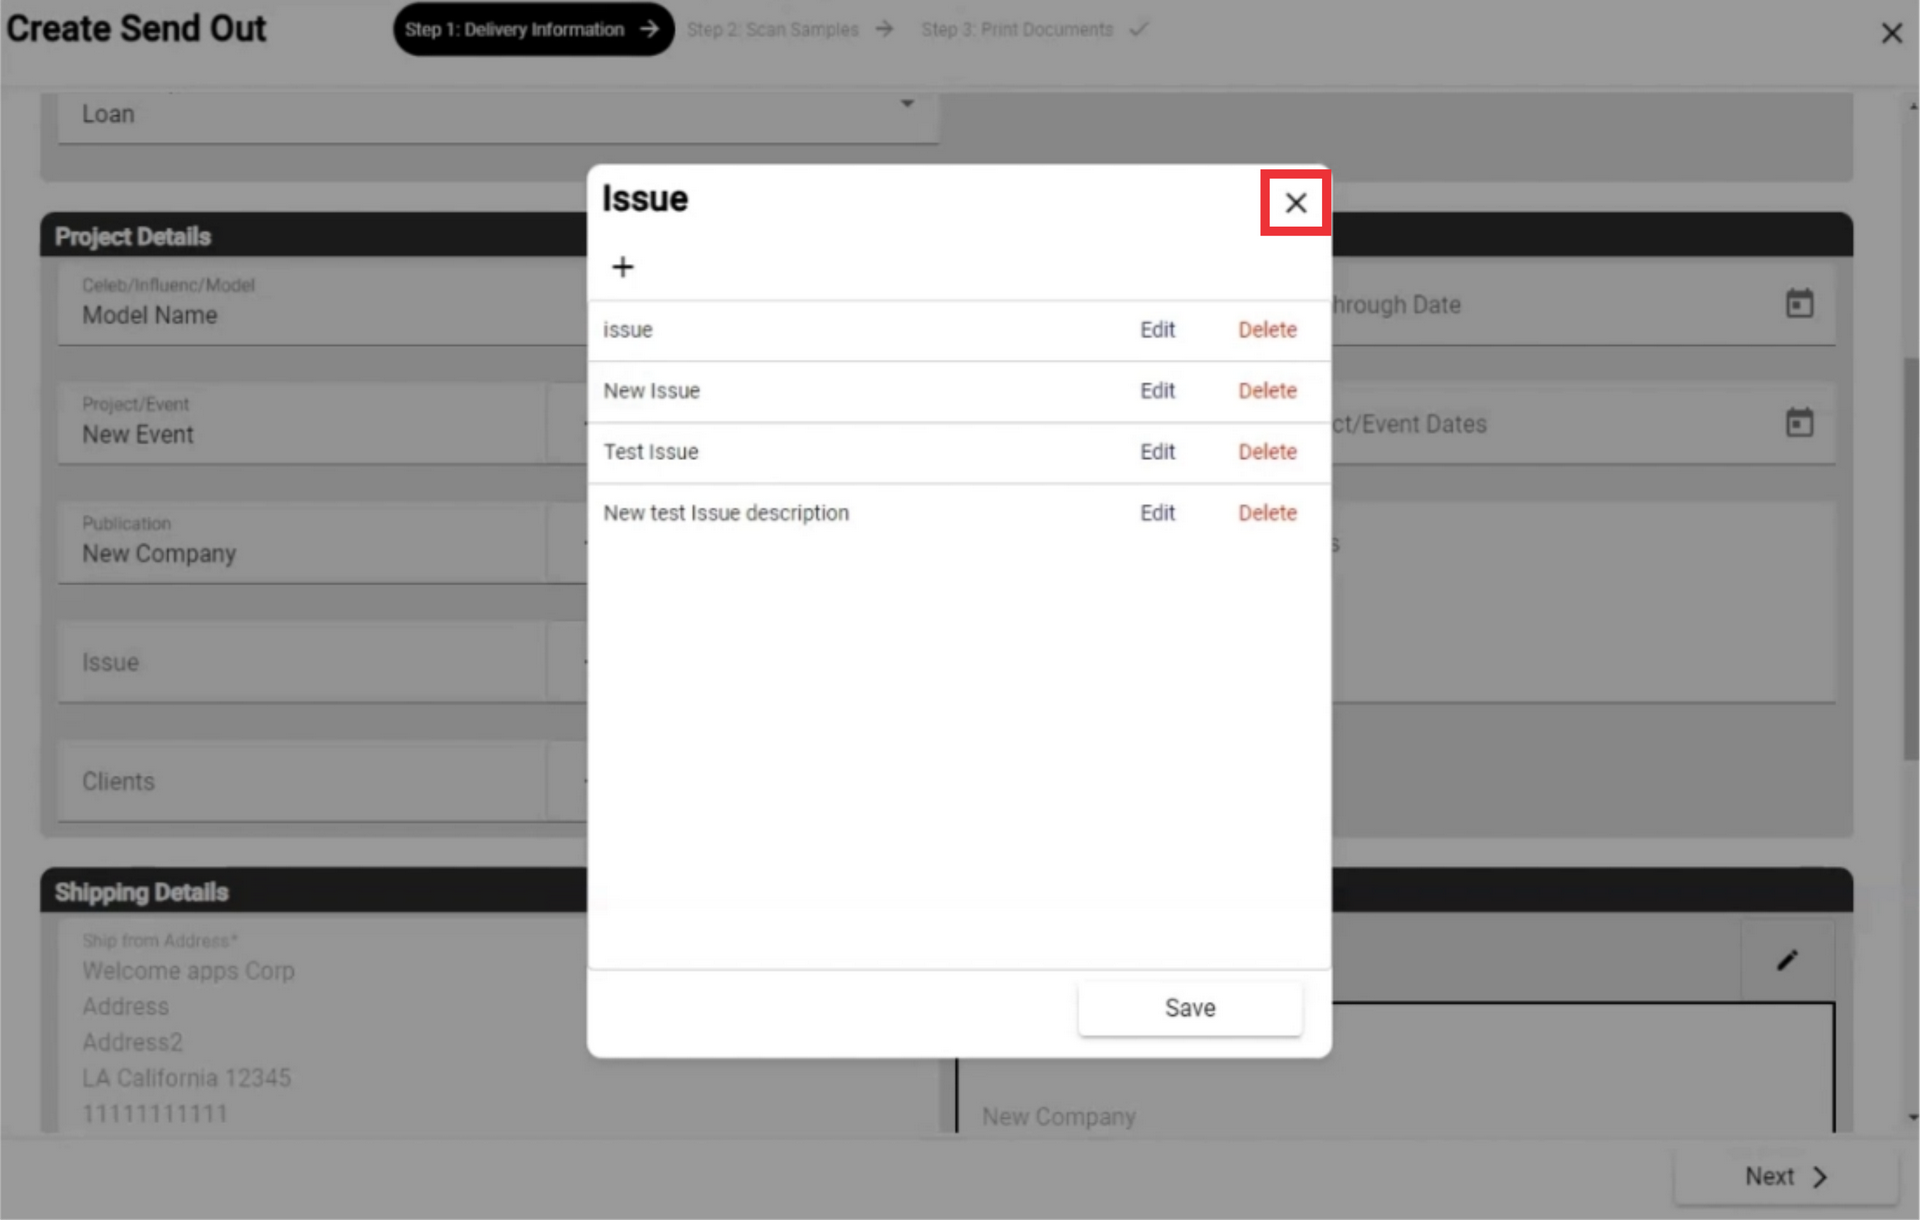
52. For the close This window click the "X" button.
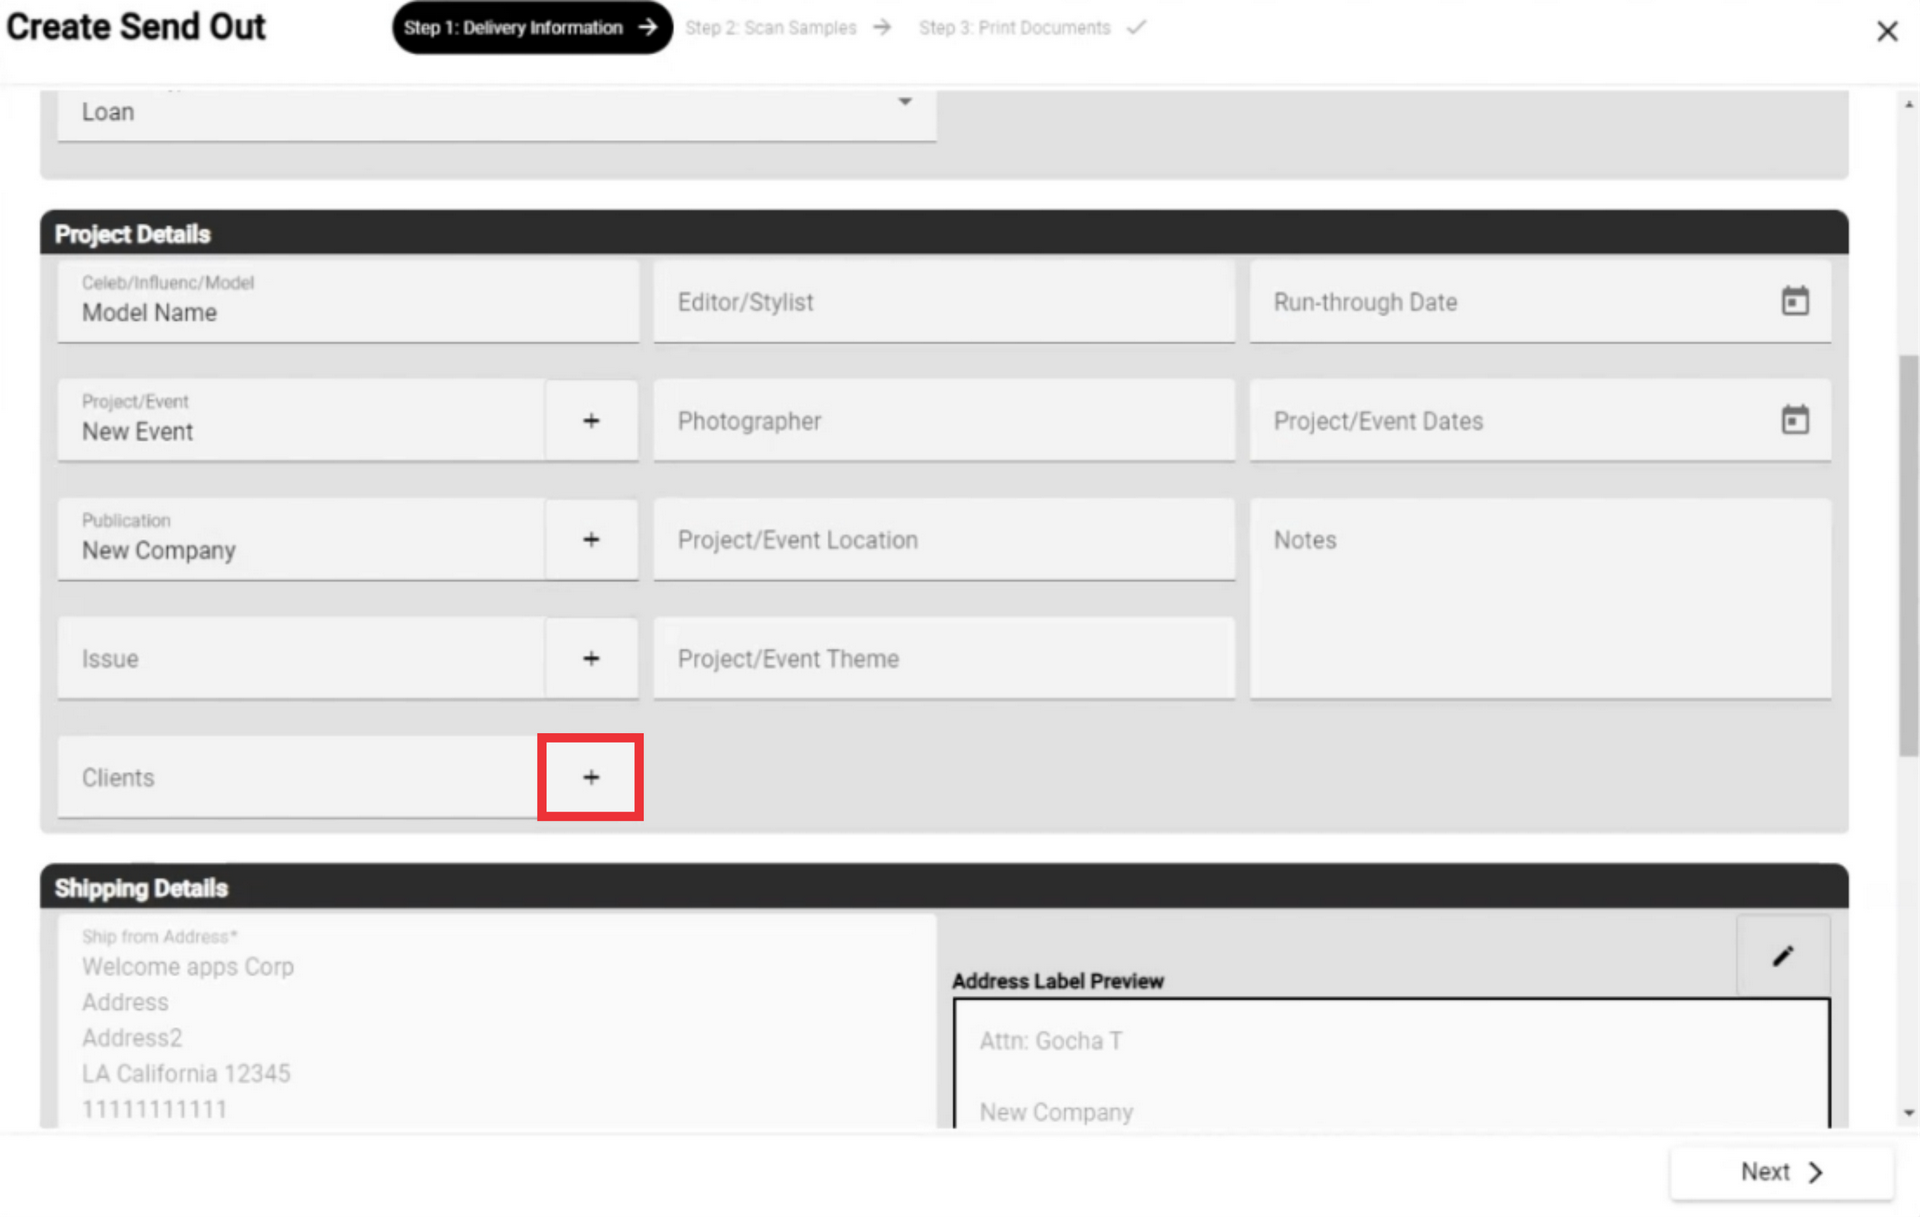
53. Select the clients from the drop down list or create a new one.

54. For the add a new Client click the "+" button.
55. For the add a new Celebrity click the "+" button.

56. Write the Celebrity name in the field (This field is required*)

57. Paste the celebrity`s Instagram link.
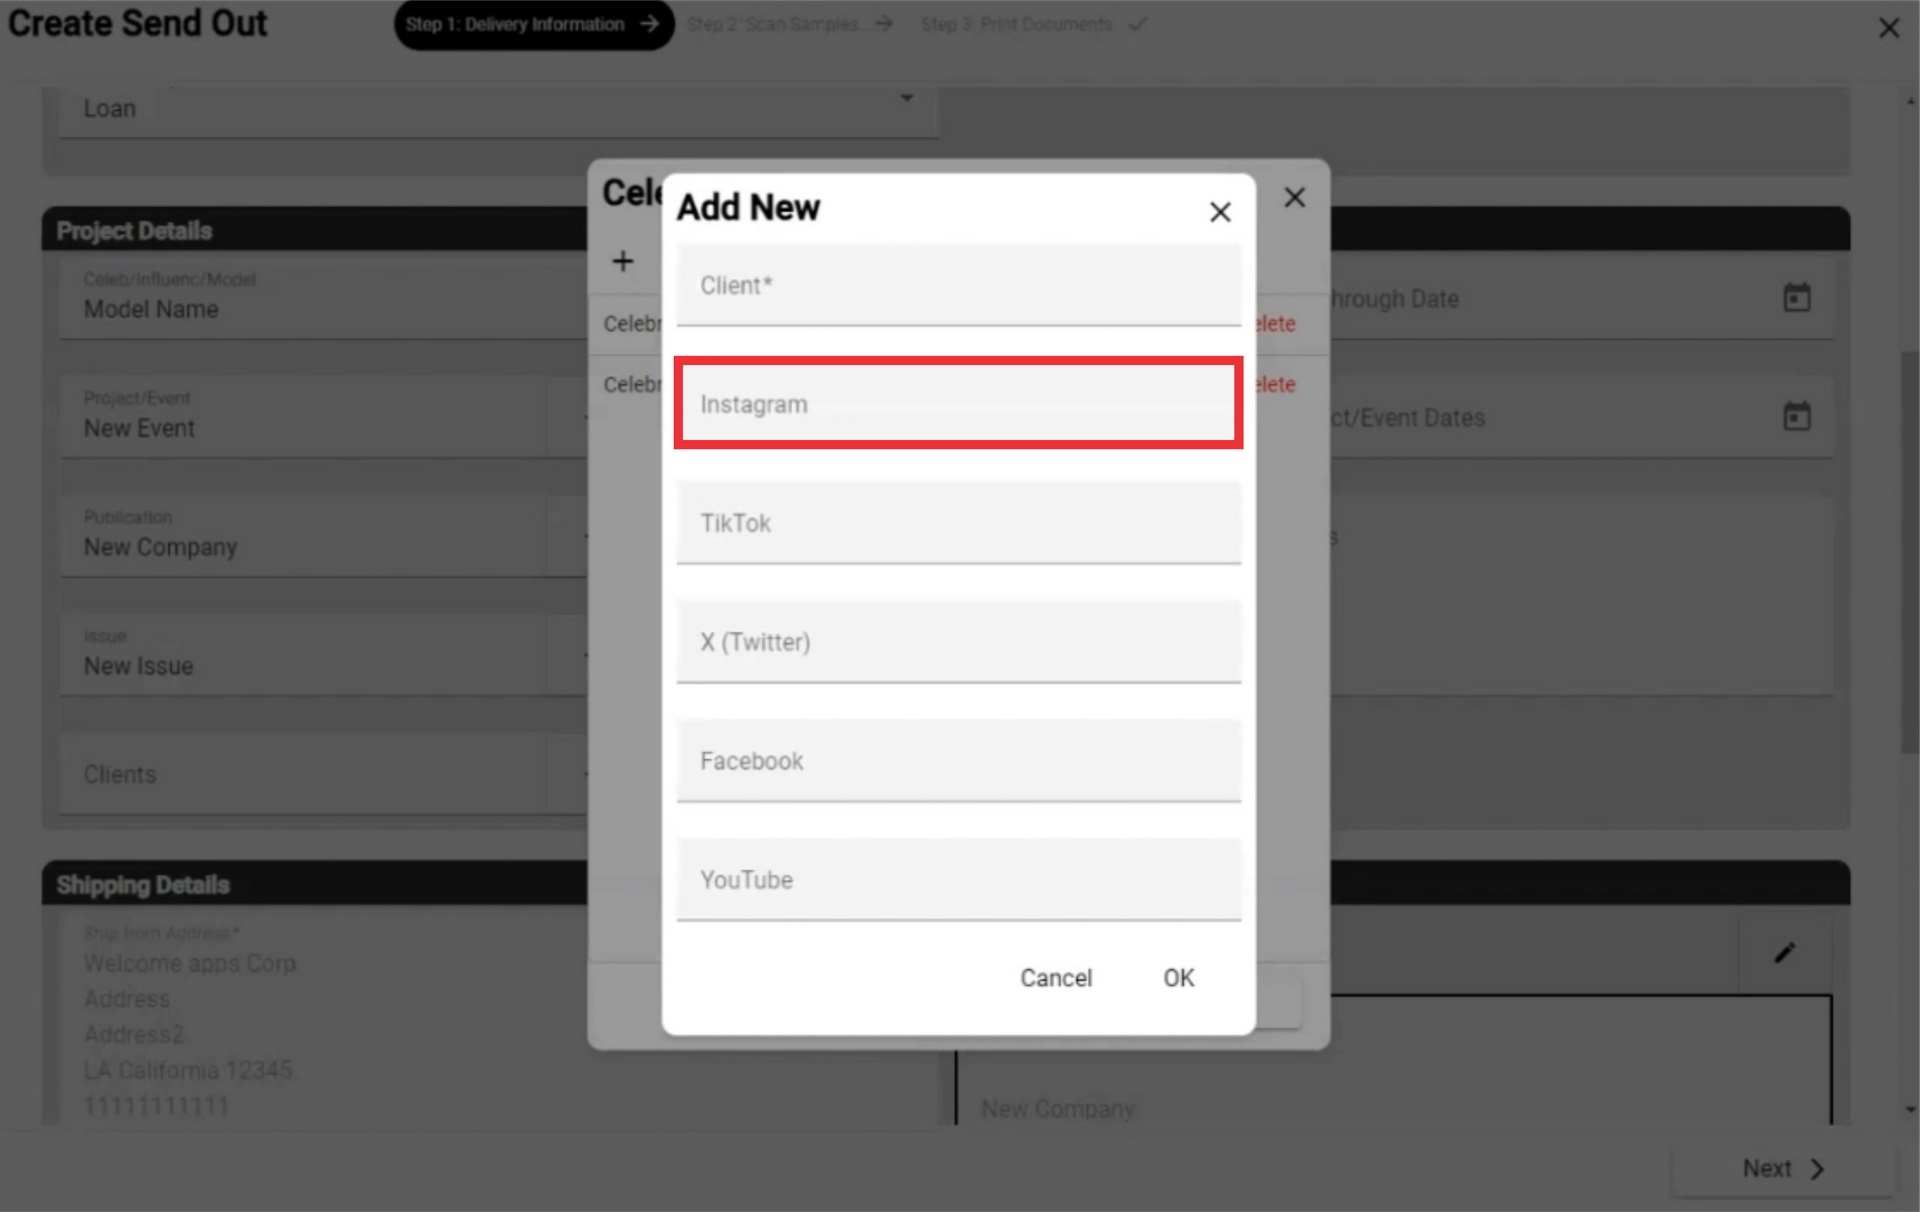
58. Paste the celebrity`s Tik-Tok link.

59. Paste the celebrity`s X (Twitter) link.
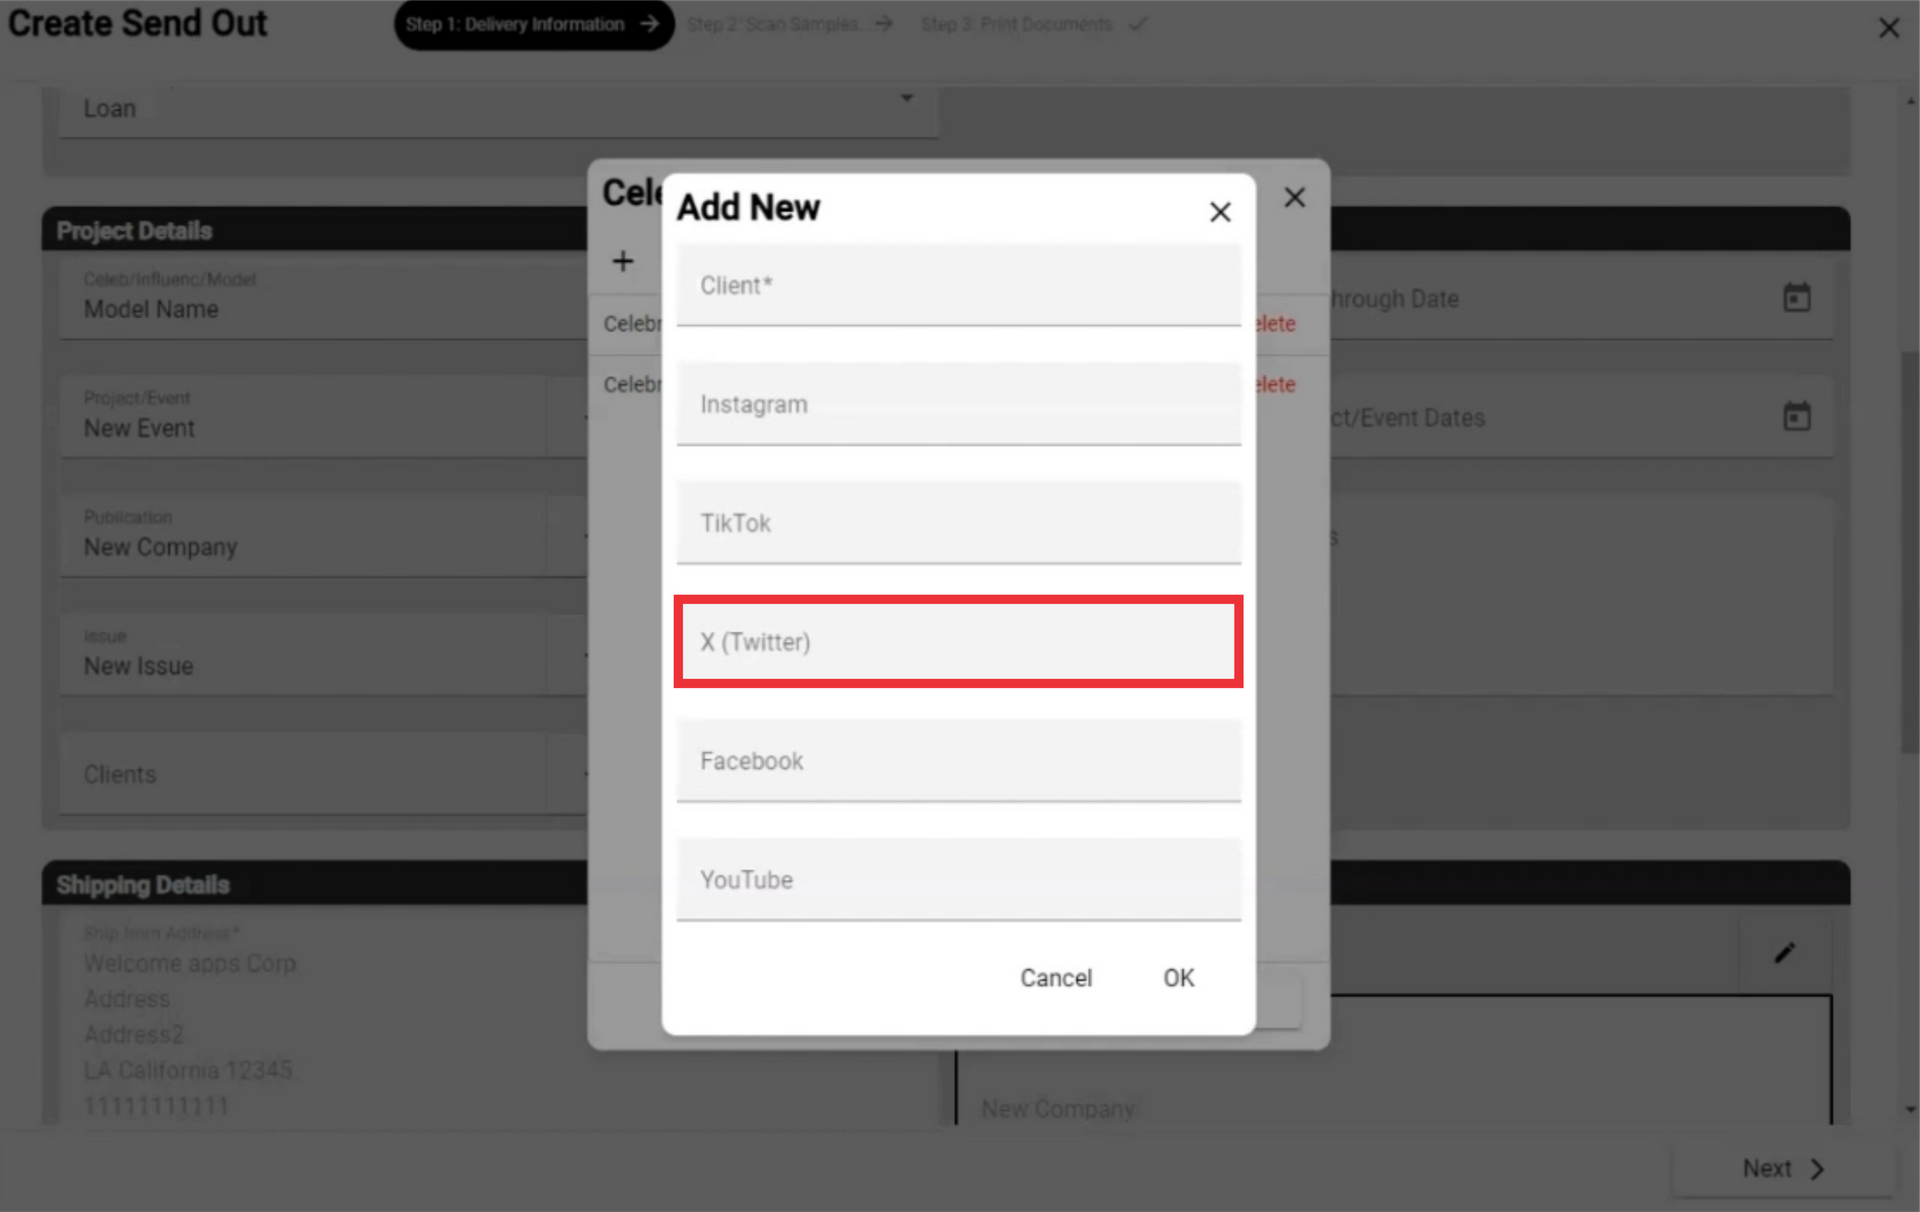
60. Paste the celebrity`s facebook link.

61. Paste the celebrity`s Youtube link.

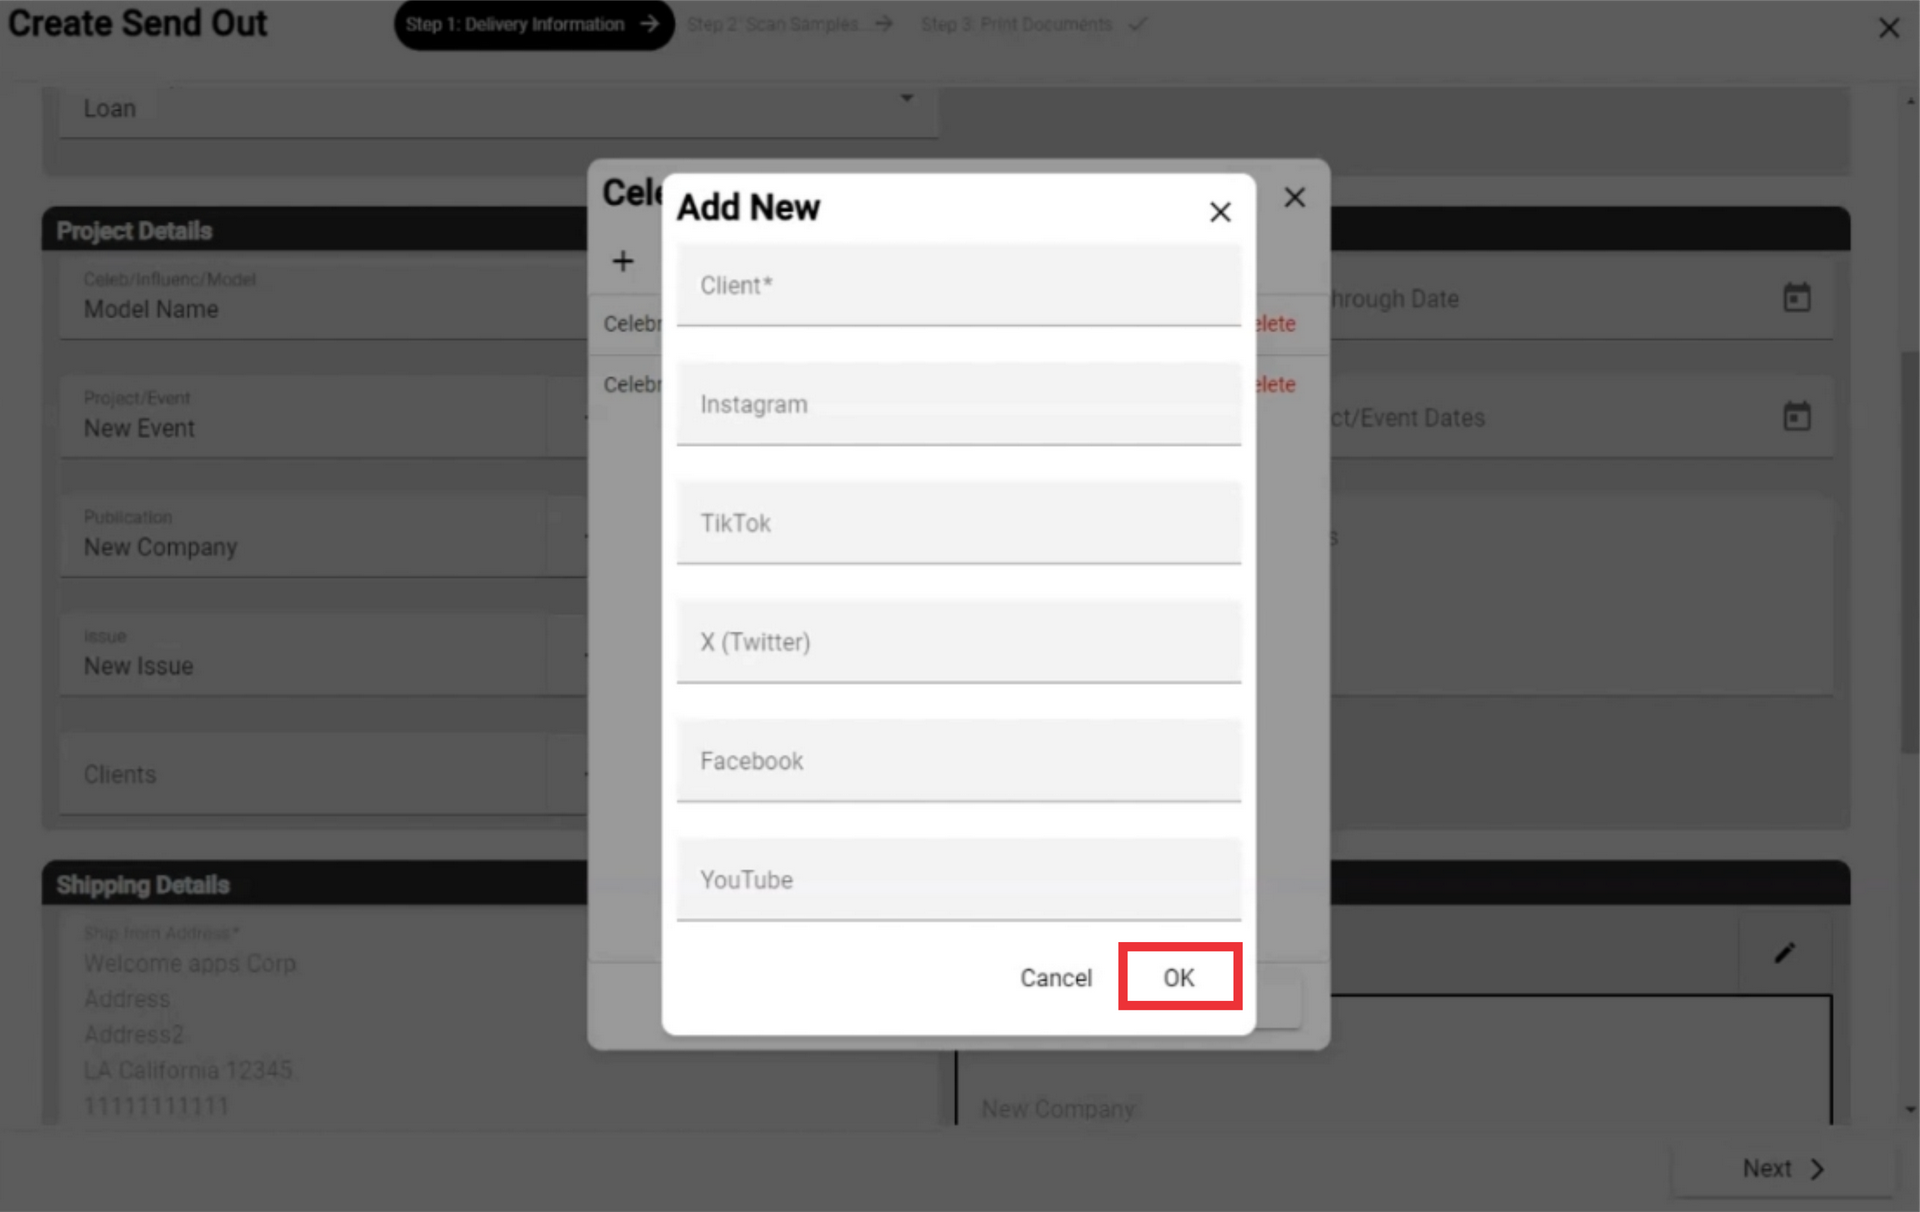
62. click the "OK" button to confirm.
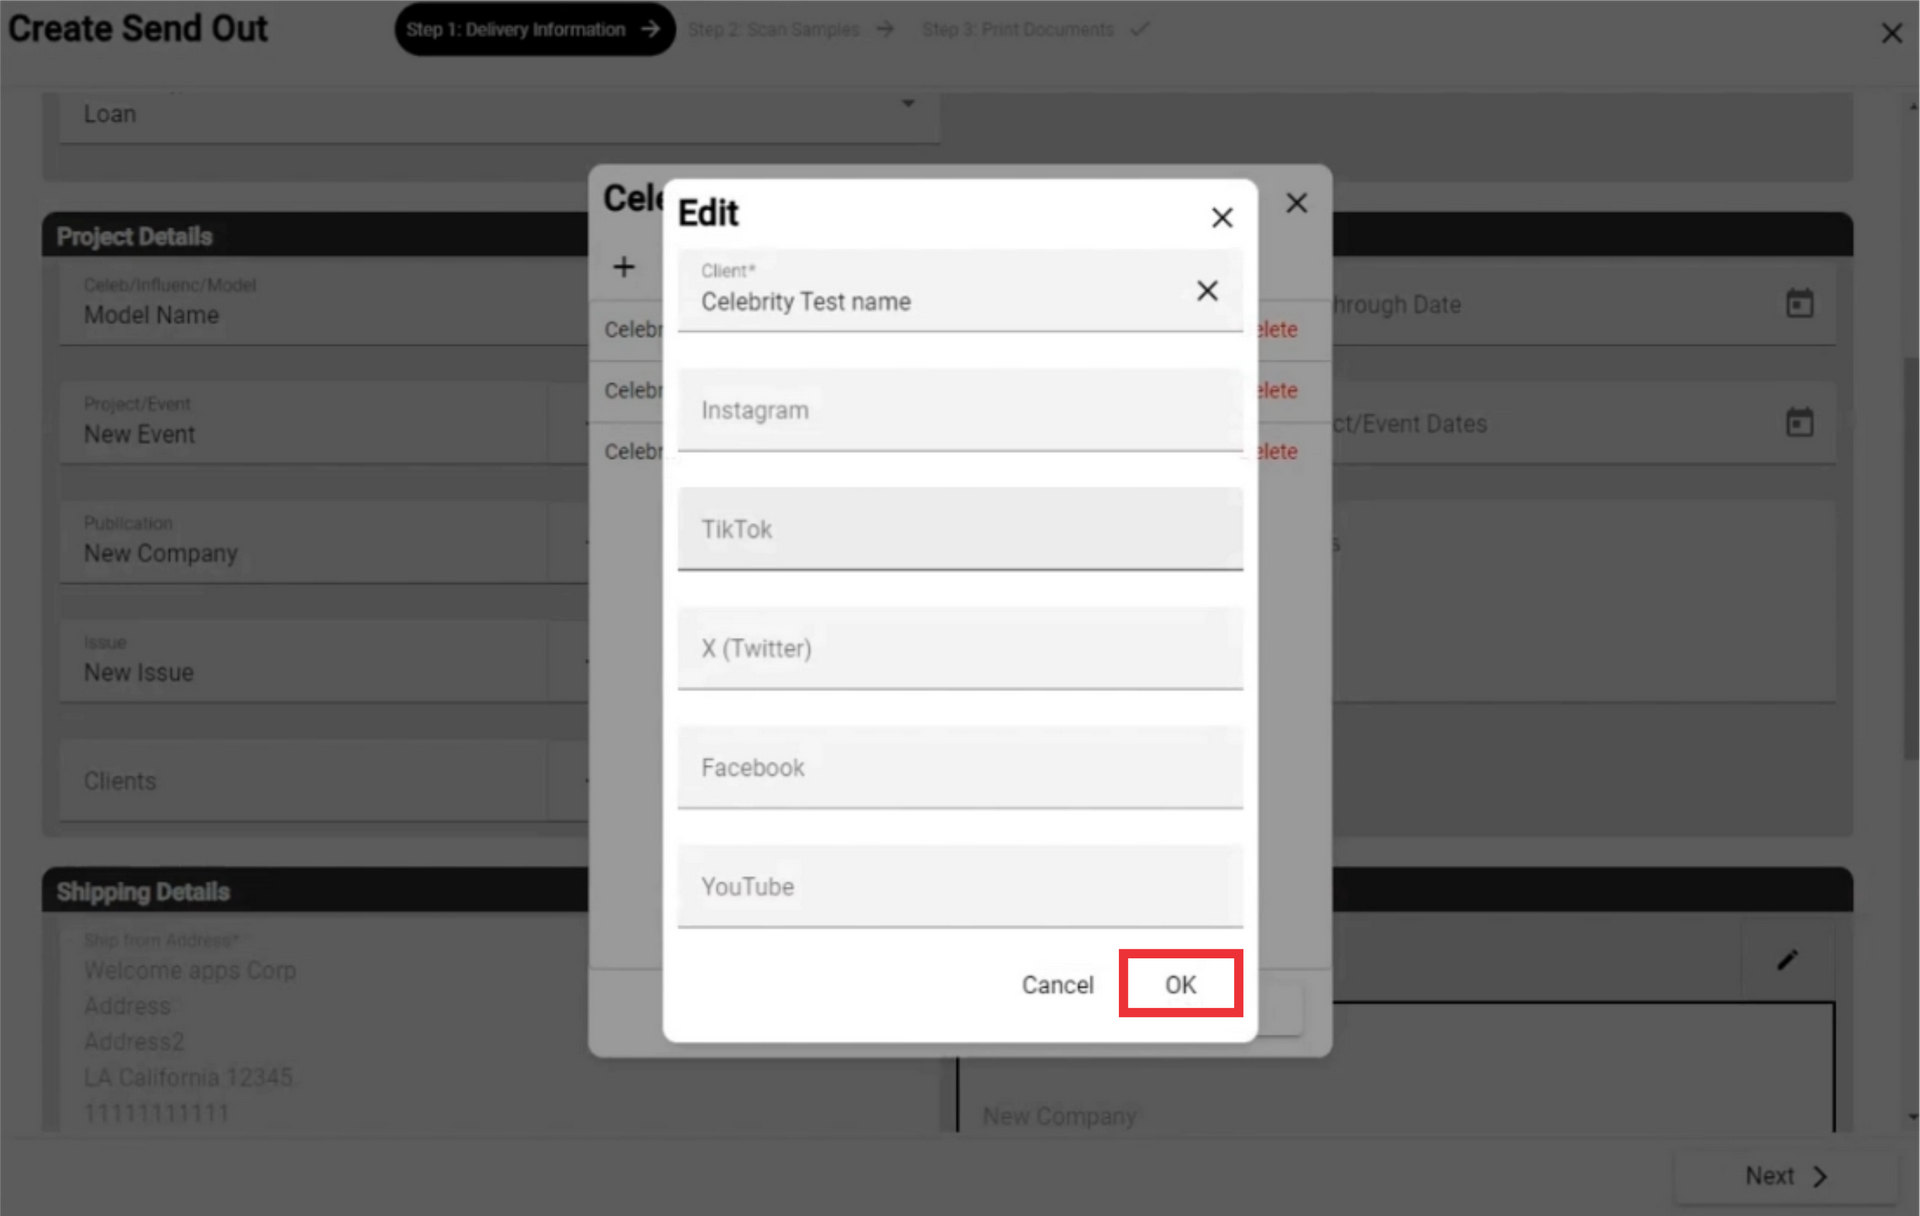
63. For the edit information about celebrity click the "Edit" button.

64. Edit desired fields and click the "OK" button to confirm.
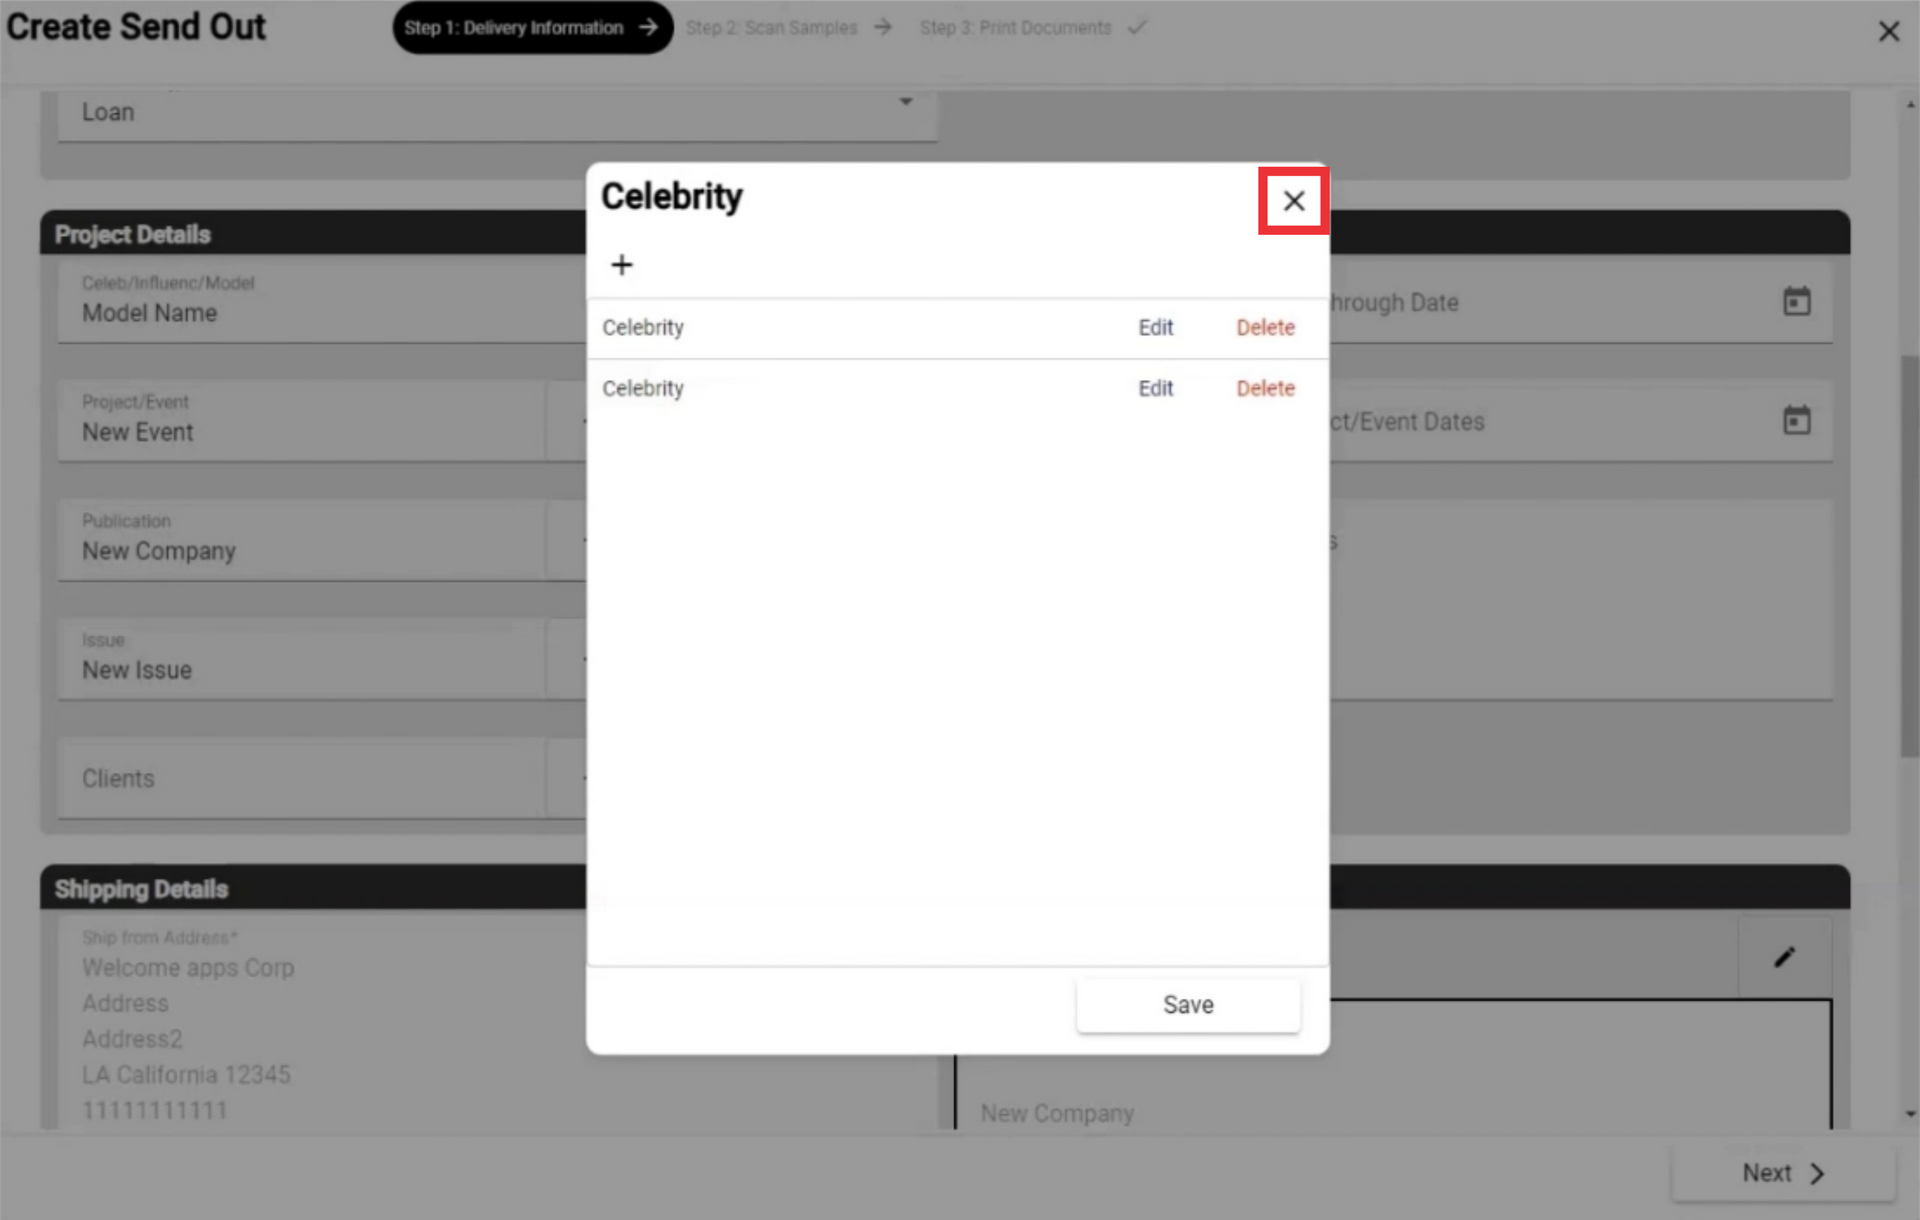
65. For the remove celebrity from the list click the "Delete" button.

66. Click the "Yes" button to confirm.
67. Click the "Save" button.

68. For the close window click the "X" button.
69. Information about the Celebrity from the links of the social networks added by you will be reflected in a special field. Click the profile button to view.
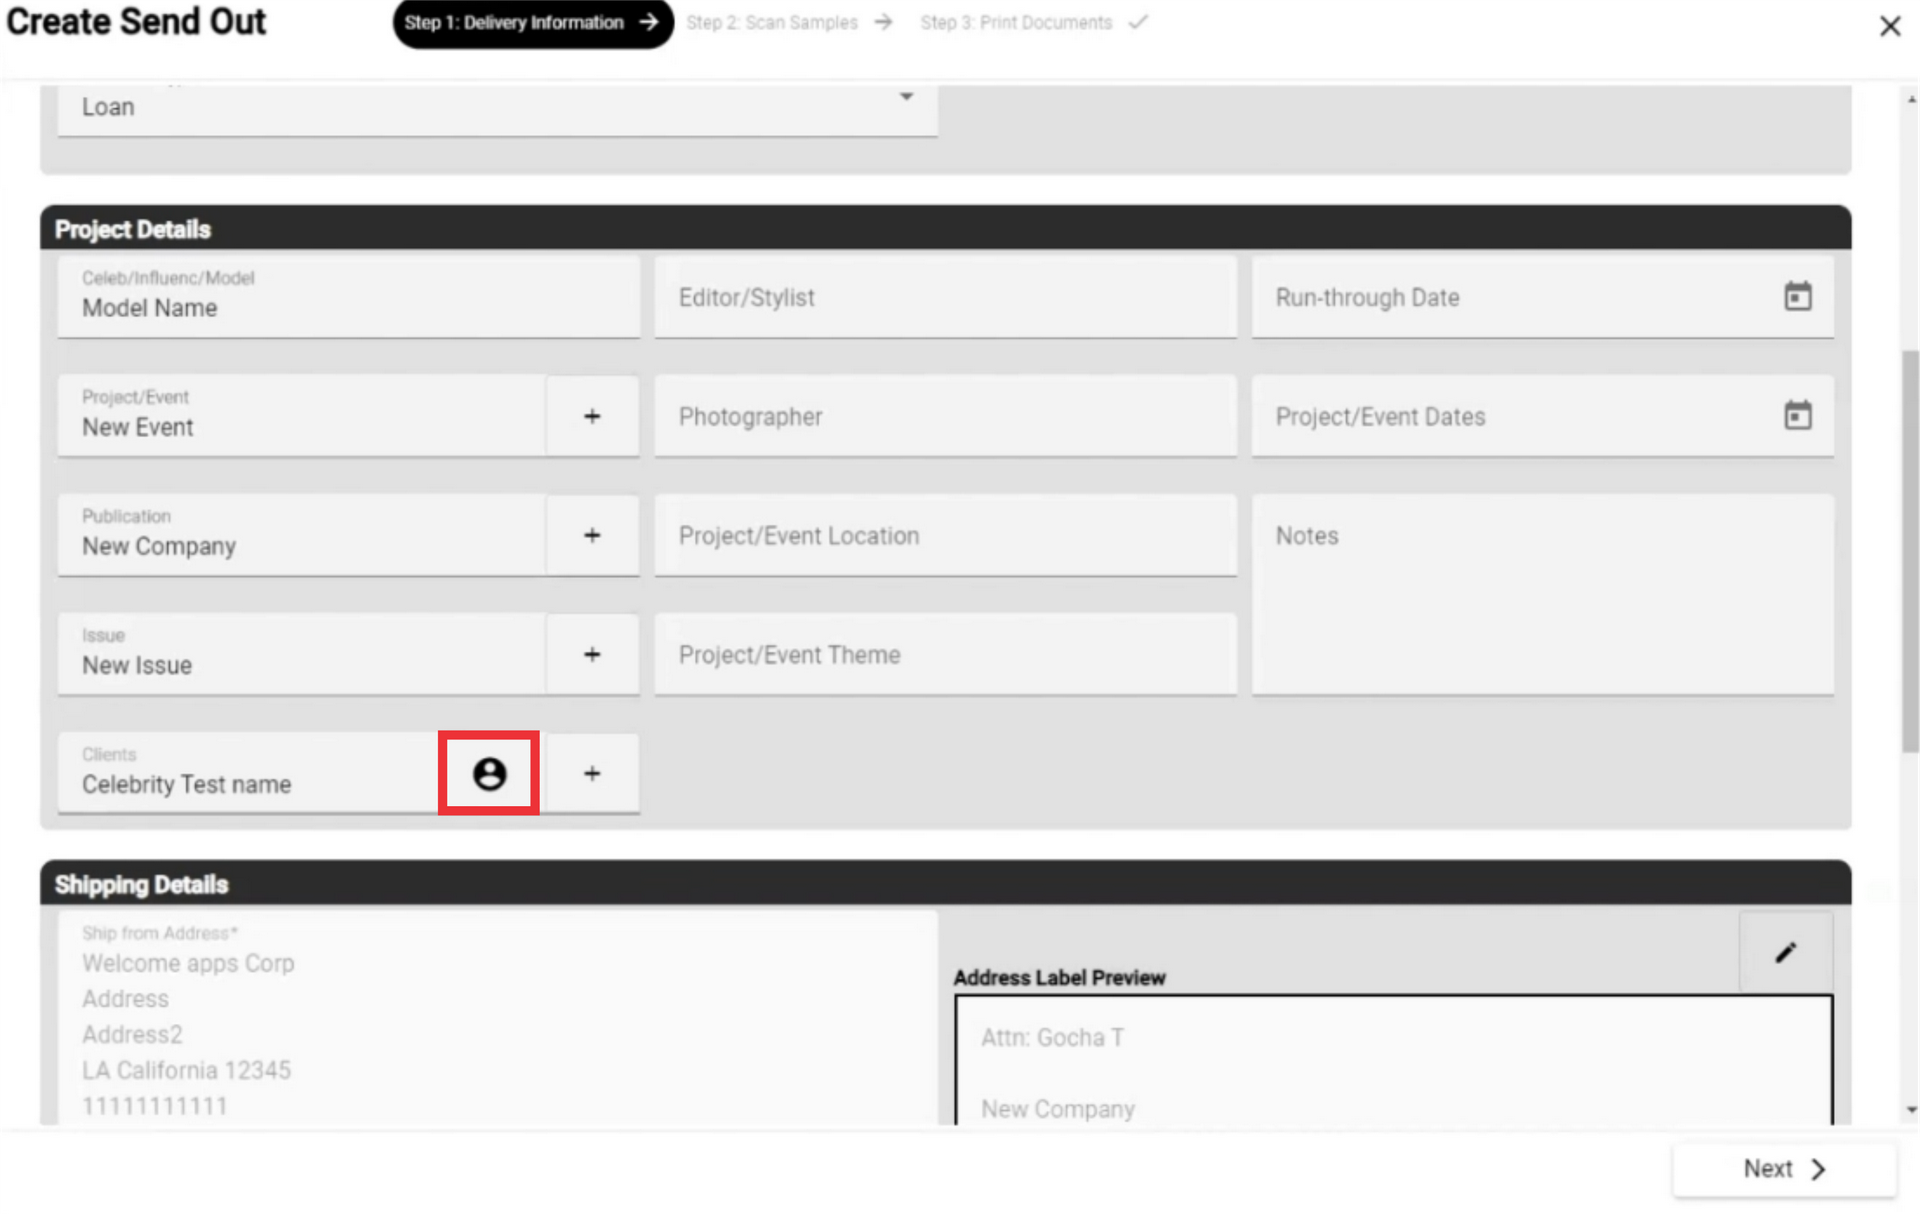
70. view statistics of social networks in the field.

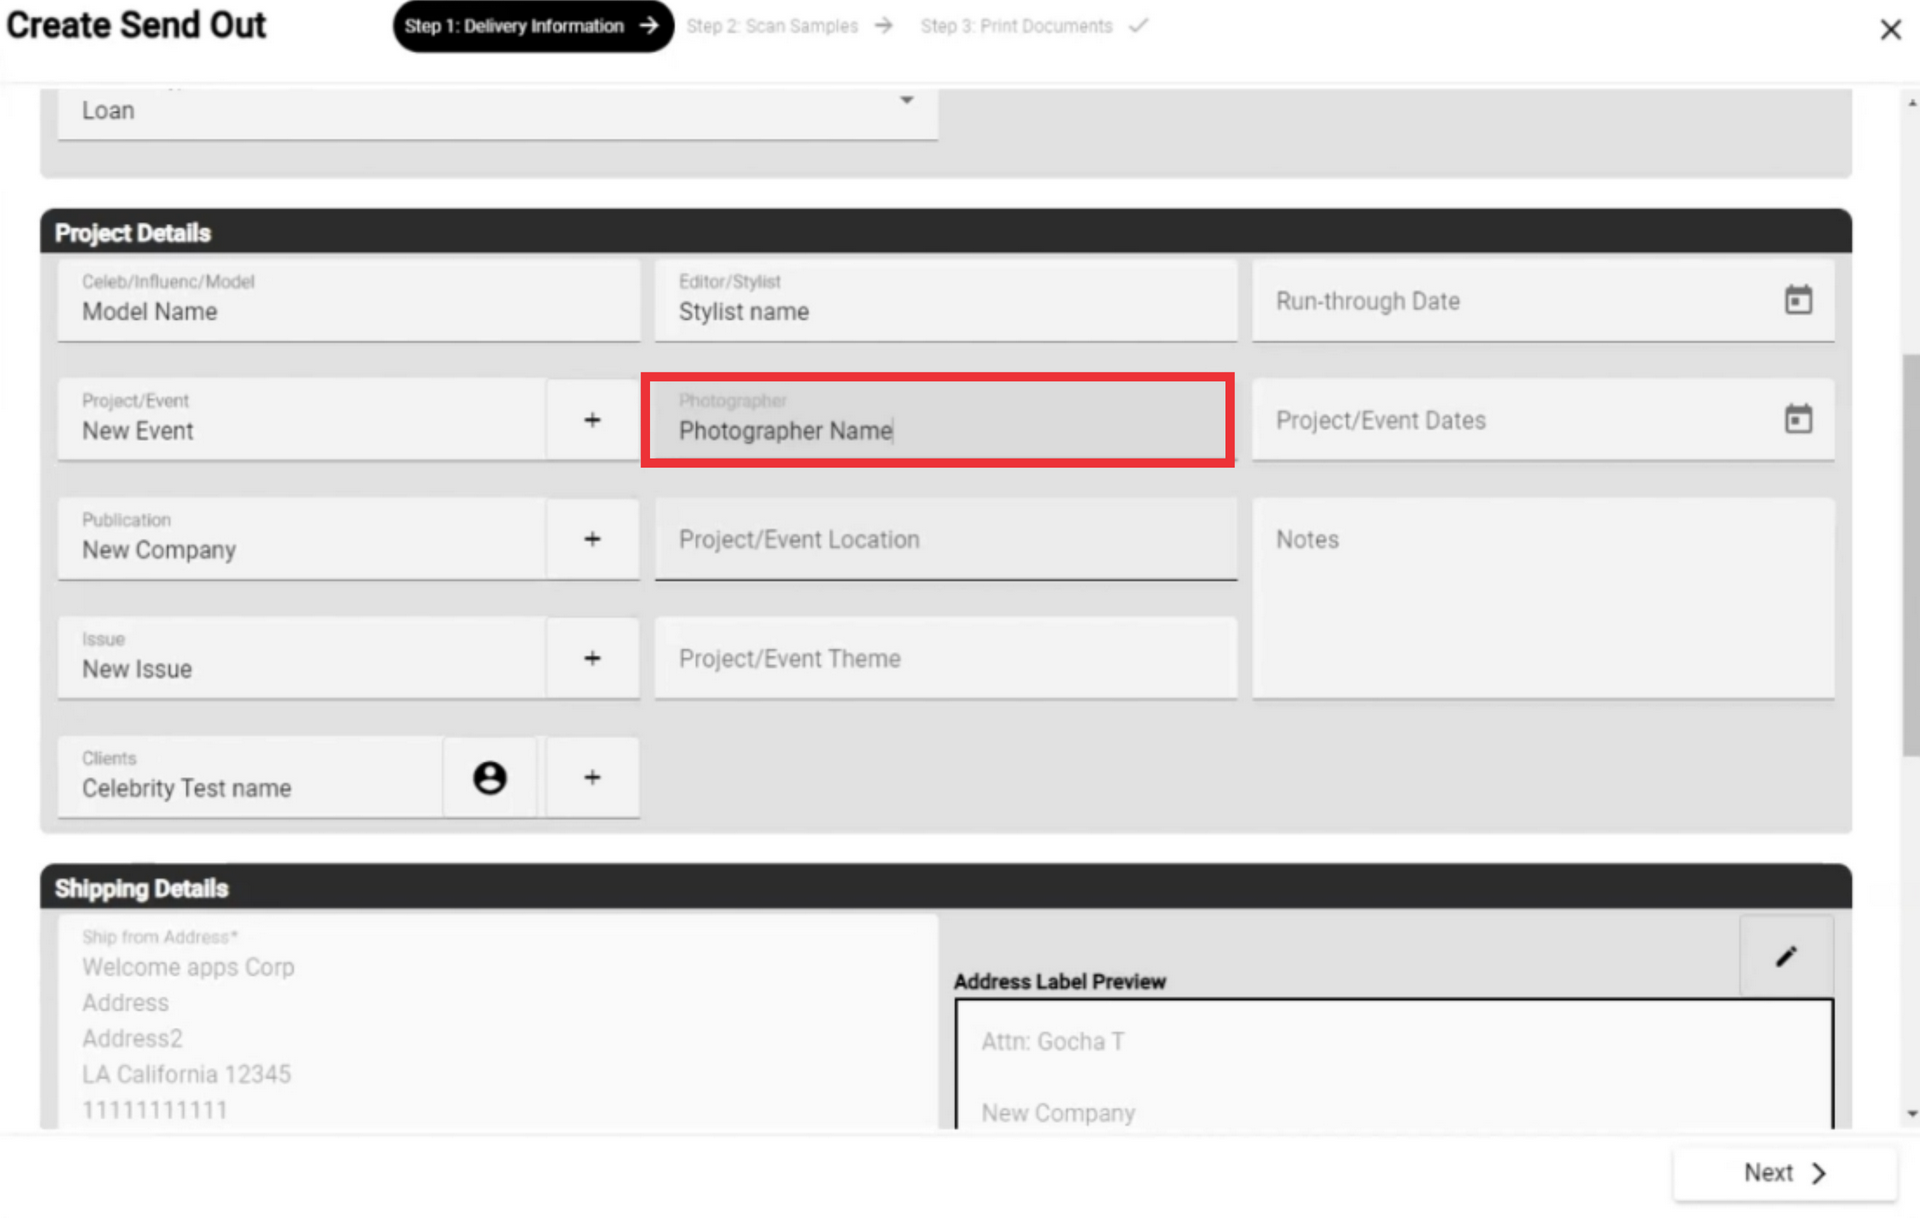
71. Write Editor or Stylist name in the field.

72. Write Photographer or Photo studio name in the field.
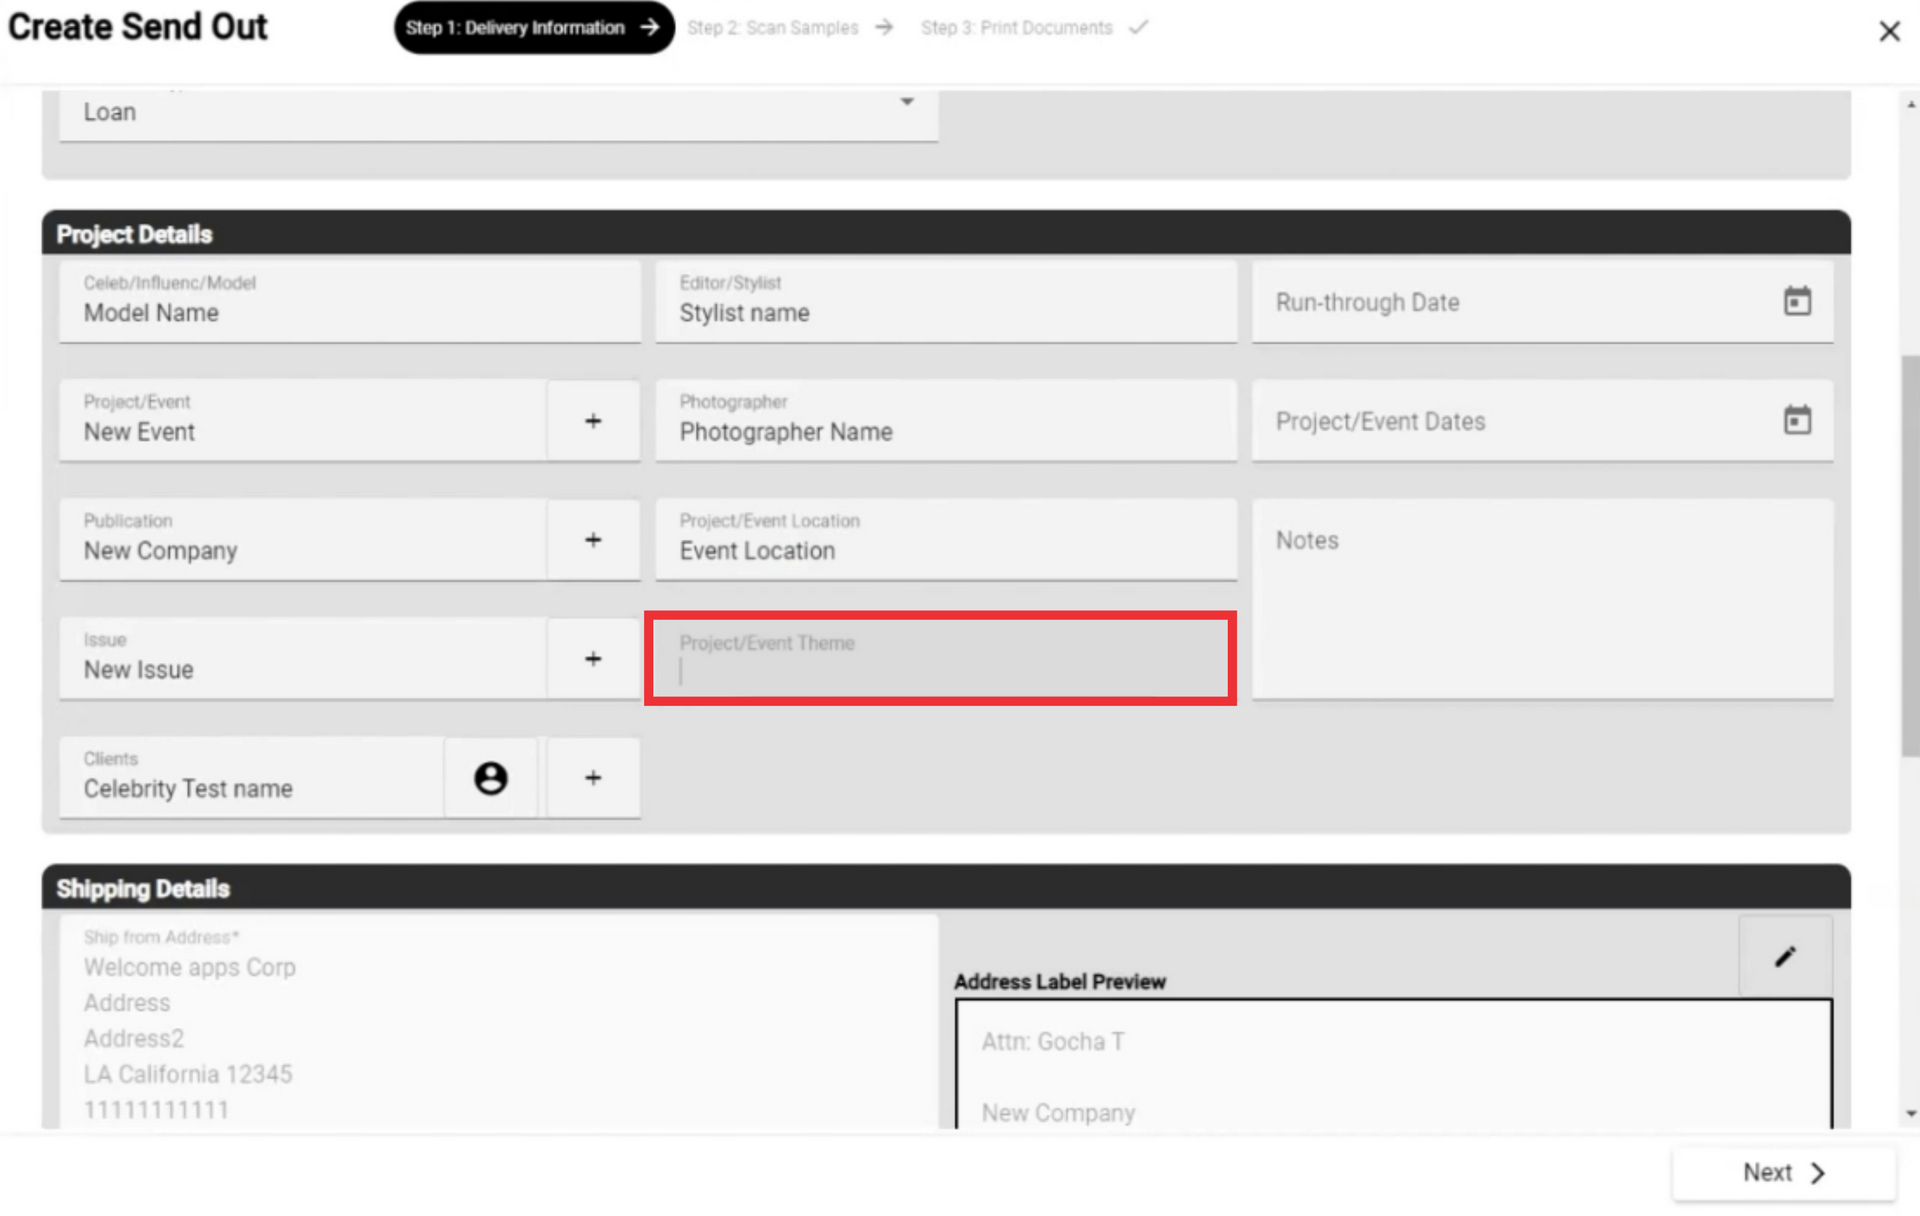
73. Enter Project or Event location in the field.
74. Click the calendar to select Run-Through Date.
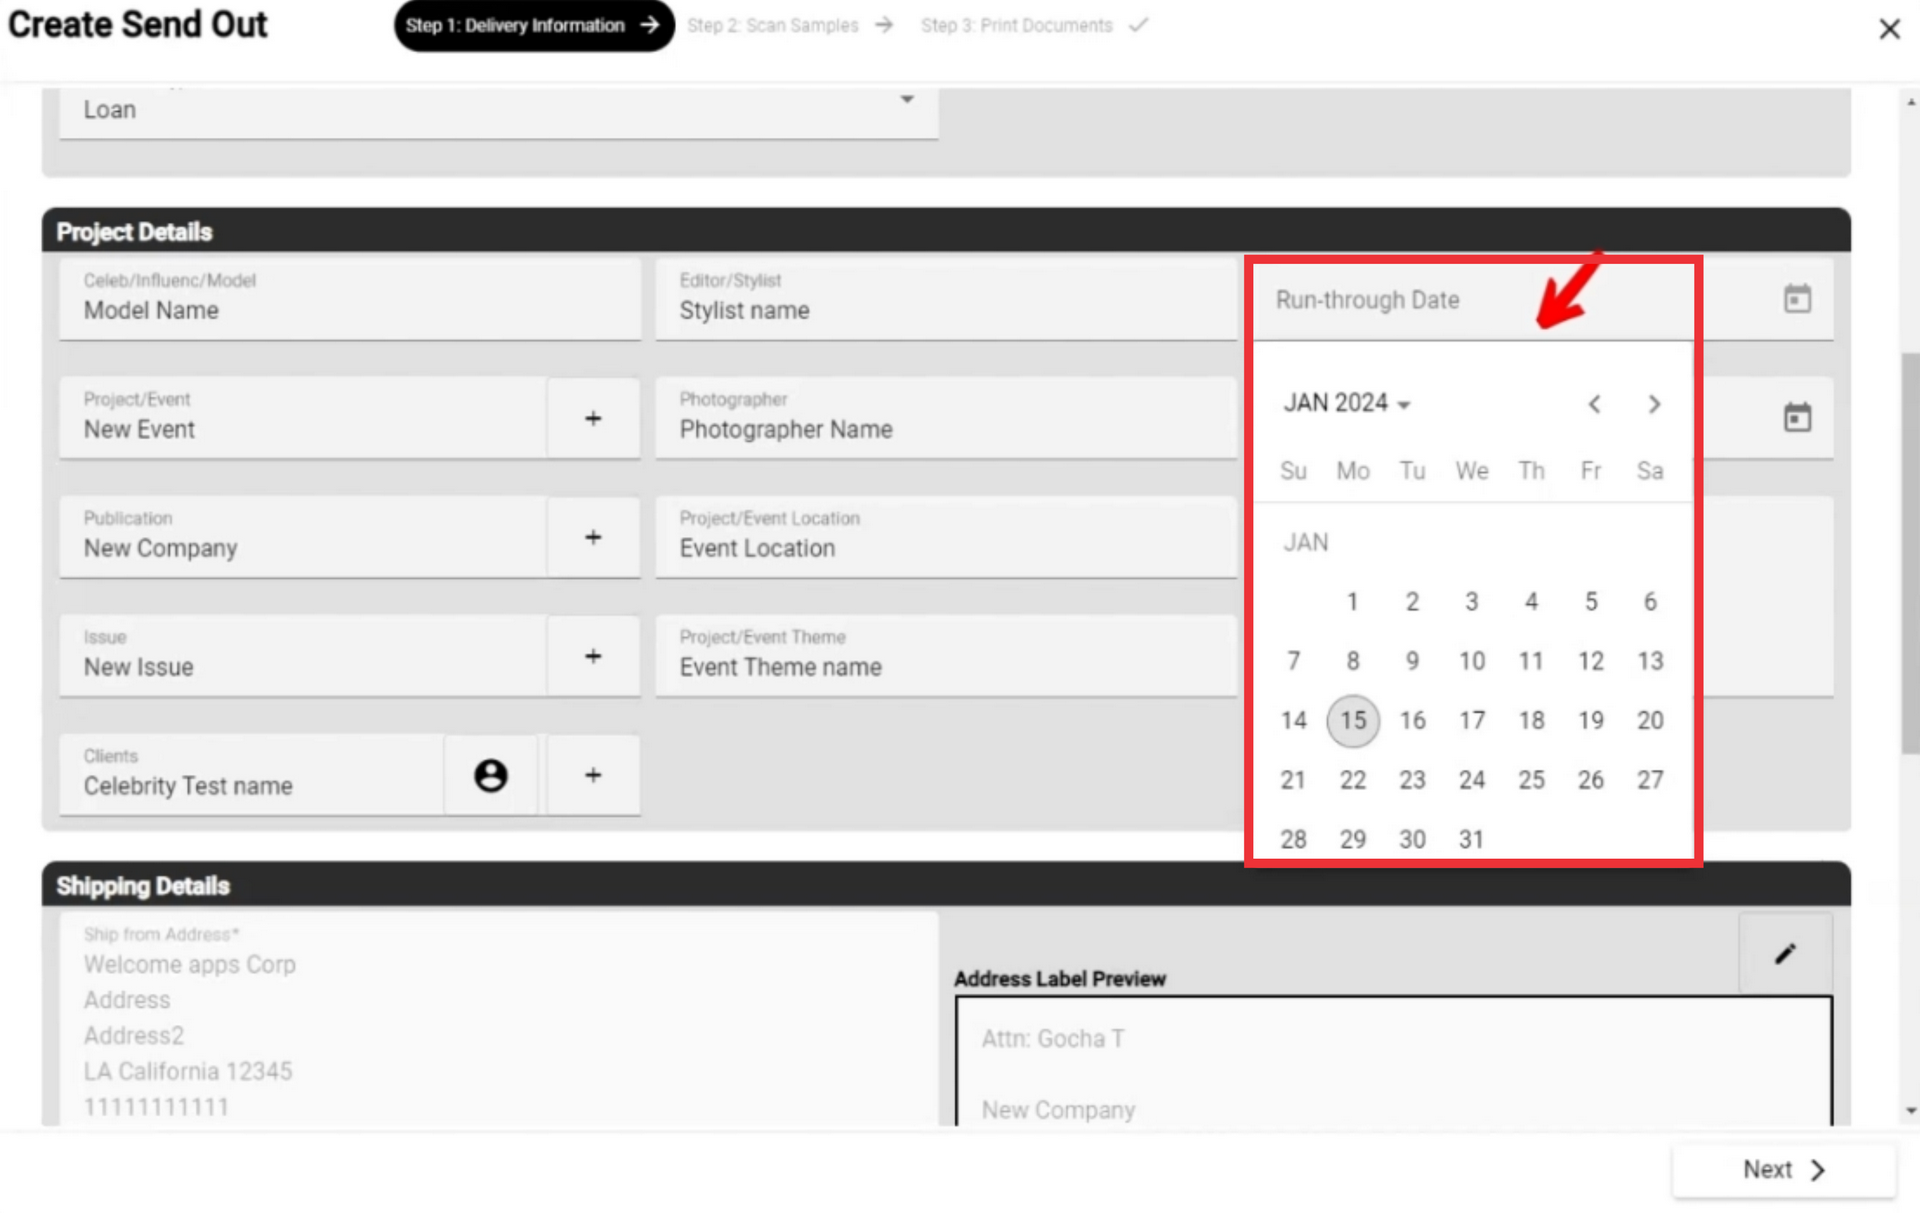
75. Click the calendar to select Project or Event Dates.

76. Write notes in the field.

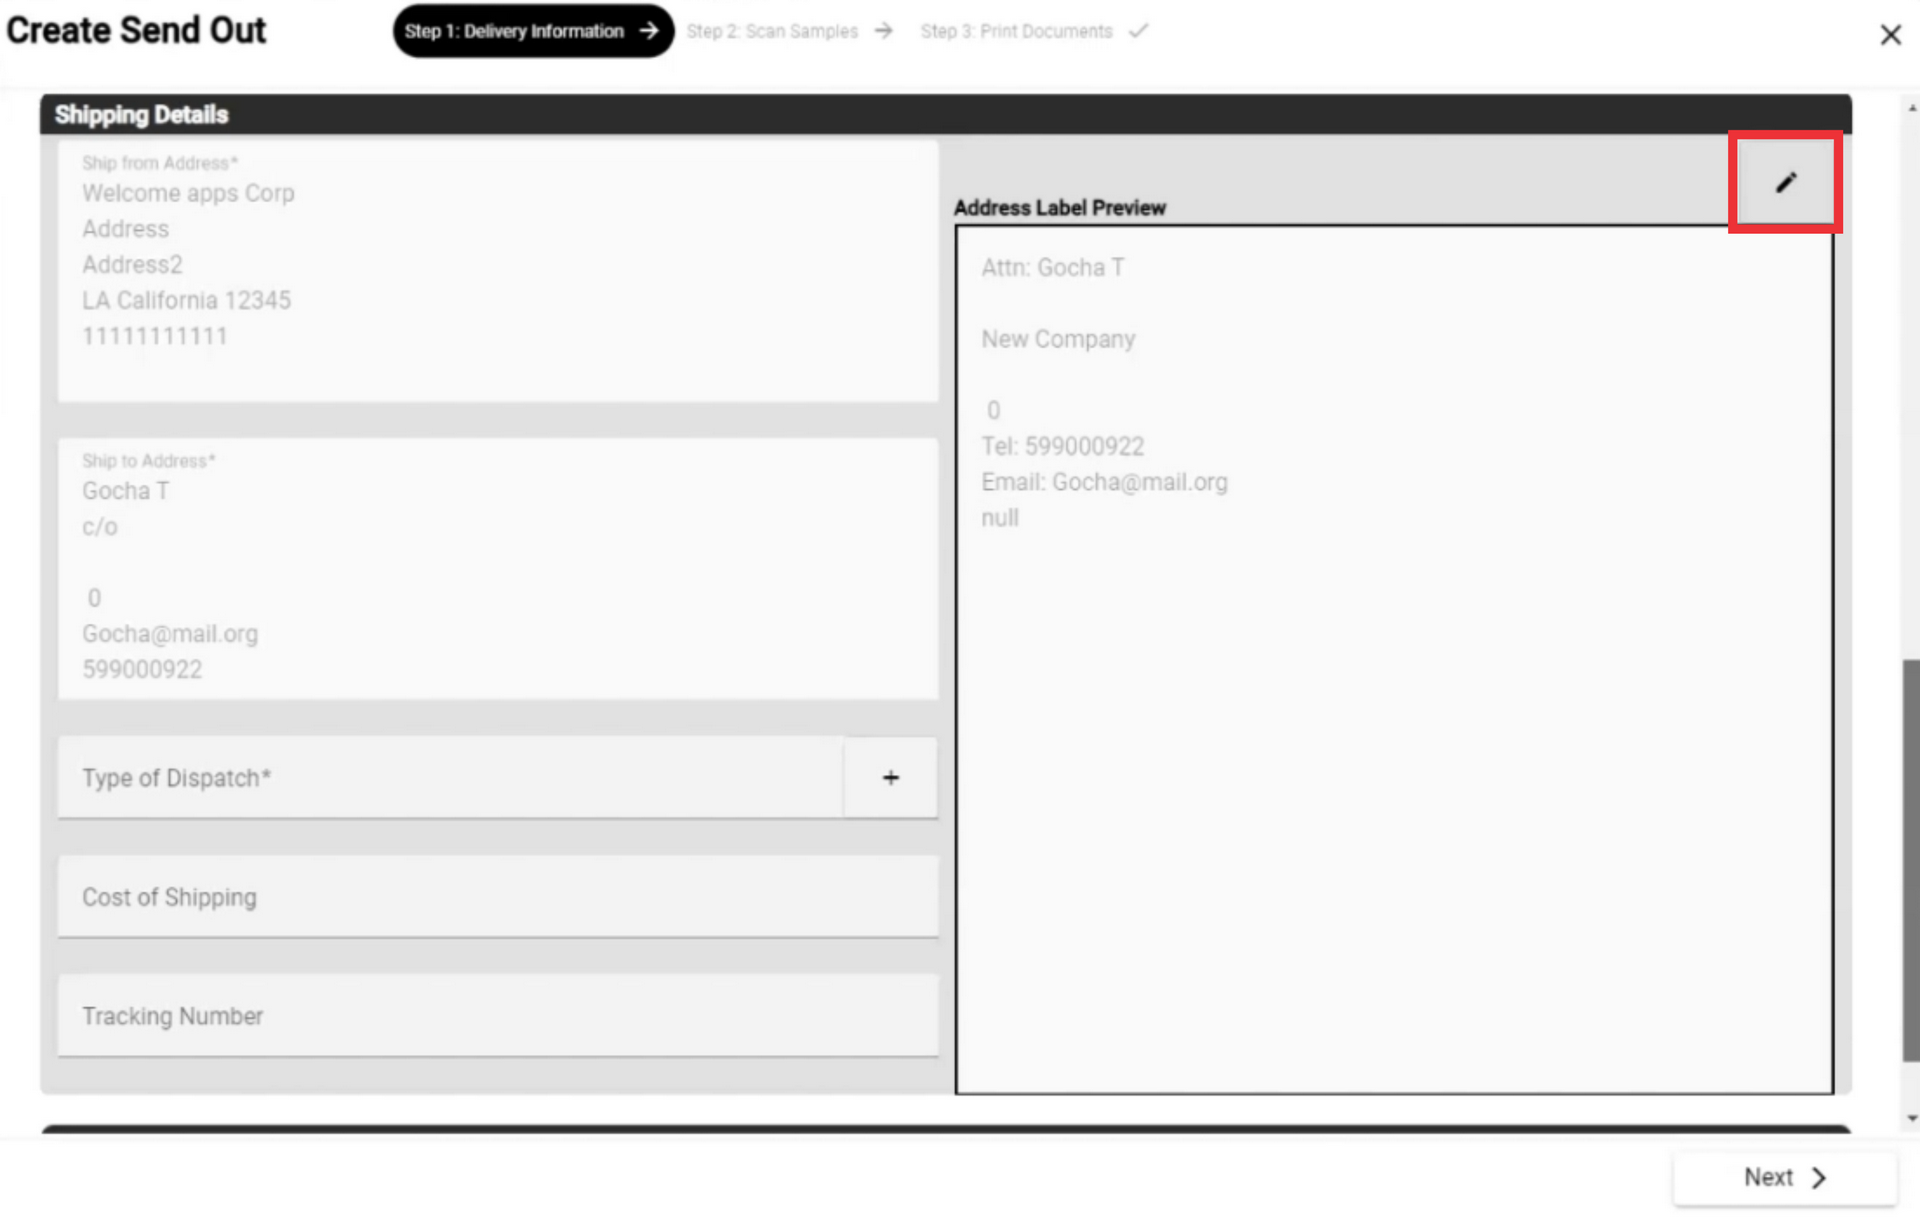
77. If desired click the edit button to edit address label.
78. Enter the text in the field.
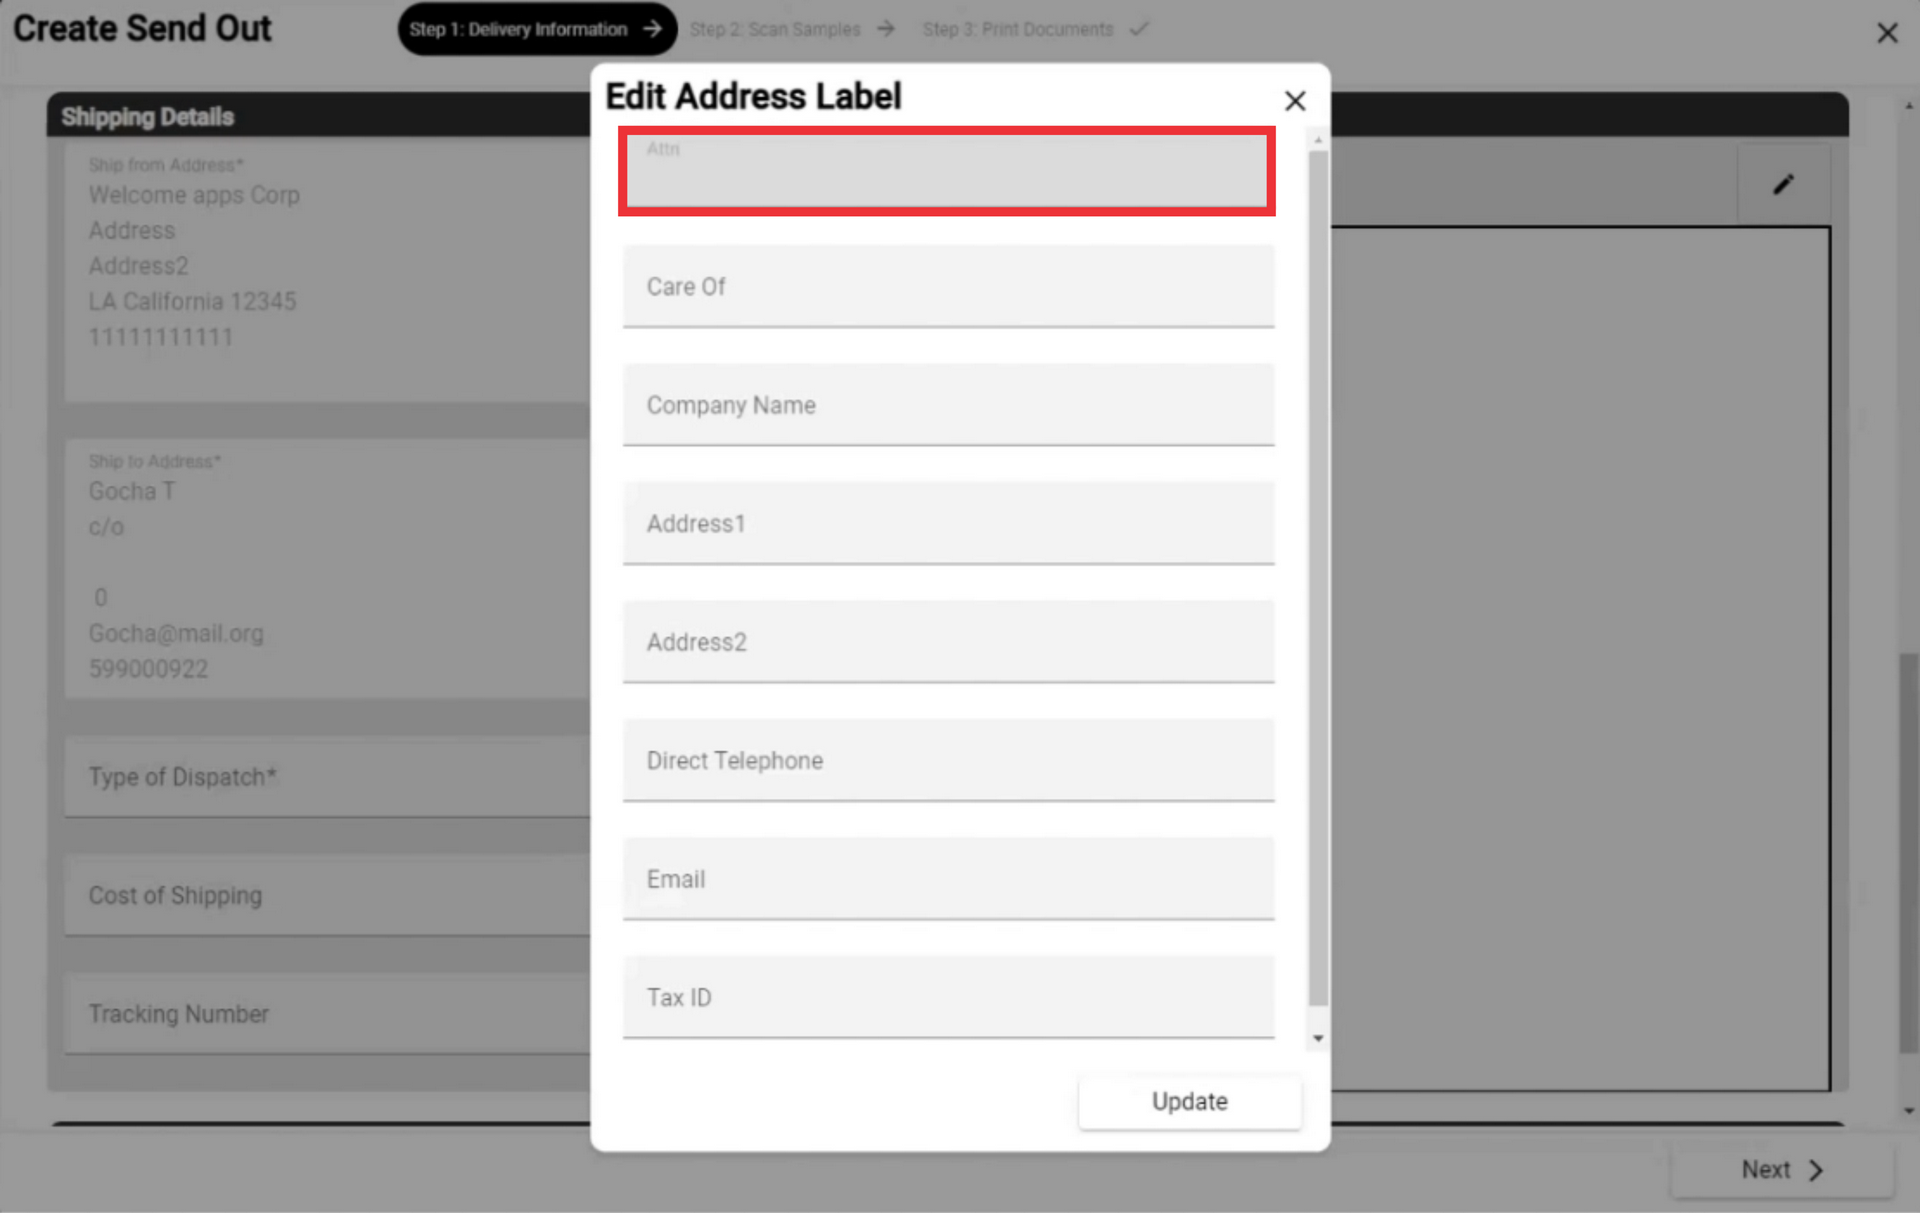
79. Write the Care of person name in the field.

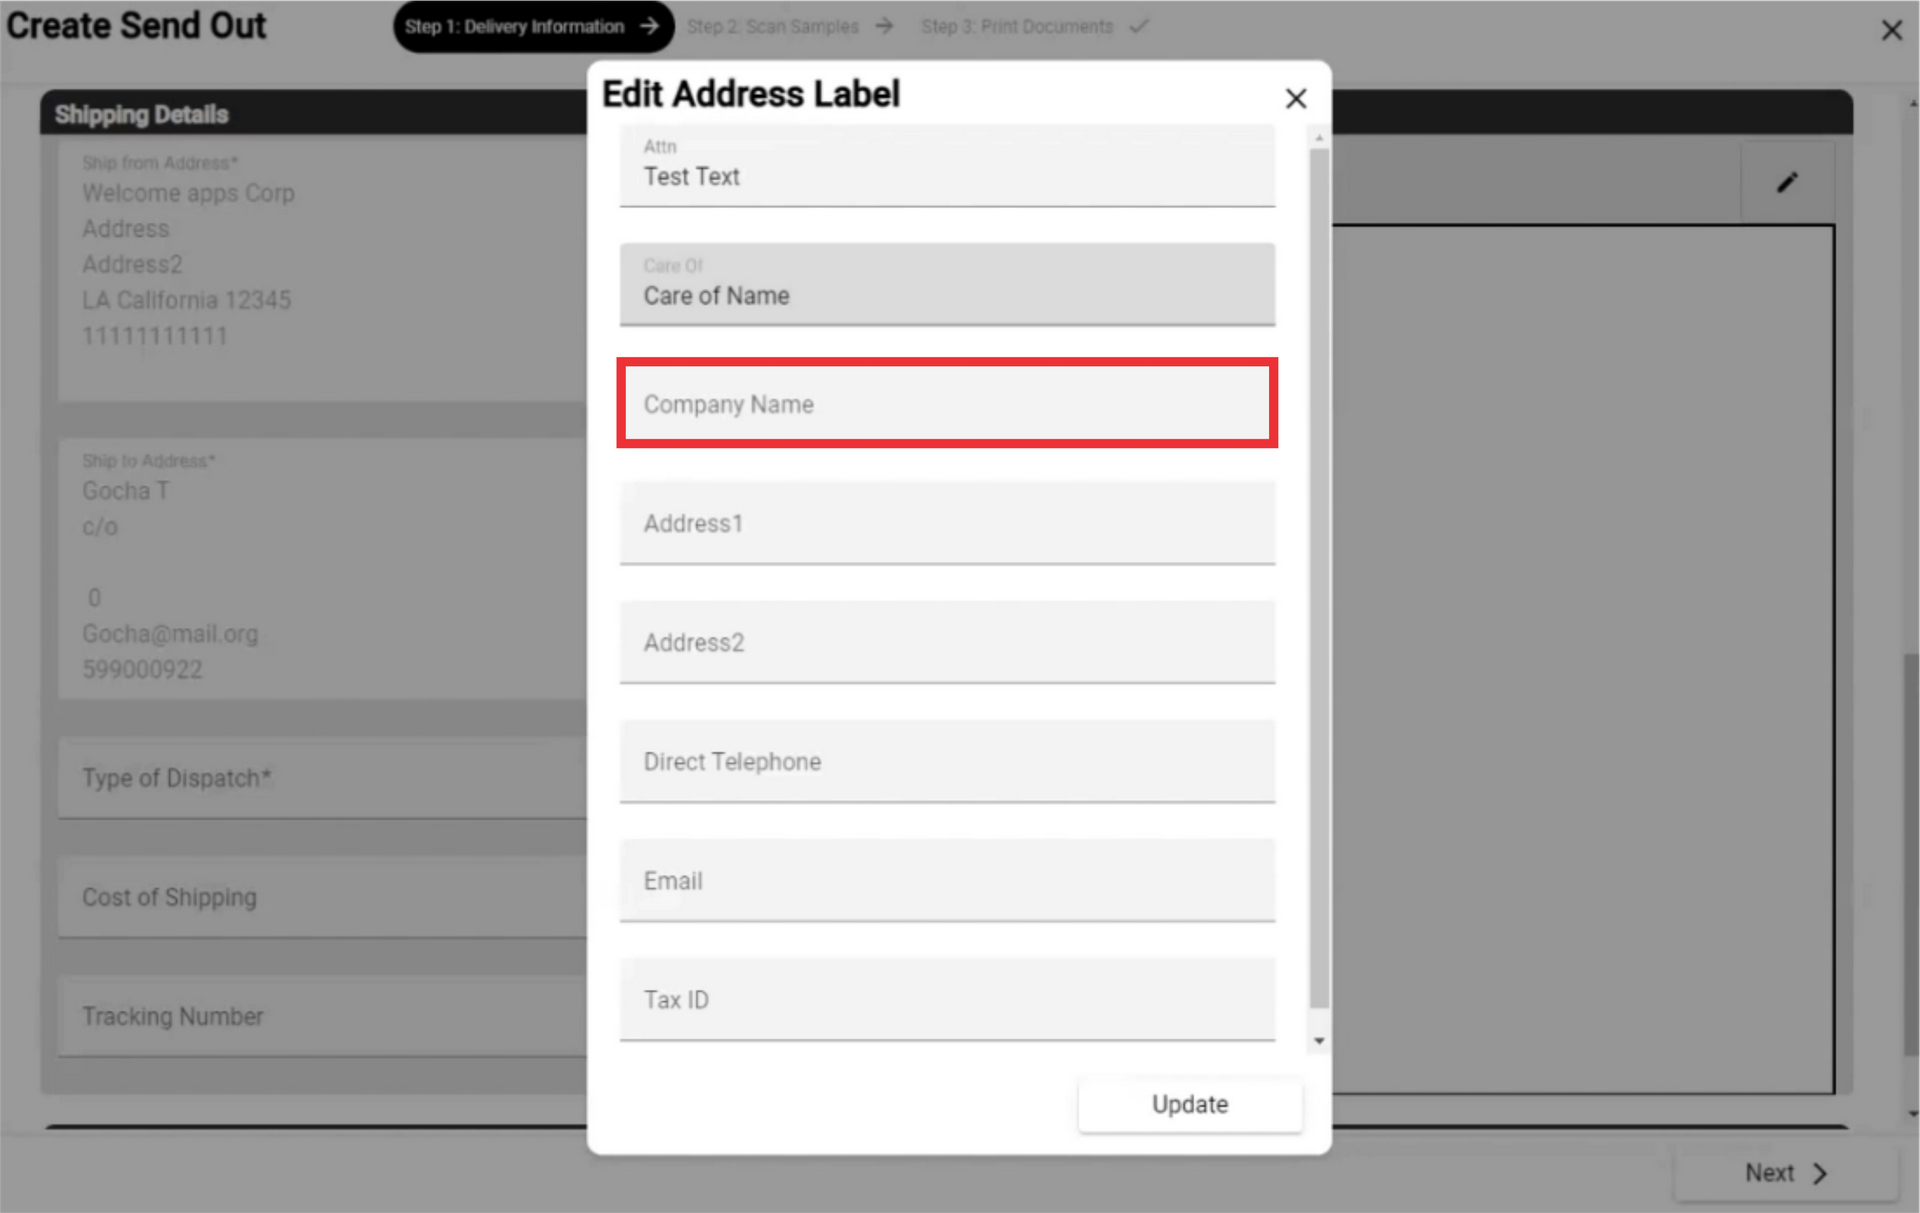
80. Write the Company name in the field.
81. Enter the company address in the field.

82. Enter second address in the field.

83. Enter Direct phone number in the field.

84. Enter Company`s Email address in the field.

85. Write Company`s TAX-ID number in the field.

86. Edit address label field and click the "Update" button.

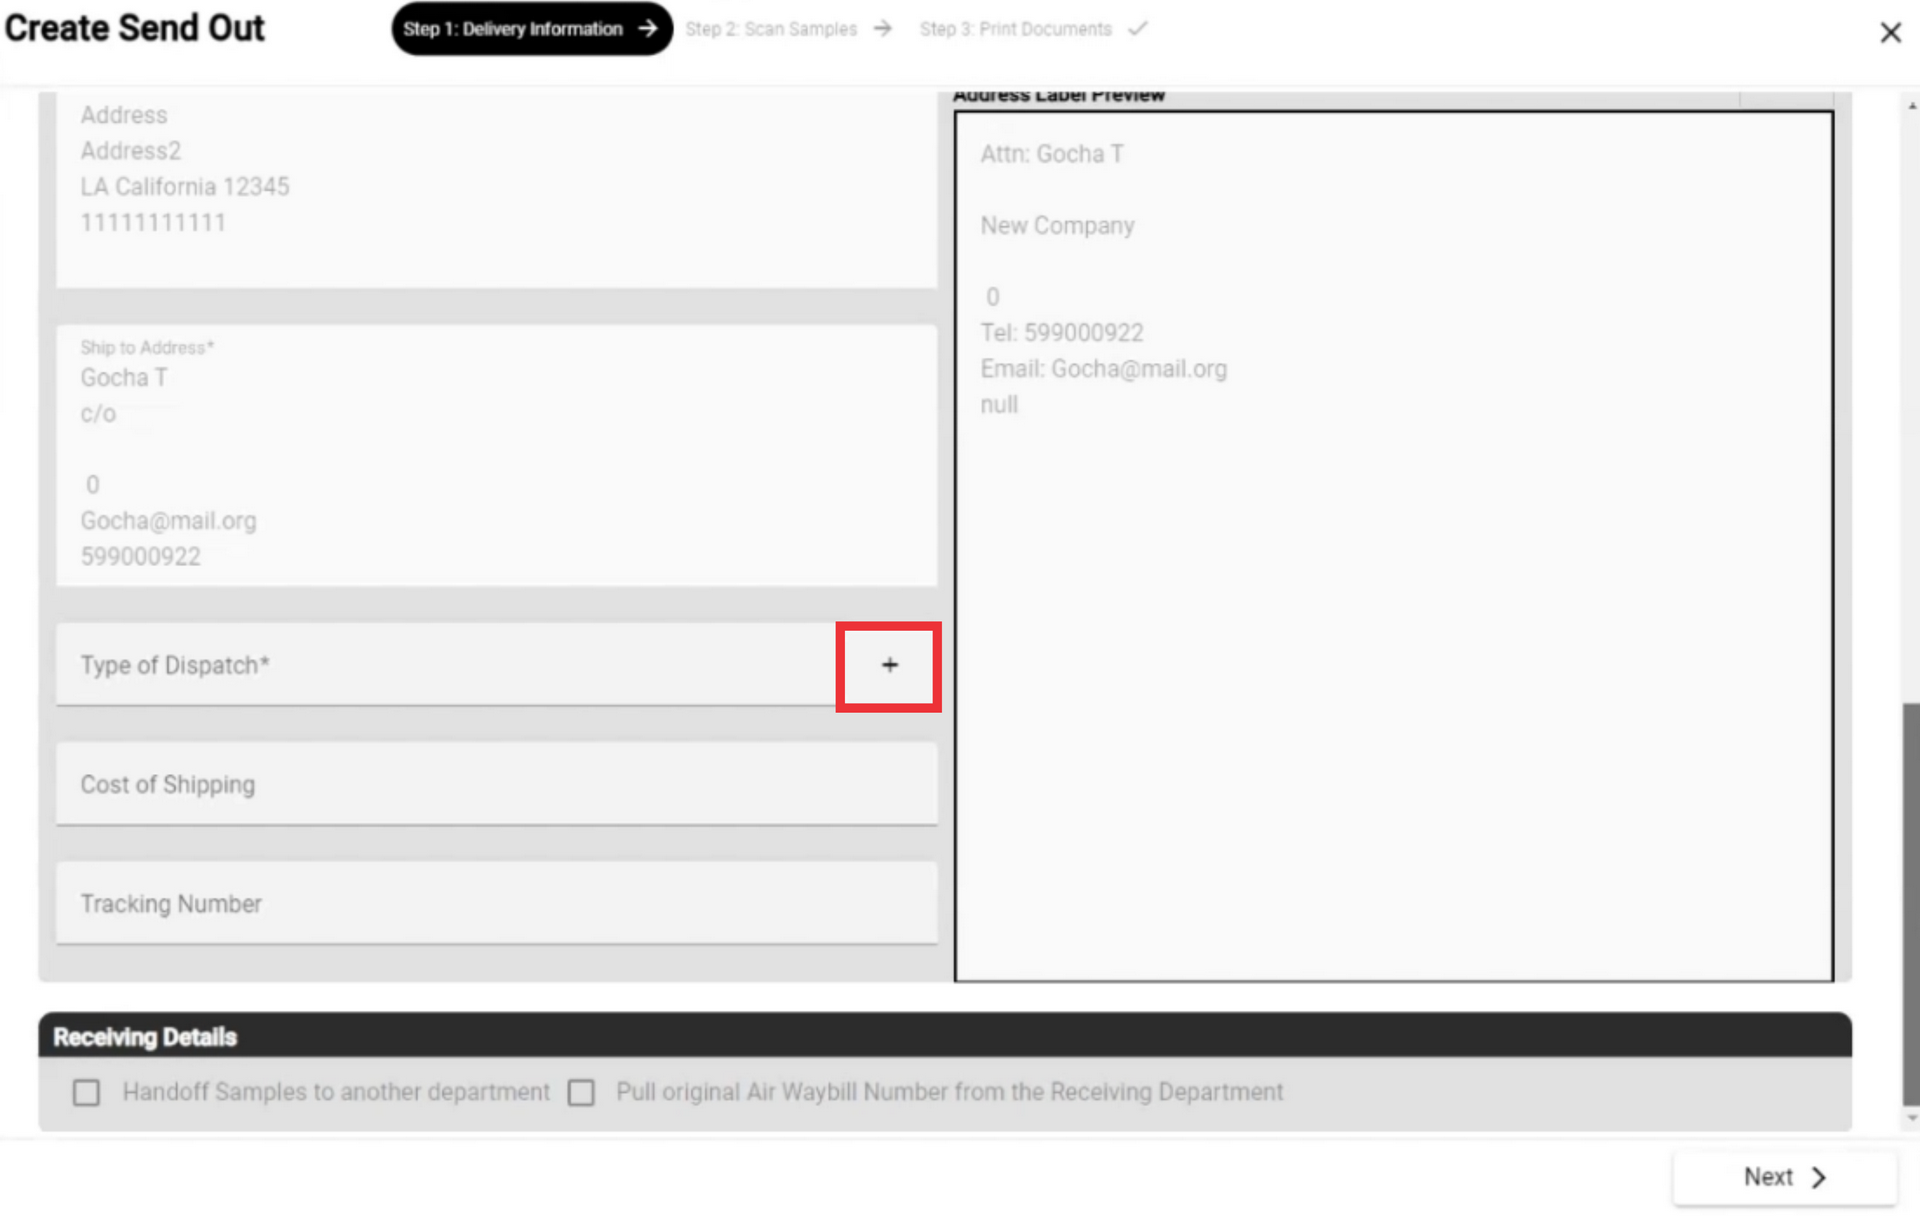
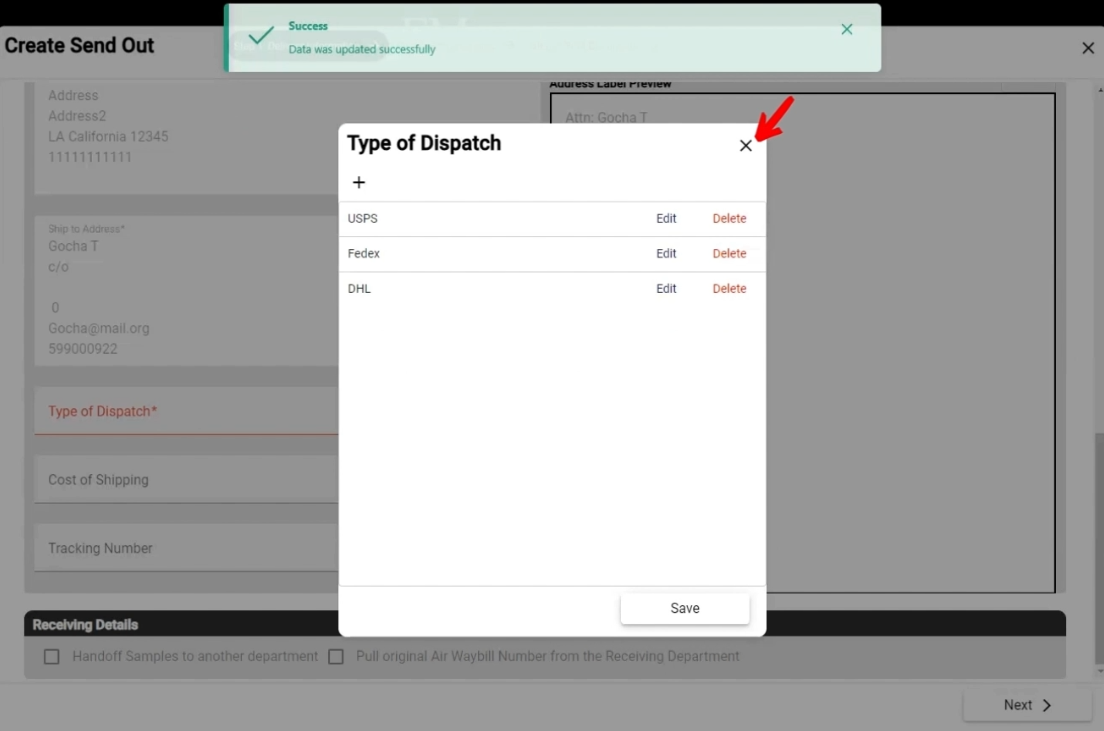
87. Select type of dispatch from the list or add a new one.

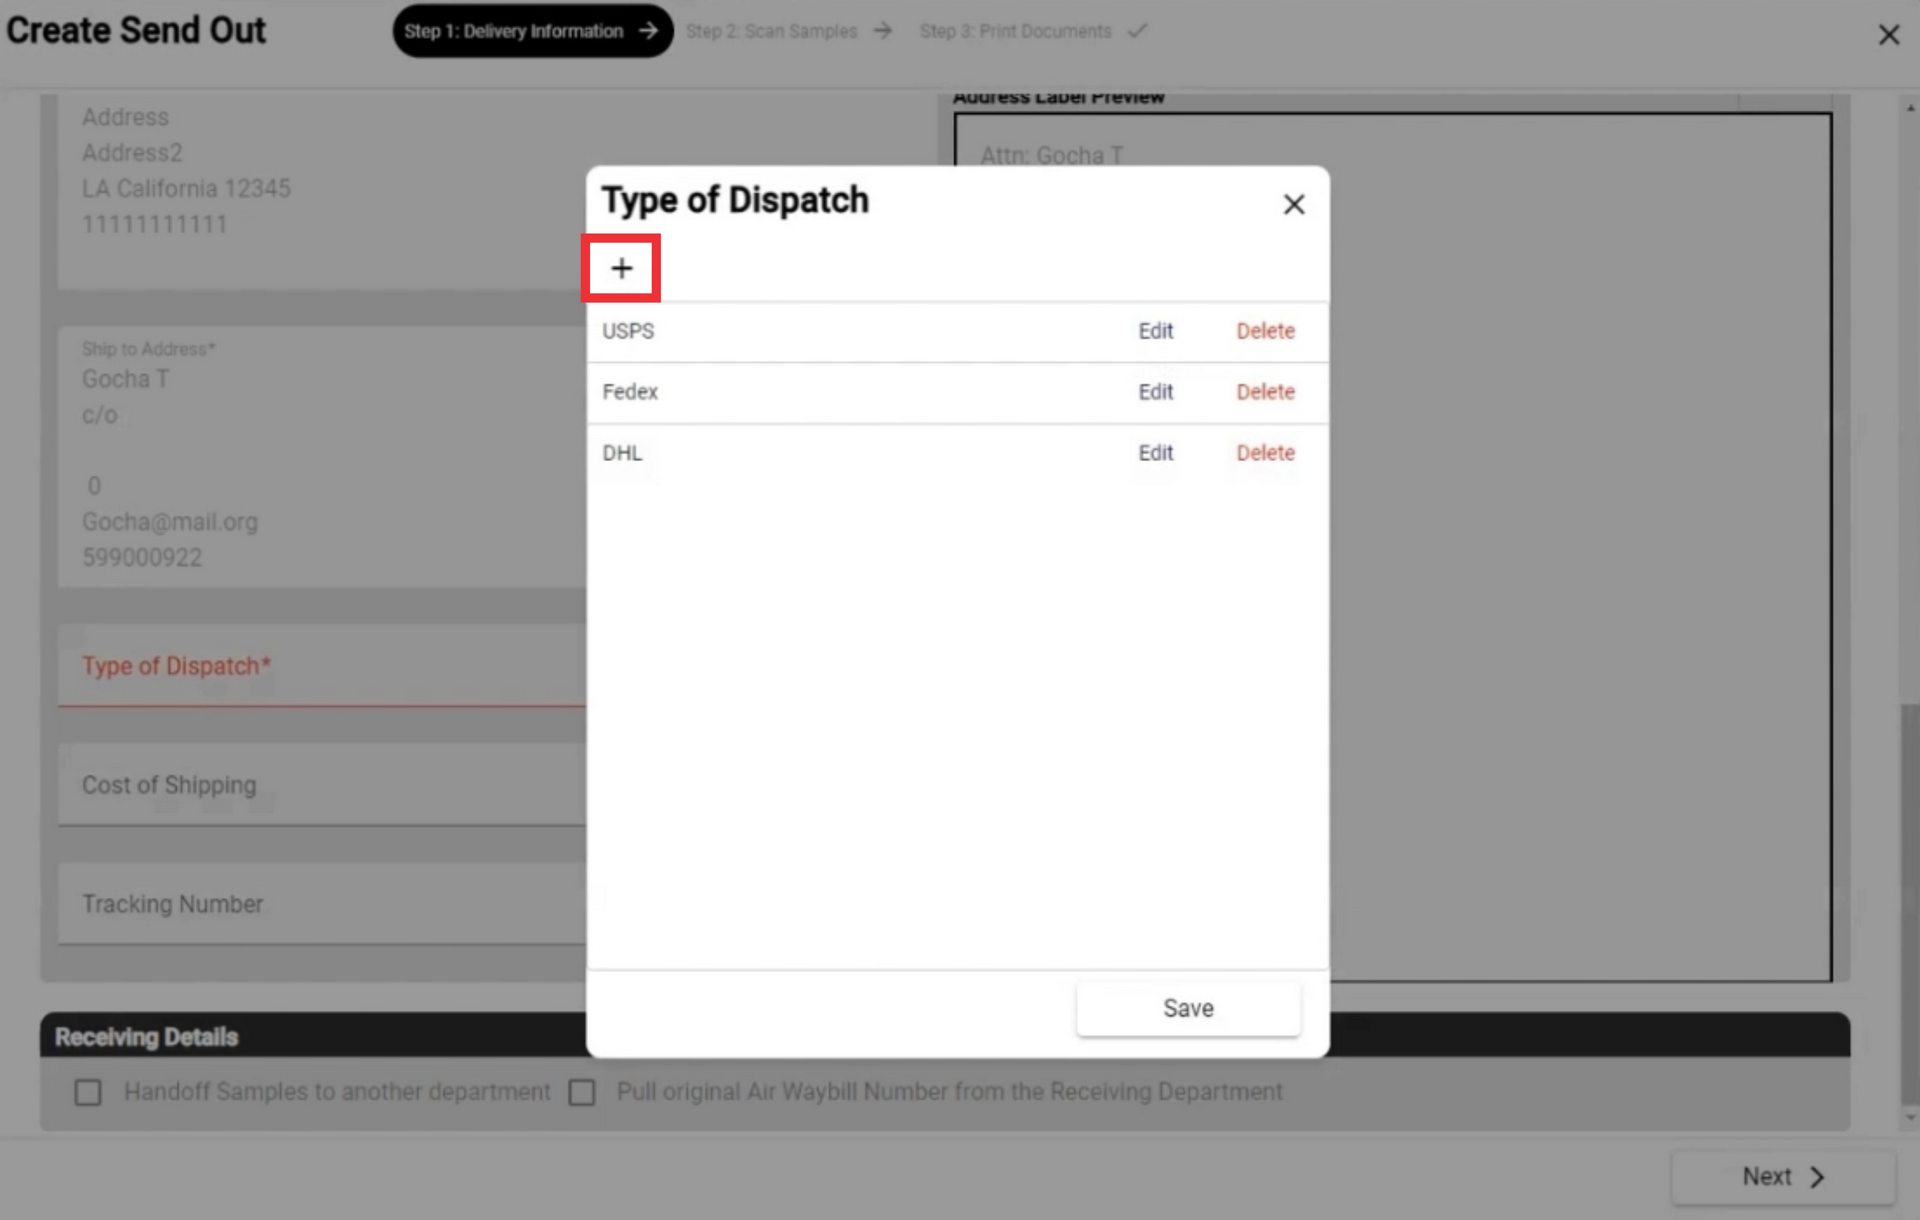
88. For the add new Type of dispatch click the "+" button.
89. For the add a new Type of dispatch click the "+" button.
90. Enter Description in the field and click the "OK" button to confirm.

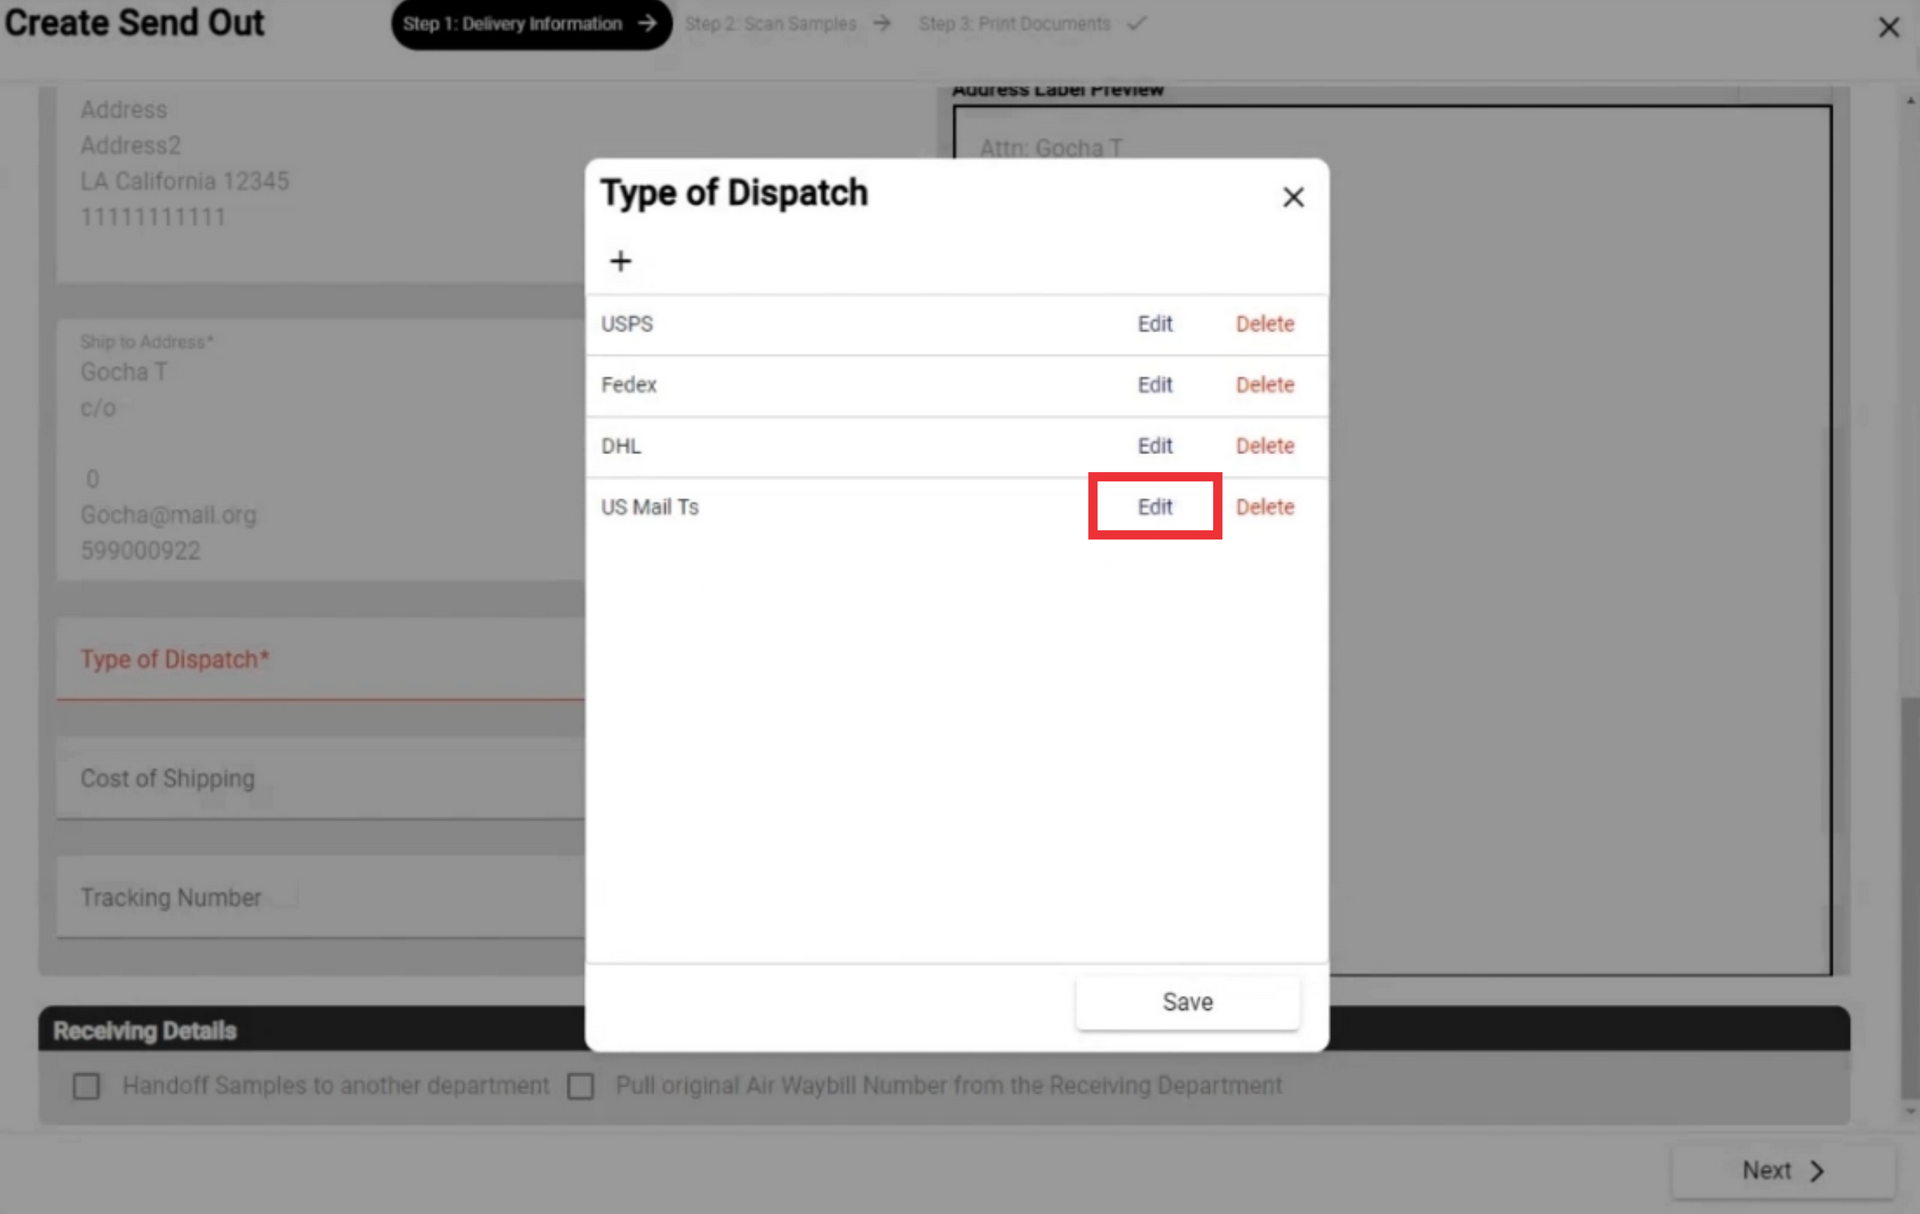
91. For the edit Type of dispatch click the "Edit" button.
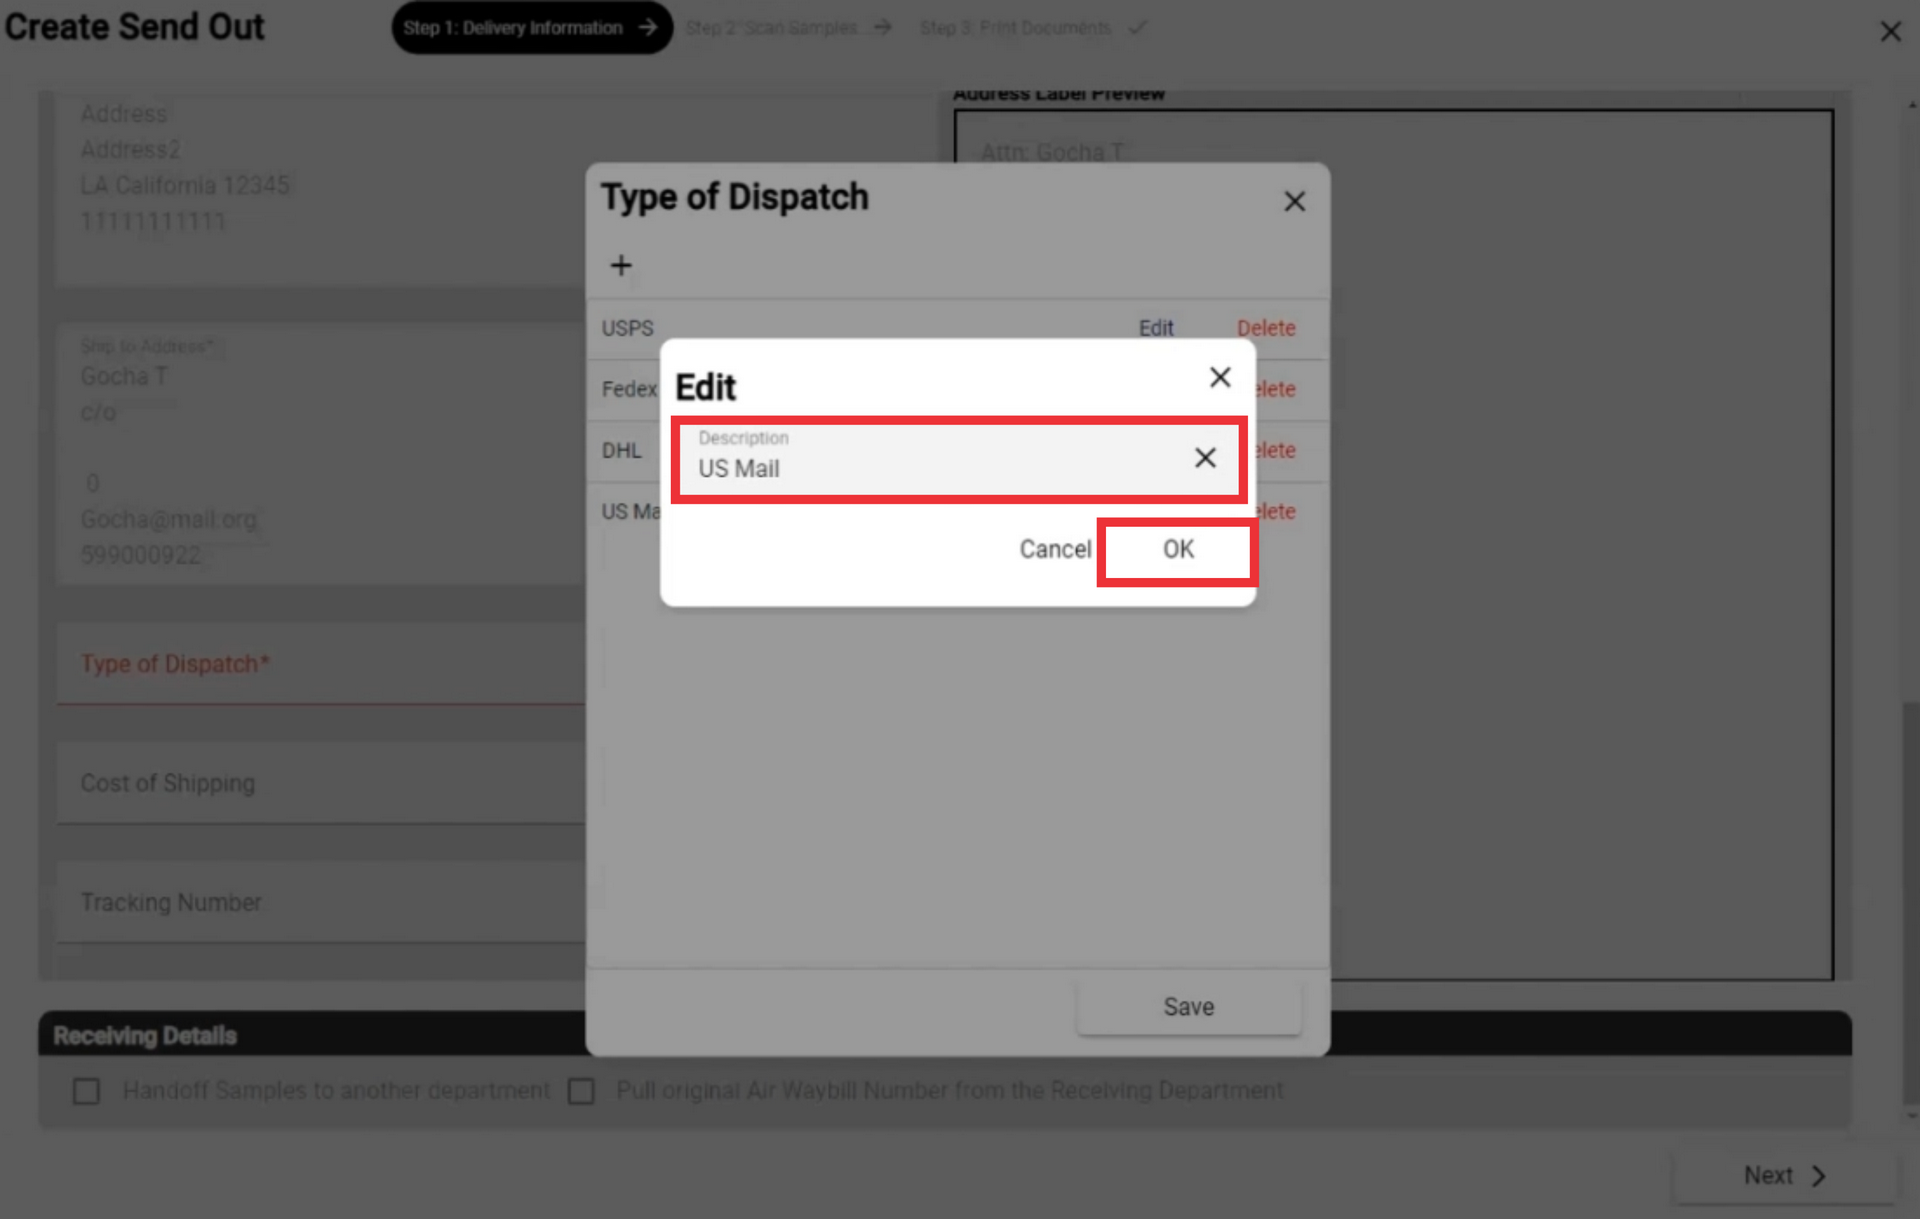
92. Edit description text and click the "OK" button to confirm.
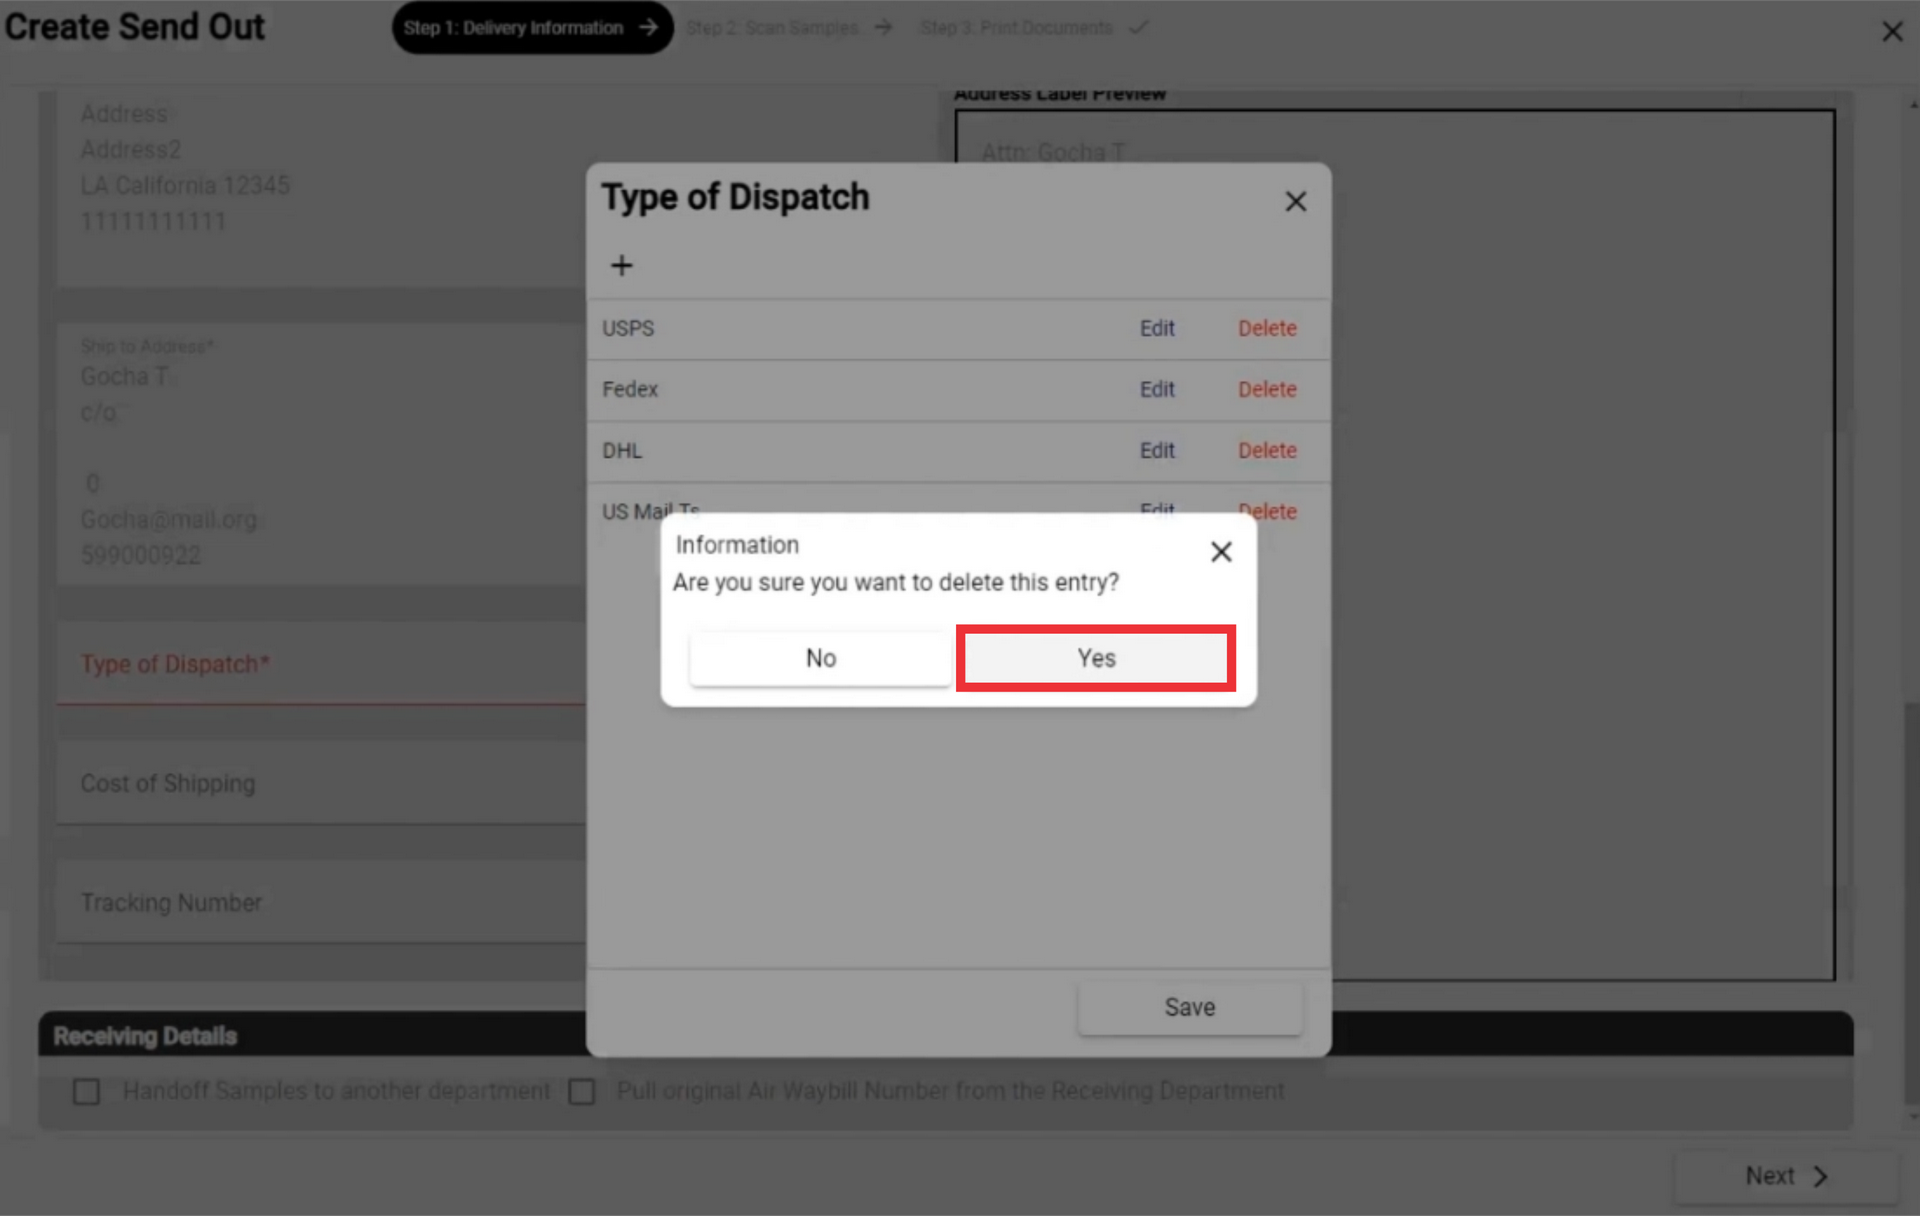
93. For the remove Type of dispatch from the list click the "Delete" button.

94. Click the "Yes" button to confirm.
95. You can sort the records according to your wish. Touch the desired entry in the list and move it up or down.

96. Click the "Save" button to confirm.


97. For the close this window click the "X" button.
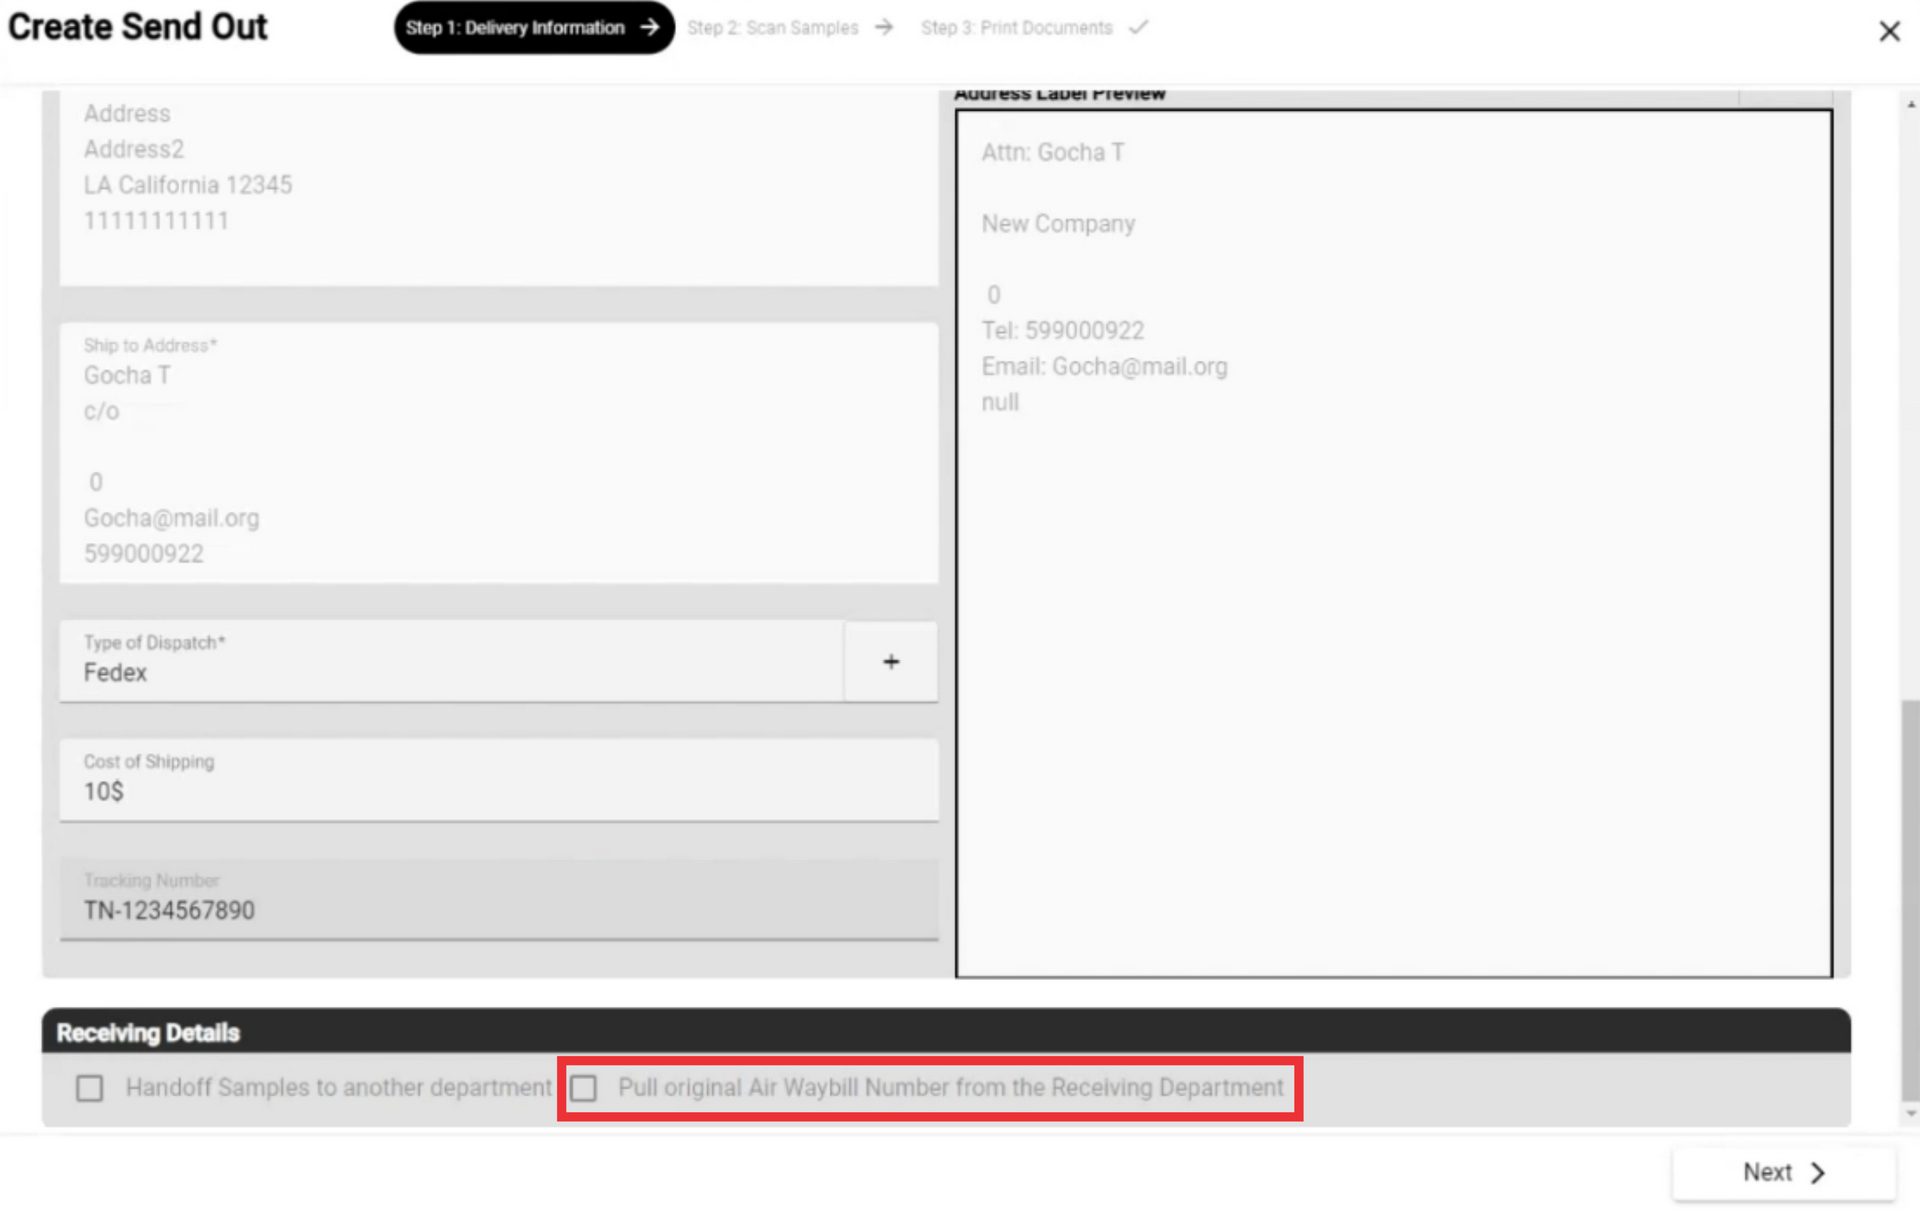
98. Enter the cost of shipping in the field.

99. Enter Tracking number in the field.
 100. This mark will be active and checked if you have selected to transfer a sample from one department to another.

101. This field will be active and checked if you have chosen to transfer the sample from one department to another department in case of air shipment.
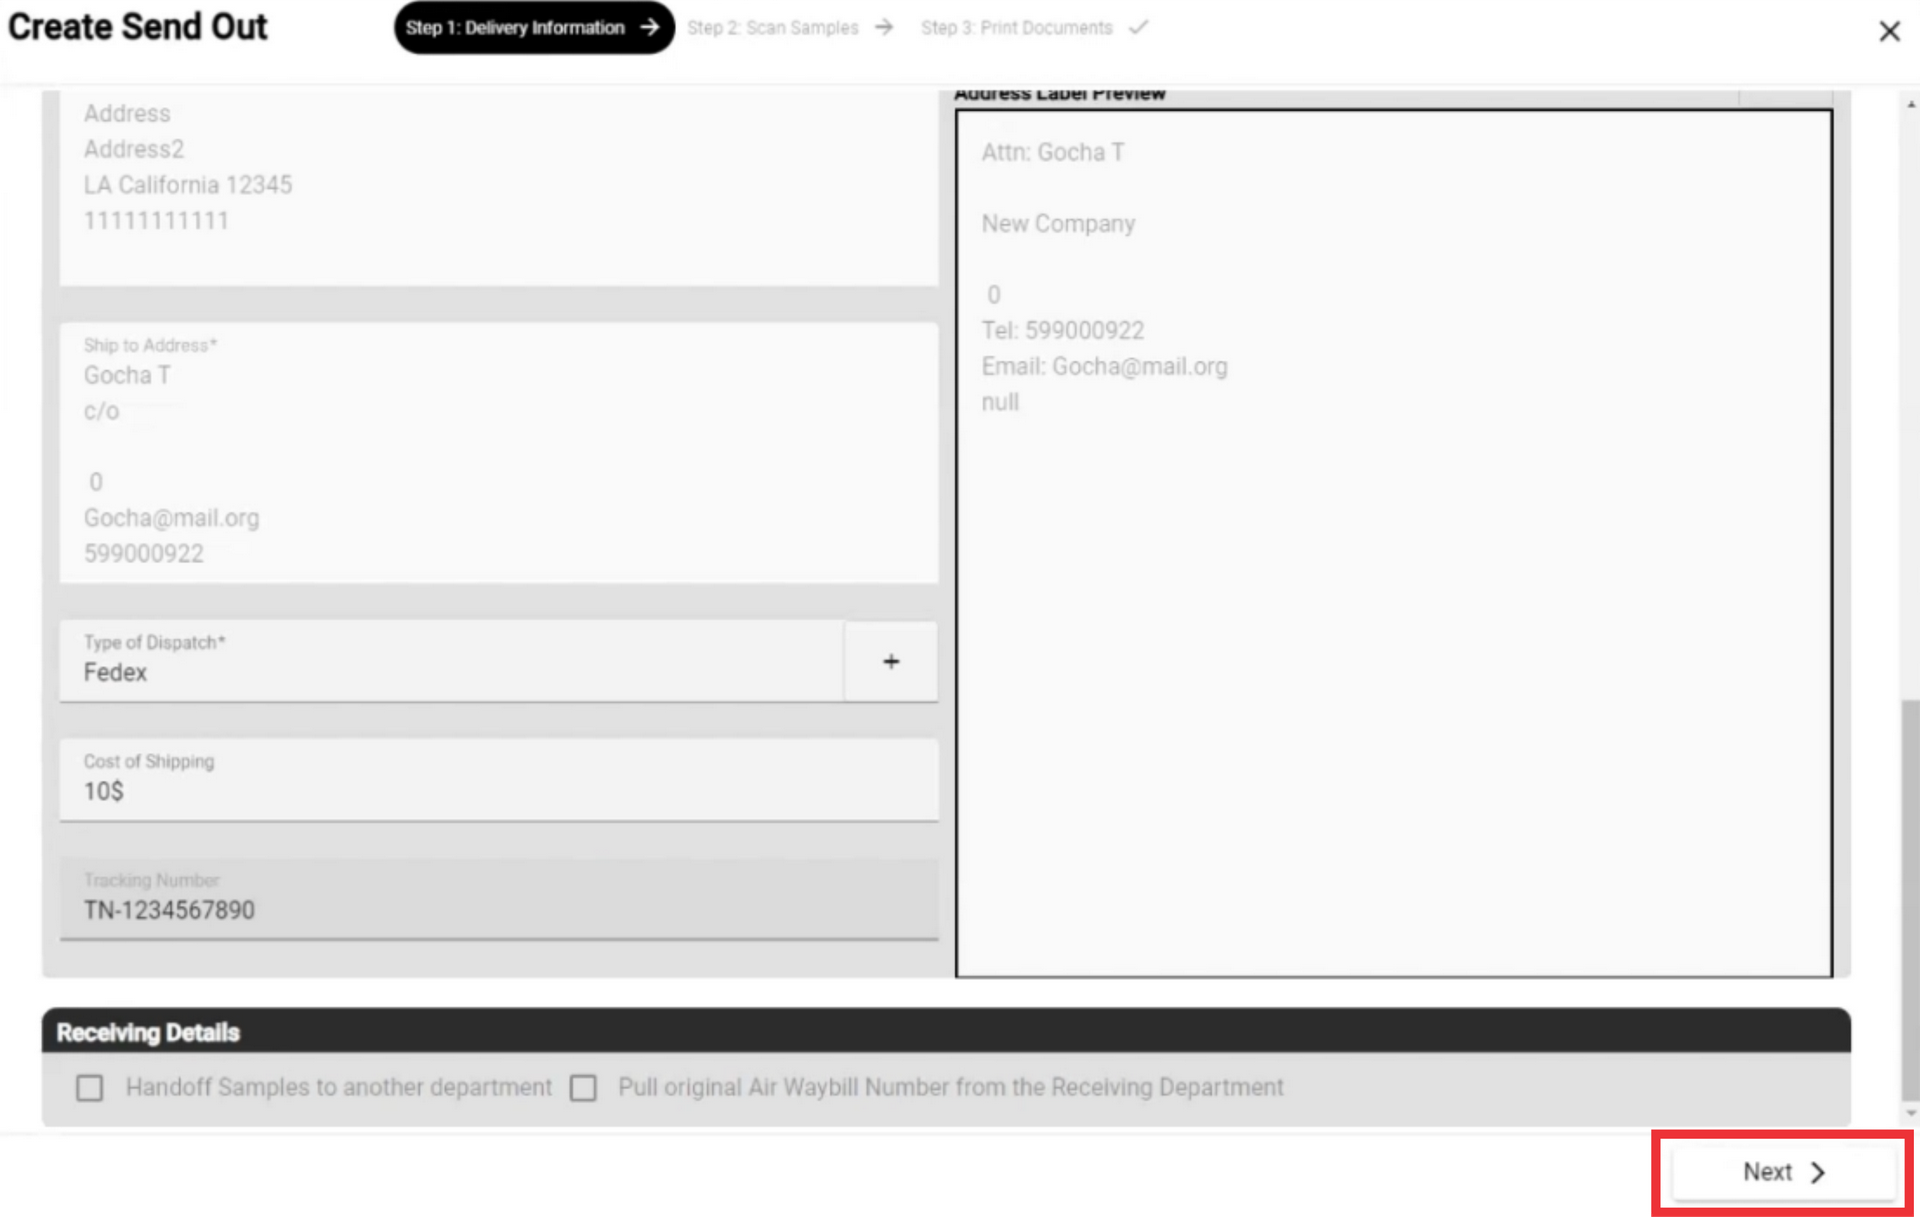
102. To the see a text step of Send Out click the "Next" button.
103. For the add Sample manually enter the barcode number in the field and click the "Scan" button.

104. For the add Sample from inventory click the "Add from Inventory" button.
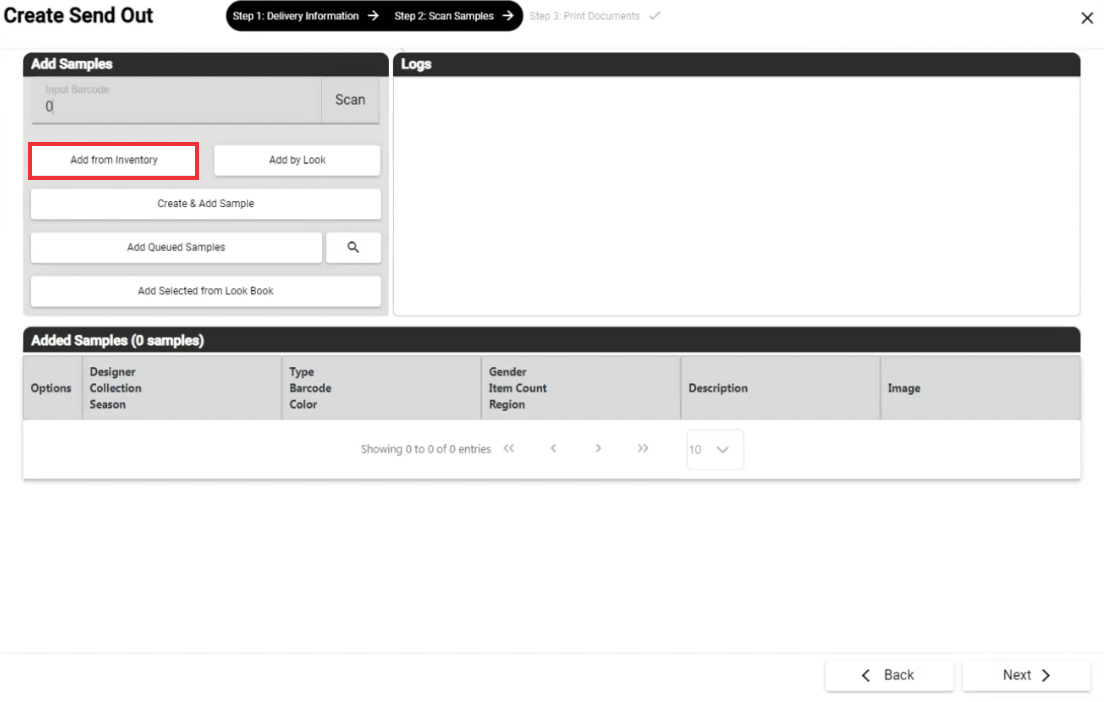
105. If desired use filters to search samples and click the "Search" button. To the view view full list of the Samples click the "Search" button.

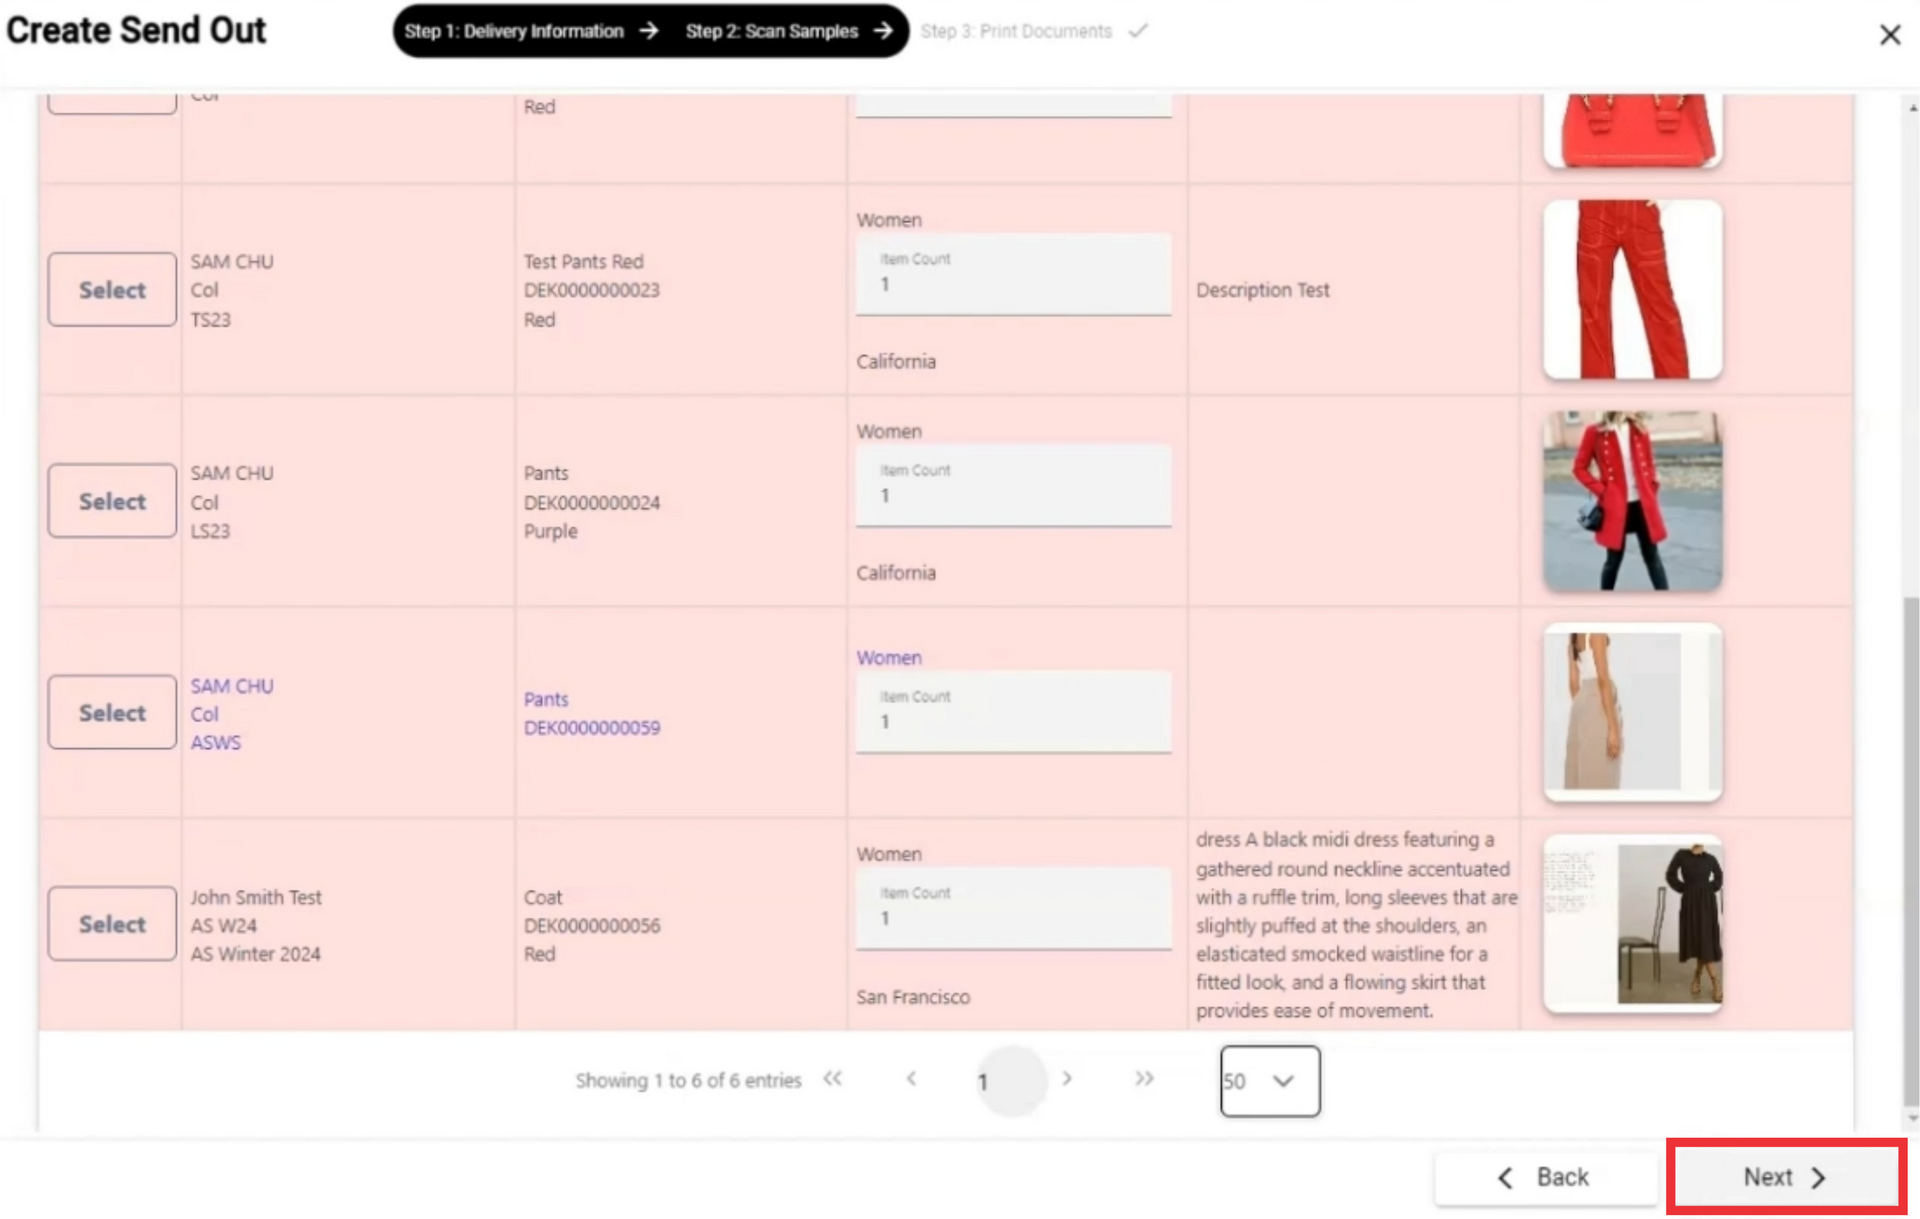
106. Choose sample from the list and click the "Select" button.

107. For the close this window click the "X" button.

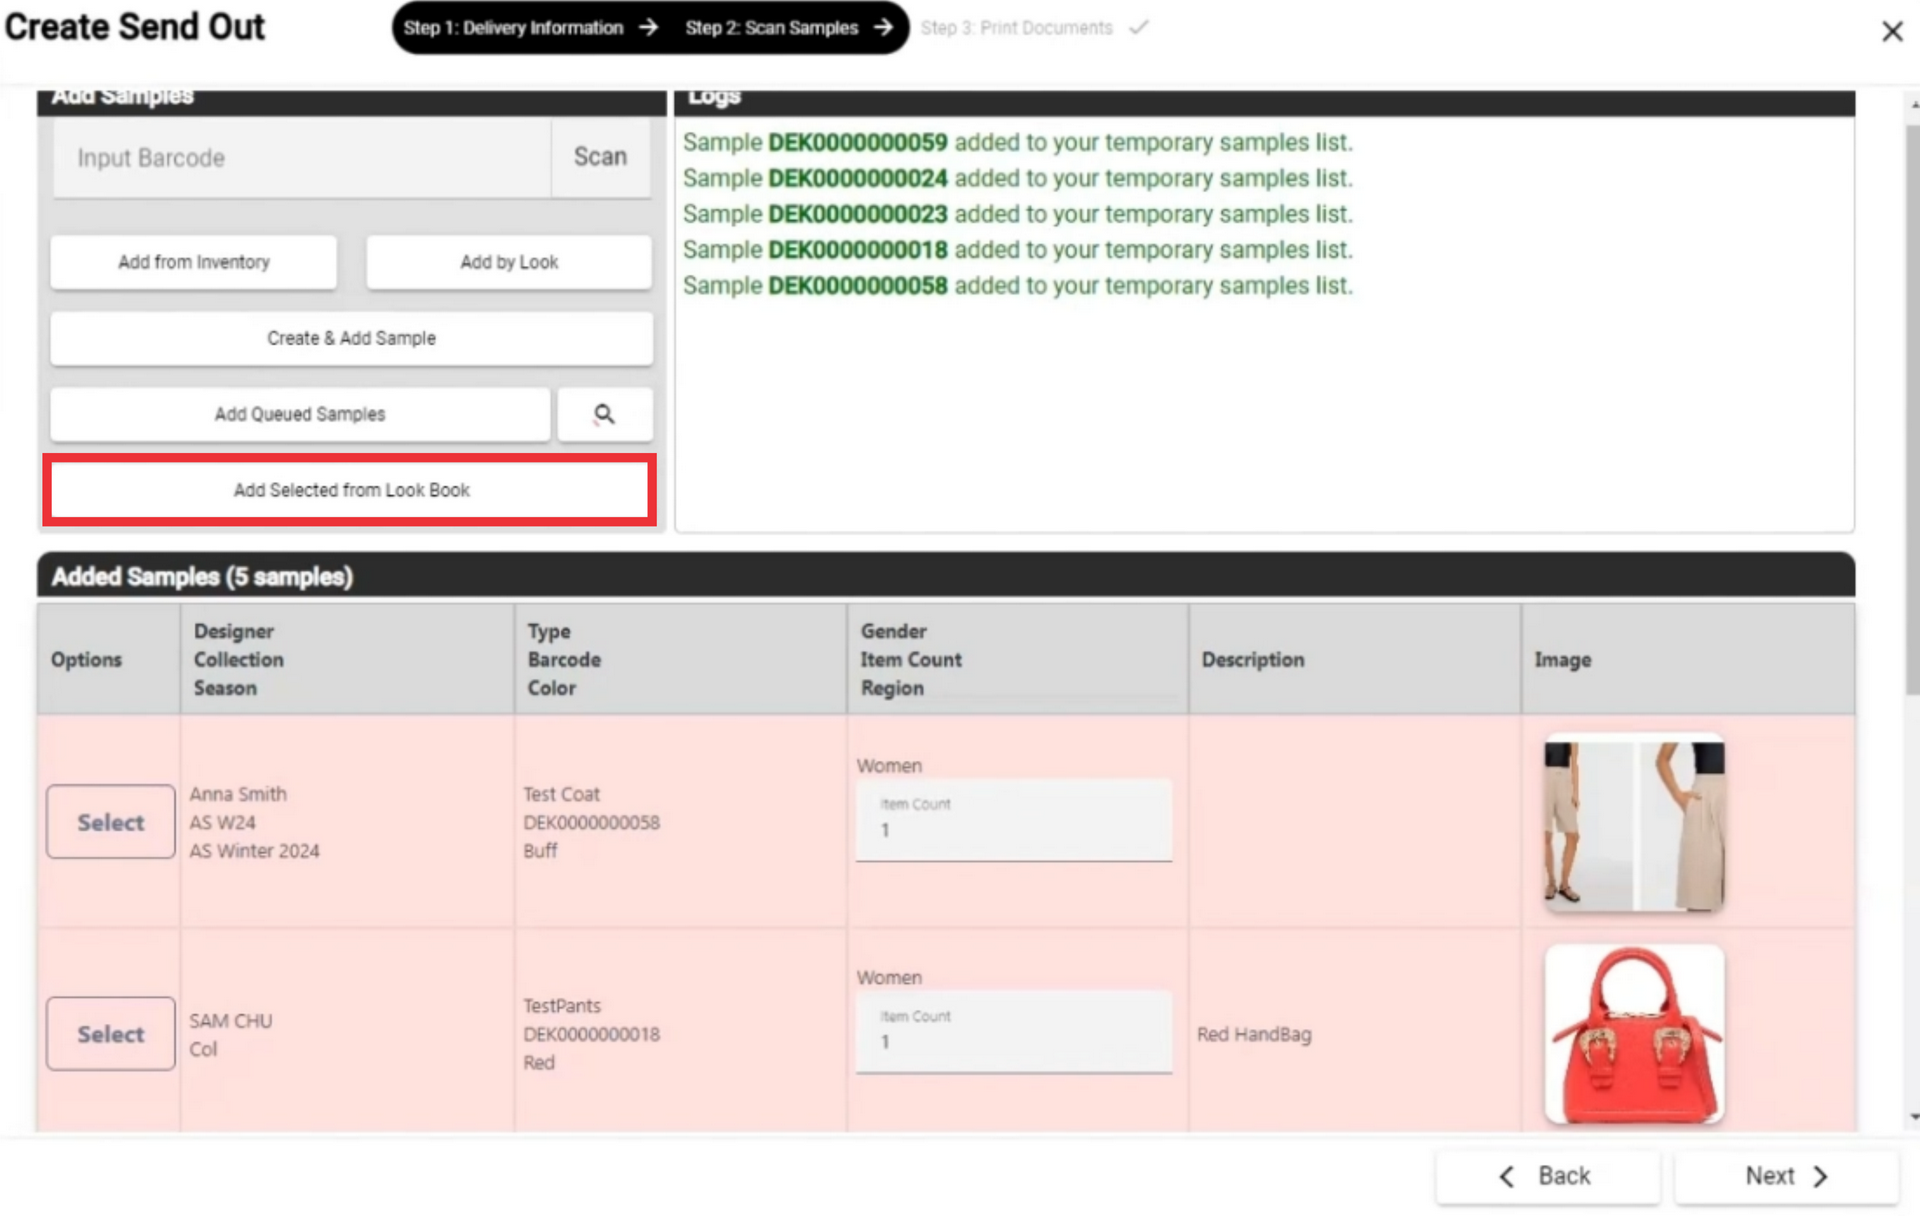
108. A notification about the addition of the item you selected from the samples to the sendout is reflected in the log graph.

109. Enter item count in the field.

110. For the add samples from by look click the "Add by Look" button.

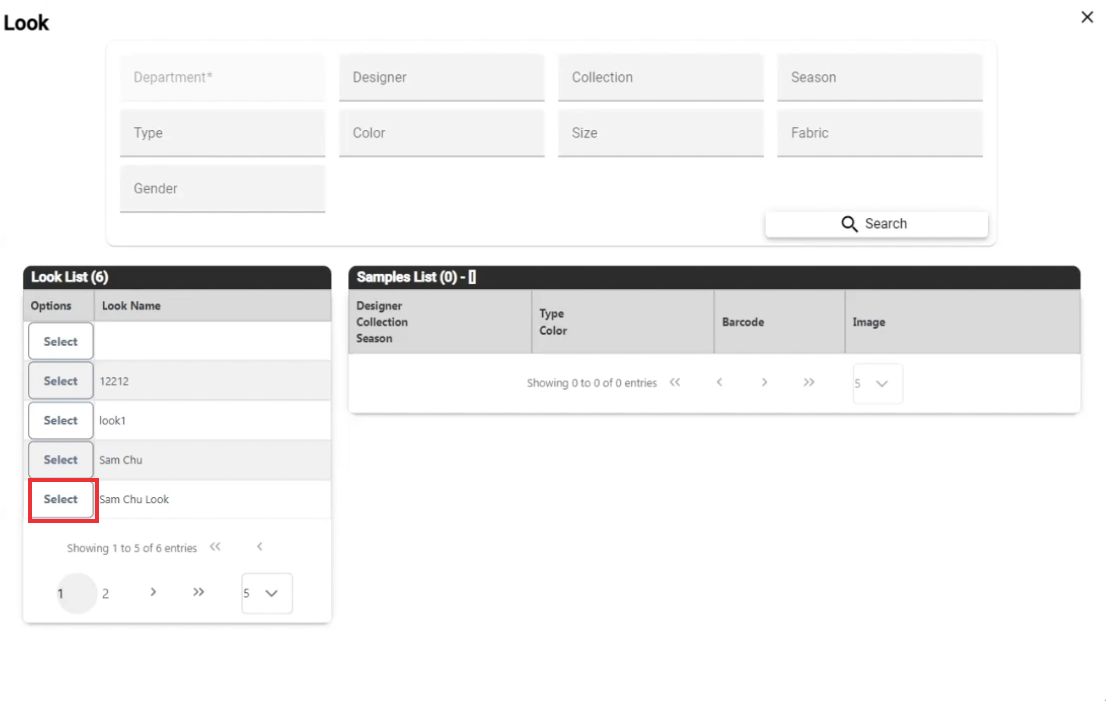
111. Use desired filter to searh looks and click the "Search" button. For the view full list of looks click the "Search" buuton.

112. Click the "Select" button to add Samples by look.
113. A notification about the addition of the item you selected from the samples to the sendout is reflected in the log graph.

114. For the create and add new sample click the "Create and Add Sample" button.

115. Fill all required and desired field and click the "Create and Add" Button. (Mandatory fields is mark with asteriks*)

116. For the add a Queued samples click the "Add Queued Samples" button.

117. For add samples from look book click the "Add selected from look book" button.
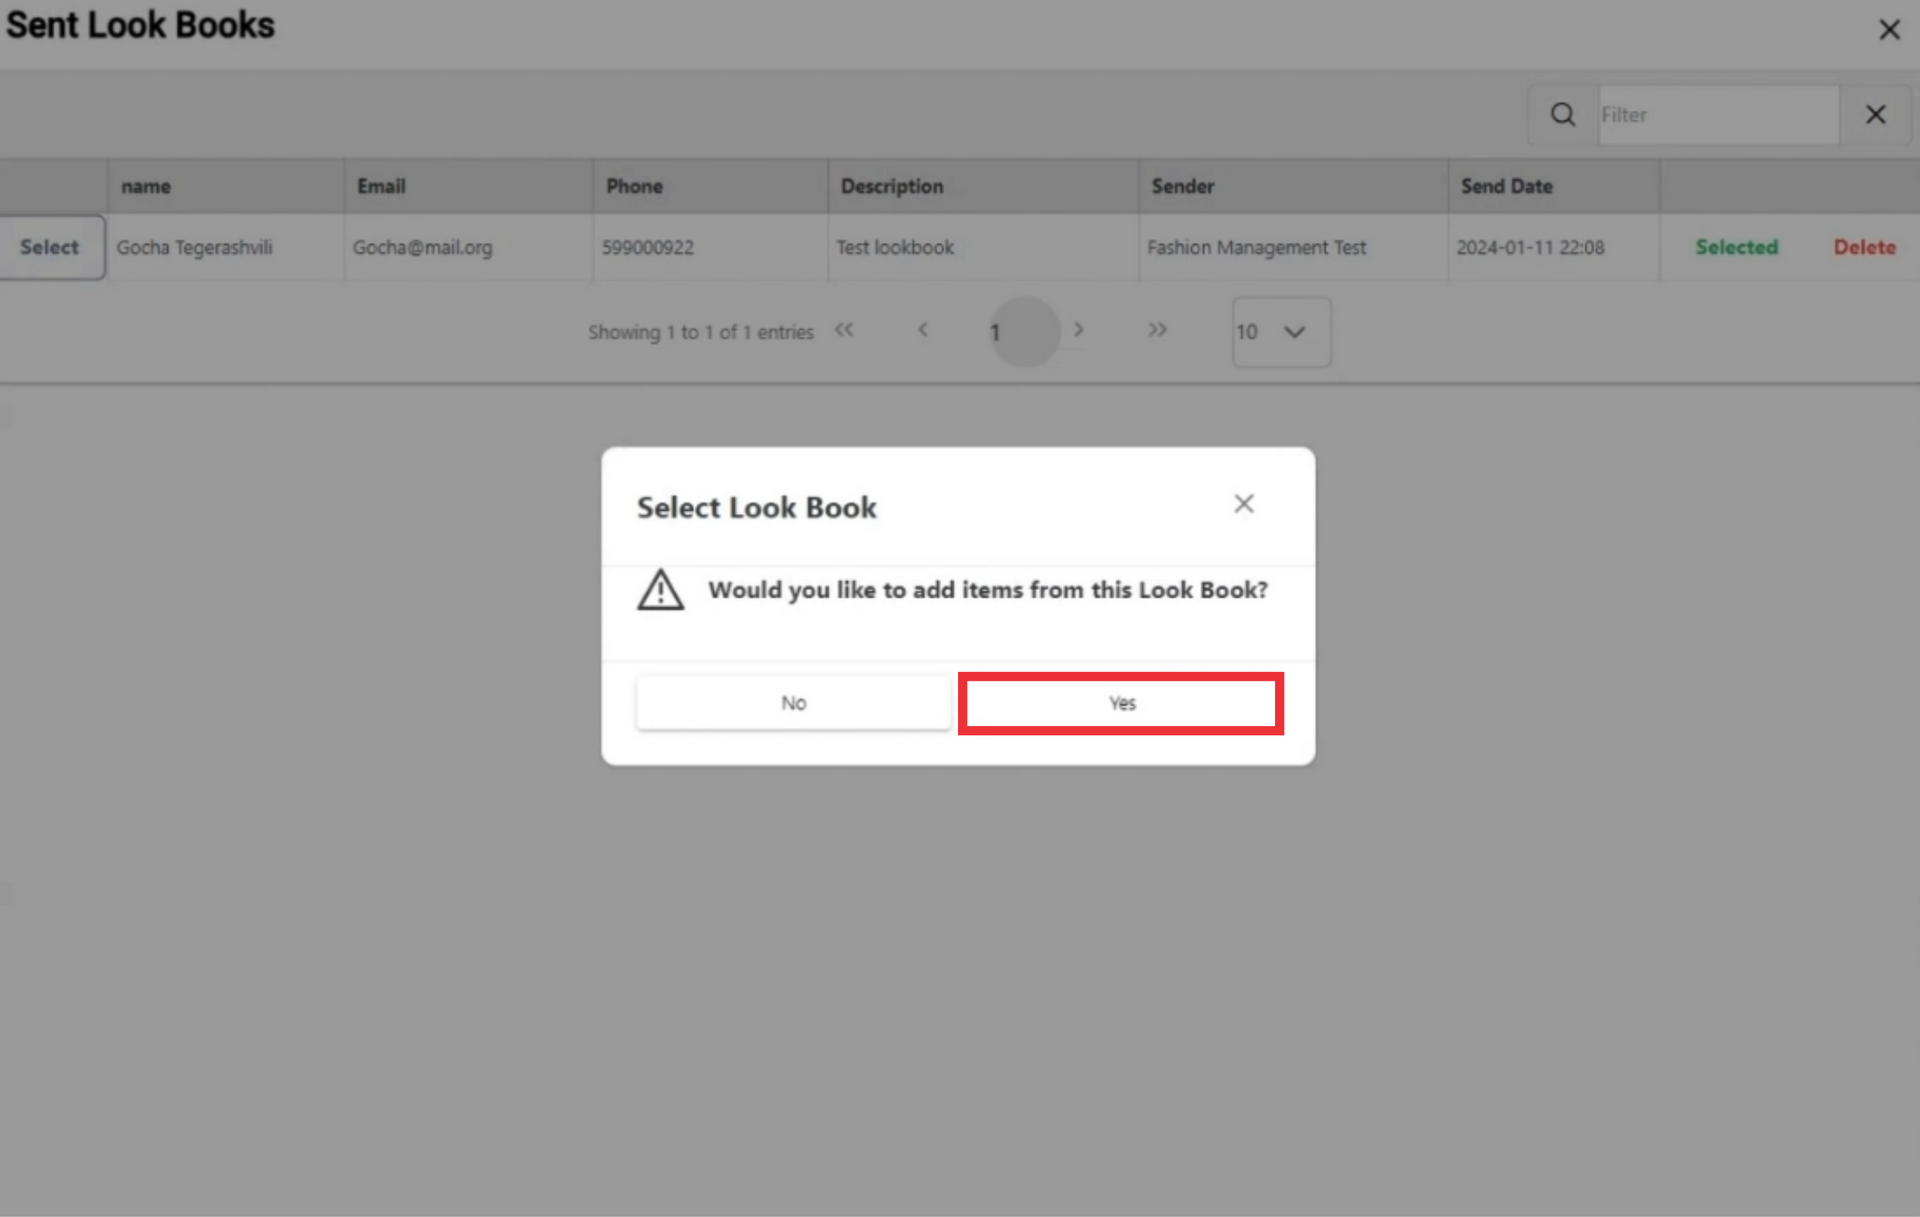
118. Select desired Look book from the list and click the "Select" button.

119. Click the "Yes" button to confirm.
120. If any photo from look book are not included to samples> You can create new samples from this photos. For the add from selected look book click the "Yes" button.

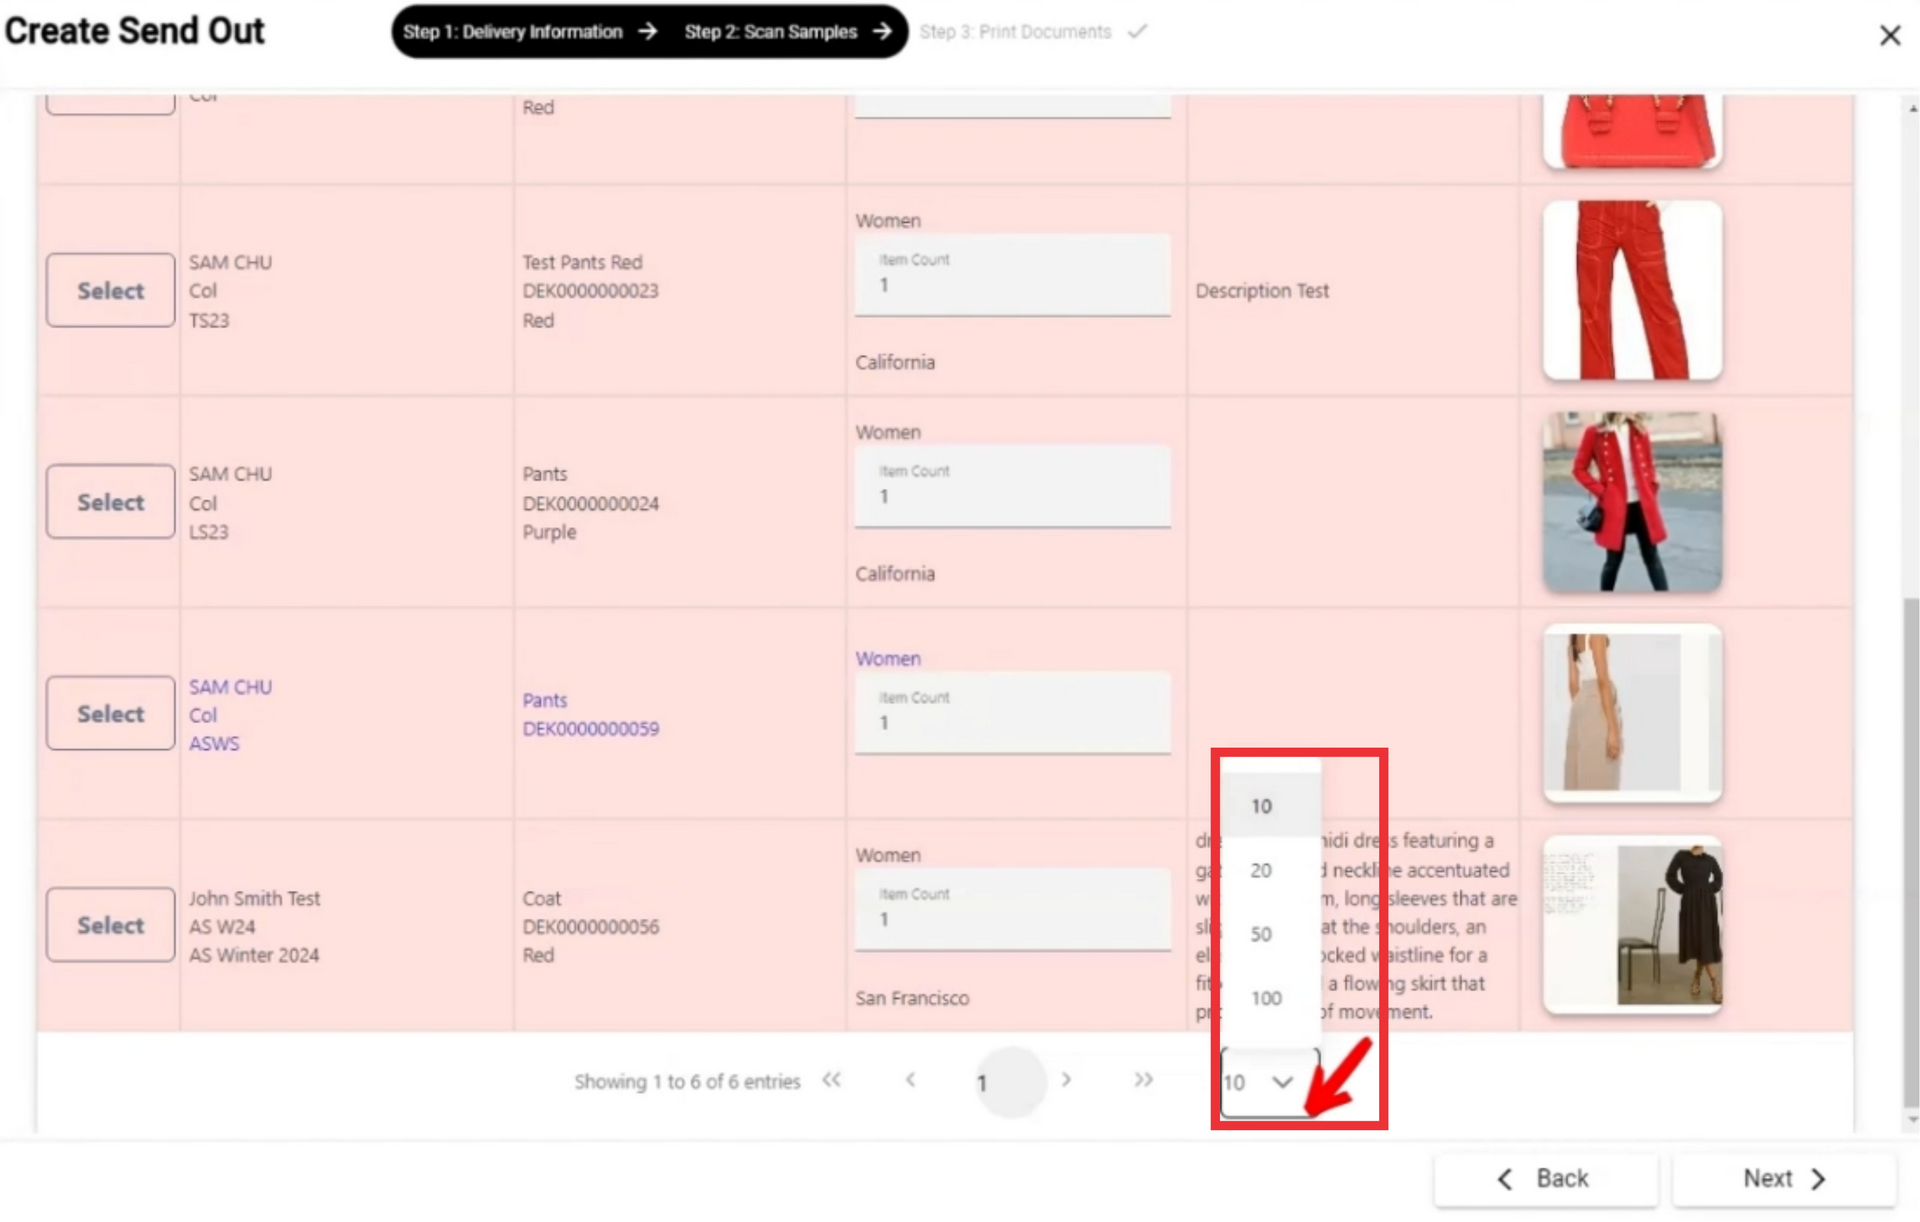
121. Selected photos from the lookbook that are not included in the samples will be marked in red.

122. For the add desired photo from look book click the "Create Sample" button.

123. Fill all required and desired field and click the "Create and Add" Button. (Mandatory fields is mark with asteriks*)

124. If desired, select the number of samples you want to appear on one page in the drop-down menu.
125. Click the "Next" button.
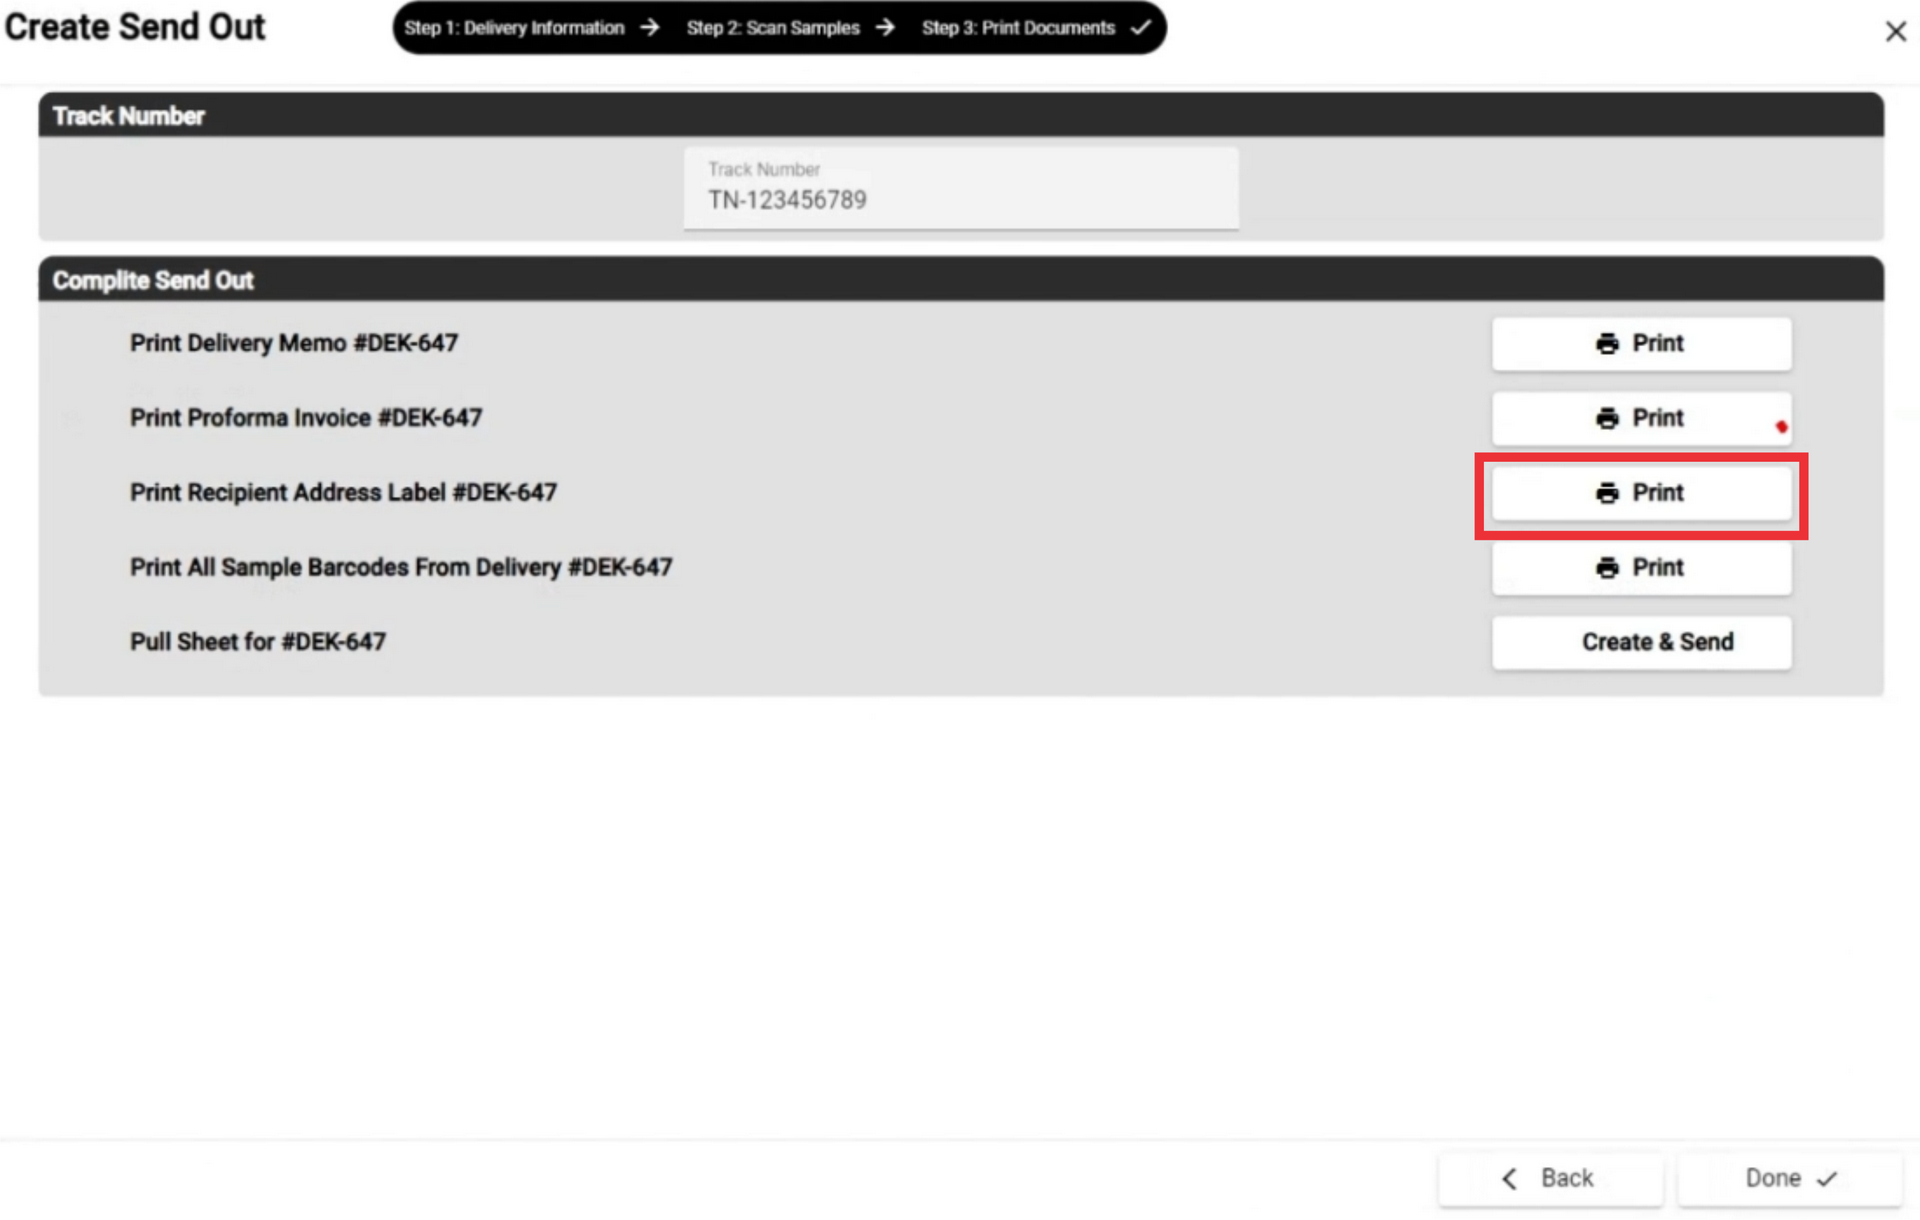
126. Enter the traking number in the field.
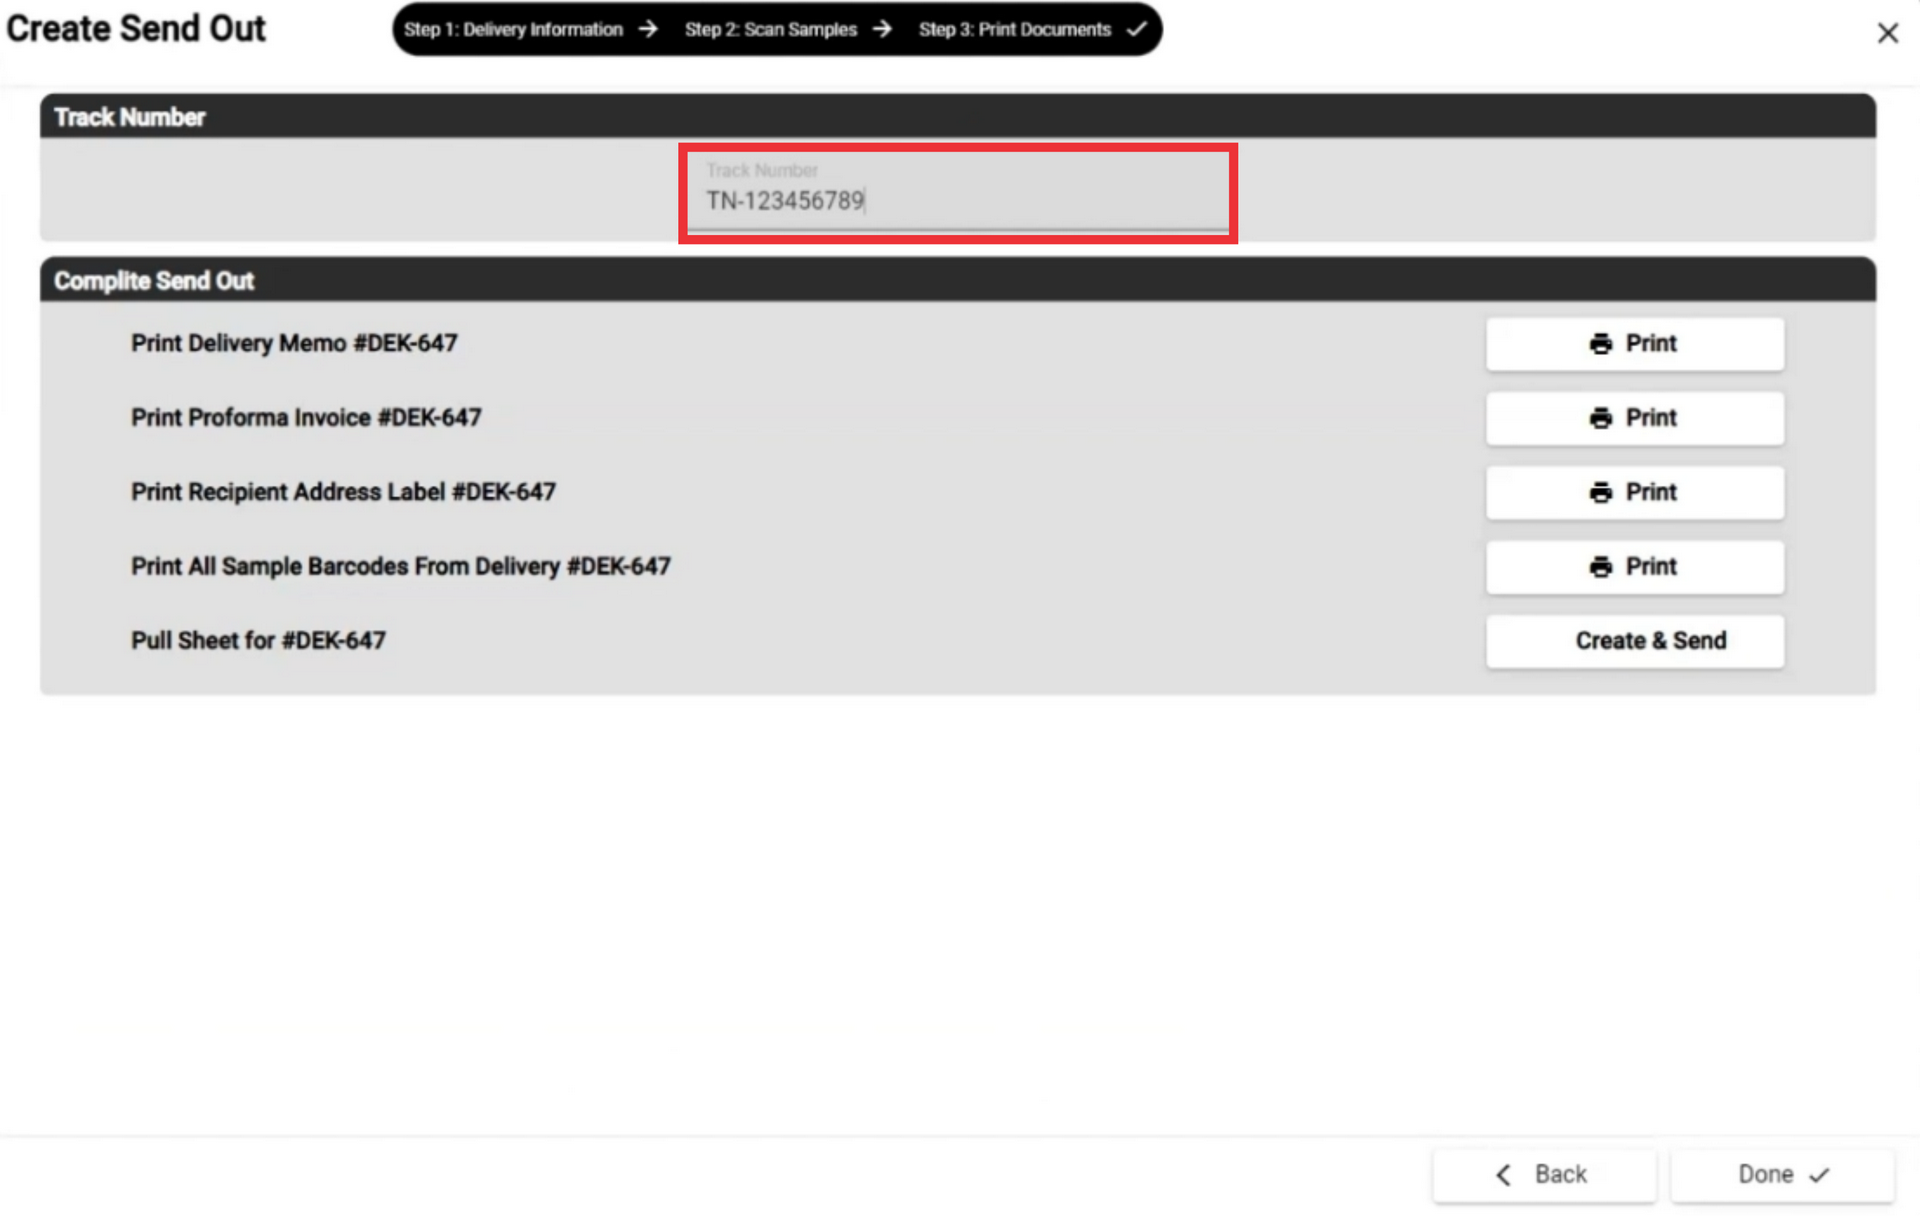
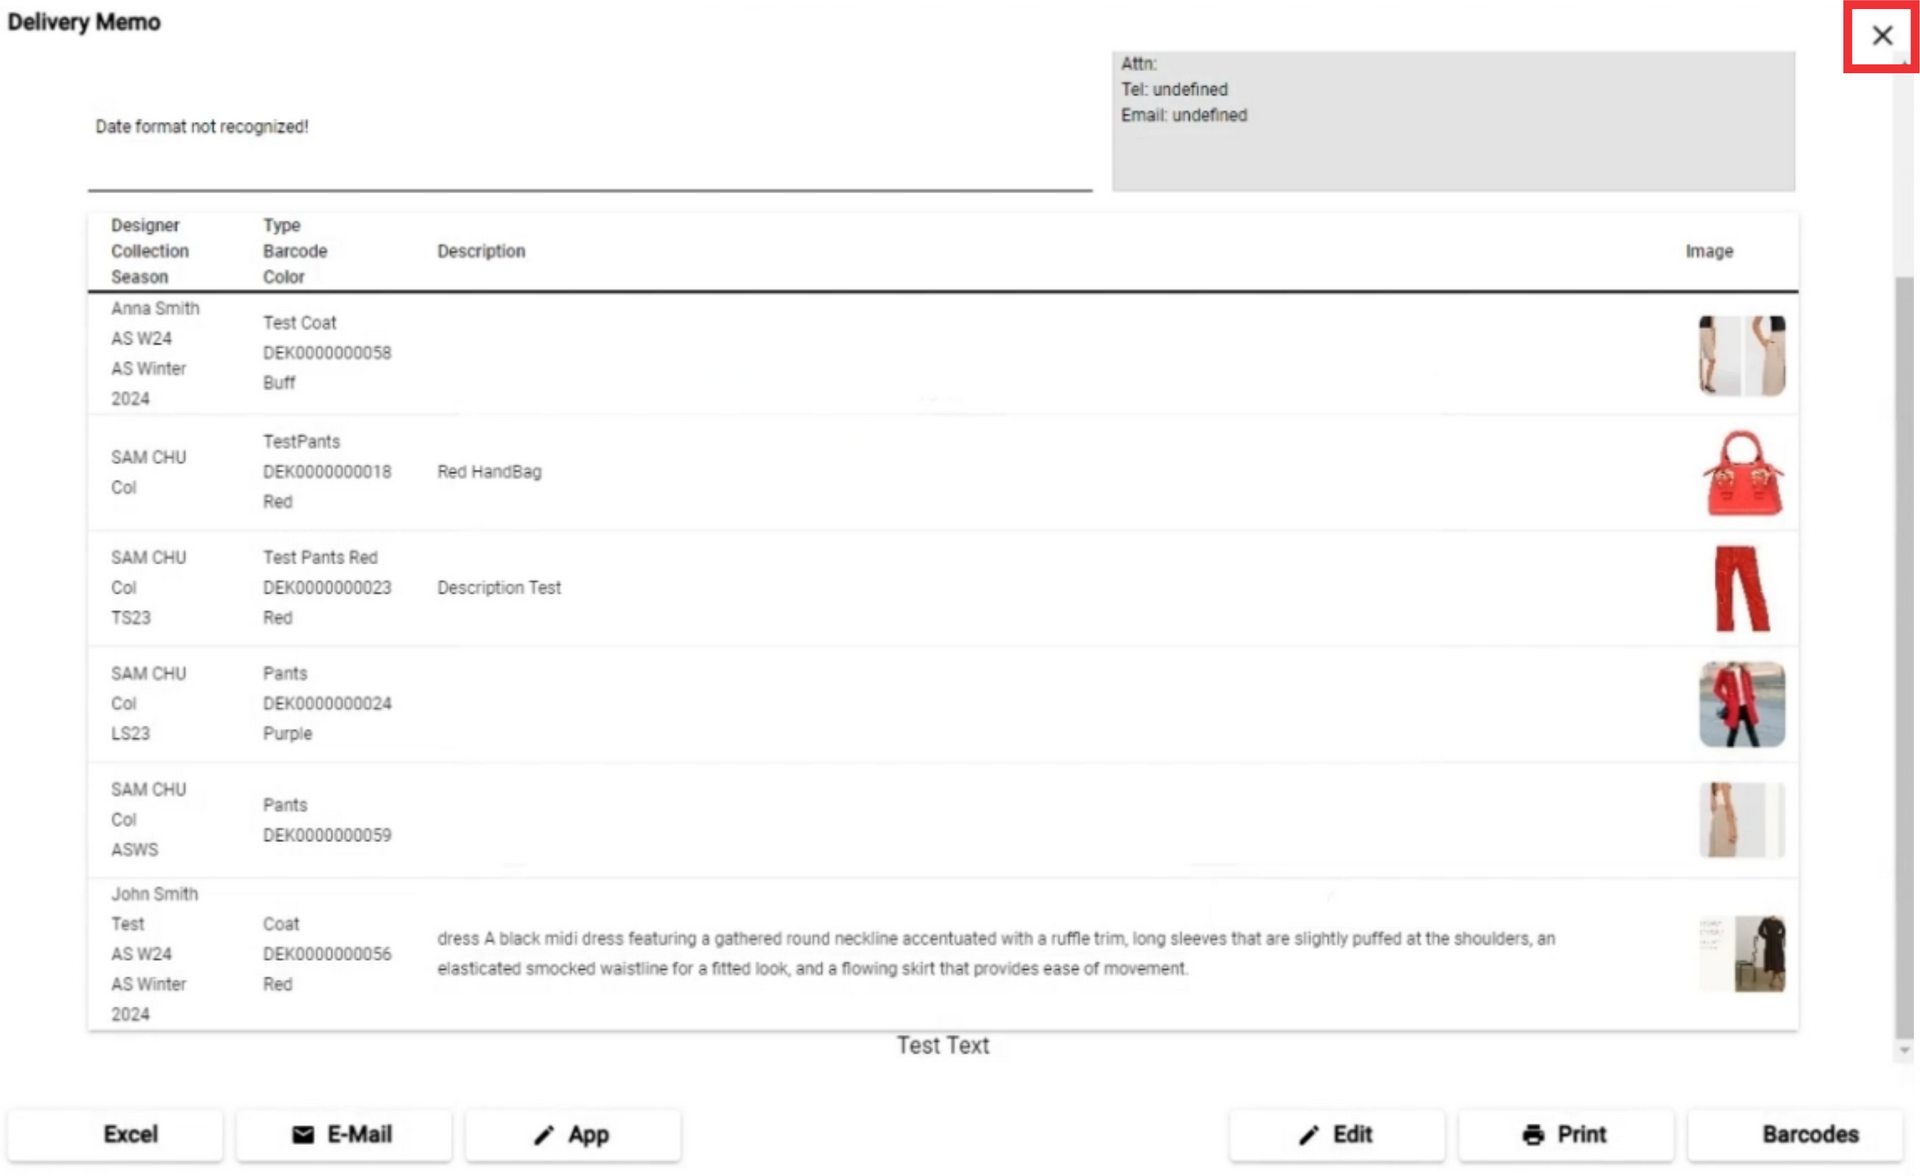
127. For the view and print delivery memo click the "Print" button.

128. click the "Excel" buton to download the document in excel format.
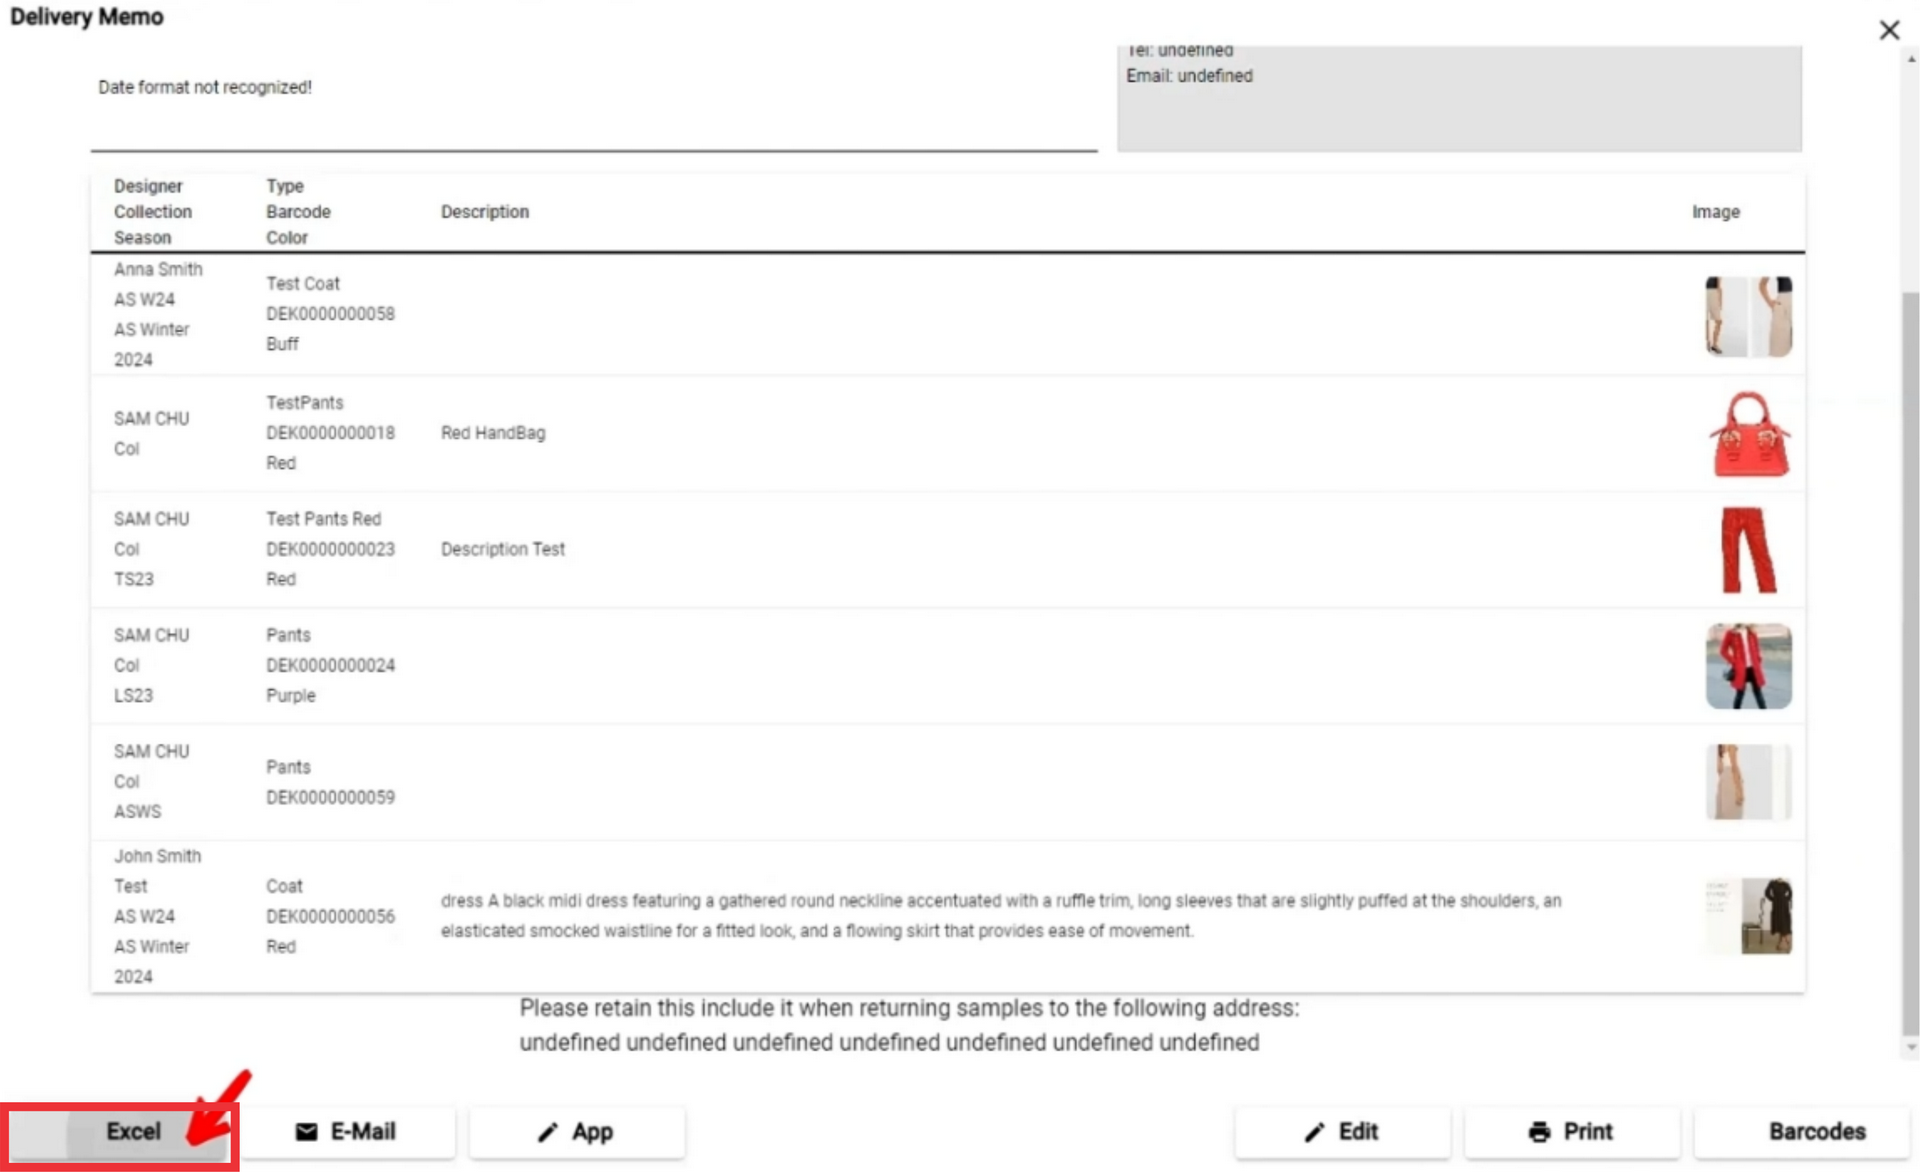
129. For the send delivery memo document to Email click the "E-Mail" button.

130. Enter an E-mail address in the field.
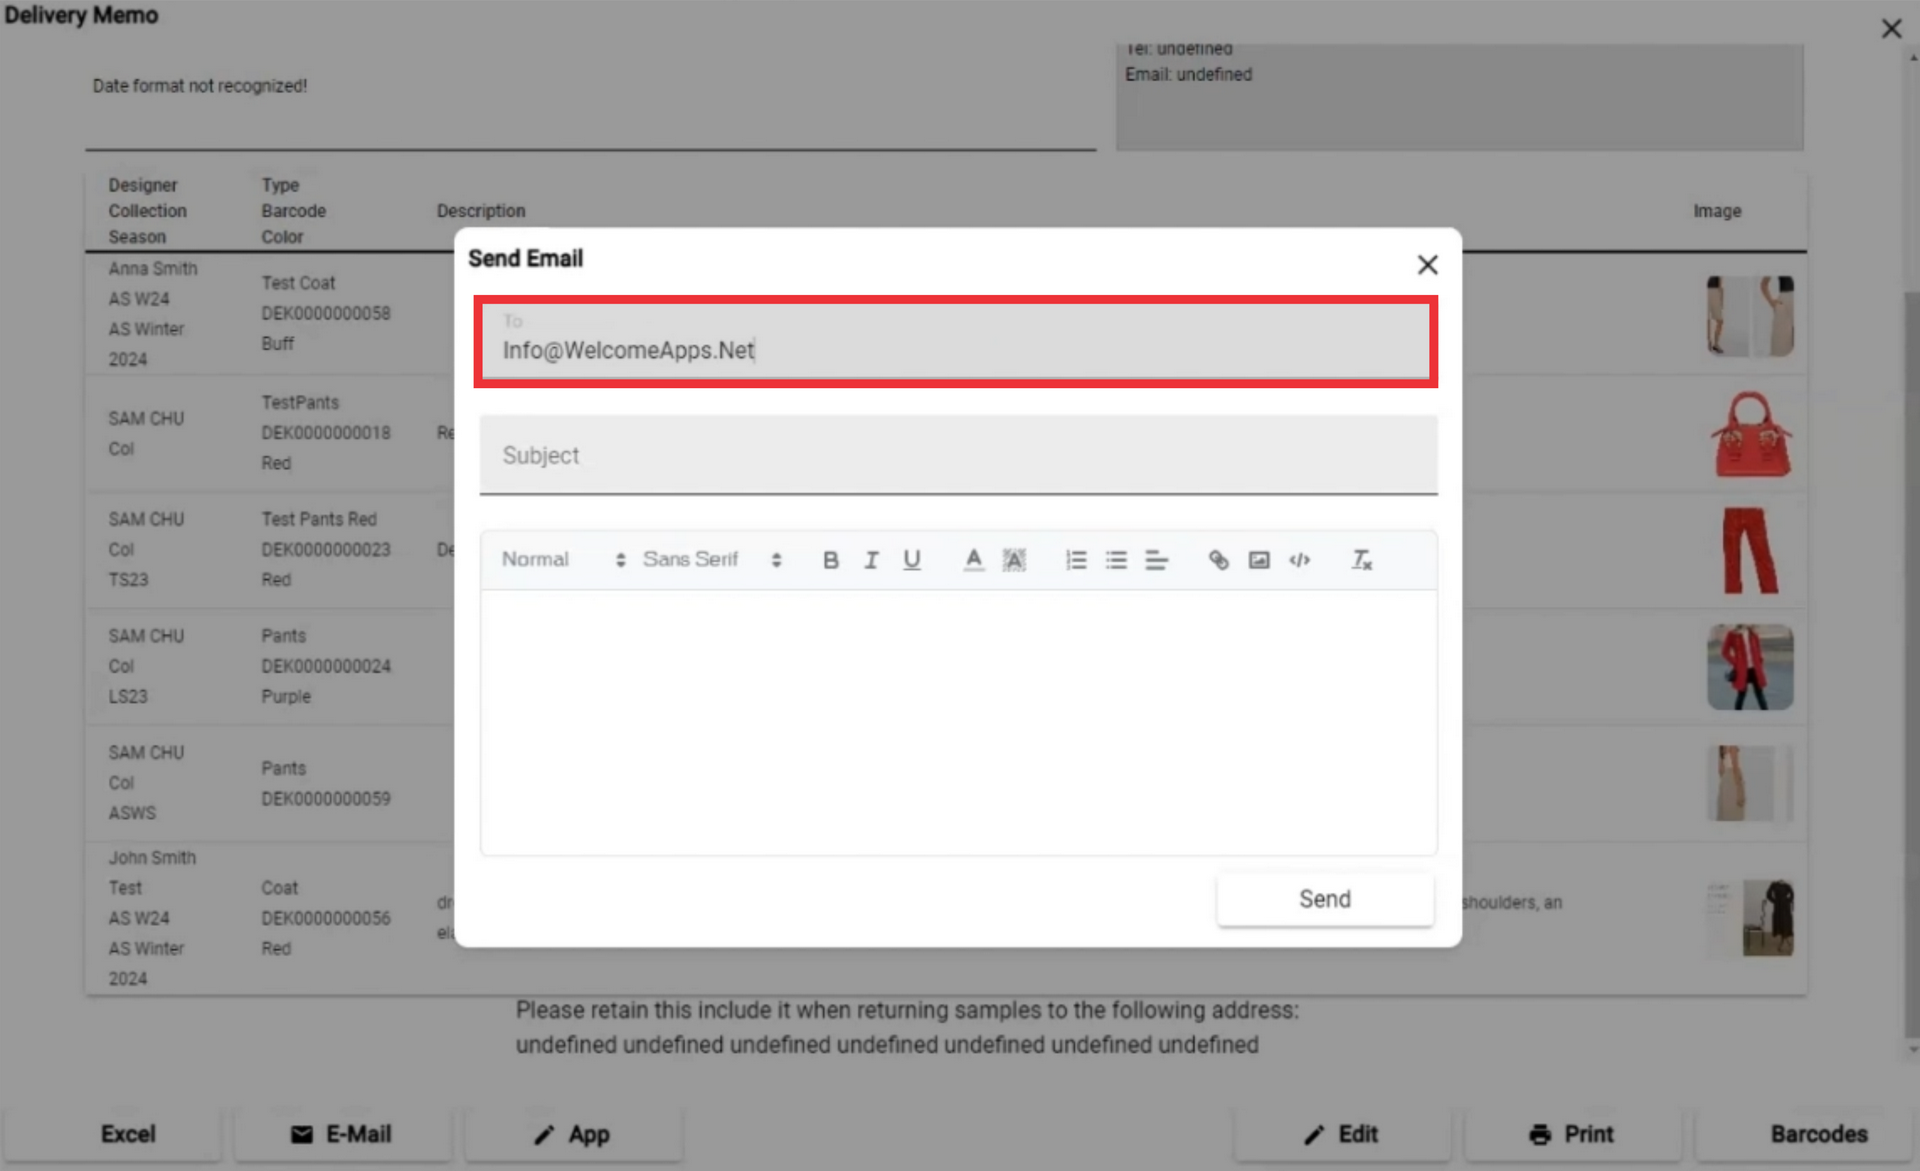
131. Enter Email subject in the field.
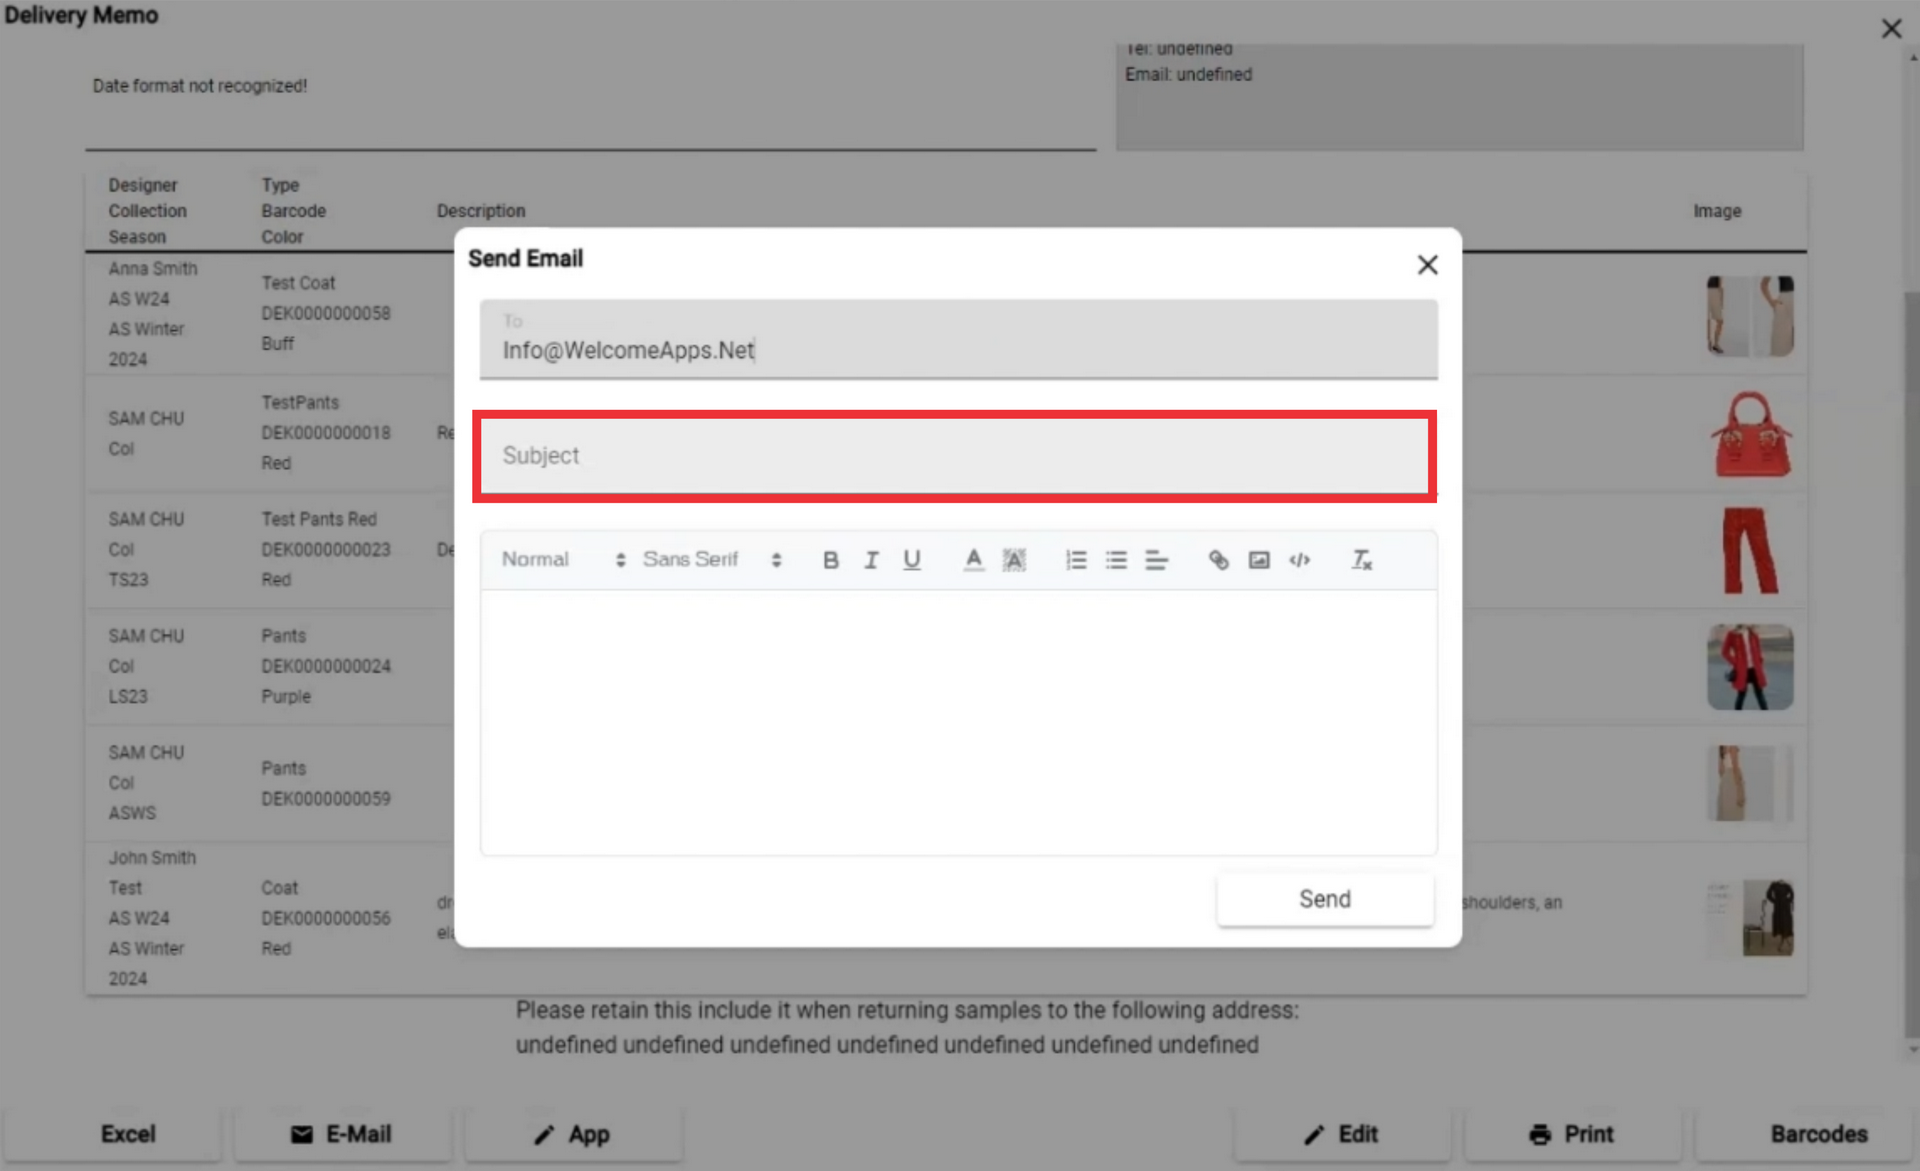
132. Enter Email text in the field.

133. For the send delivery memo document click the "Send" button.
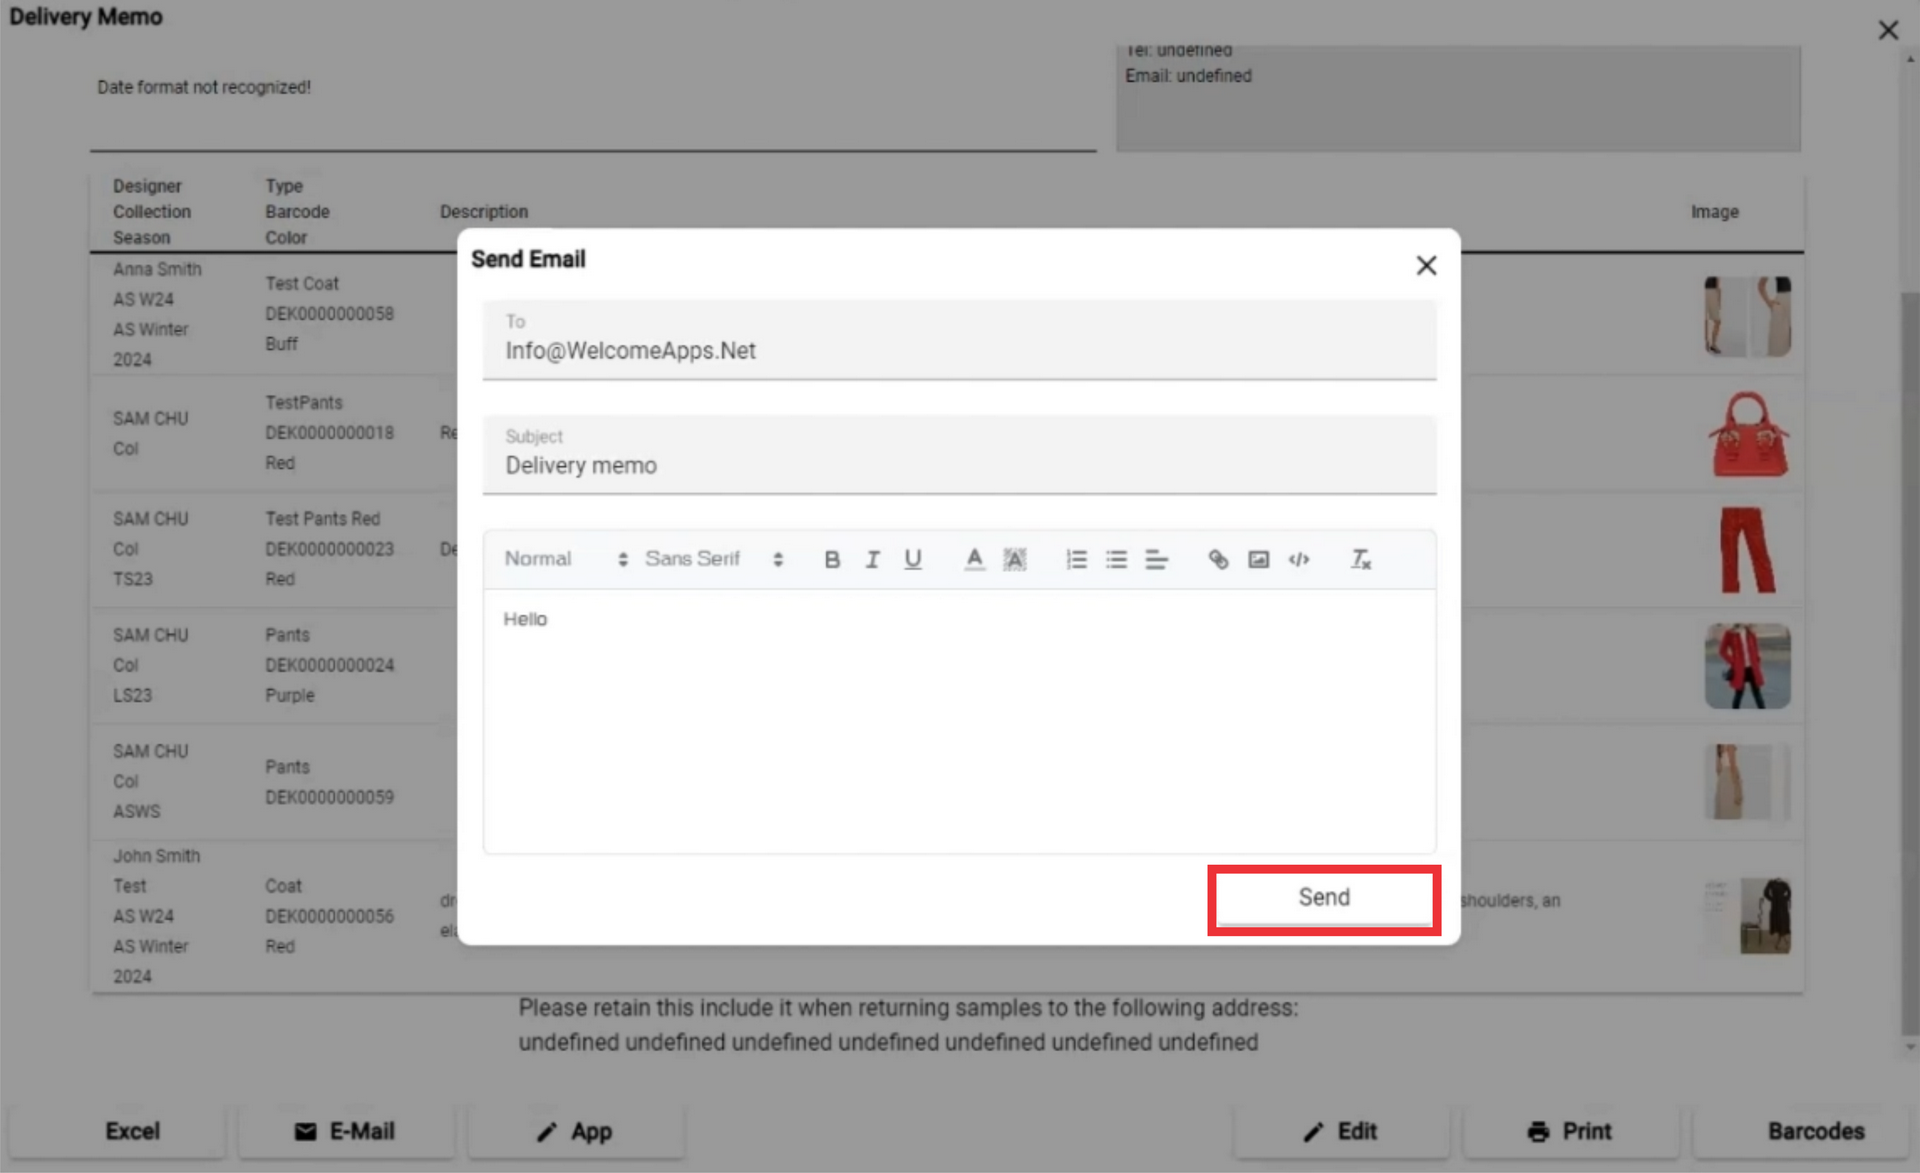
134. A notification that the document has been sent by e-mail will appear in the upper middle of the screen.

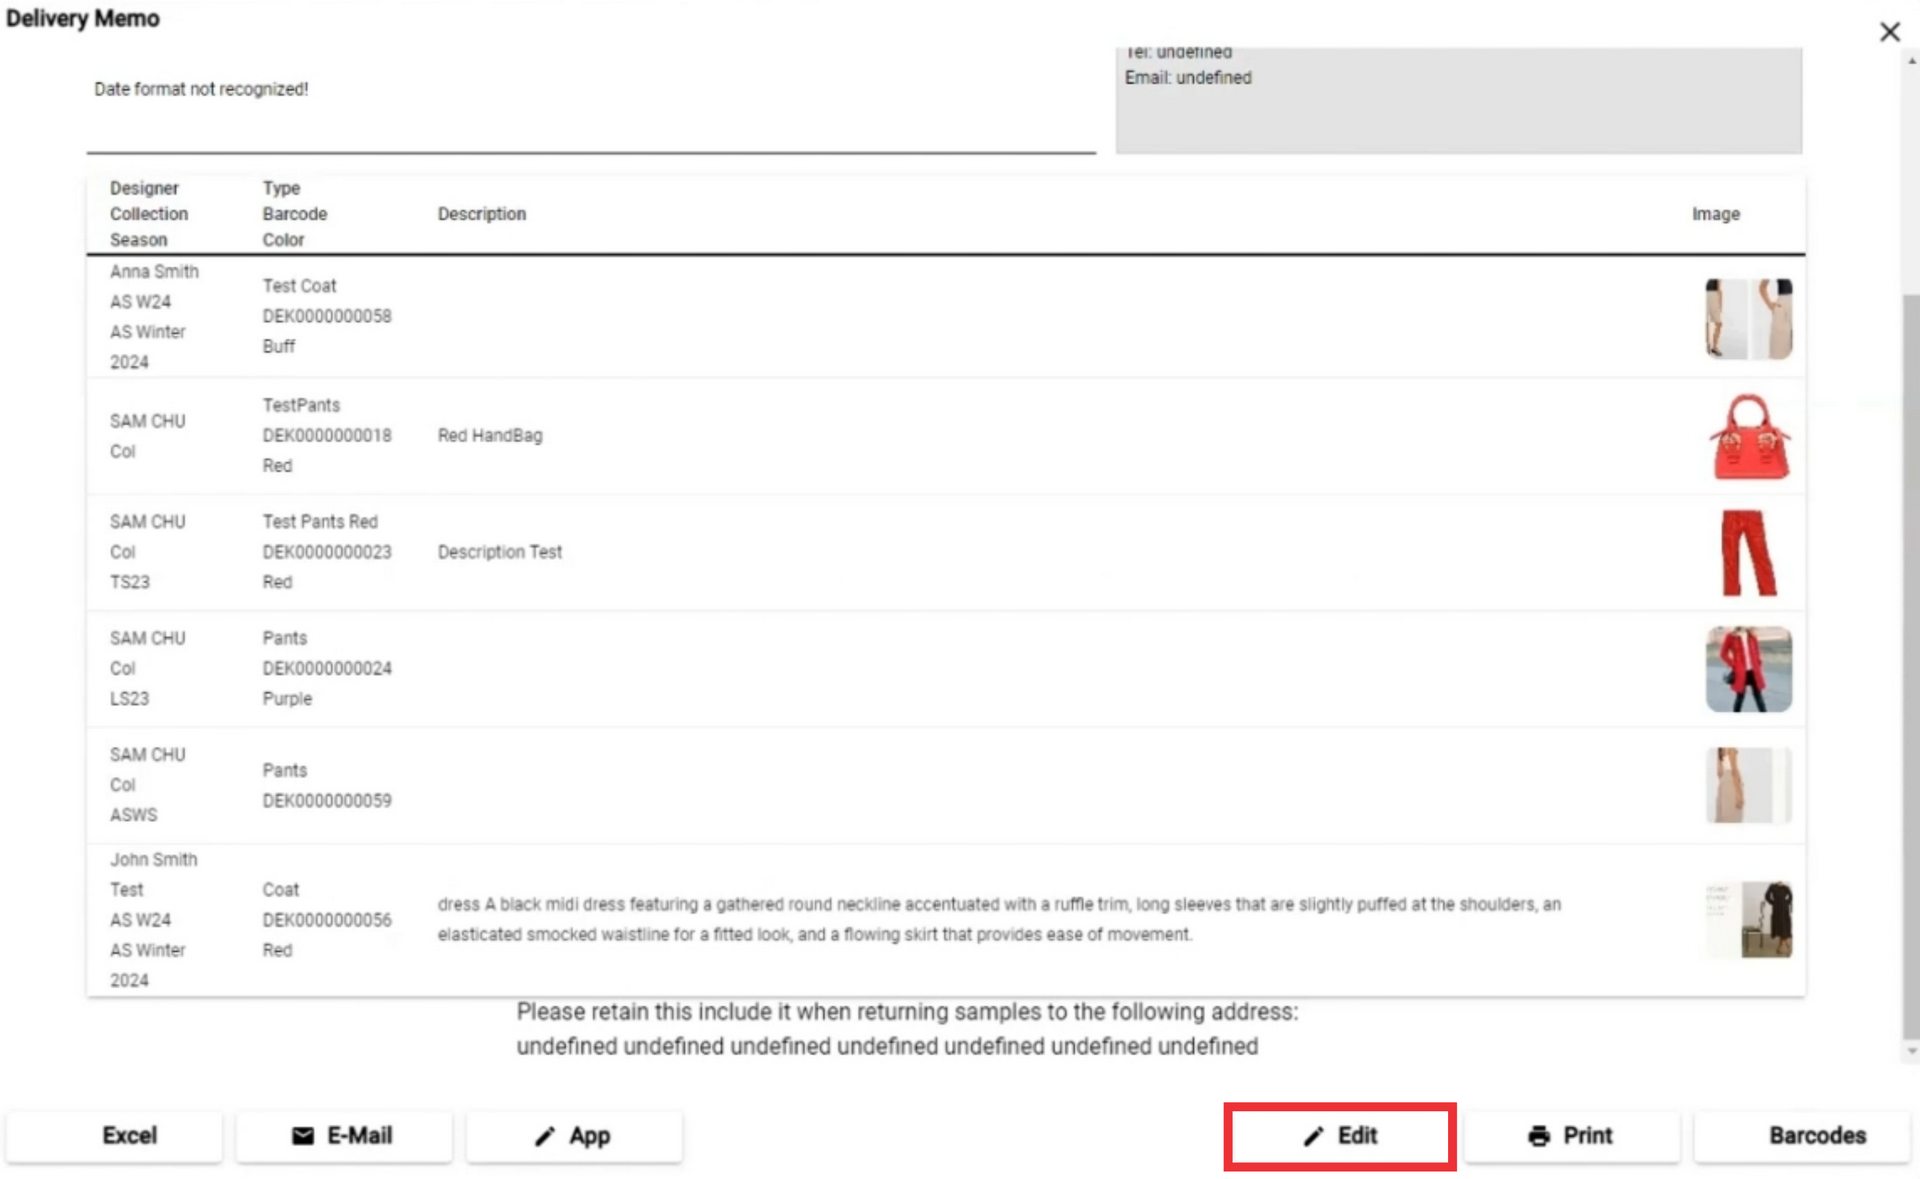
135. For the edit delivery memo text click the "Edit" button.
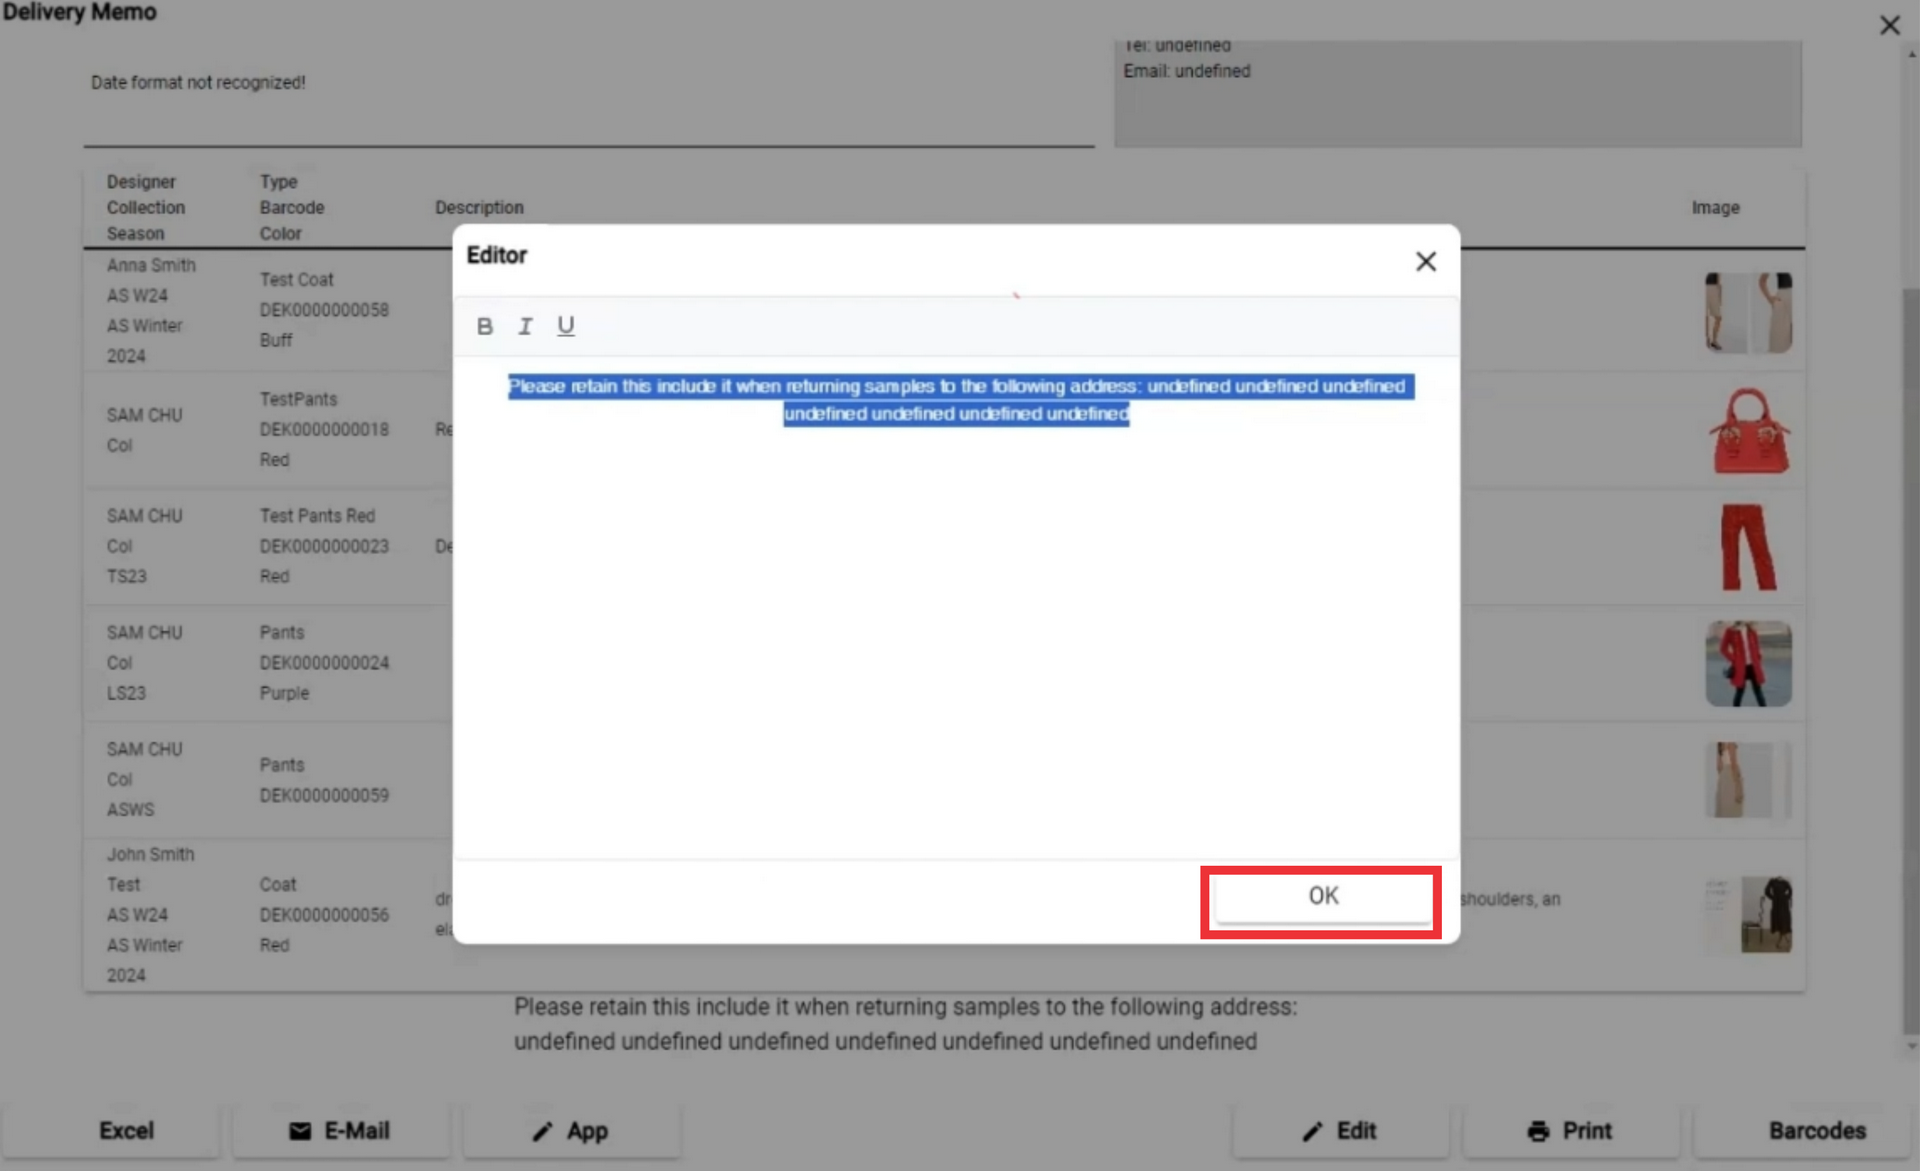
136. Edit delivery memo text.

137. Click the "OK" button to confirm.
138. For the print delivery memo document click the "Print" button.

139. Select your printer settings and click the "Print" button.

140. For the print sample barcodes click the click the "Barcodes" button.

141. For he close this window click the "X" button.
142. For the view and print proforma invoice document click the "Print" button.

143. For the print Proforma Invoice document click the "Print" button.

144. Select your printer setting and click the "Print" button.

145. For the send Proforma invoice document to E-mail click the "E-Mail" button.

146. Enter Email address in the field.

147. Wnter email subject text in the field.

148. Enter email text in the field.

149. For the send proforma invoice document to email click the "Send" button.

150. A notification a E-mail has been sent will apper to the center of the screen.

151. For the export and downlad proforma invoice document click the "Excel' button.

152. For the close this window click the "X" button.

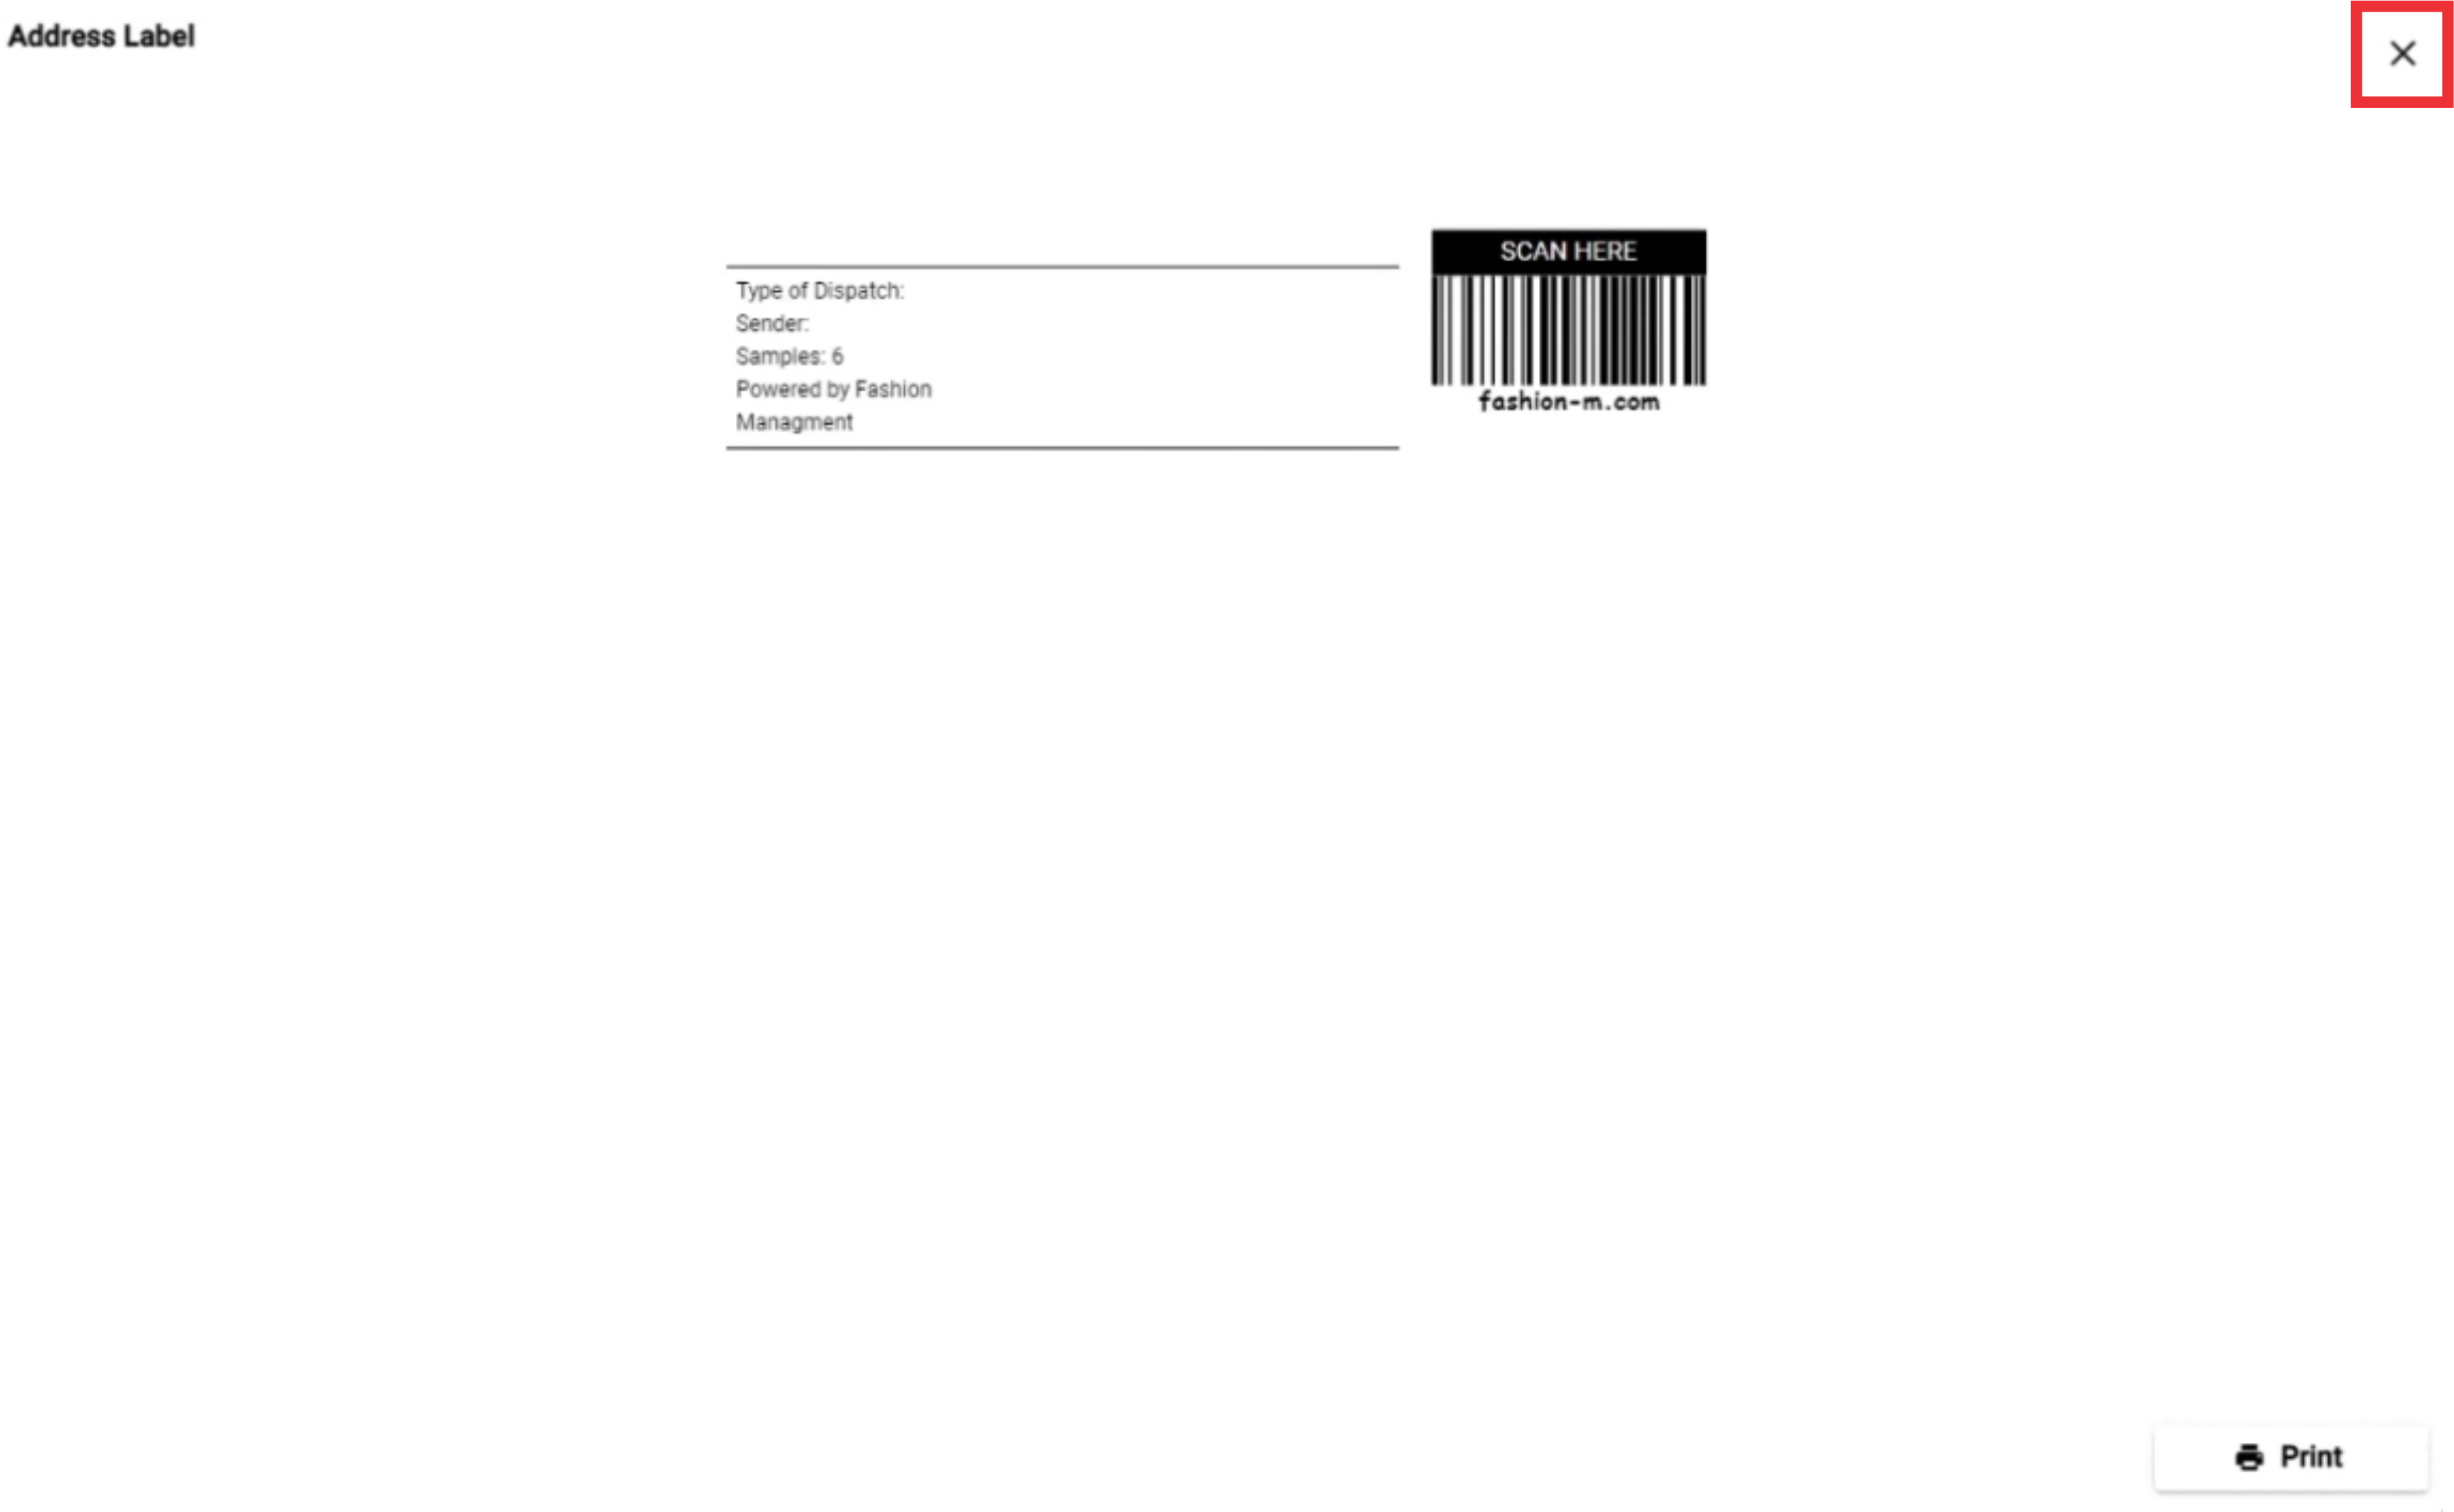
153. For the view and print recipient address label click the "Print" button.
154. Click the print button.

155. Select Your printer settings and click the "Print" button.

156. Click the "X" to close this window.
157. For theview and print all samples barcodes click the "Print" button.

158. click the "Print" button.

159. Select Your printer settings and click the "Print" button.

160. Click the "X" button to close this window.

161. For the create send out document click the "Done" button.
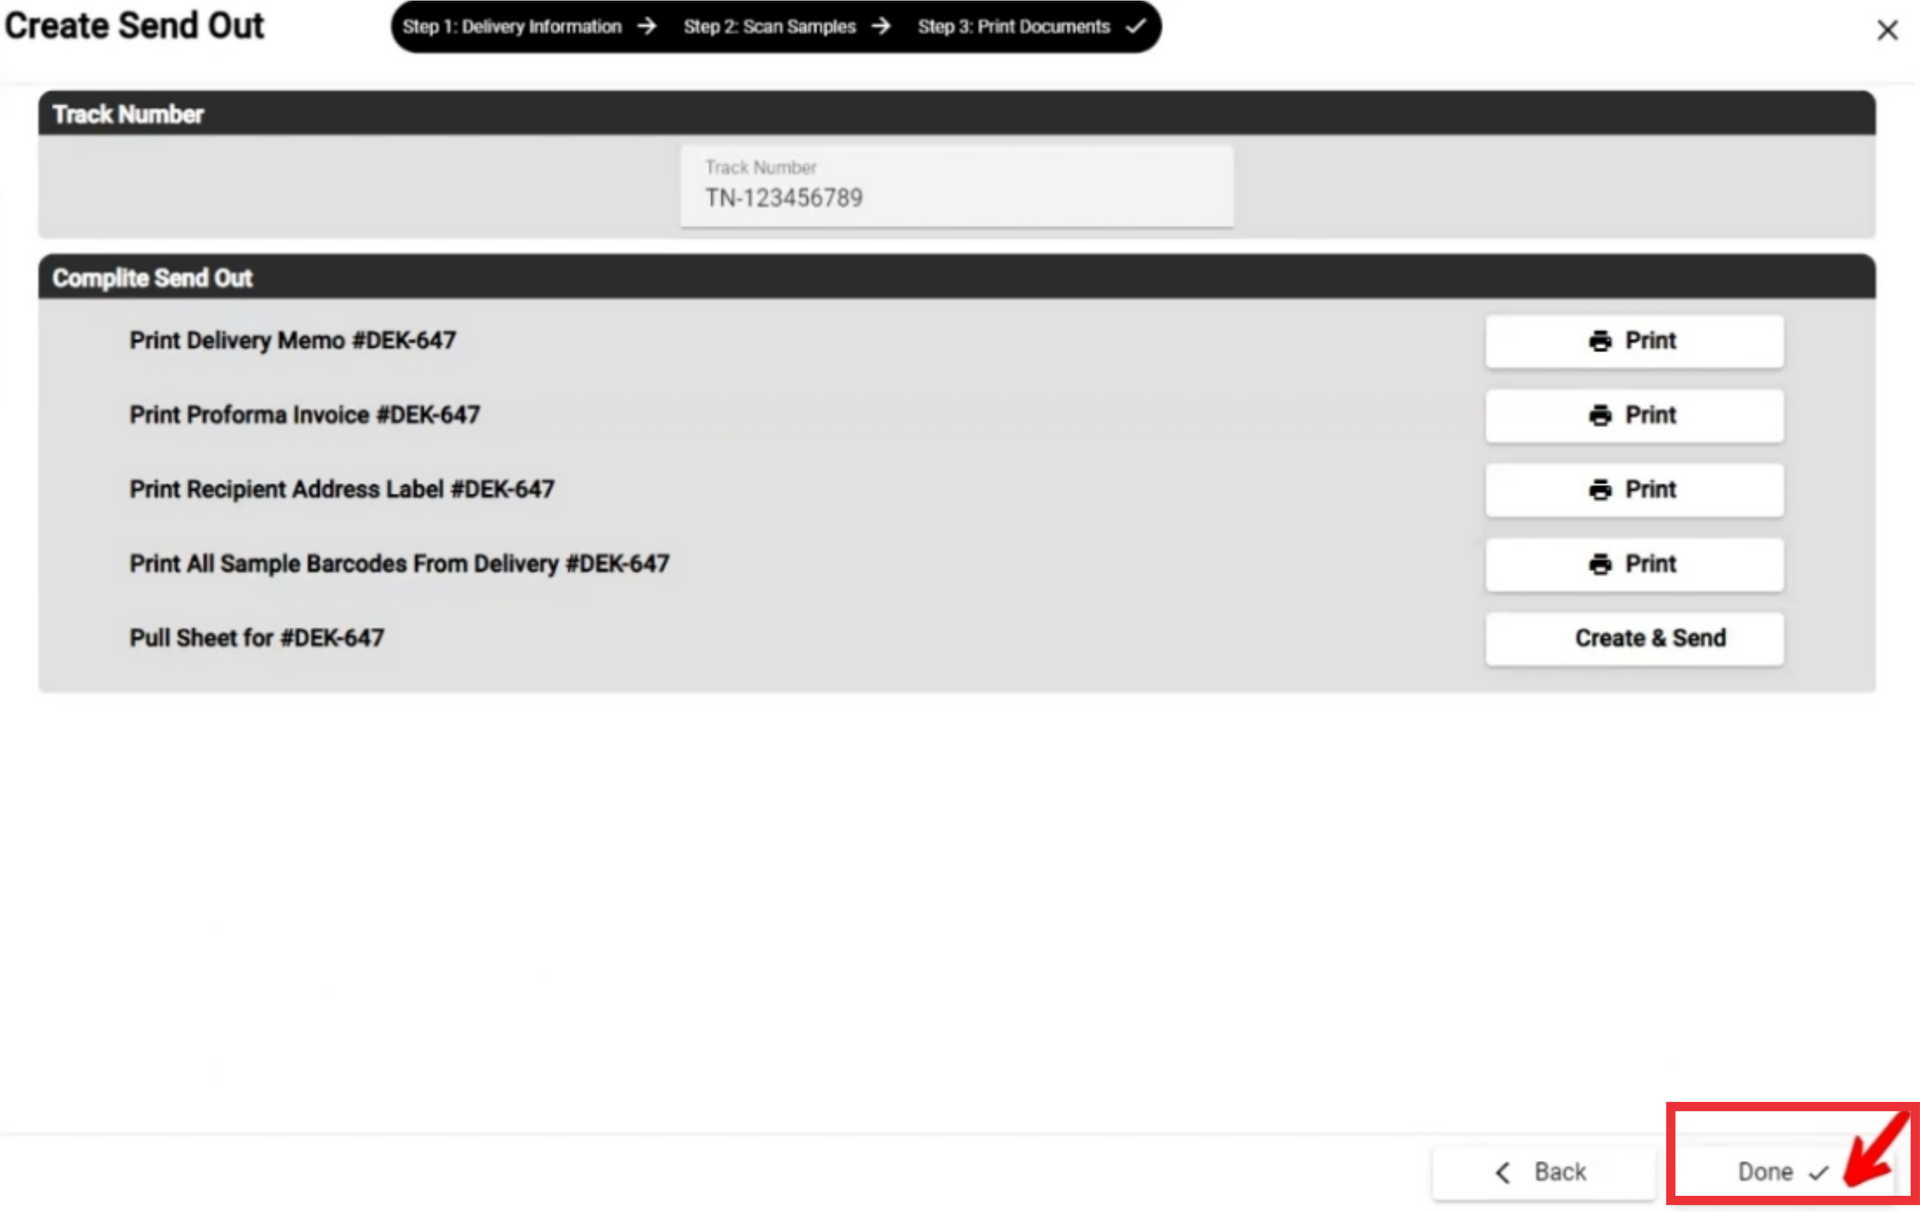
162. Click the "Yes" button to confirm.
