In this section you can view the samples you habve added. You can also view, edit and delete samples.
Follow the step by step instructions:
1. For the enter application click the management button.
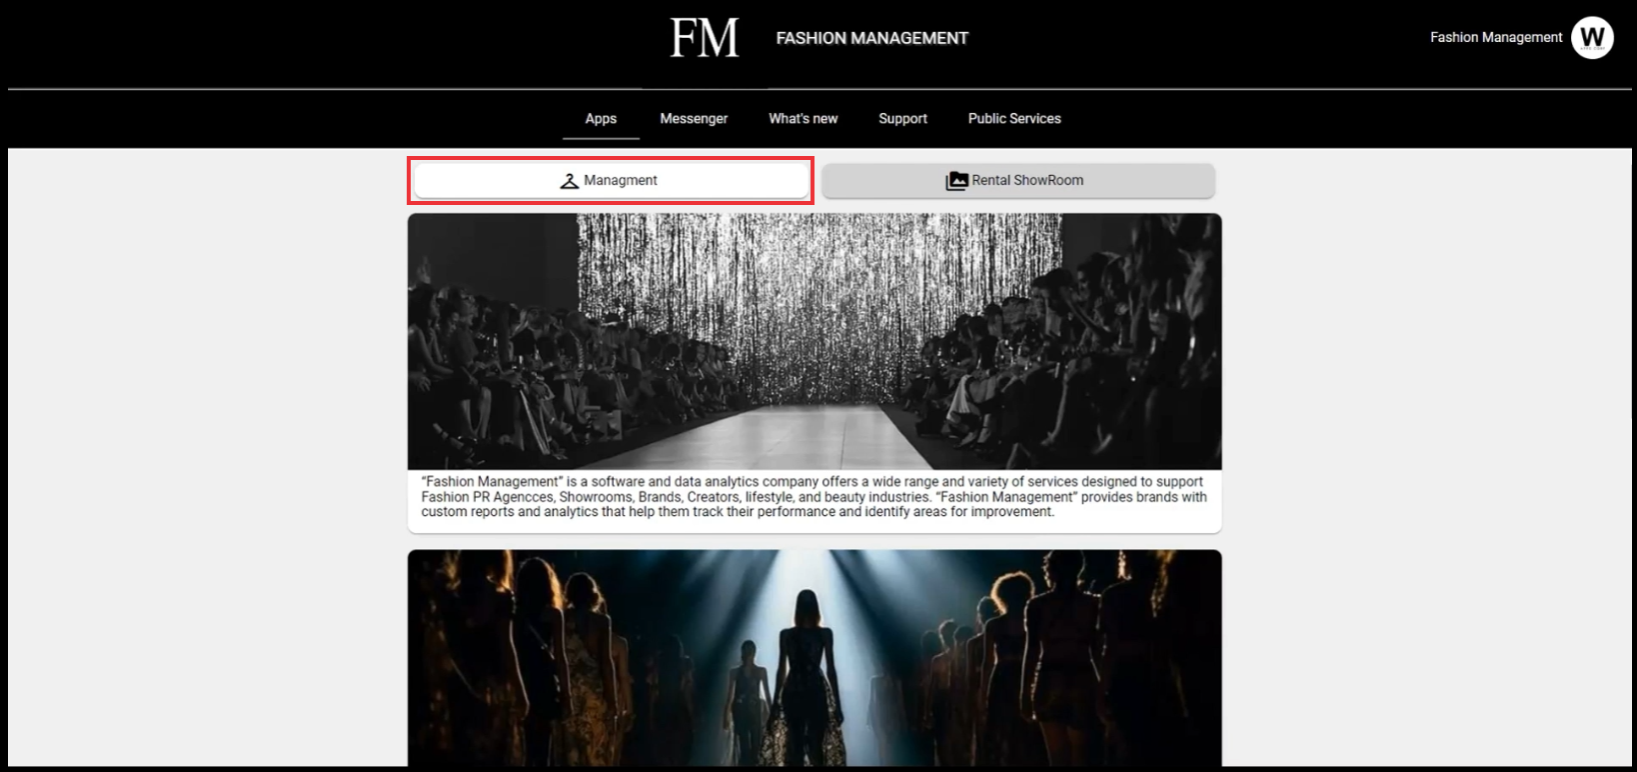
2. Click the Samples Buuton.

3. Click the Sample Manager button.

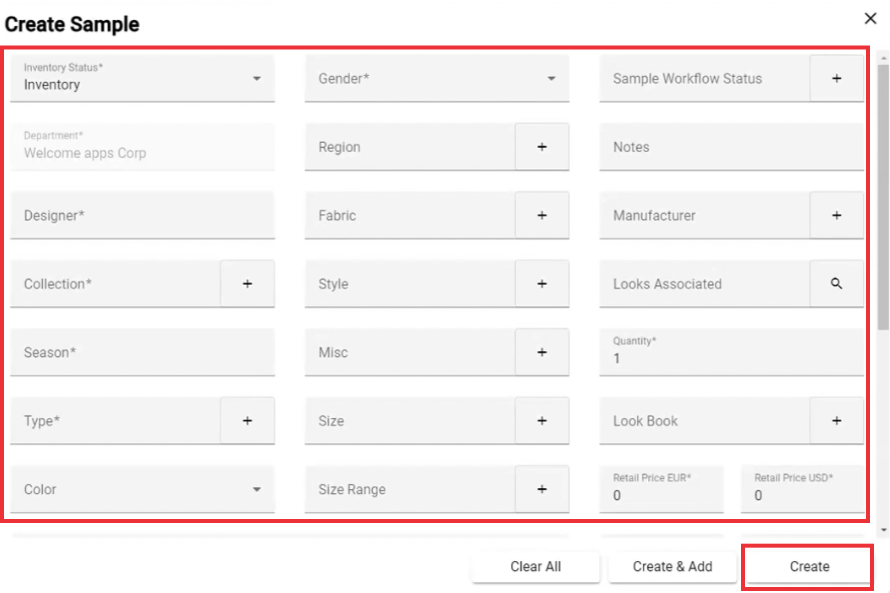
4. For the create new sample click the "Create Sample" button.

5. Fill all required and other fields and click the Create button.
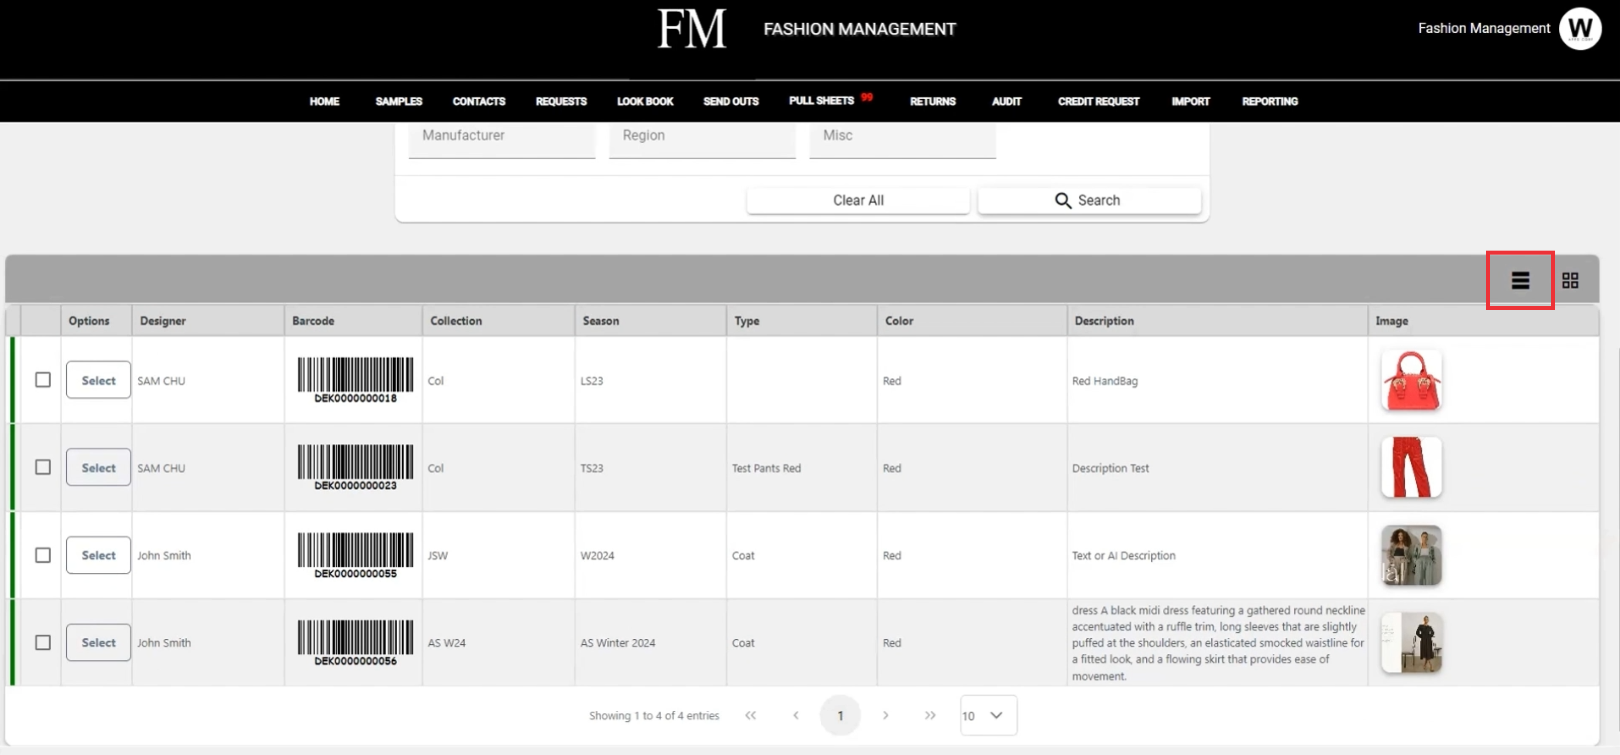
6. A list of all your samples is listed in the bottom box.

7. If you would like to see your sample listing in a Grid View click the "Grid" button.

8. If you would like to see your sample listing in a List View click the "List" button.
9. For the view the sample menu, click the "Select" button.

10. For the view and edit Sample deteails click the "Edit Details" button.

11. Edit desired fields and click the Update button to confirm.

12. For the view the sample menu, click the "Select" button.
.13. For the print sample barcodes click the "pront BarCode labels" button.

14. Select your printer settings and click the Print button.

15. For the view the sample menu, click the "Select" button.
16. For the Remove sample click the "Delete" button.

17. Click the "Yes" button to confirm.

18. For the view the next page of the list of samples, press the next page button.

19. To see the desired number of Samples per page select the desired number.
