In Sent look book section you have opputurnity to send your costumer a look book catalog
follow step by step instructions:
1. Click the management button to enter the application.

2. Click the look book button to open the menu.

3. Click the Sent Look Book button.

4. For the select look book and send it to the costumers email click the "+" button.

5. Enter the email address of the person you want to send look book.
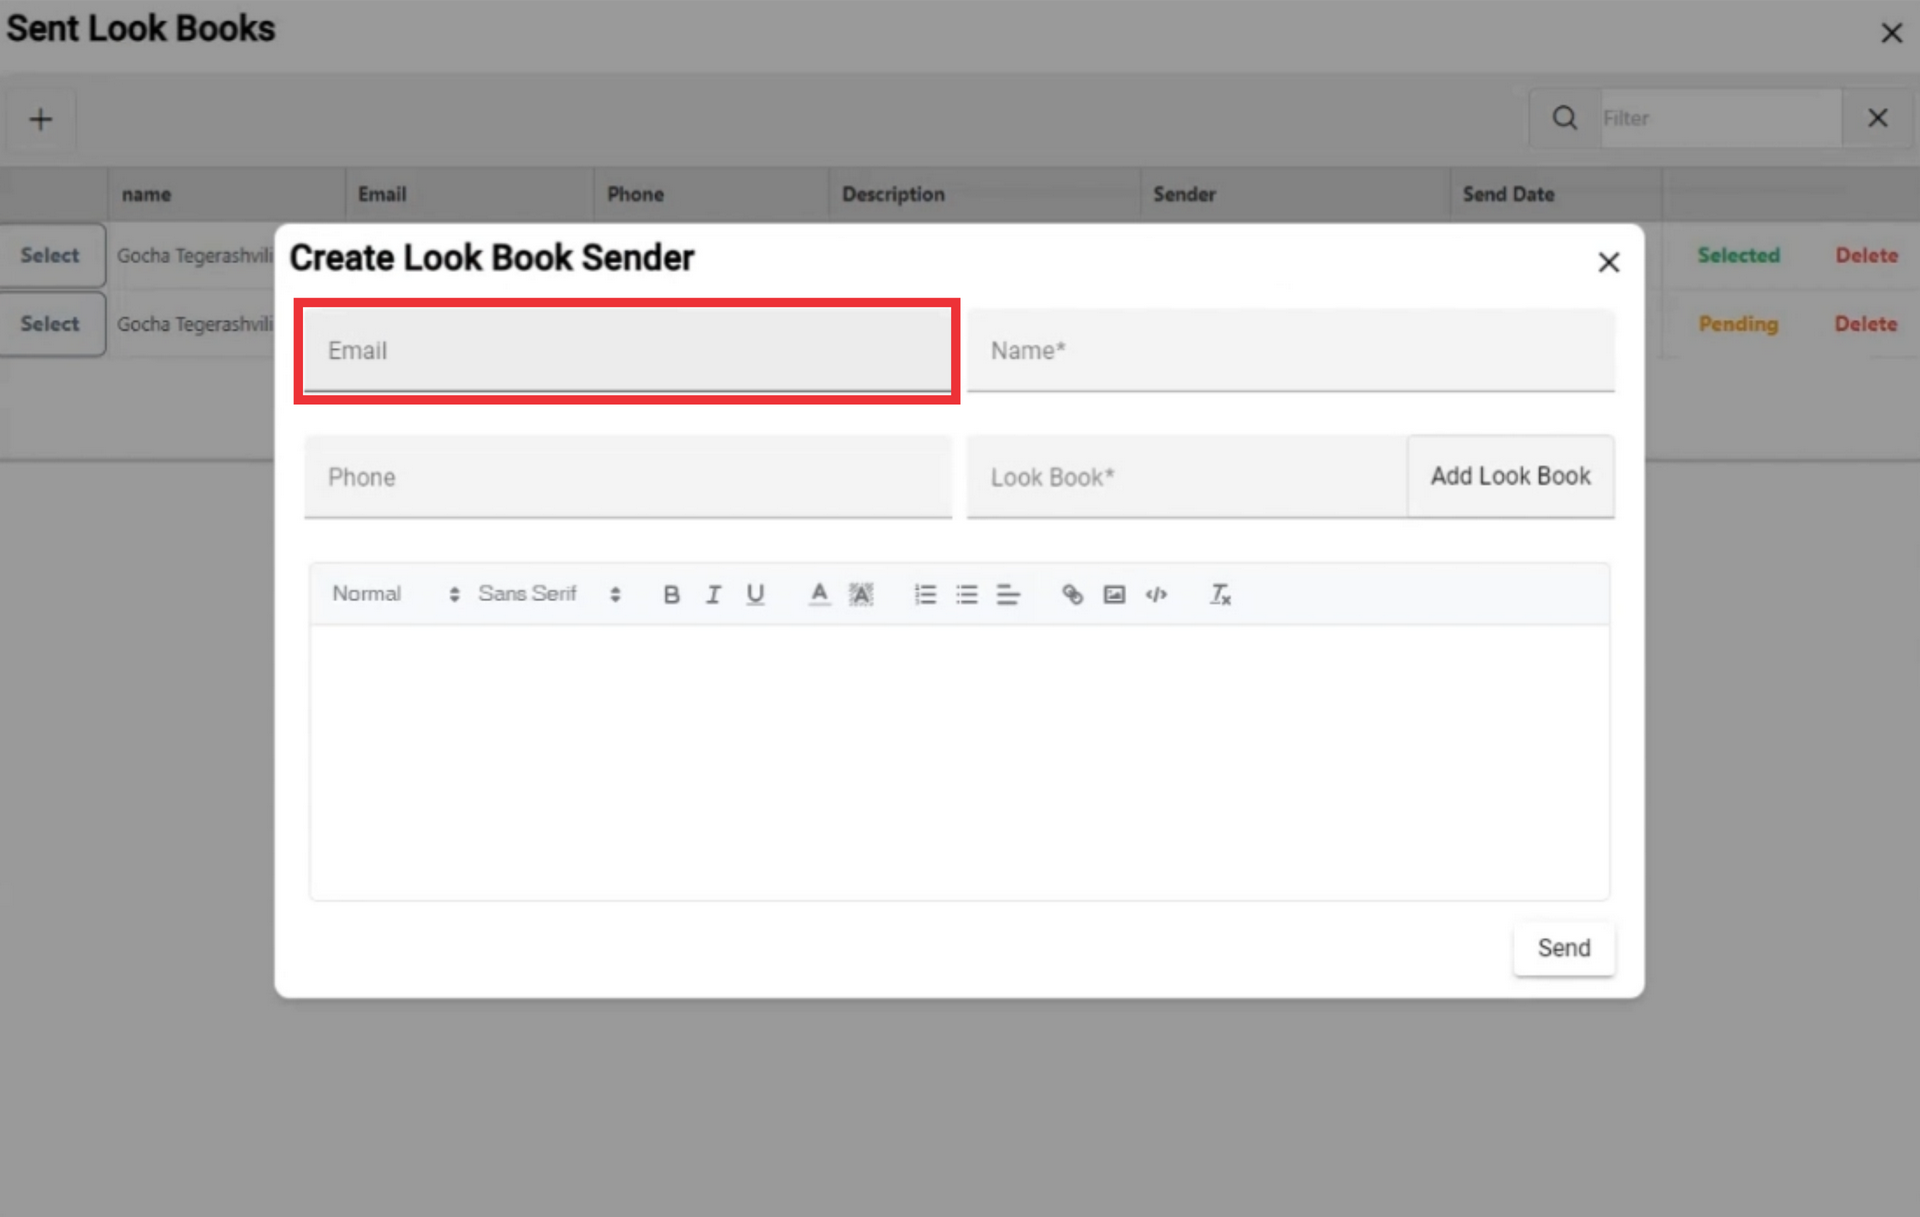
6. Enter the phone number in the field.

7. Enter the name on the field.

8. For the select look book to send click the add look book button.

9. You have the option to choose pre made look book or custom catalog or add a new one. To create a new look book click the "+" button.

10. Click the "Main look book" button.

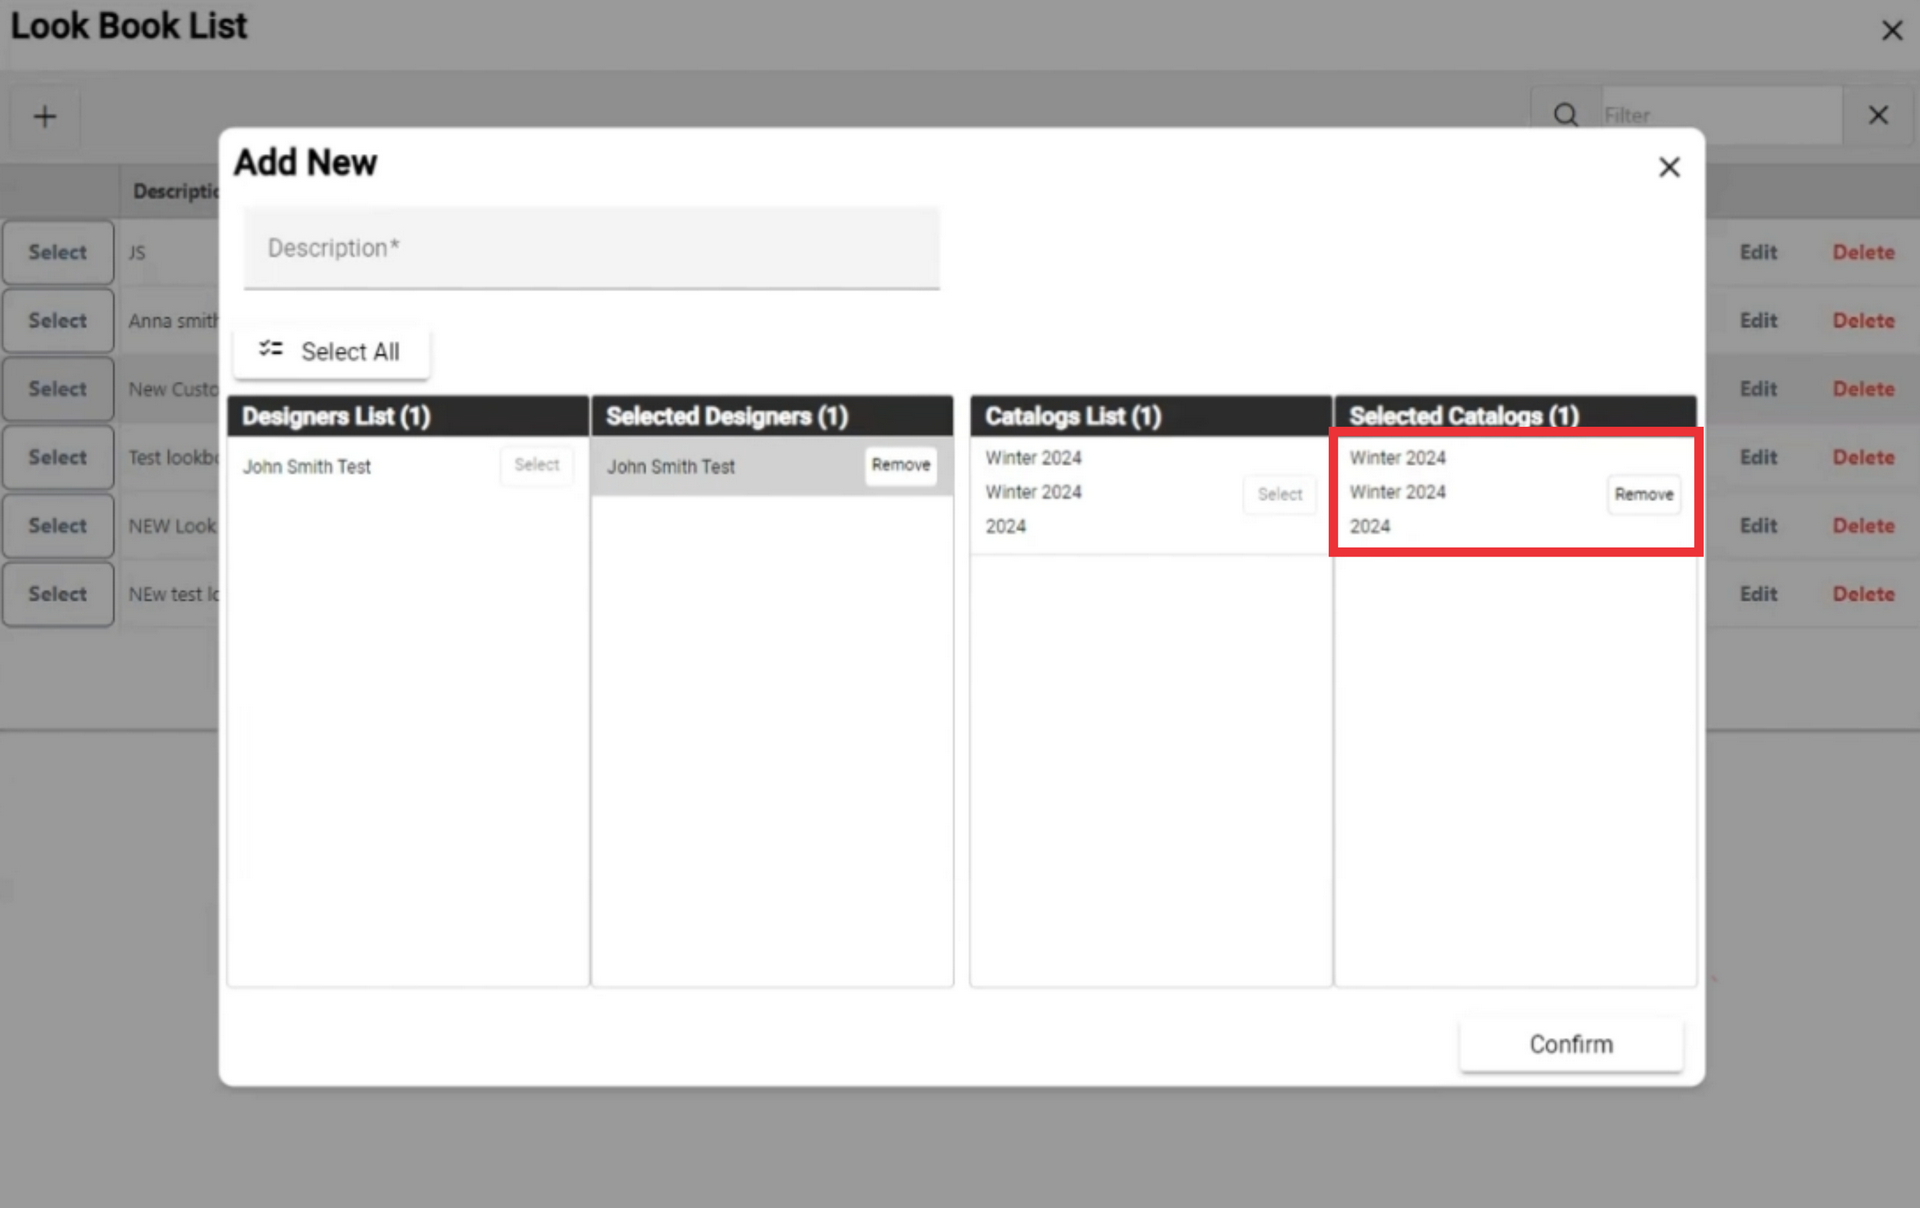
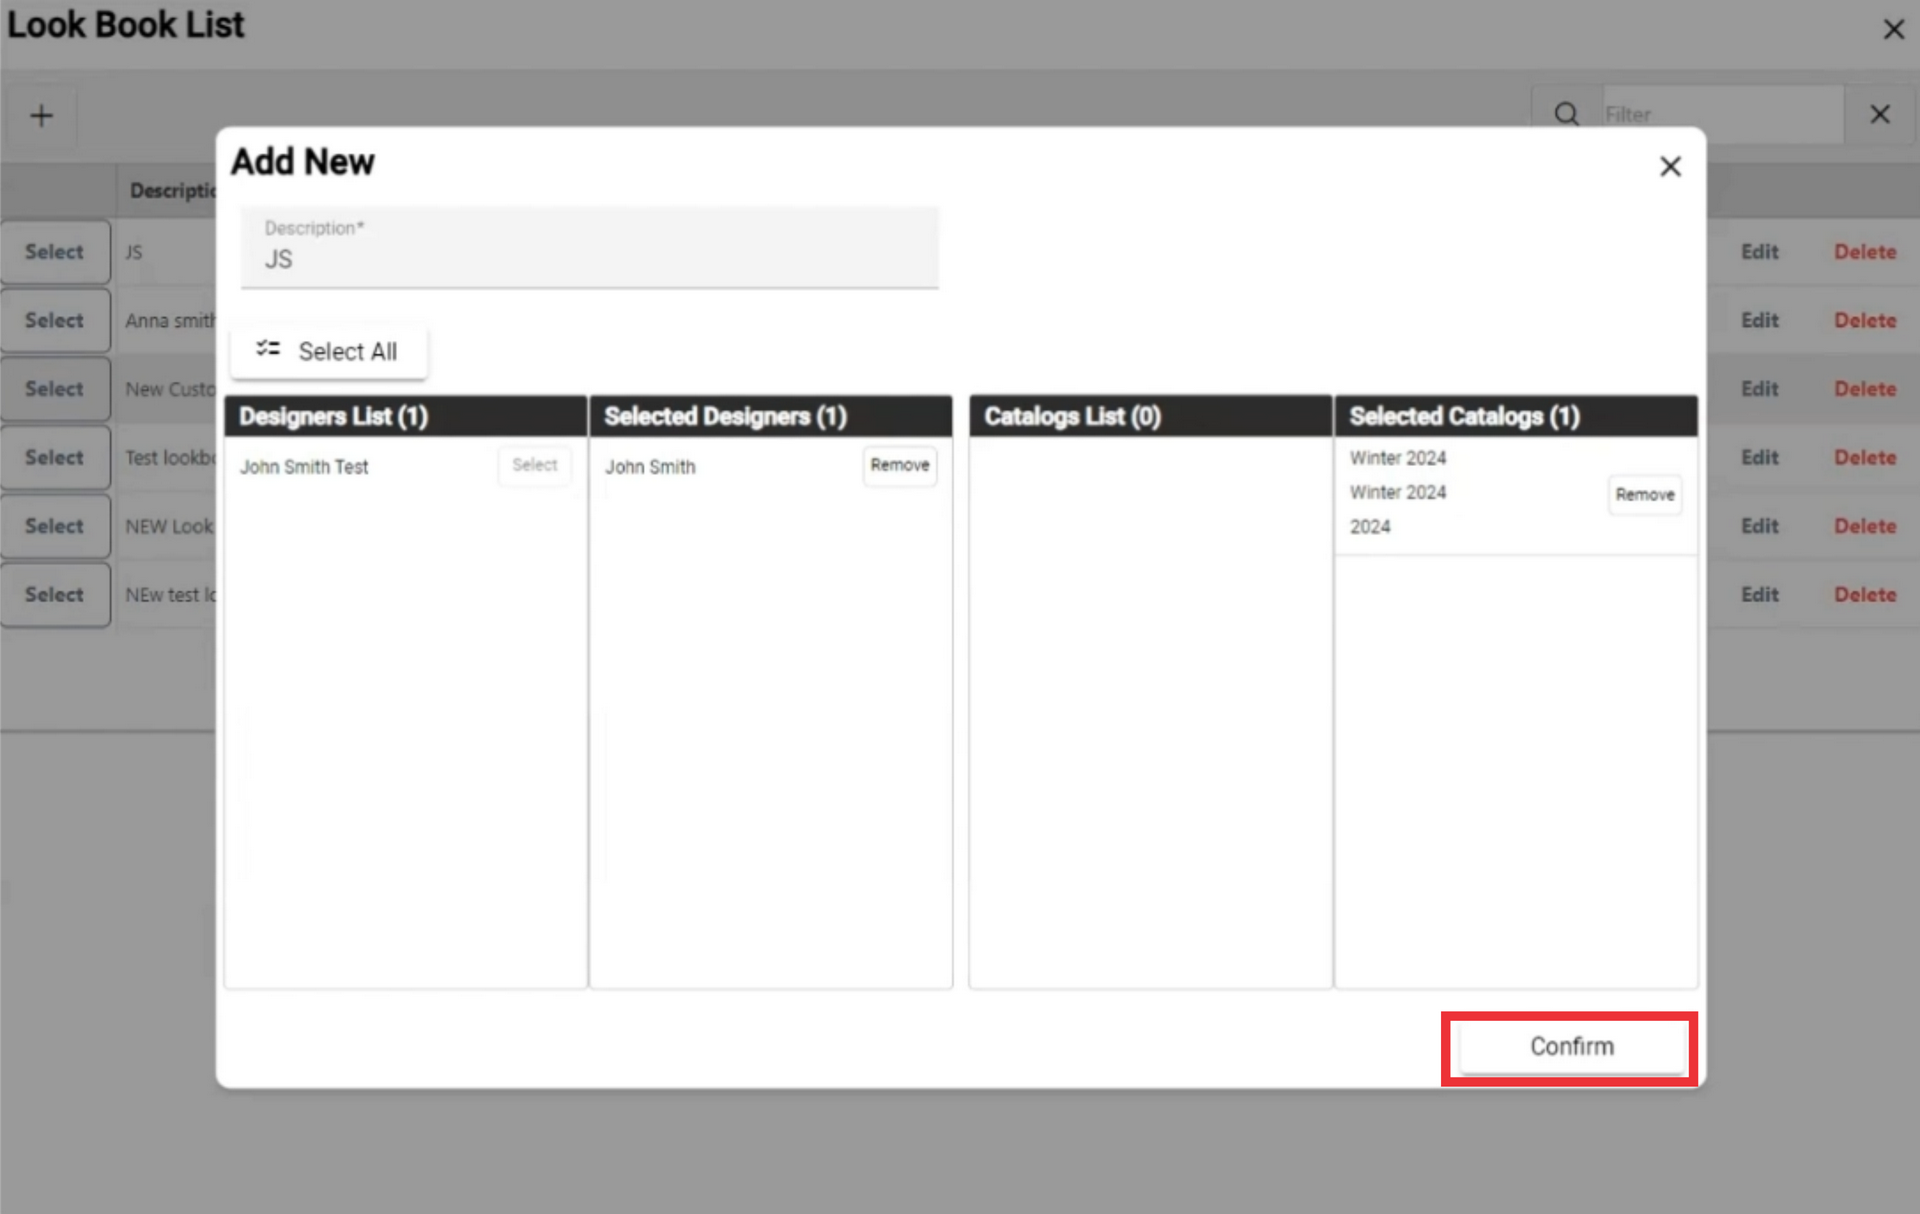
11. Enter a description in the field.

12. Select designer from the designers list.

13.

14. Select desired catalogs from the list.

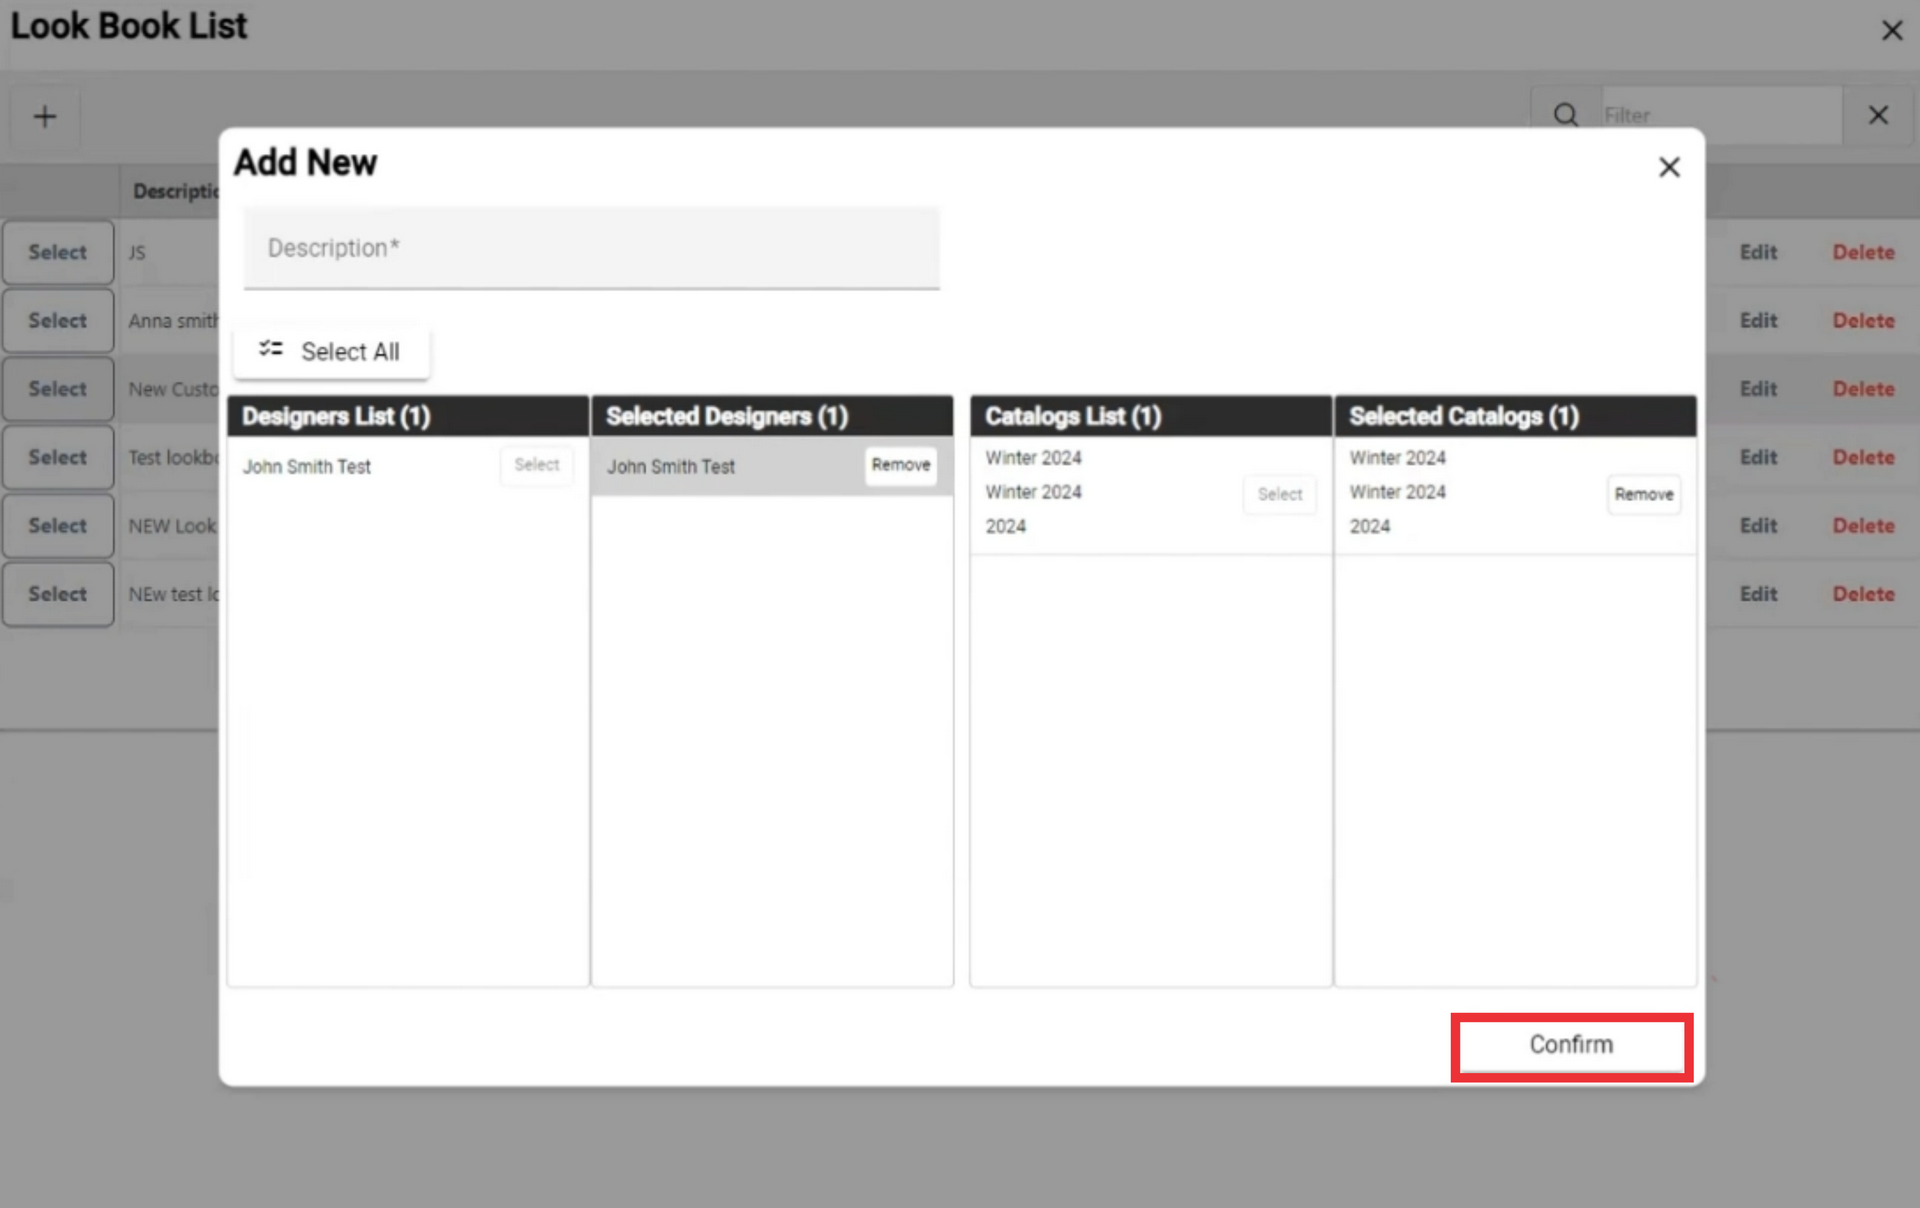
15.
16. Click the confirm button.
17. For the add a new custom collection click the "+" button.

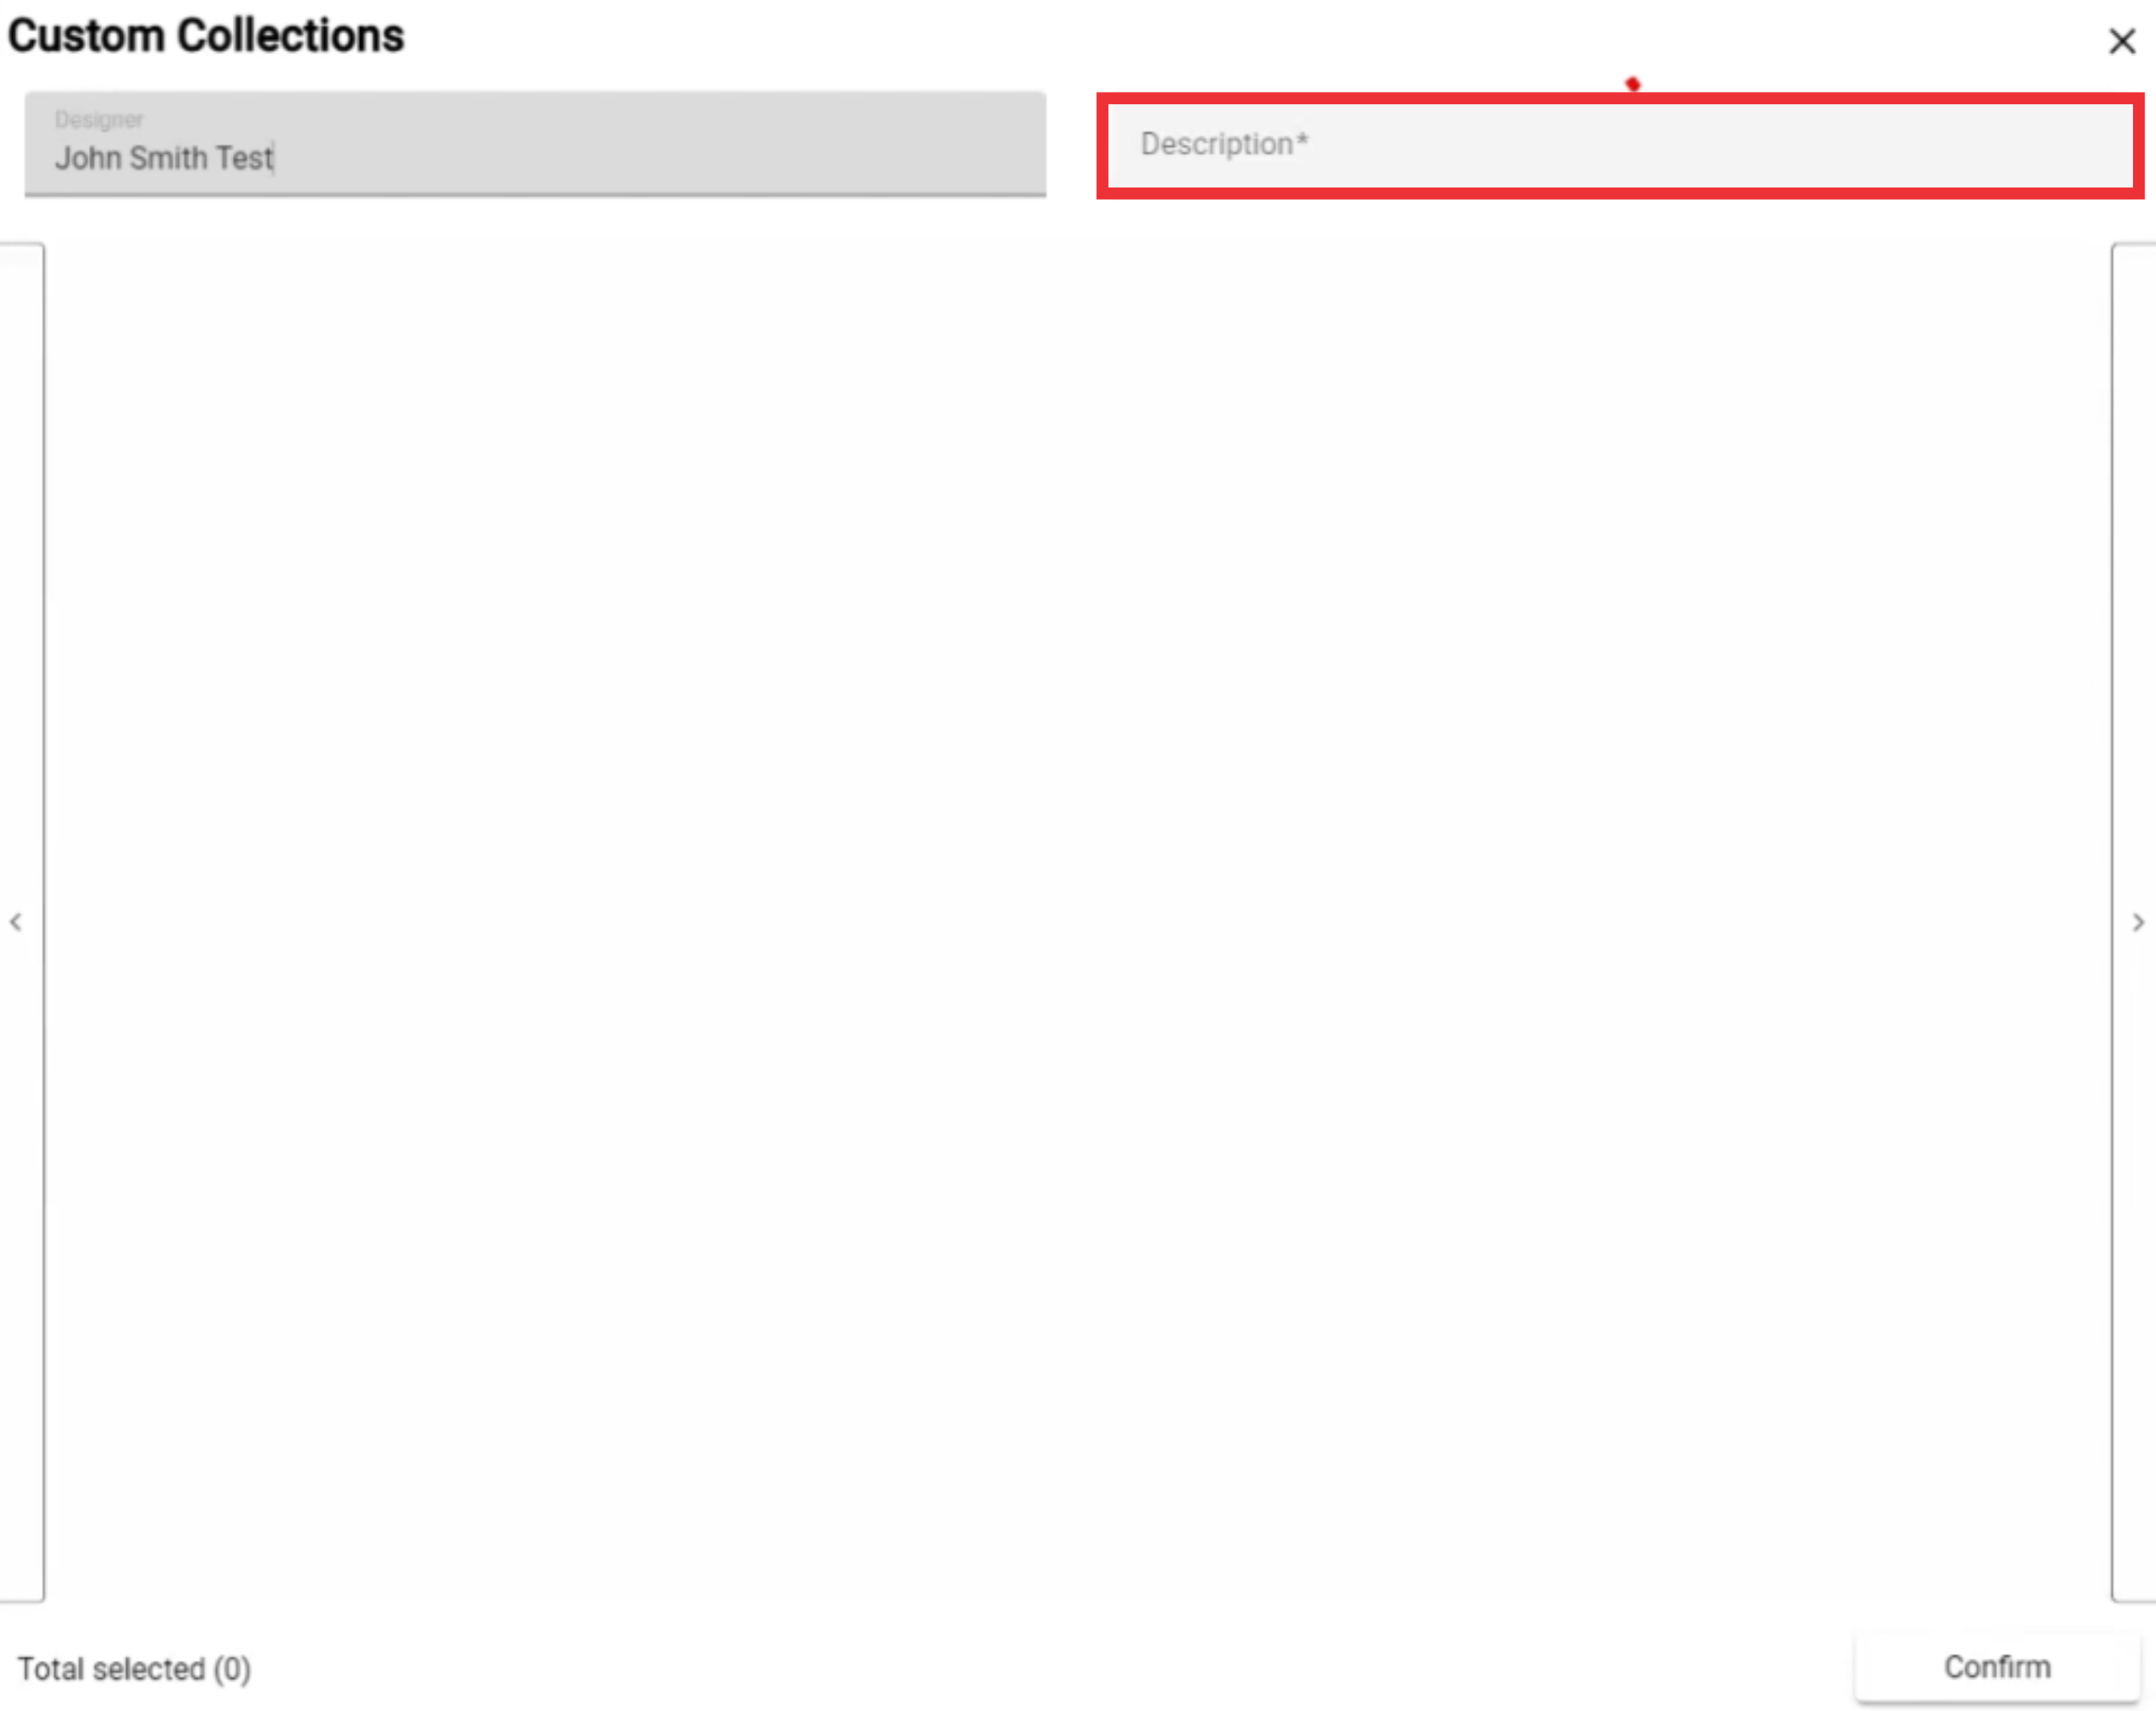
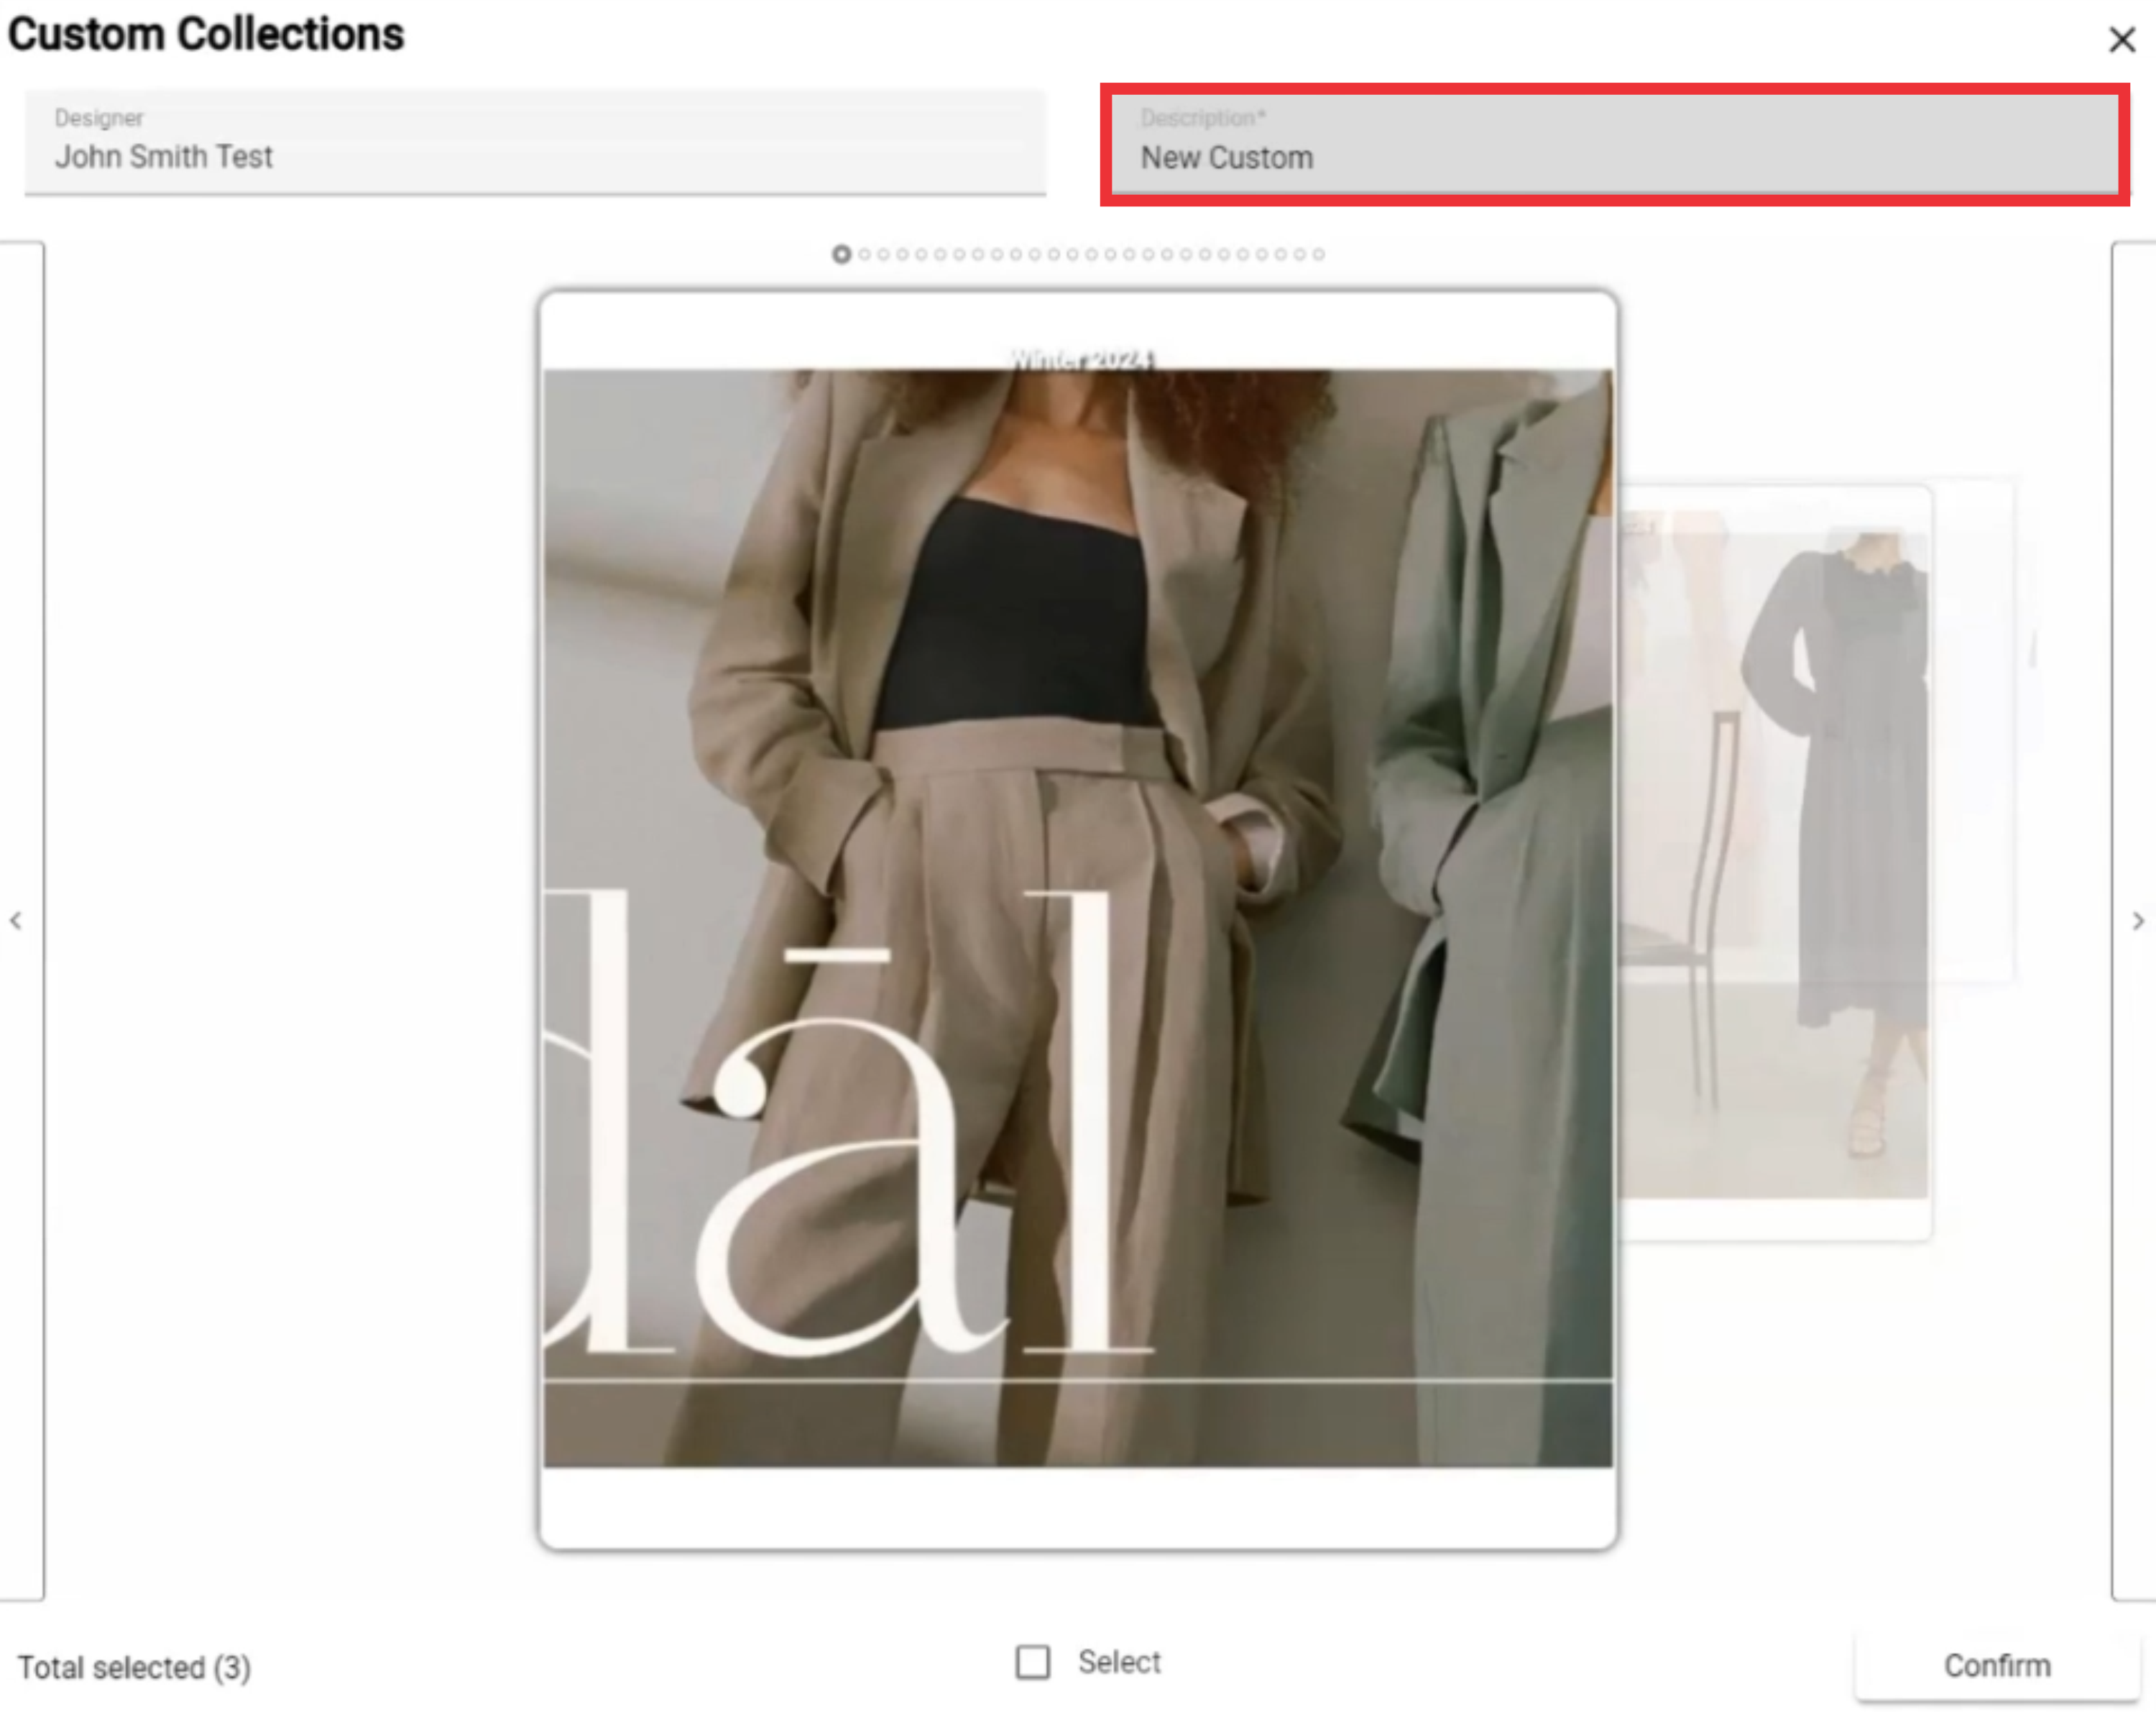
18. Click the "Custom Collection" button.

19. Select designer from the list.
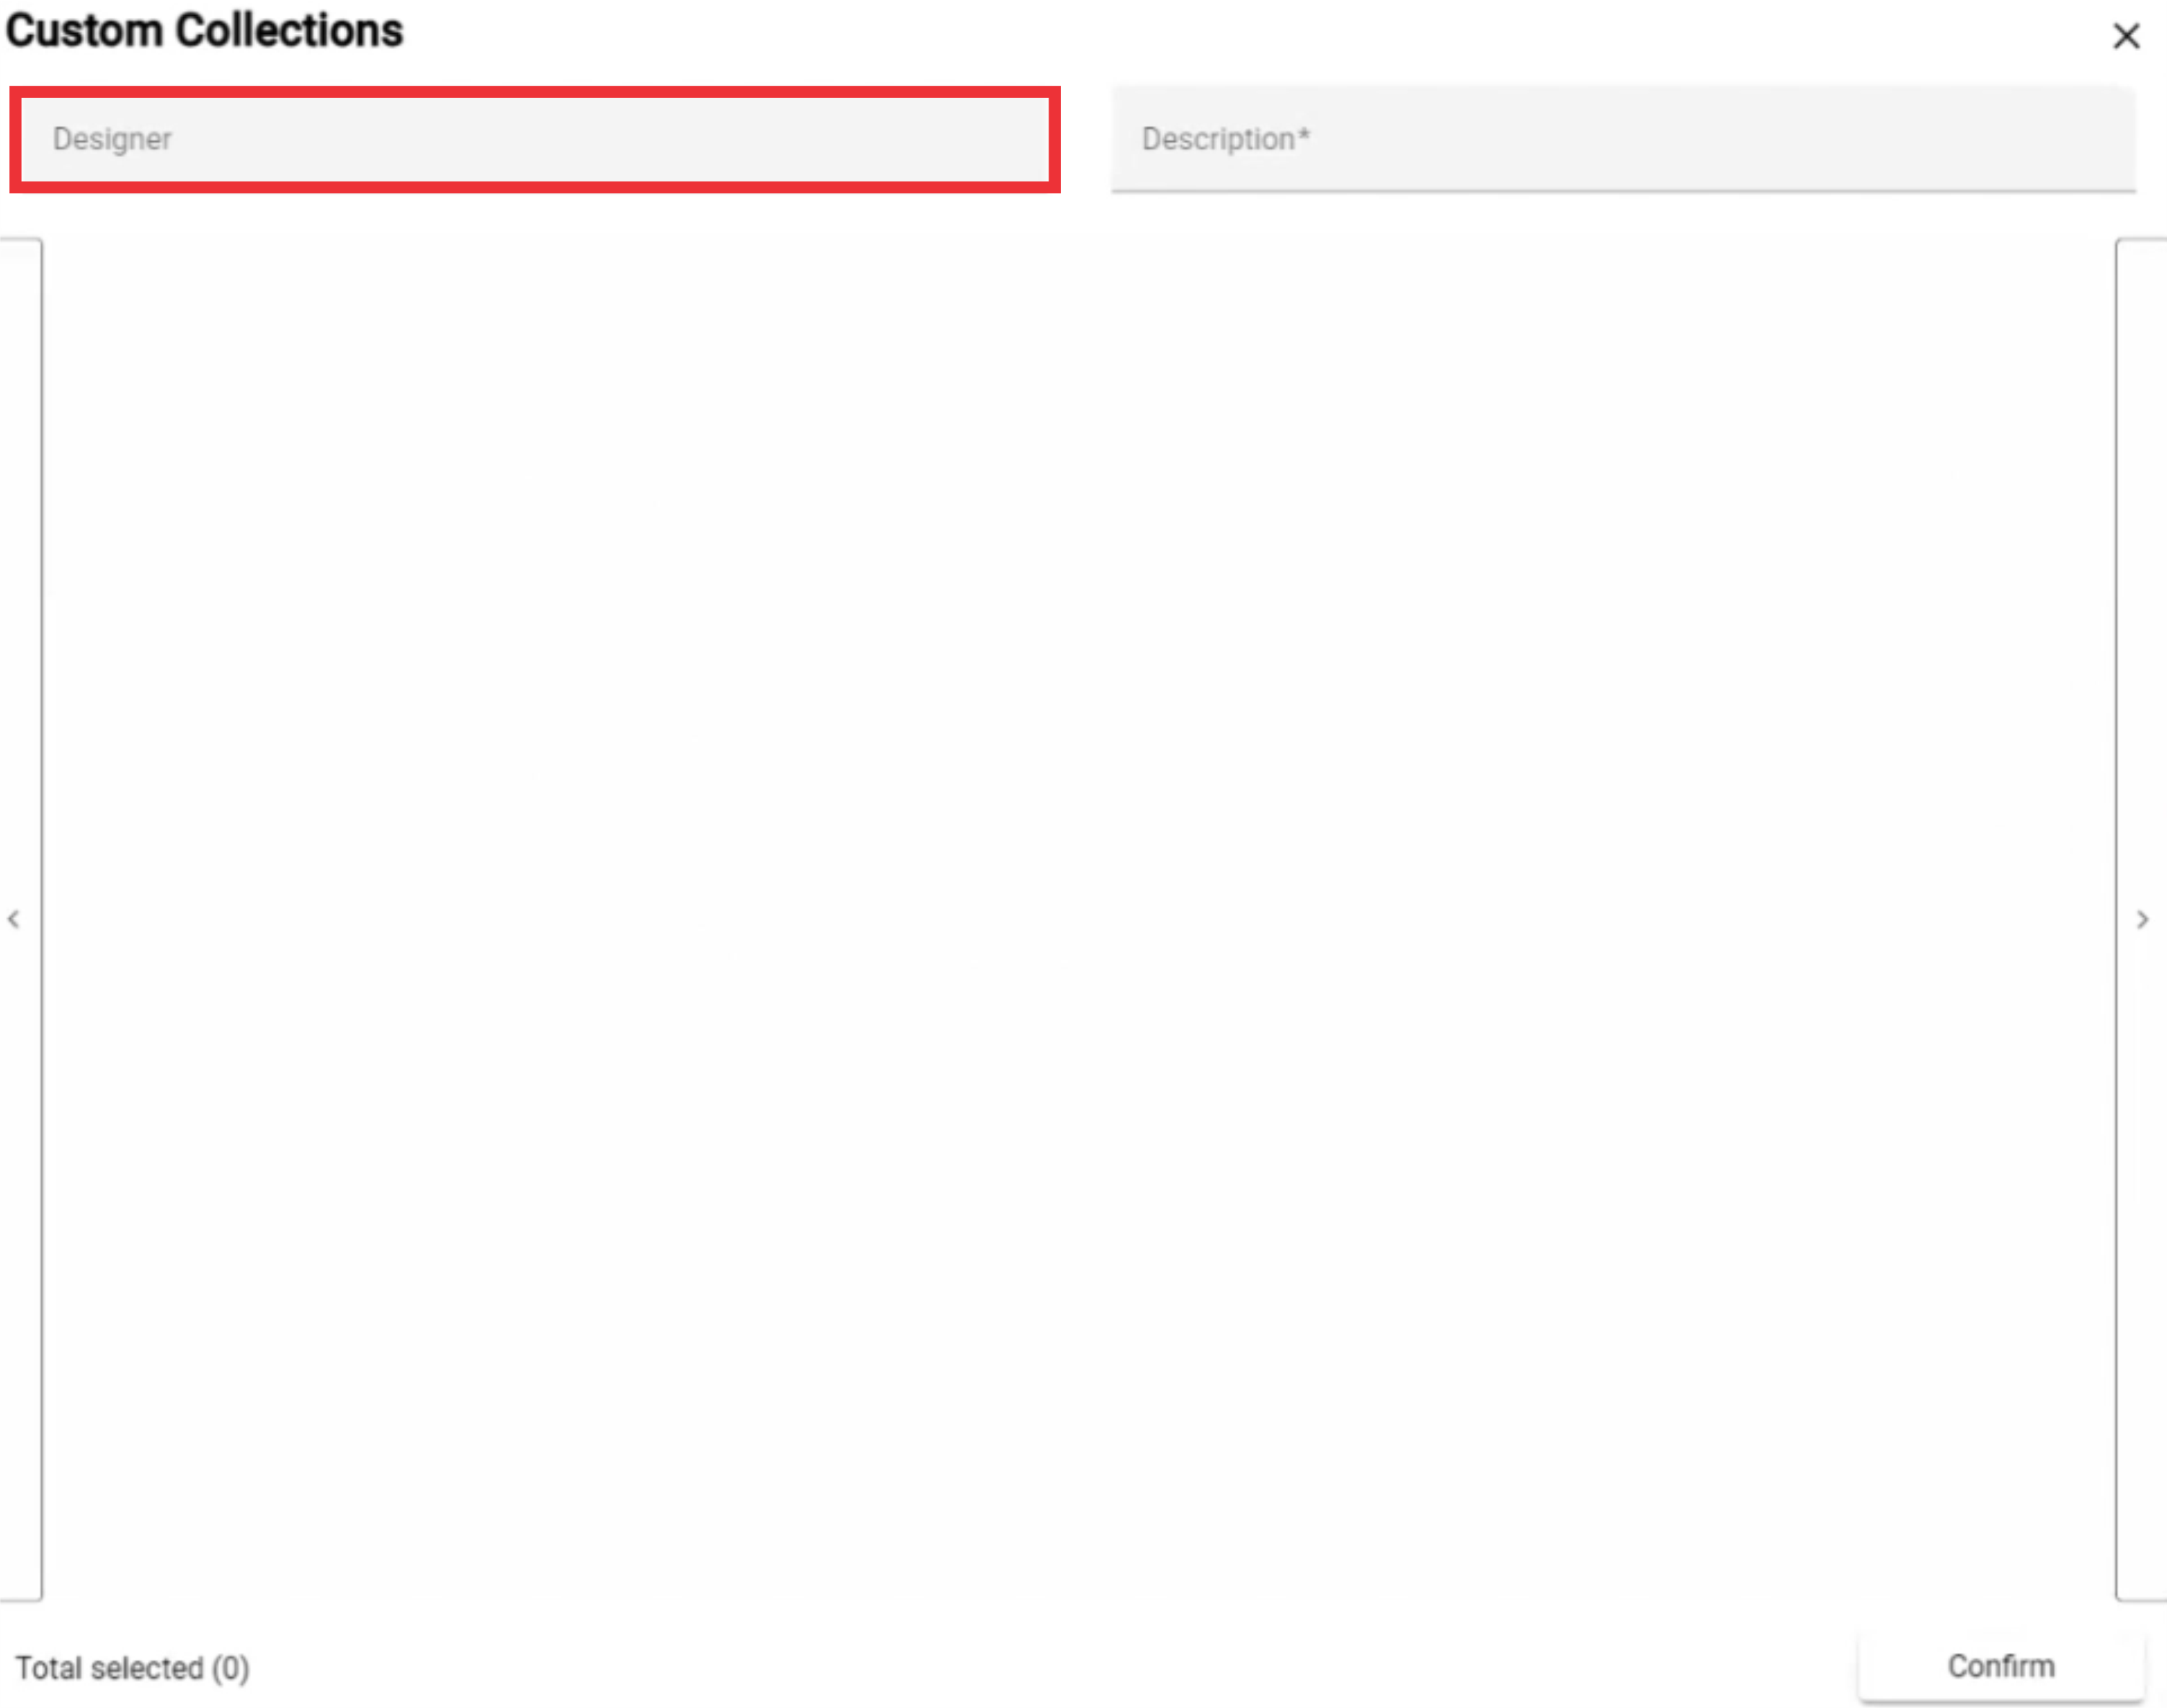
20. Enter a description in the field.
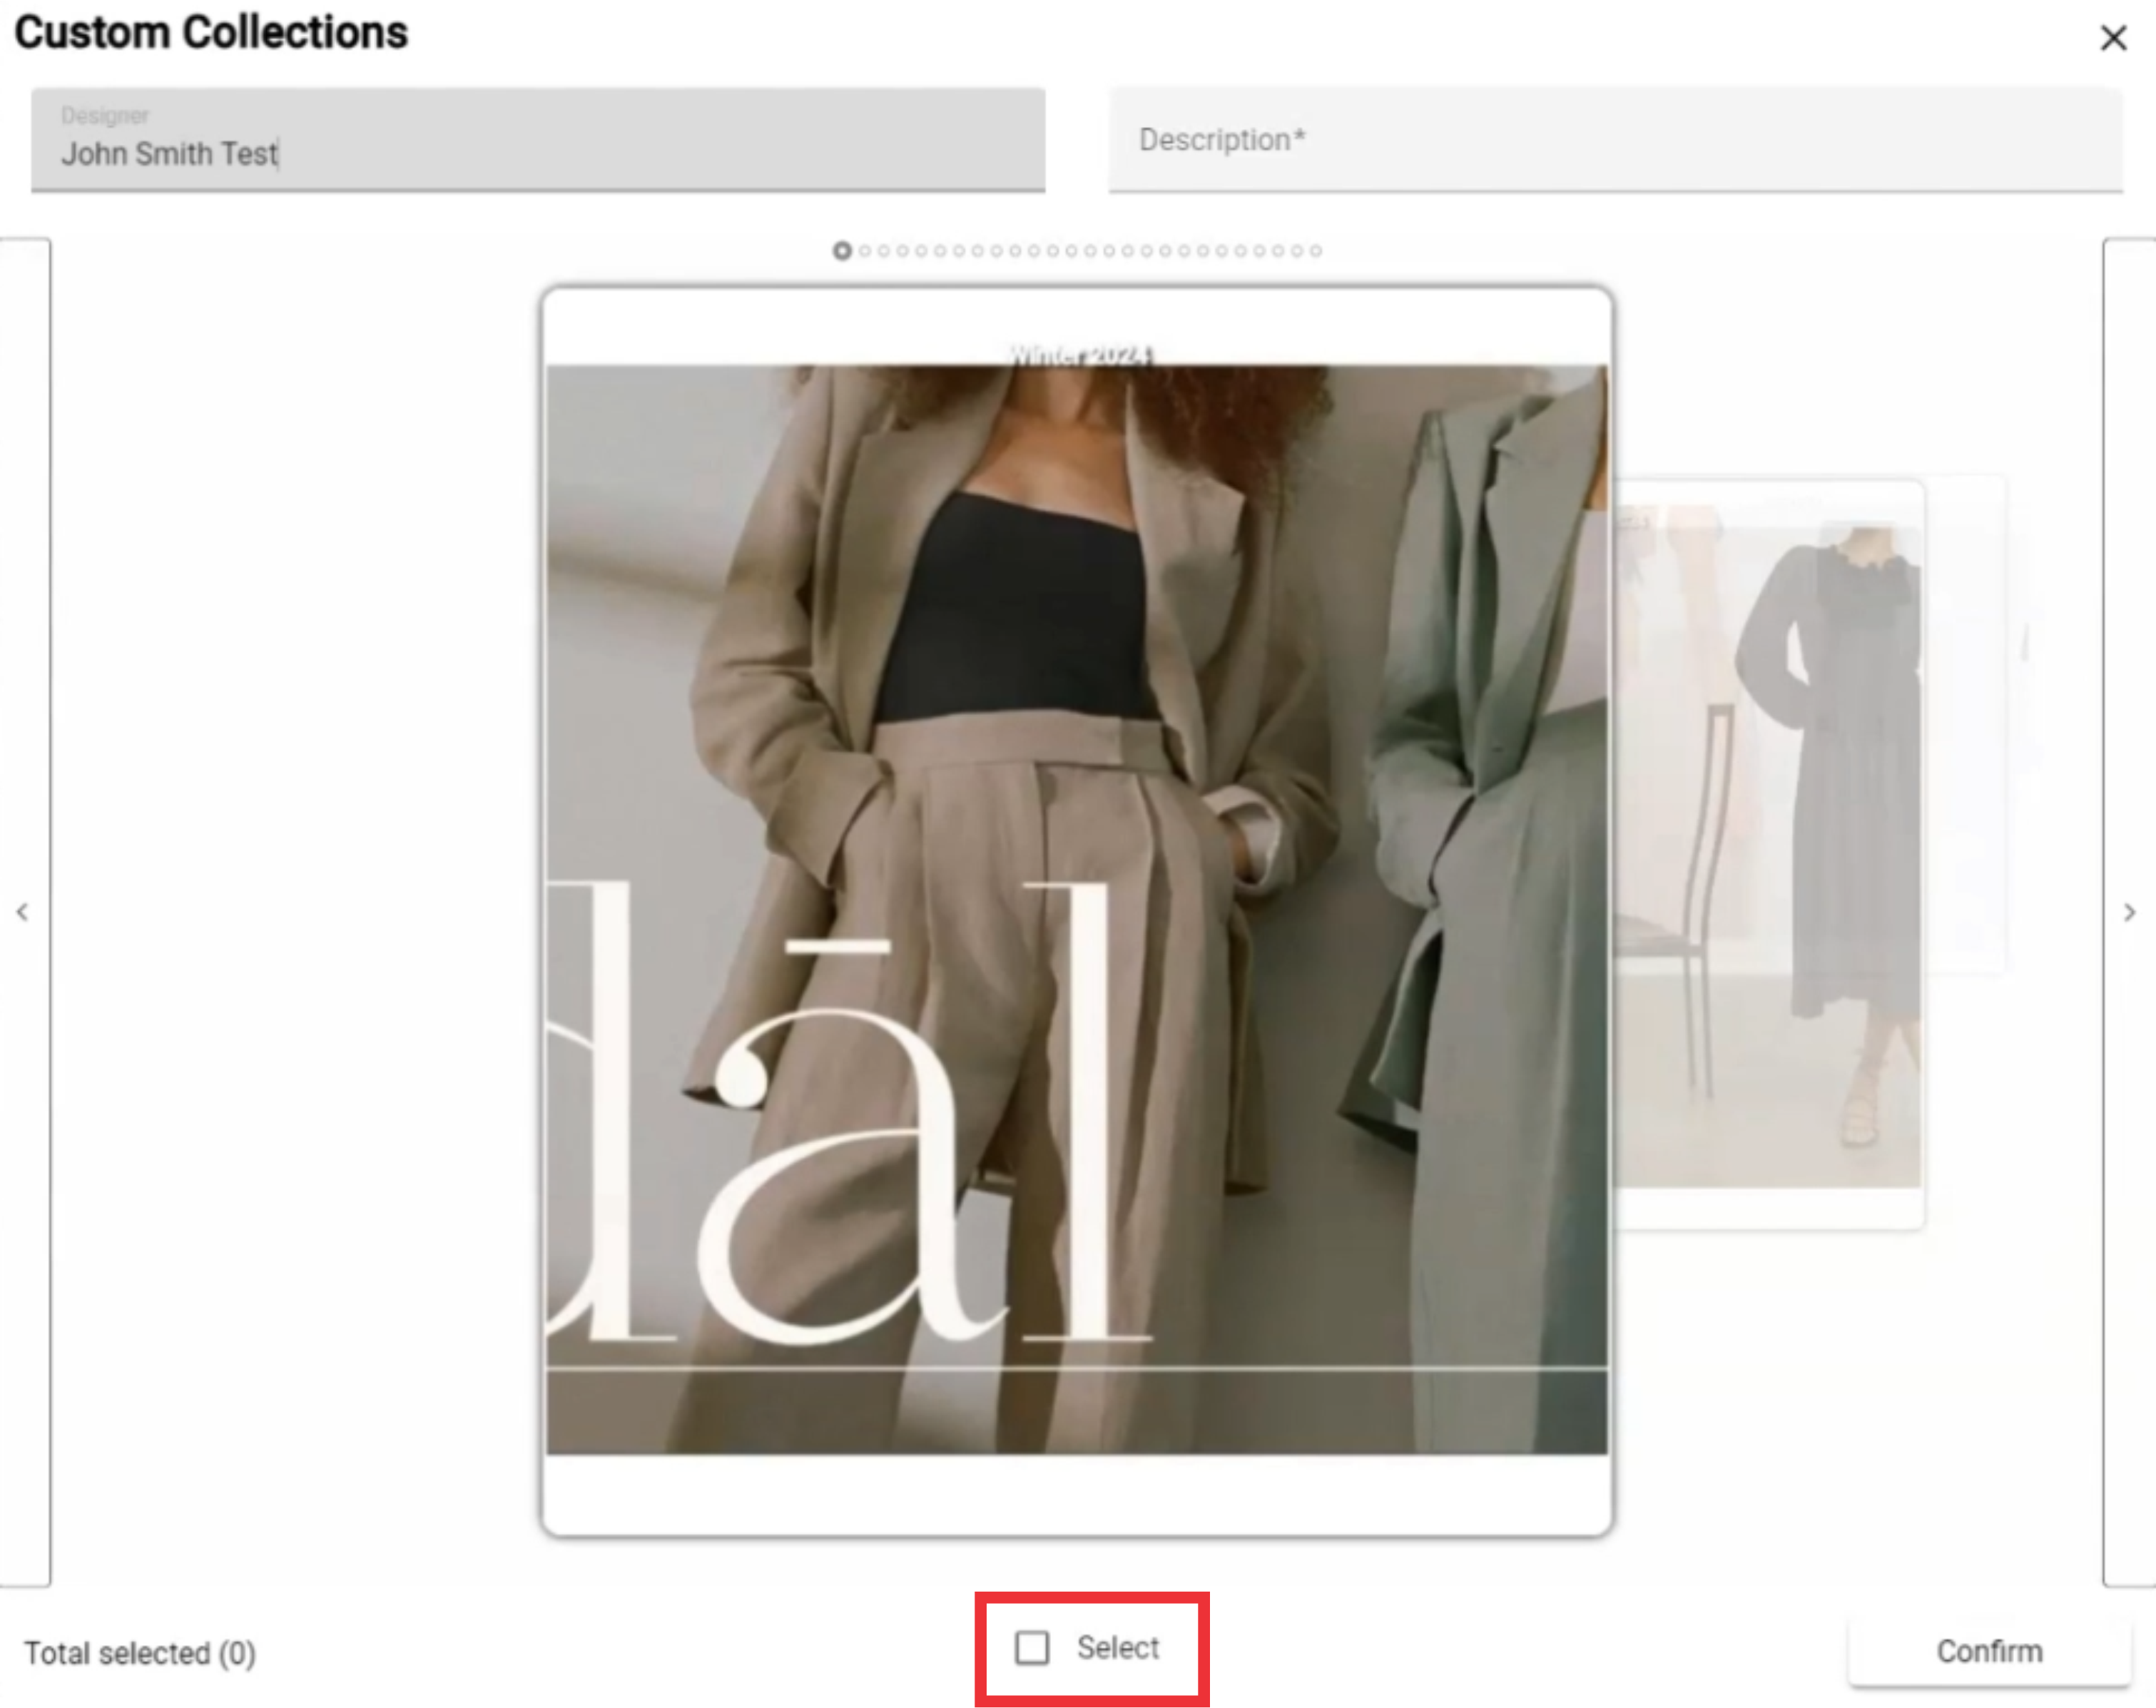
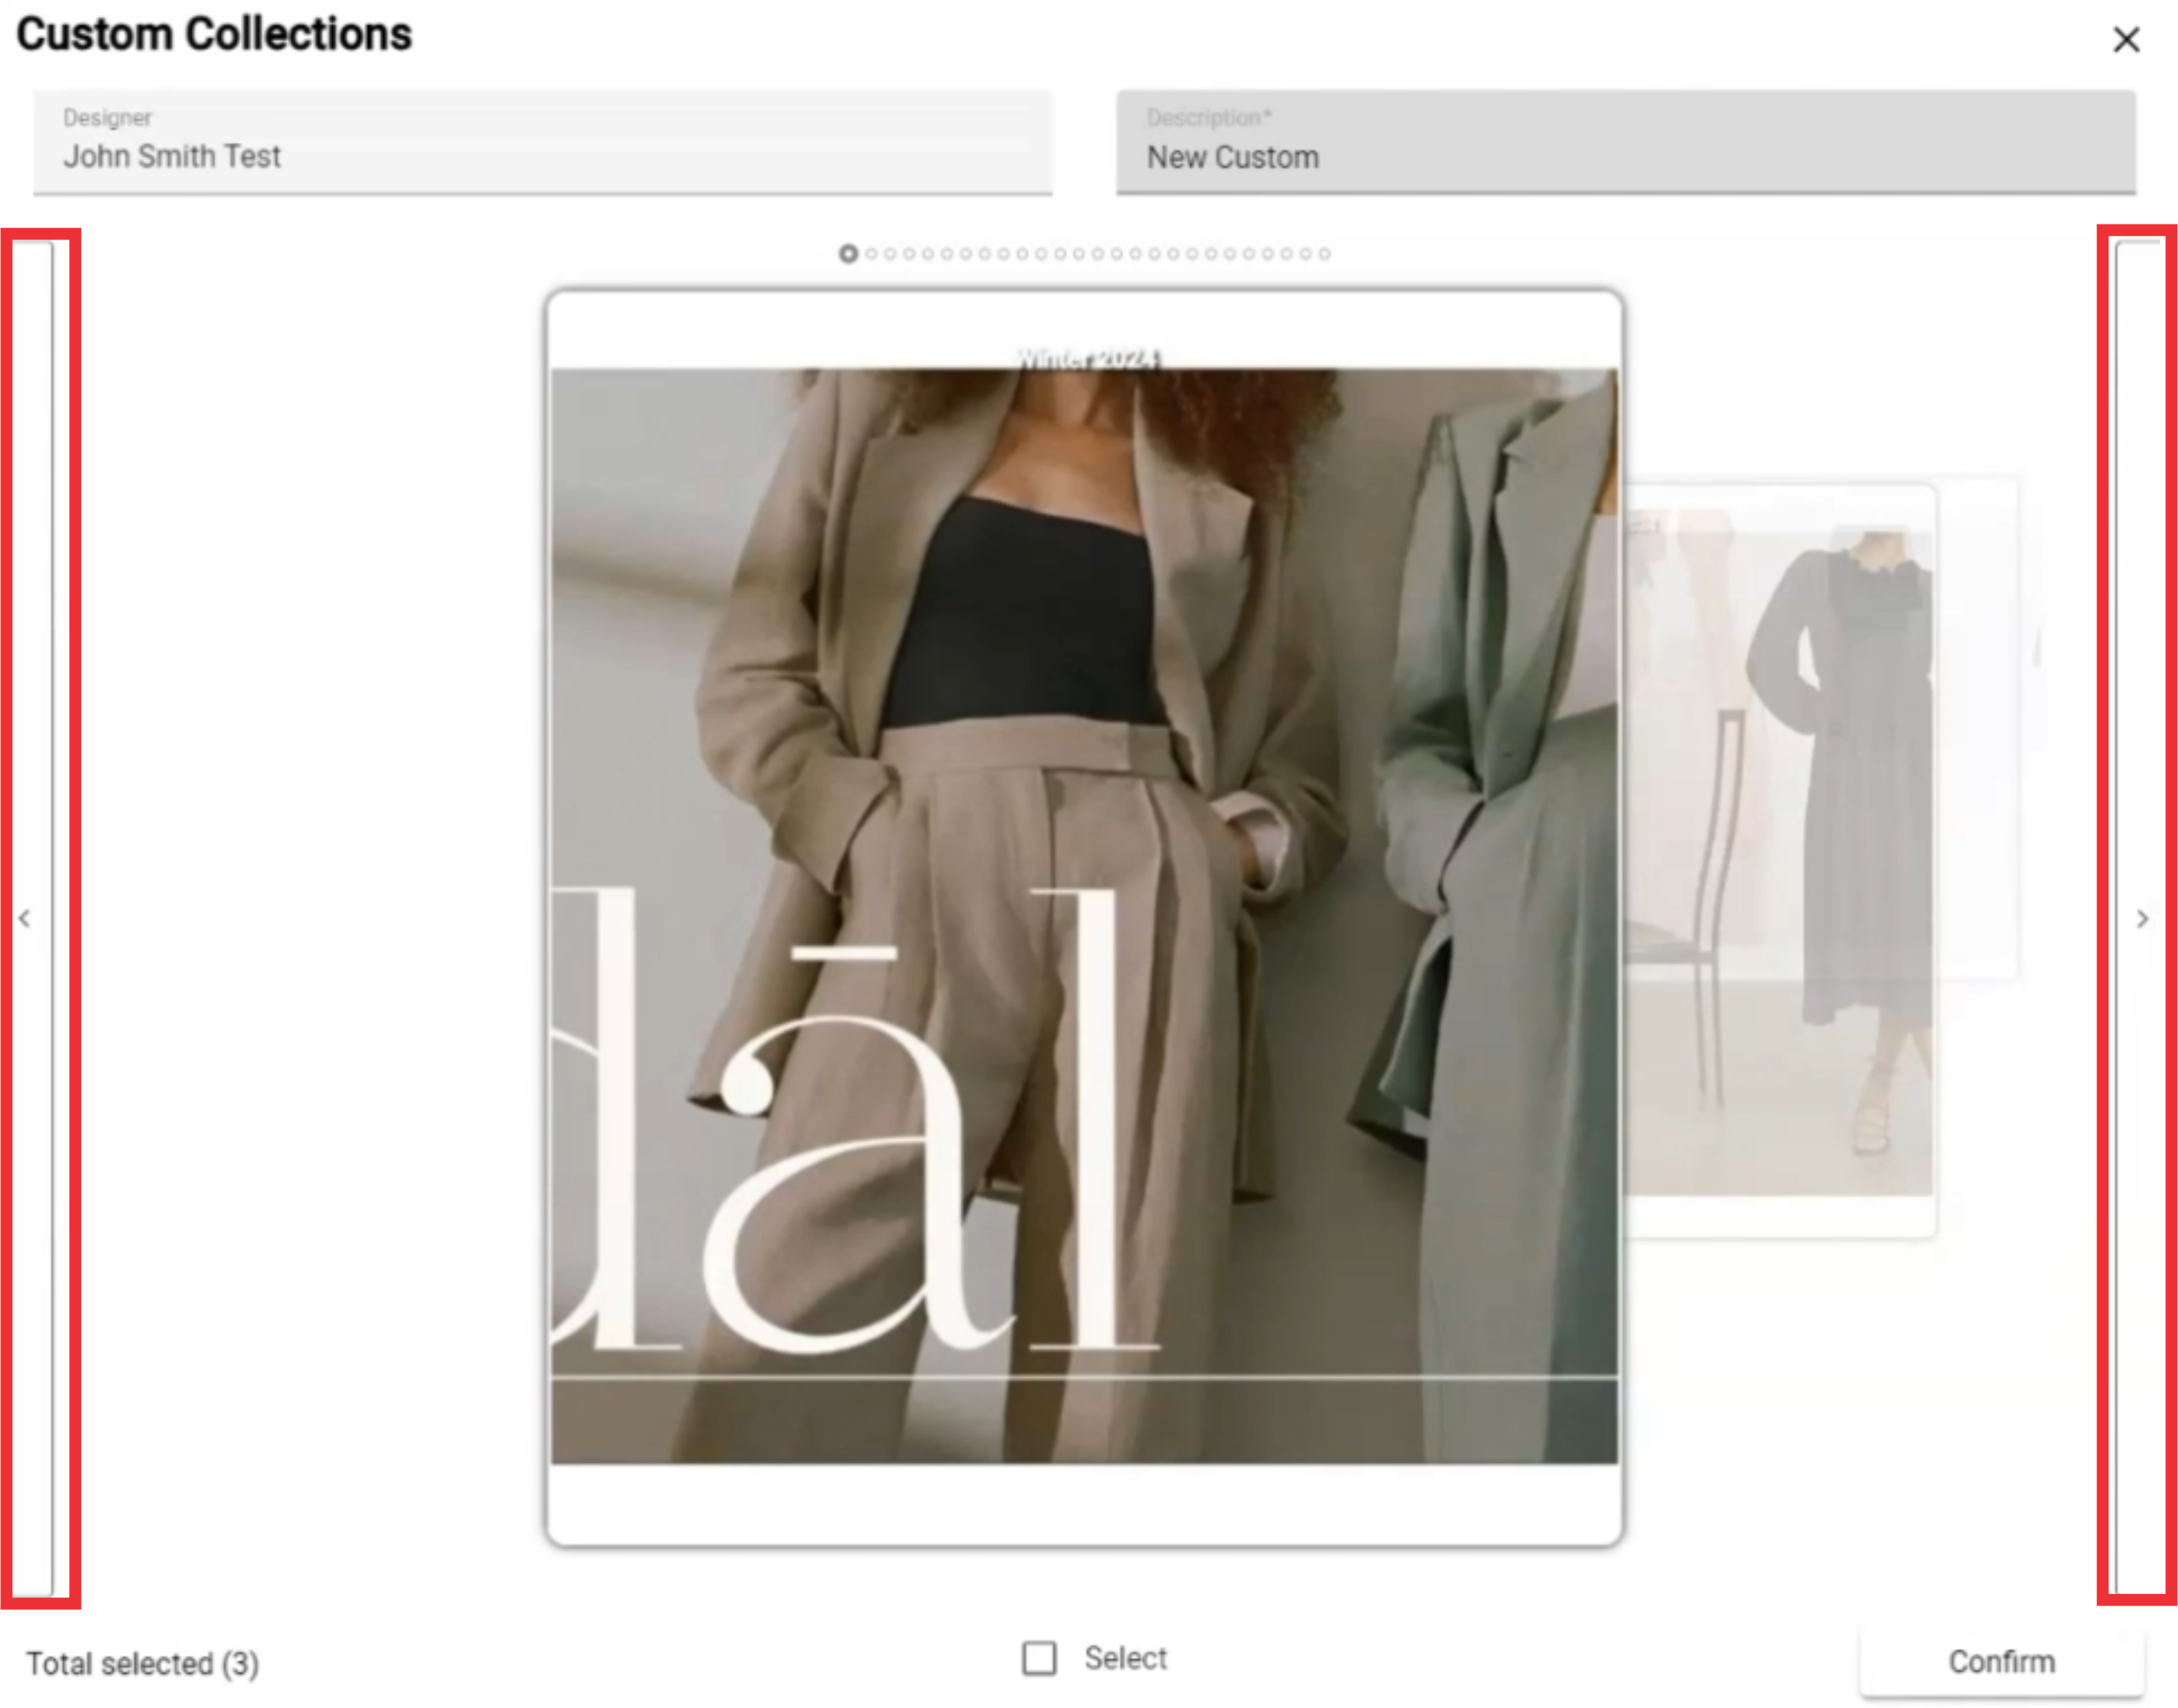
21. Swipe left or right for view photos from the selected designers.

22. For the add photo to collection click the "Select" button.
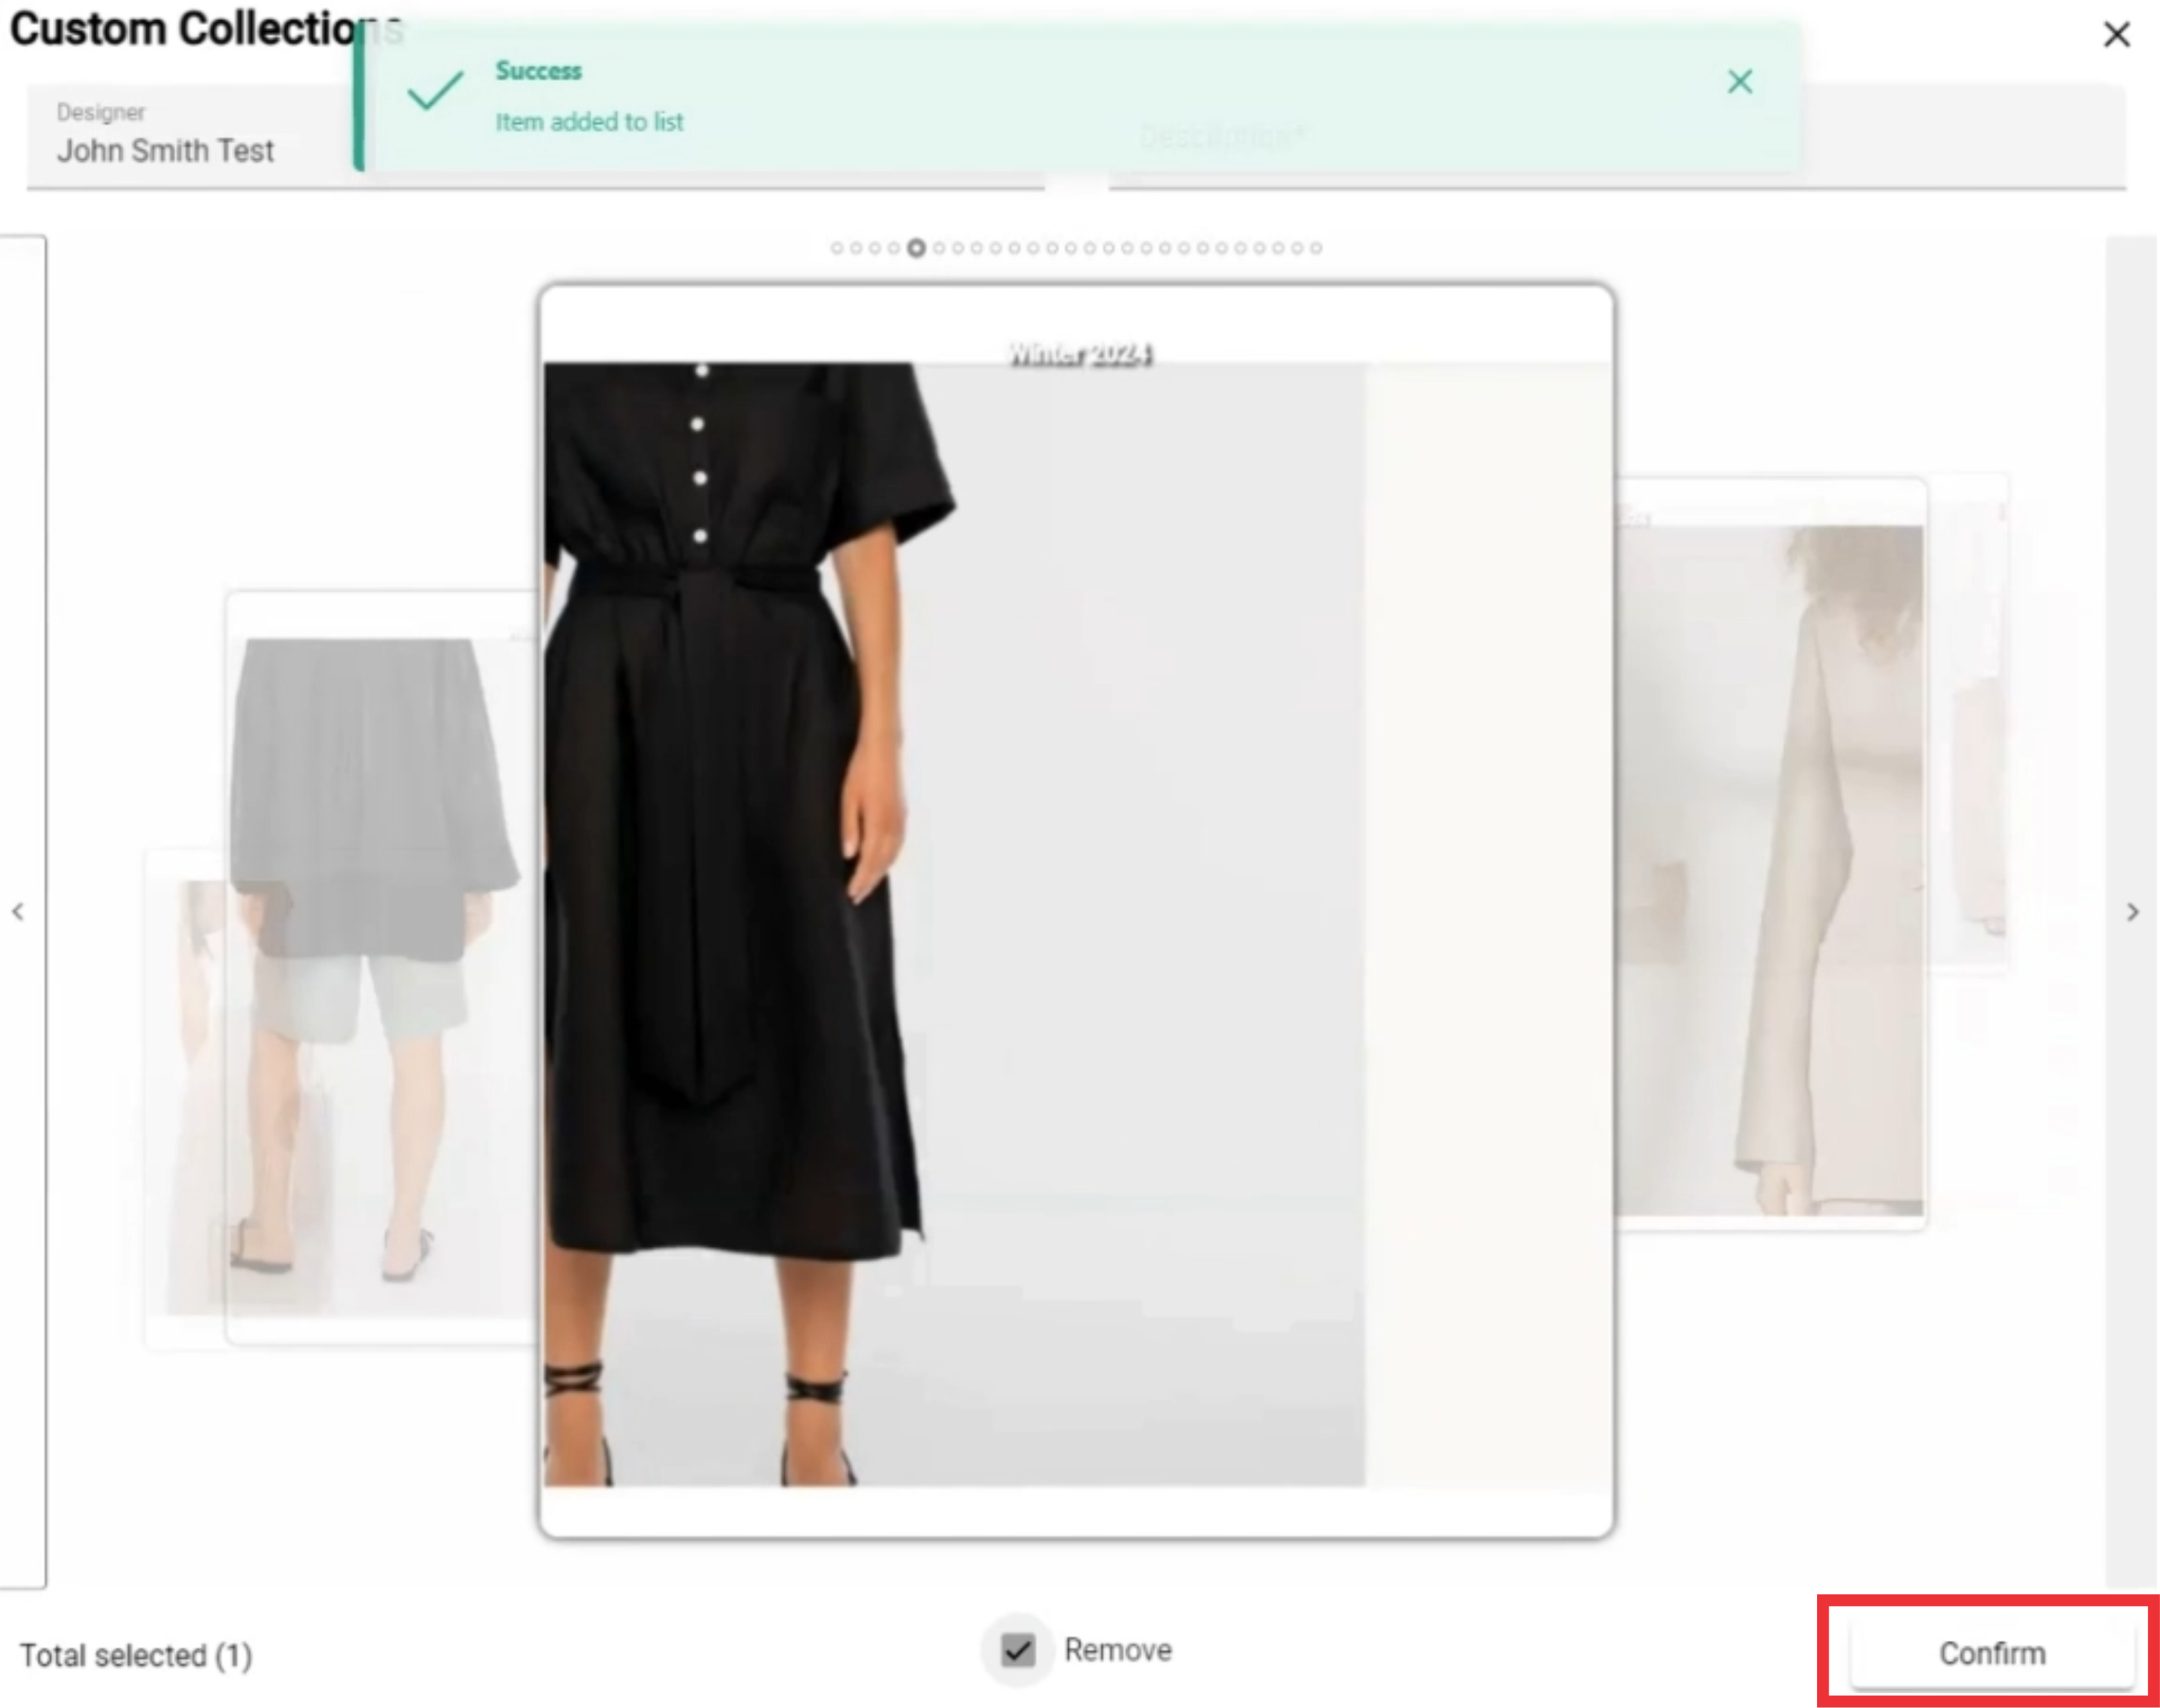
23. Confirmation text will appear in the upper middle screen.

24. For the create a custom collection click the "Confirm" button.
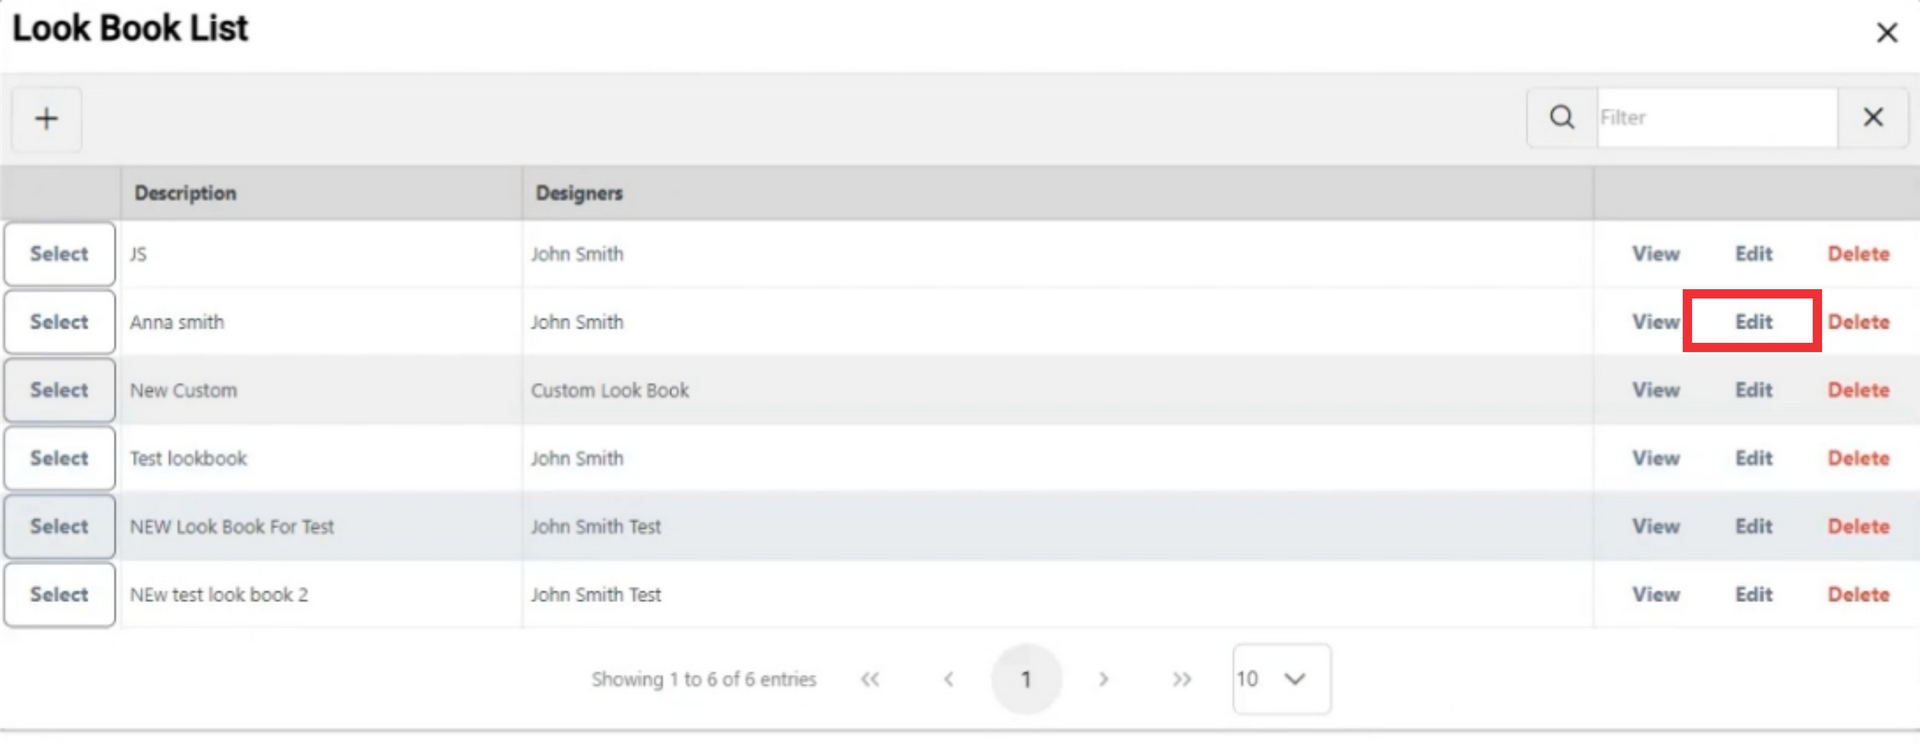
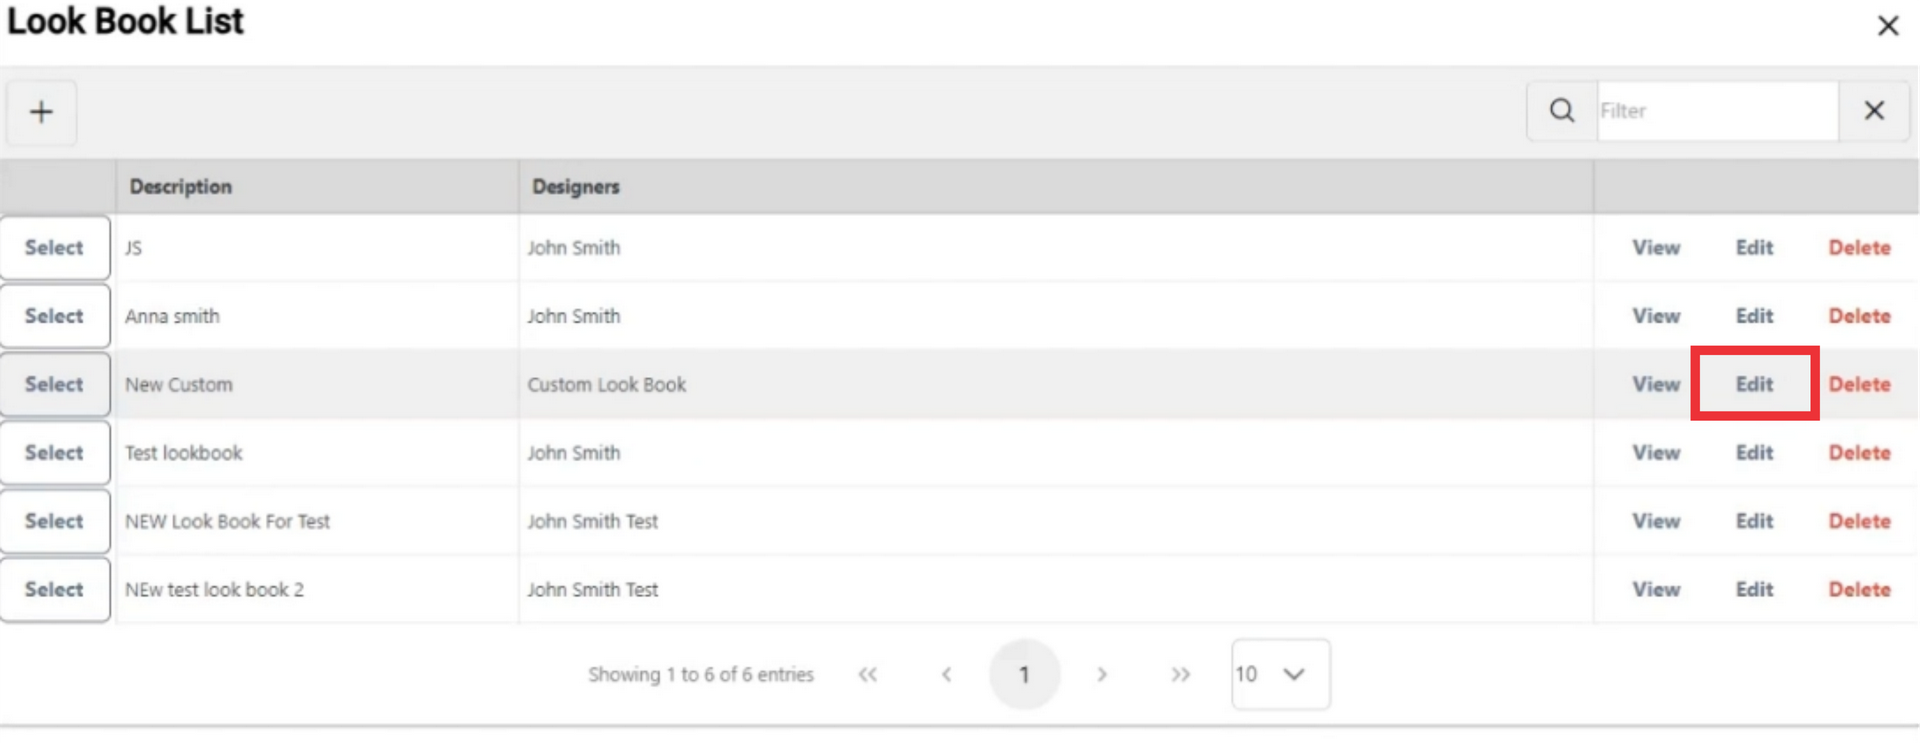
25. For the edit look book click the "Edit" button.
26. If desired Edit look book description in the field.

27. Remove selected catalogs and add a new catalogs from other designer if desired.

28. For the update look book click the "Confirm" button.
29. For the edit a custom collection click the "Edit" button.
30. If desired edit custom collection description in the field.

31. For the add a new photo from the catalogue click the "Add" button.

32. Select designer from the list.

33. If desired edit custom collection description in the field.
34. Swipe left or right for view photos from the selected designers.
35. Select desired photo from the catalogue.

36. Confirmation text will appear in the upper middle screen.

37. Click the "Confirm" button for update the custom collection.

38. Click the "yes" button to confirm.

39. For the remove photo from custom collection click the "X" button.

40. Click the "Yes" button to confirm.

41. For the save data click the "Confirm" button.

42. Click the "Yes" button to confirm.

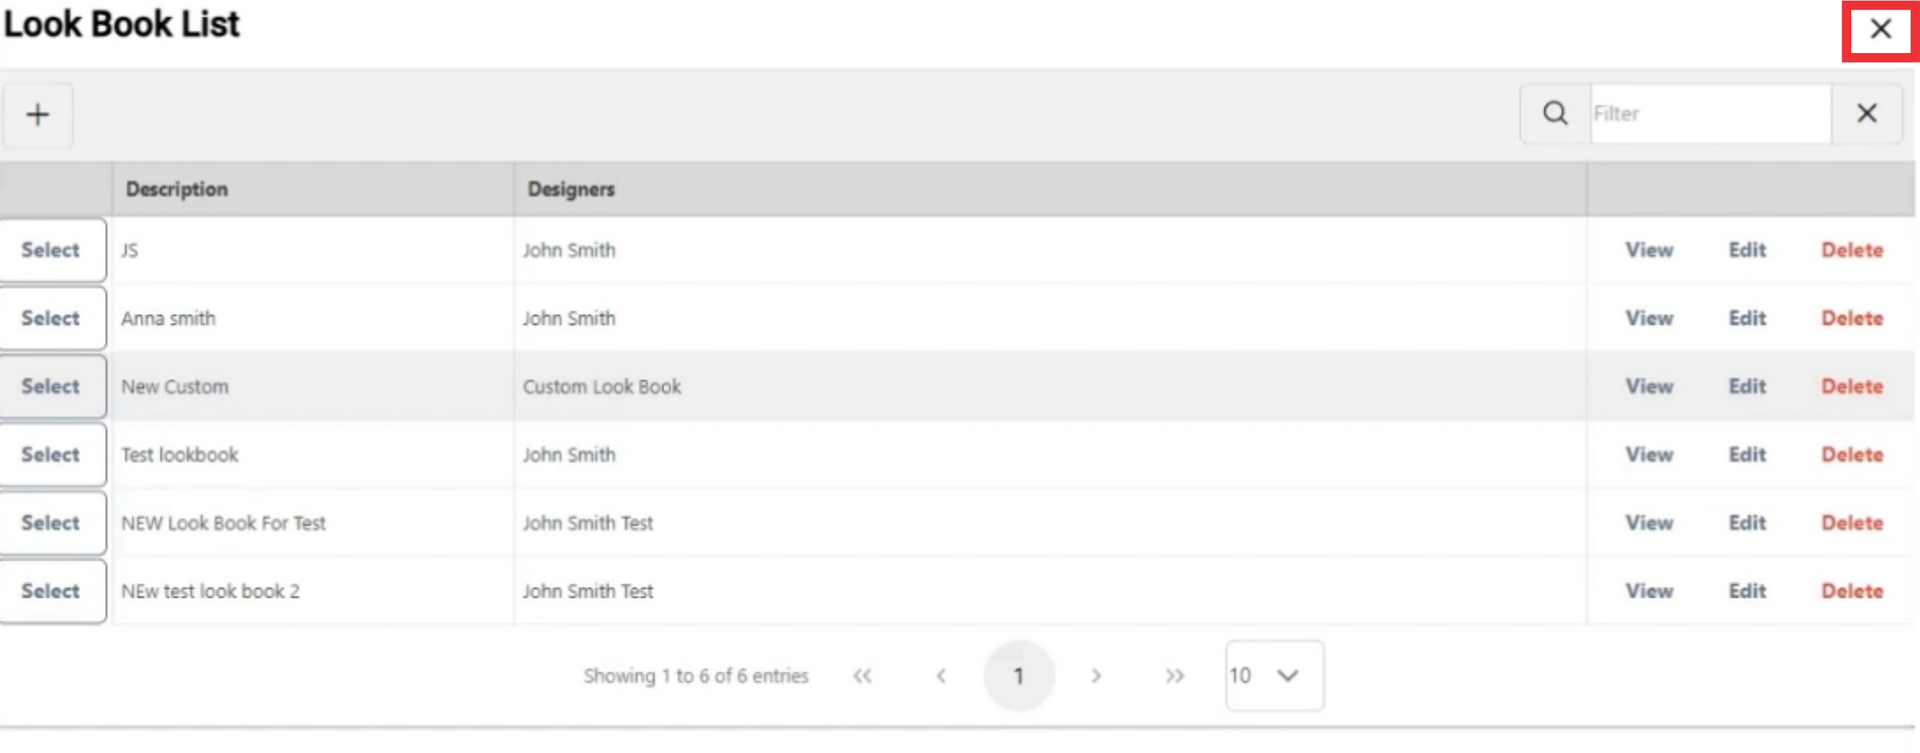
43. For the remove Look book or custom catalog click the "Delete" button.

44. Click the "Yes" button to confirm.

45. For the close this window click the "X" button.
46. For the Slect a look book and send it to the desired contact click the "+" button.

47. Enter the recipients Email address in the field.

48. Type the name in the field.

49. TYpe the phone number in the field.

50. For the add Look book or Custom collection click the "Add look book" button.

51. Click the "Select" button for add desired look book or custom collection.

52. Click the "Yes" button to confirm.

53. Type the text message in the field.

54. Click the "Send" button.

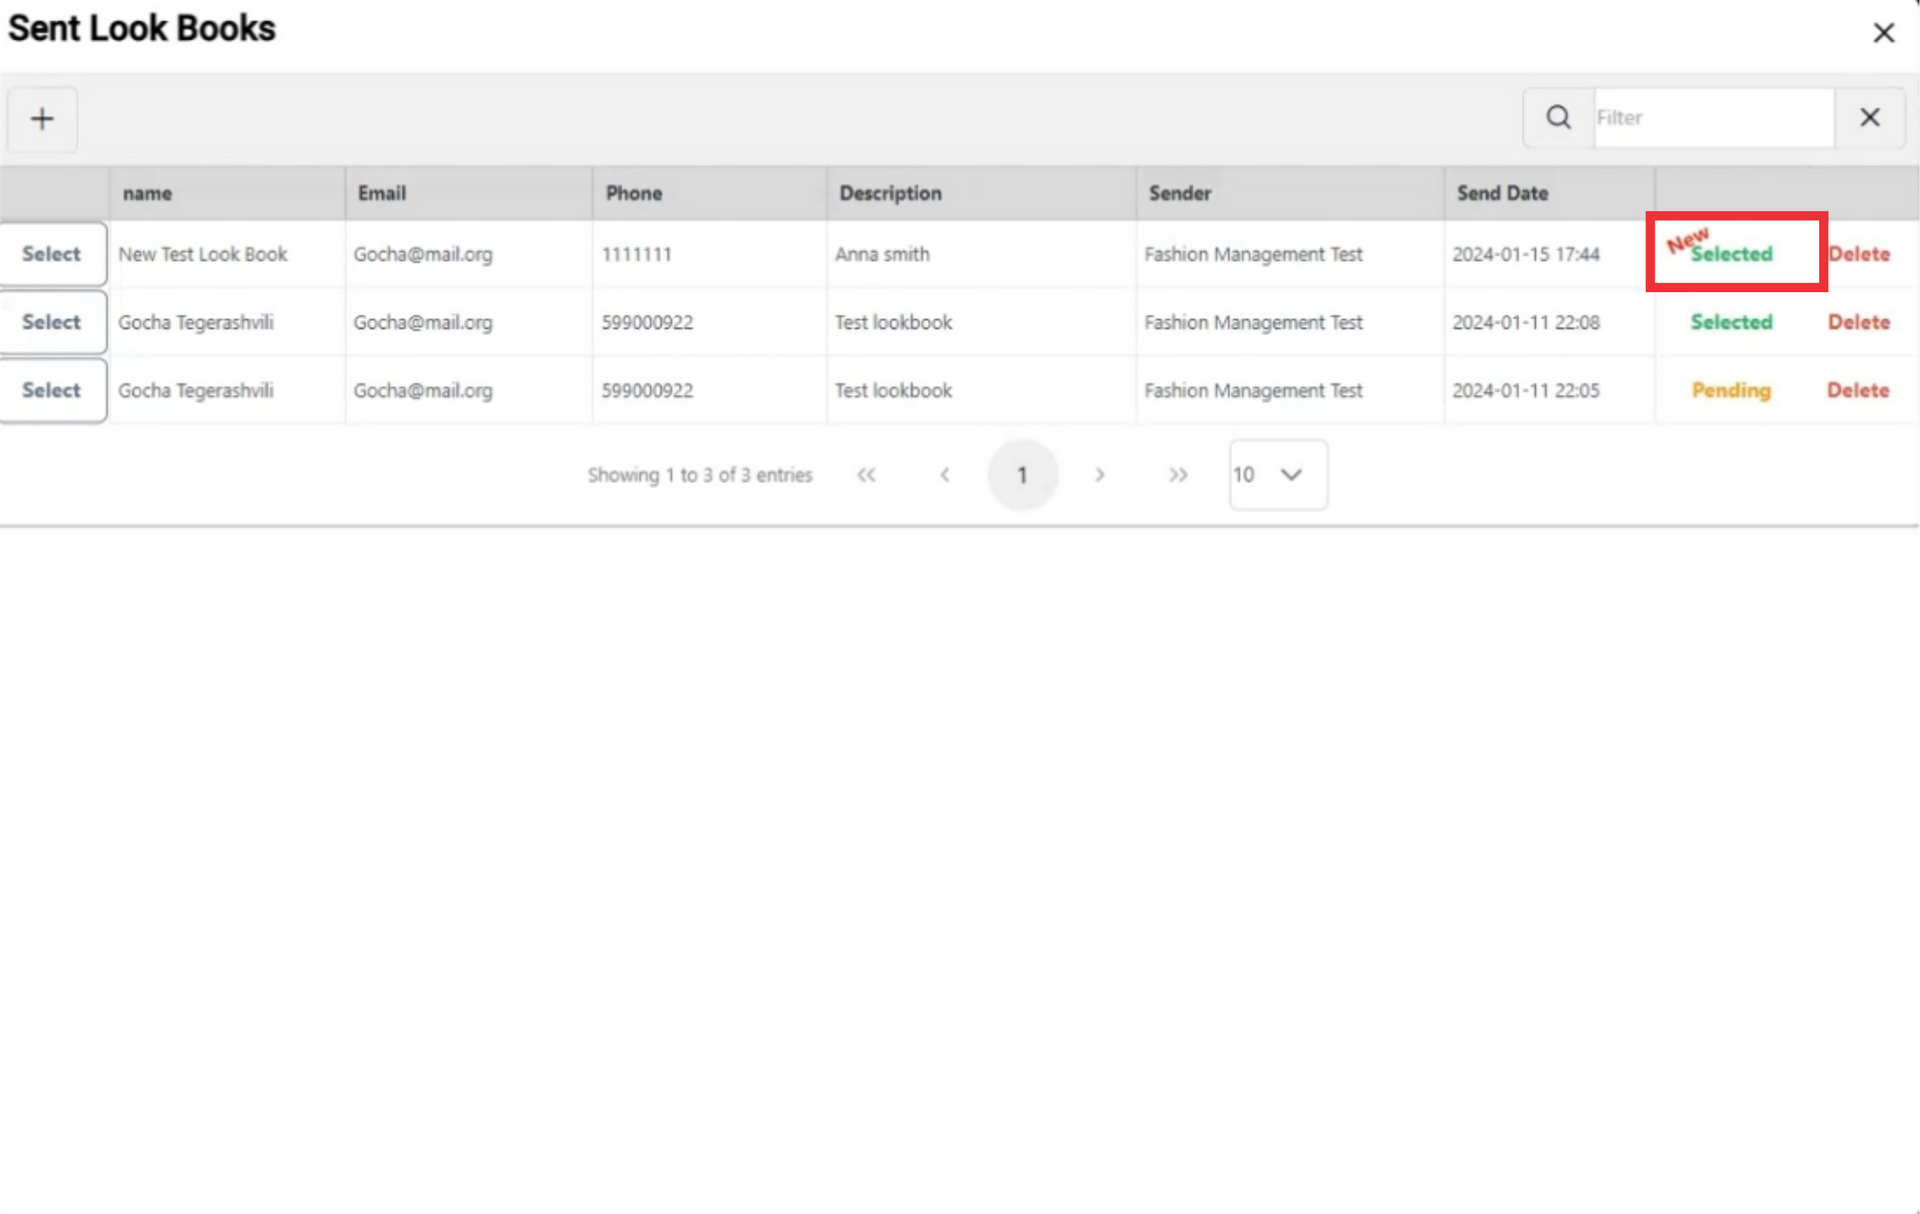
55. After sending email, you will see a message on the screen: That your email has been send and the status of the sent look book has changed to pending mode. the person a receive a meggage

56. For the view photos cyour costumer must click on the link,

57. Please wait while redirecting.

58. Recipient will see with designers look book and how many look books sent for viewing. For the view look book click the designers name.

59. The number of samples photos in the look book will be displayed in the upper right corner of the catalog.
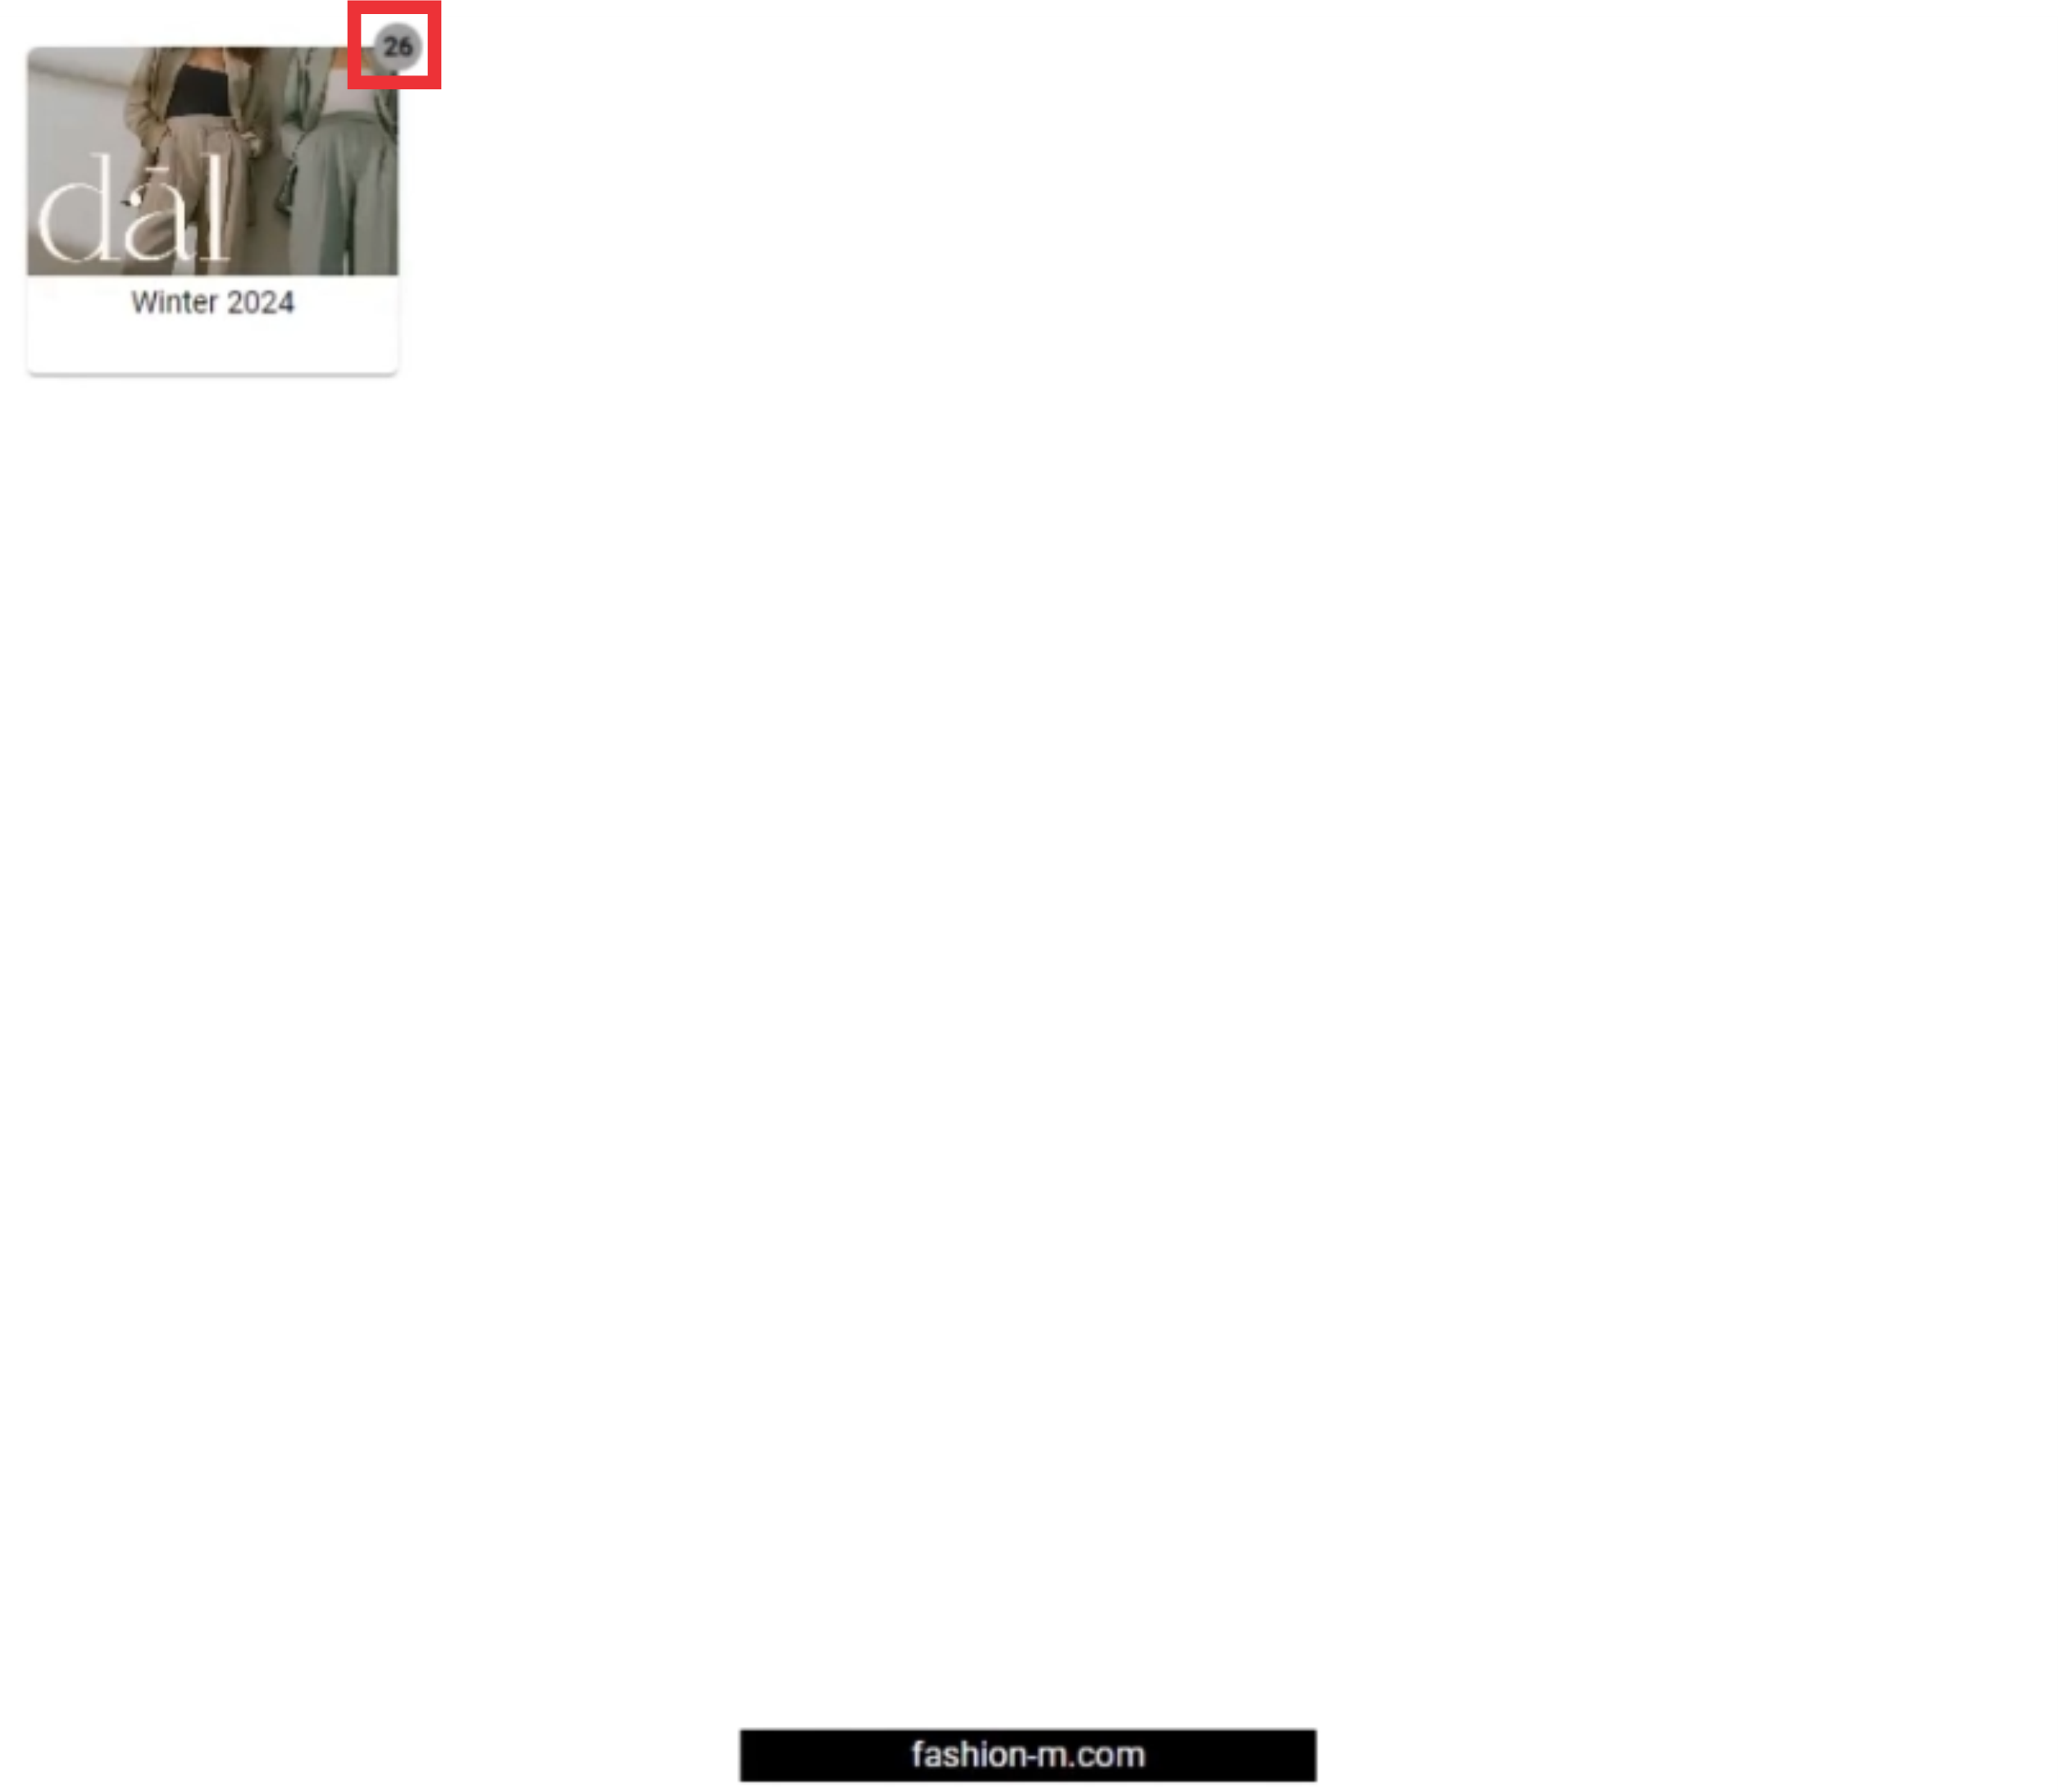
61. For the view sample photos in the look book click the album button.

62. Click the rigth or left swipe button for view samples photos in the collection.

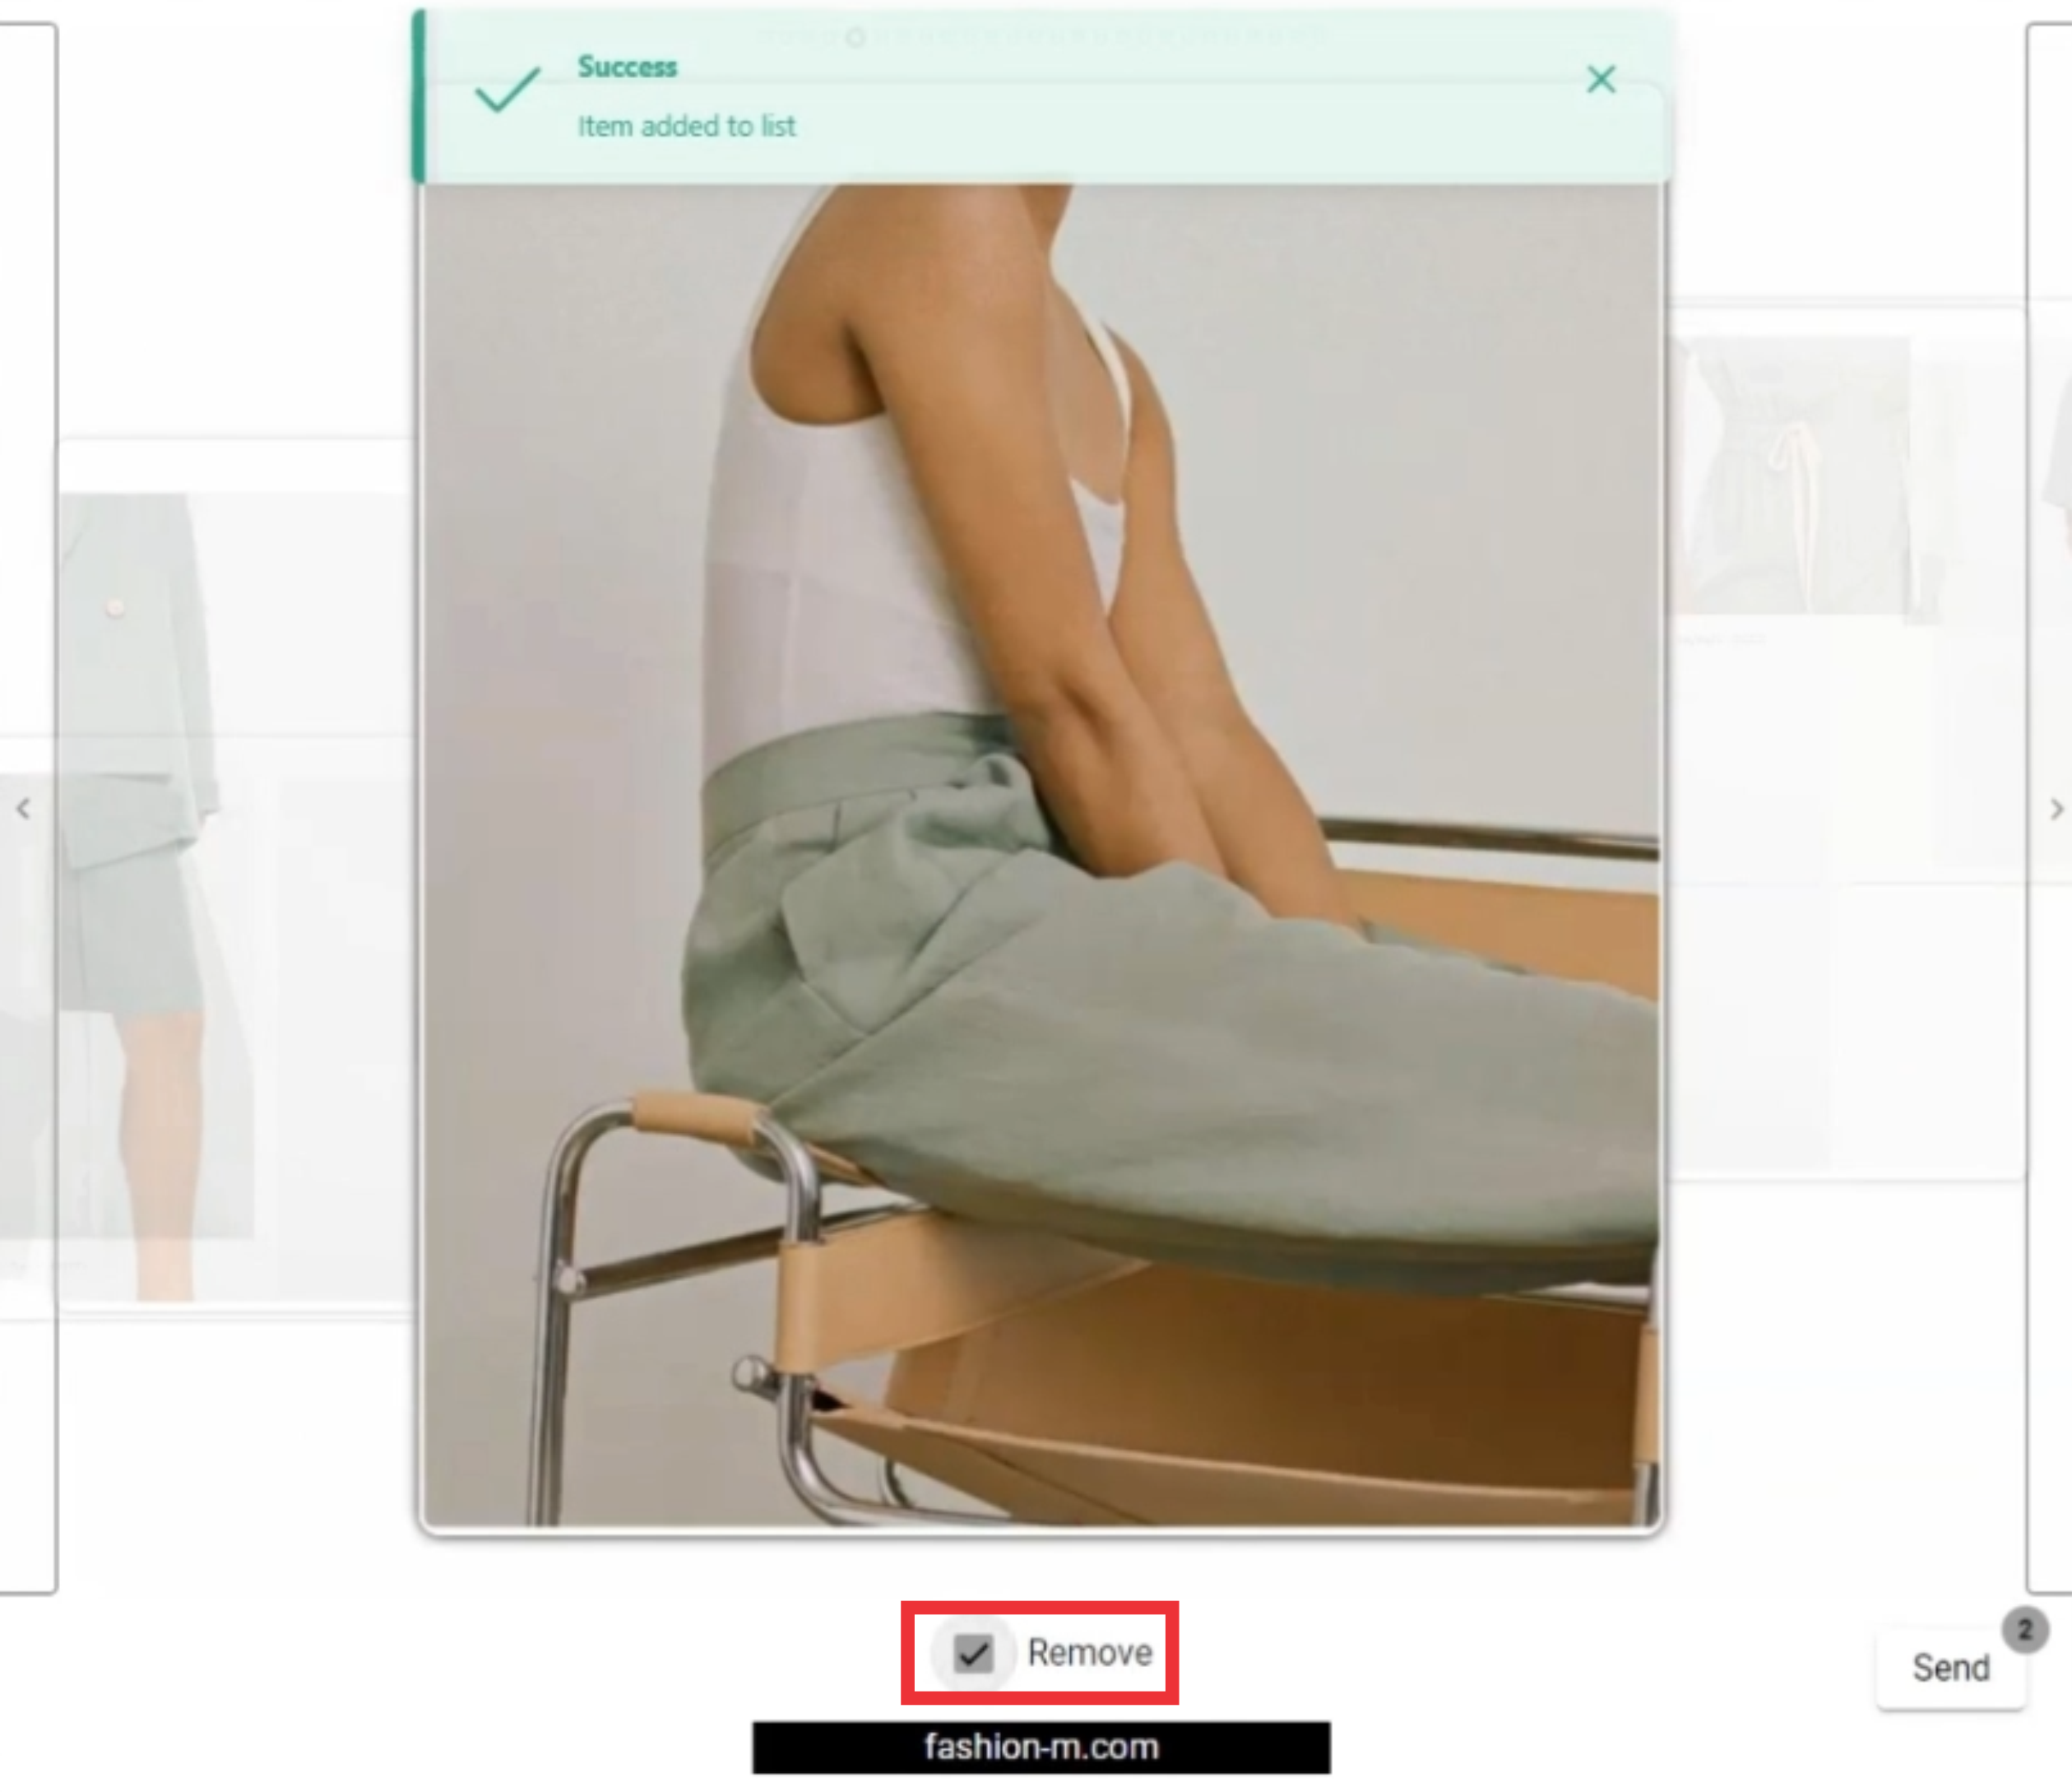
63. For the mark desired samples from the catalog click the select button.

64. For the remove marked sample from the list mark the remove button.
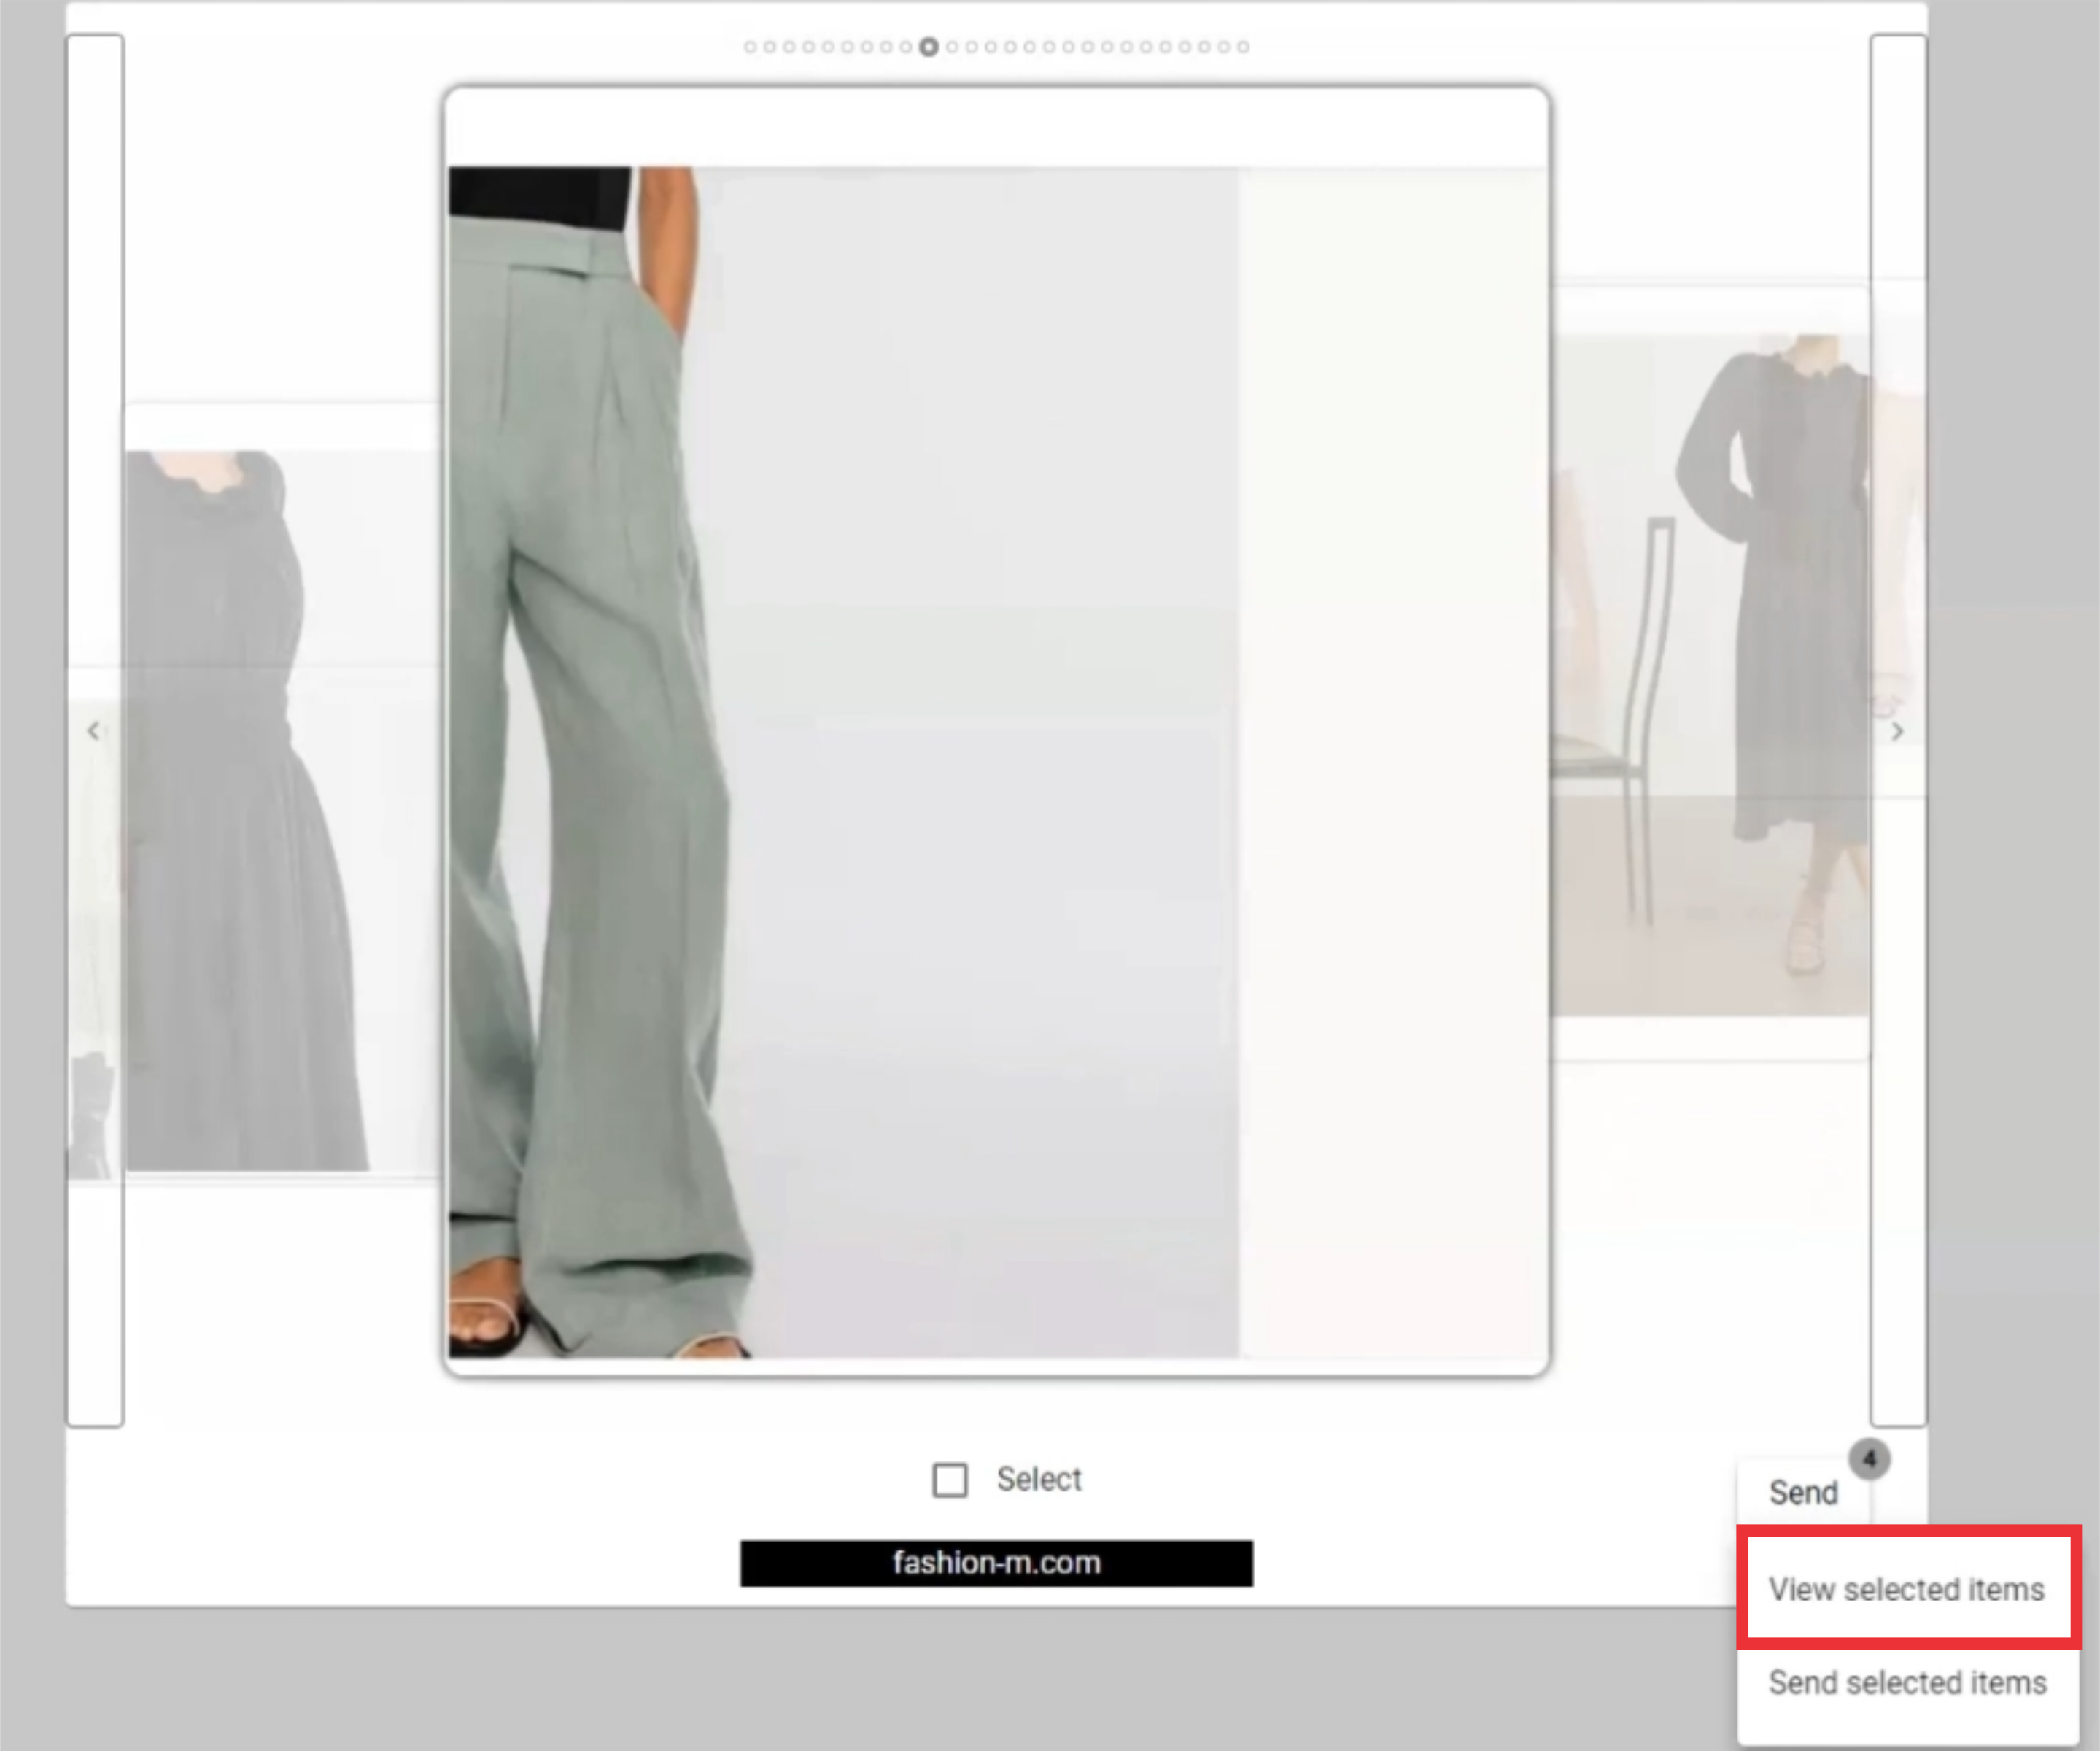
65. The number of the samples selected by costumer for look book will be displayed in roght upper corner of the send button.

66. Click the send button to open the menu.
67. Click the View selected items button.
68. Click the rigth or left swipe button for view selected samples photos in the collection.
68. For the remove desired selected photo click the remove button.
69. Click the confirm button.

70. Click the Yes button to confirm and save photos.

71. Click the Send button to open the menu.
72. For the send selected photos from catalogues click the "Send selected item" button.
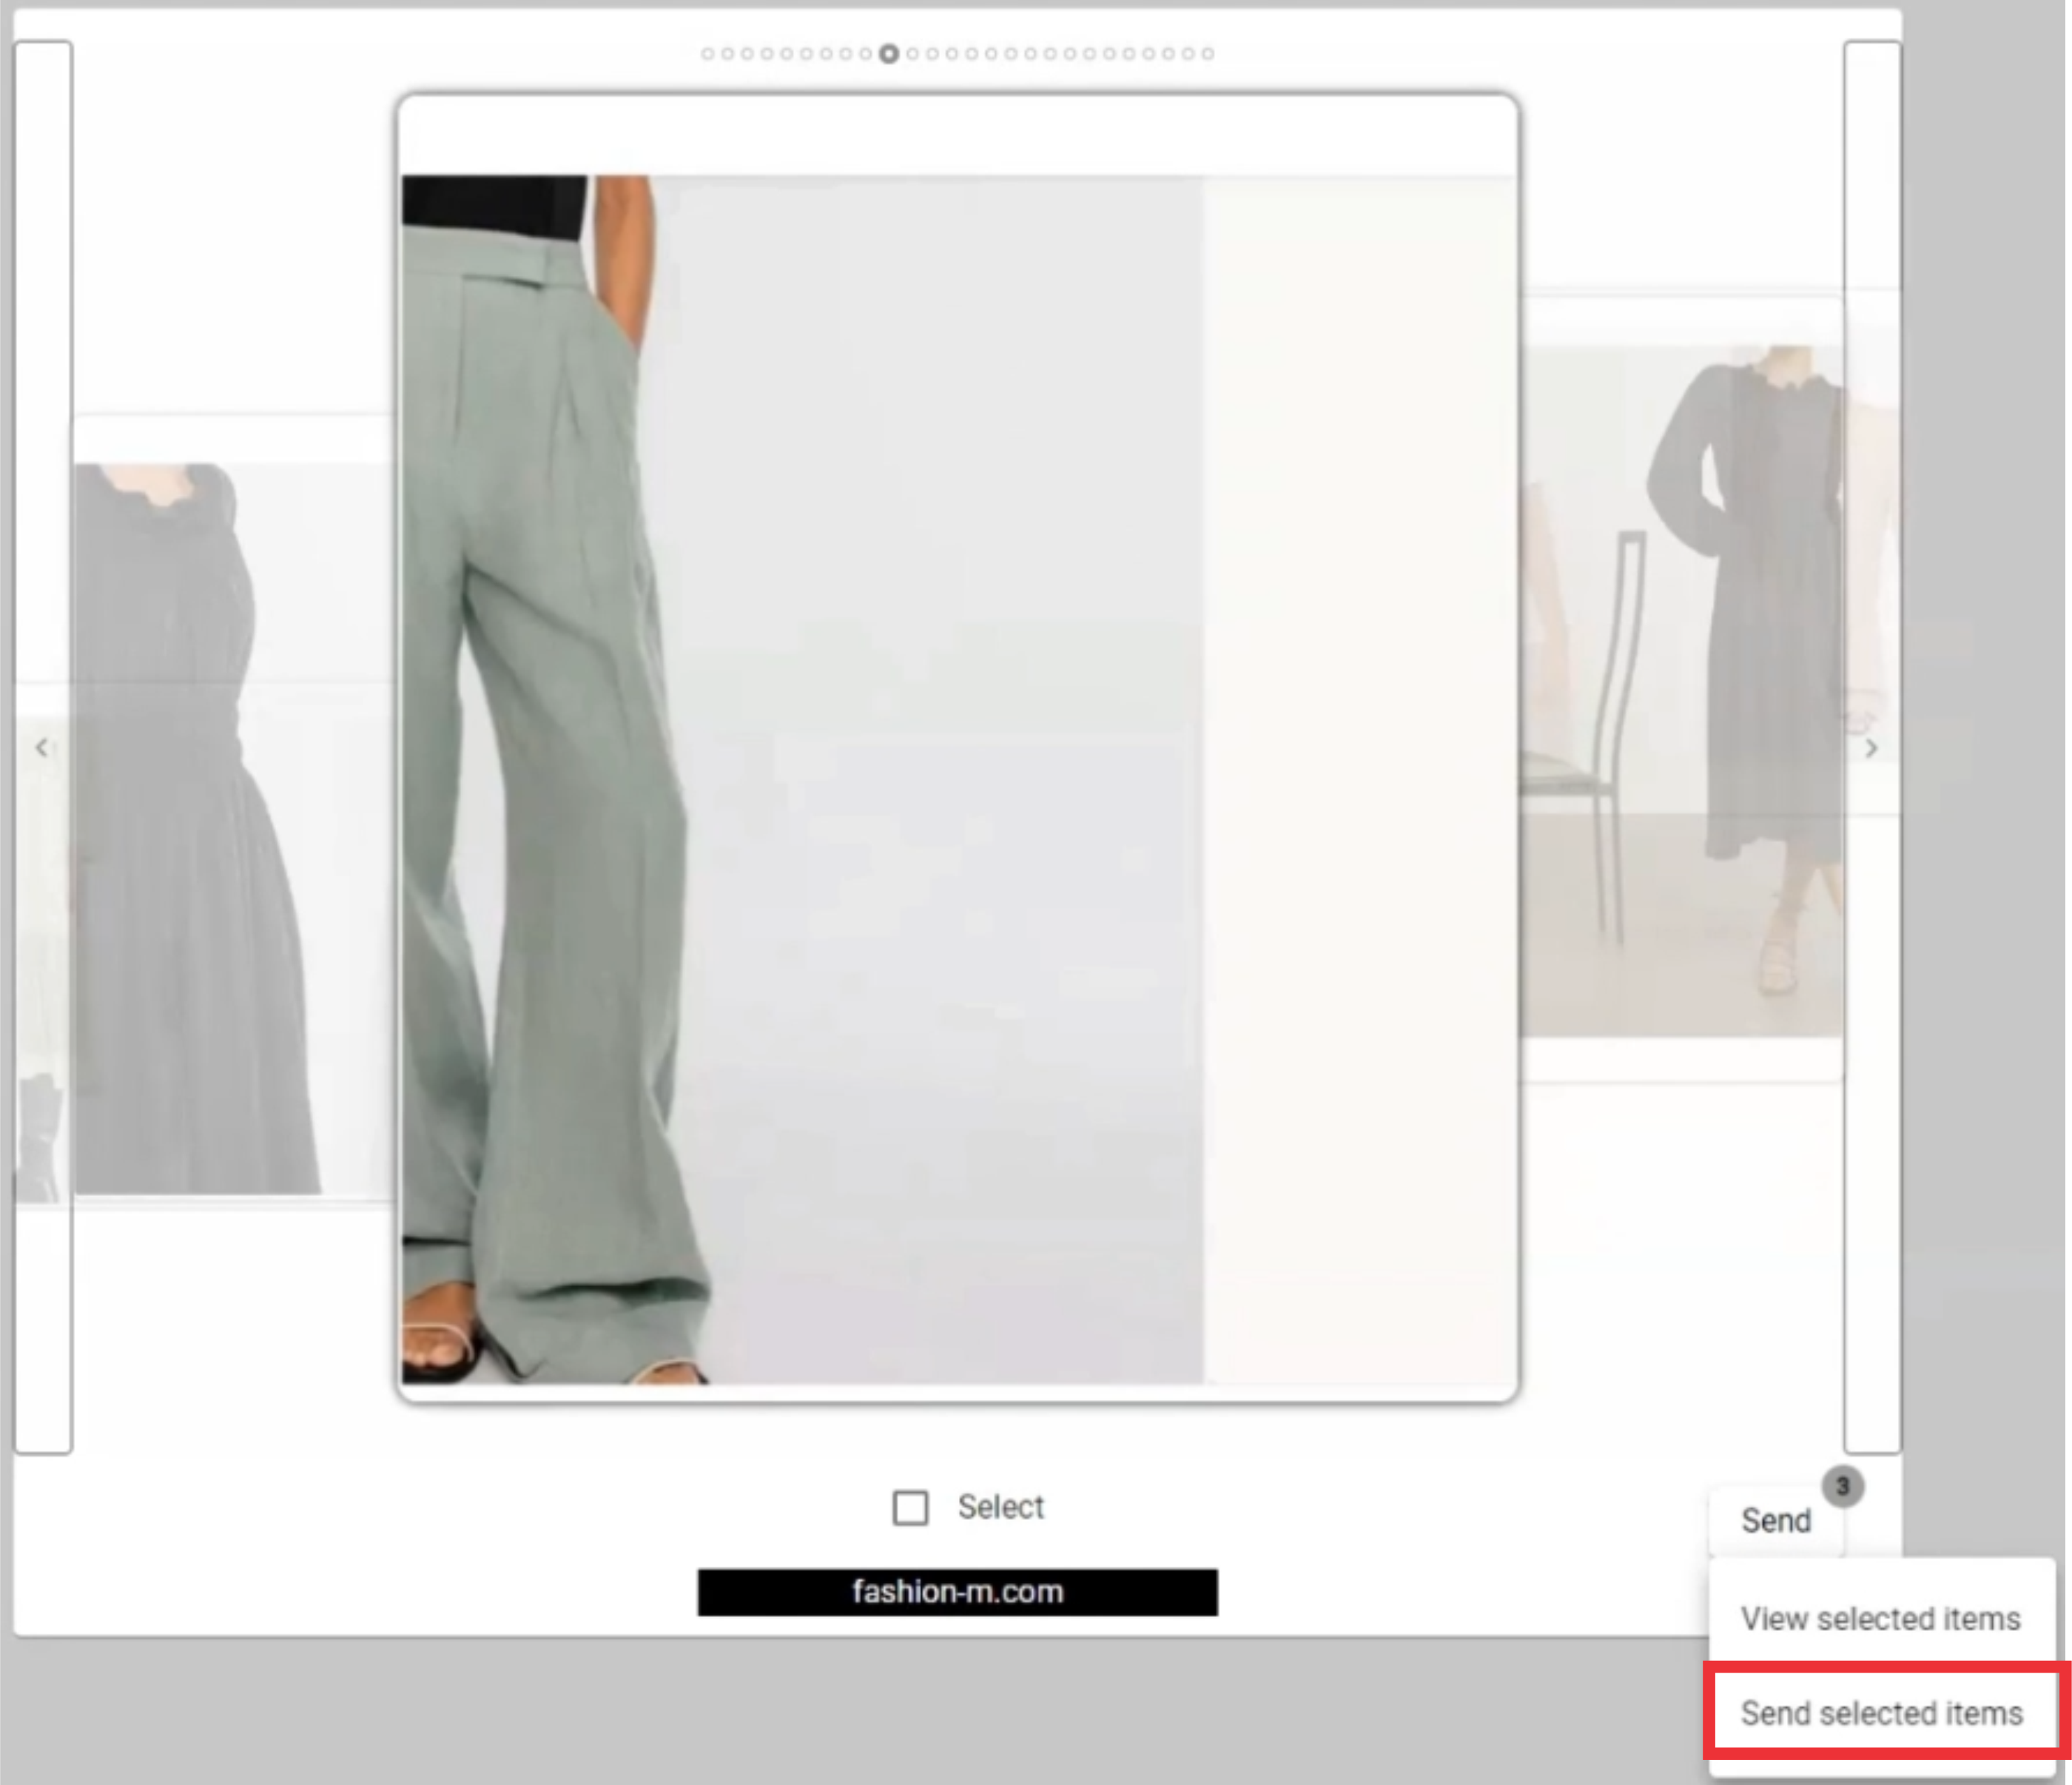
73. Click the Yes button to Save and send selected photos.

74.

75.

76. Click the Look Book button to open the menu.
77.

78.
79.
80.

81.
